Documents
The Documents area is where temporary documents, reports, audio recordings, and images are stored and accessed. They will appear as icons along with the name and an identifying number. These temporary documents will only be available during the current AGNES session, and will be automatically deleted once all users log out of the session or Clear Session is clicked.
All users currently logged into the session will see the same documents. Actions that result in document creation include:
- A user takes a snapshot of a video (image document).
- A user takes a snapshot of vital signs
(text document or XML). - A user has uploaded or dragged a document to be shared.
- An external device has generated a medical report.
- An audio recording has been started and then stopped.
After files have been created in or uploaded to the documents module, they can be downloaded to the local computer where they can be renamed, deleted or sent to an EMR.
To perform actions on multiple files, click the checkbox located in the upper left corner of the desired file, and use the drop-down menu to select the function.
The following outlines actions that can be performed on a document. All actions require a Documents license.
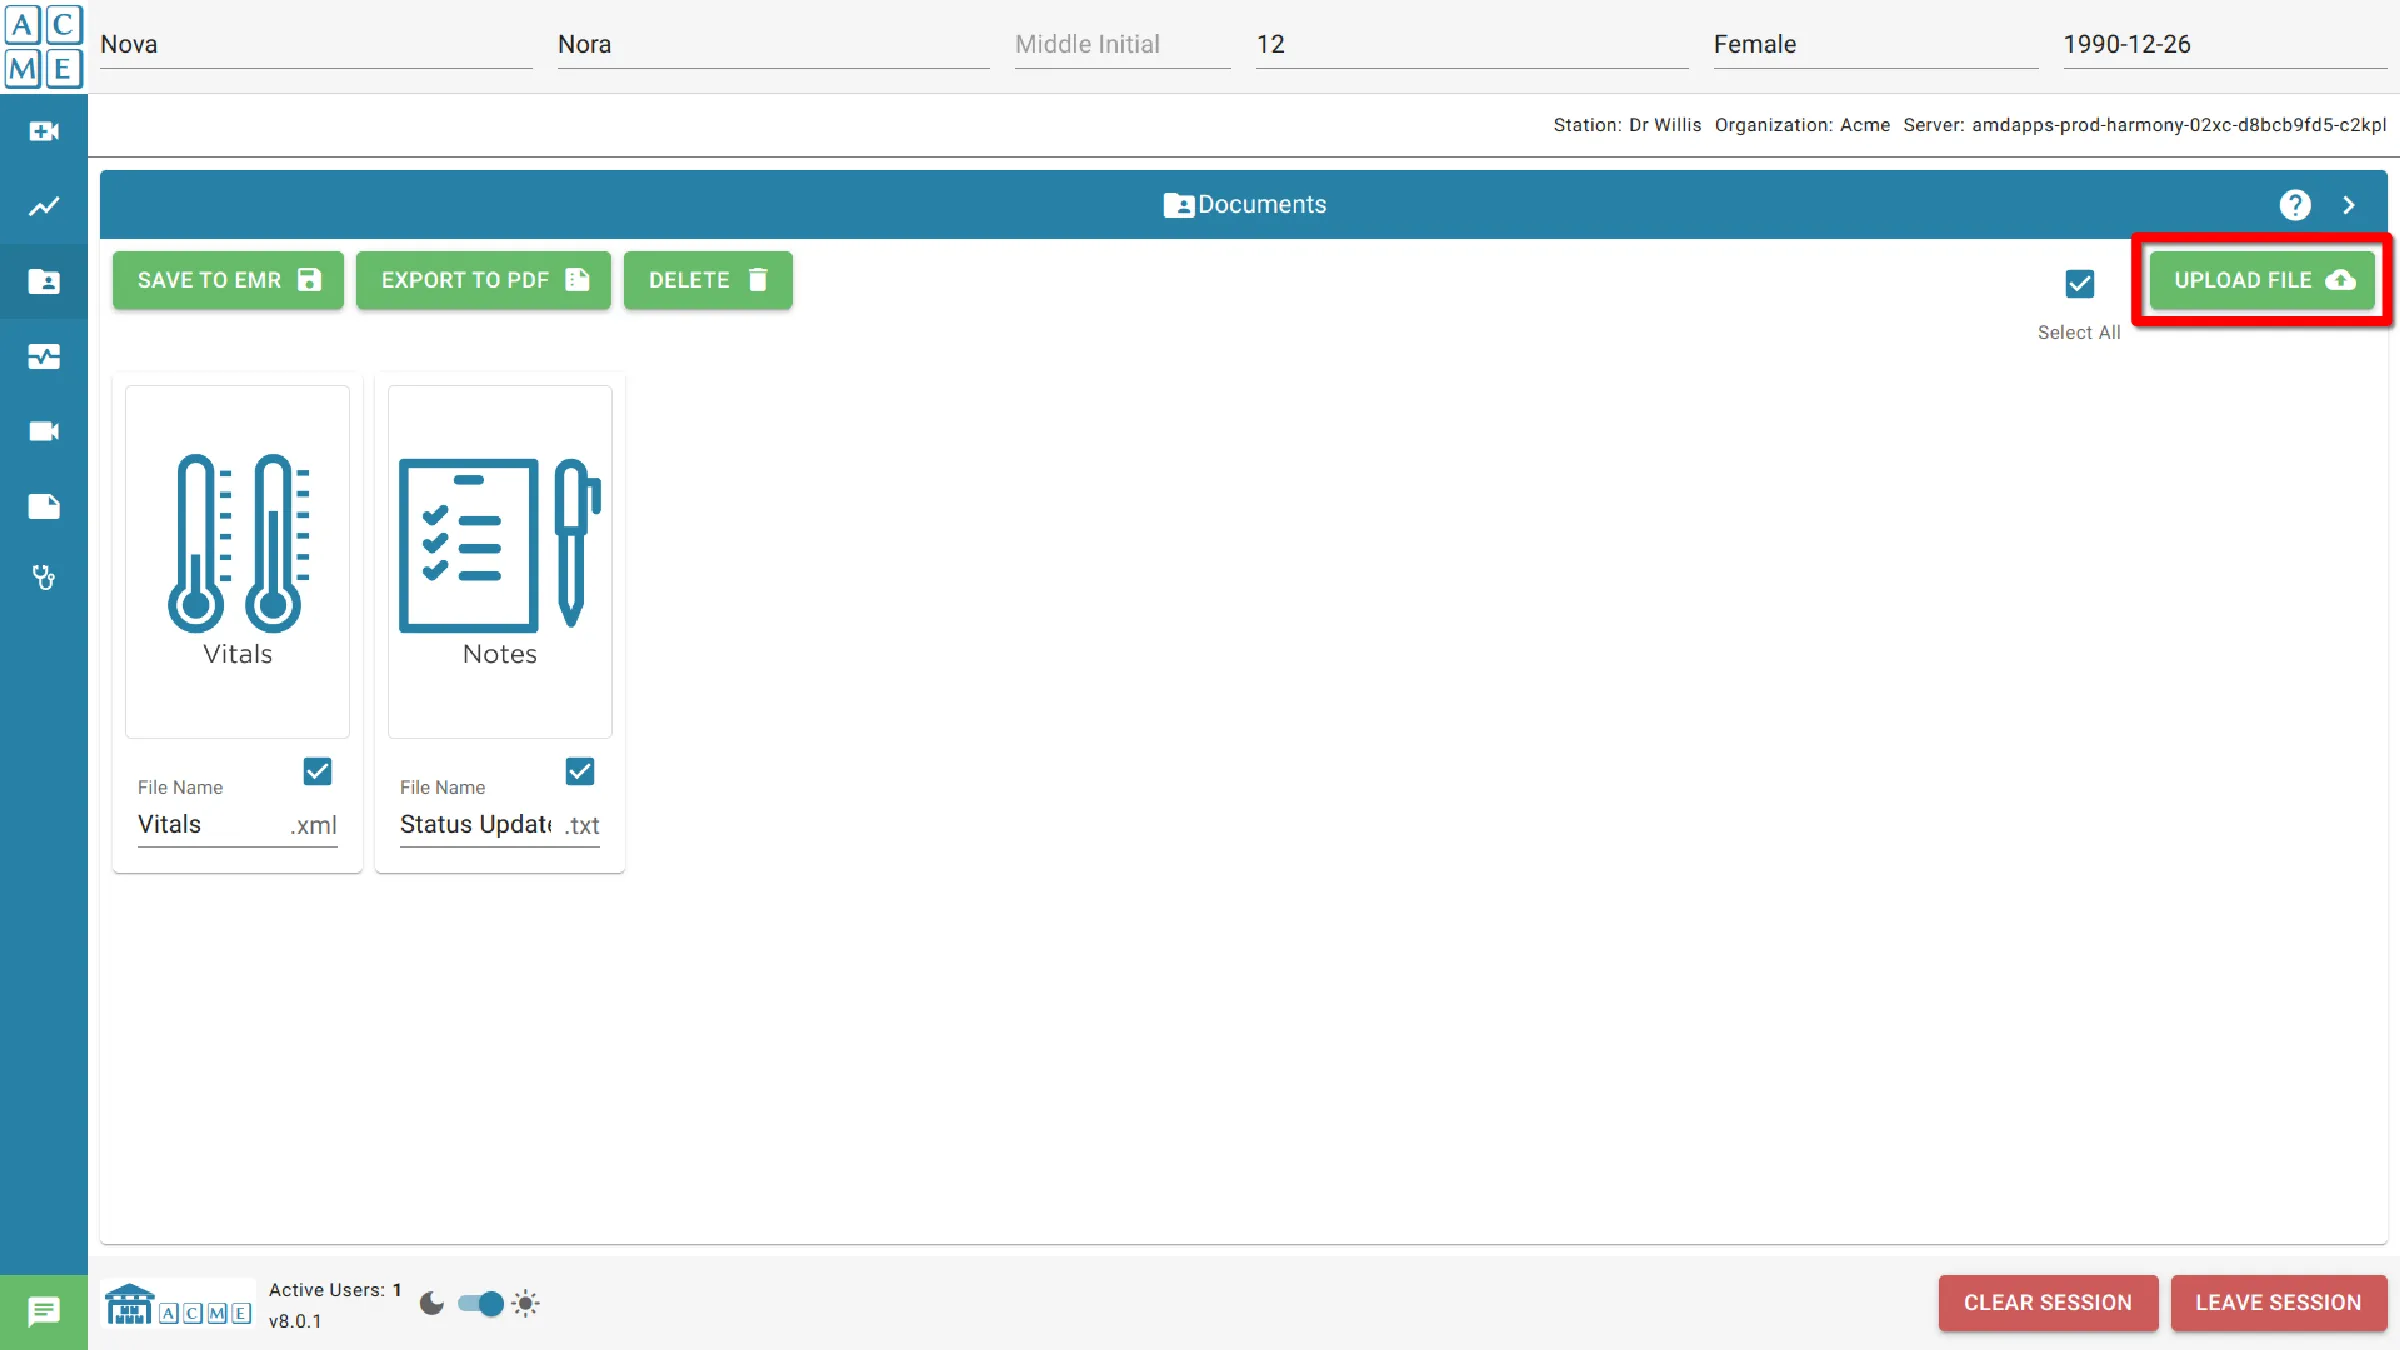
Upload a document
If Drag and Drop functionality is enabled in the organization’s settings, dragging and dropping any document from the computer on to the documents area of the browser window will copy the document to the documents’ pane.
Alternatively, click Upload File and select files from the dialog. The document will now be shared among all users logged in to the session.
View or download a document
Click the icon associated with a document to view it. A preview will be loaded if the file format is supported.
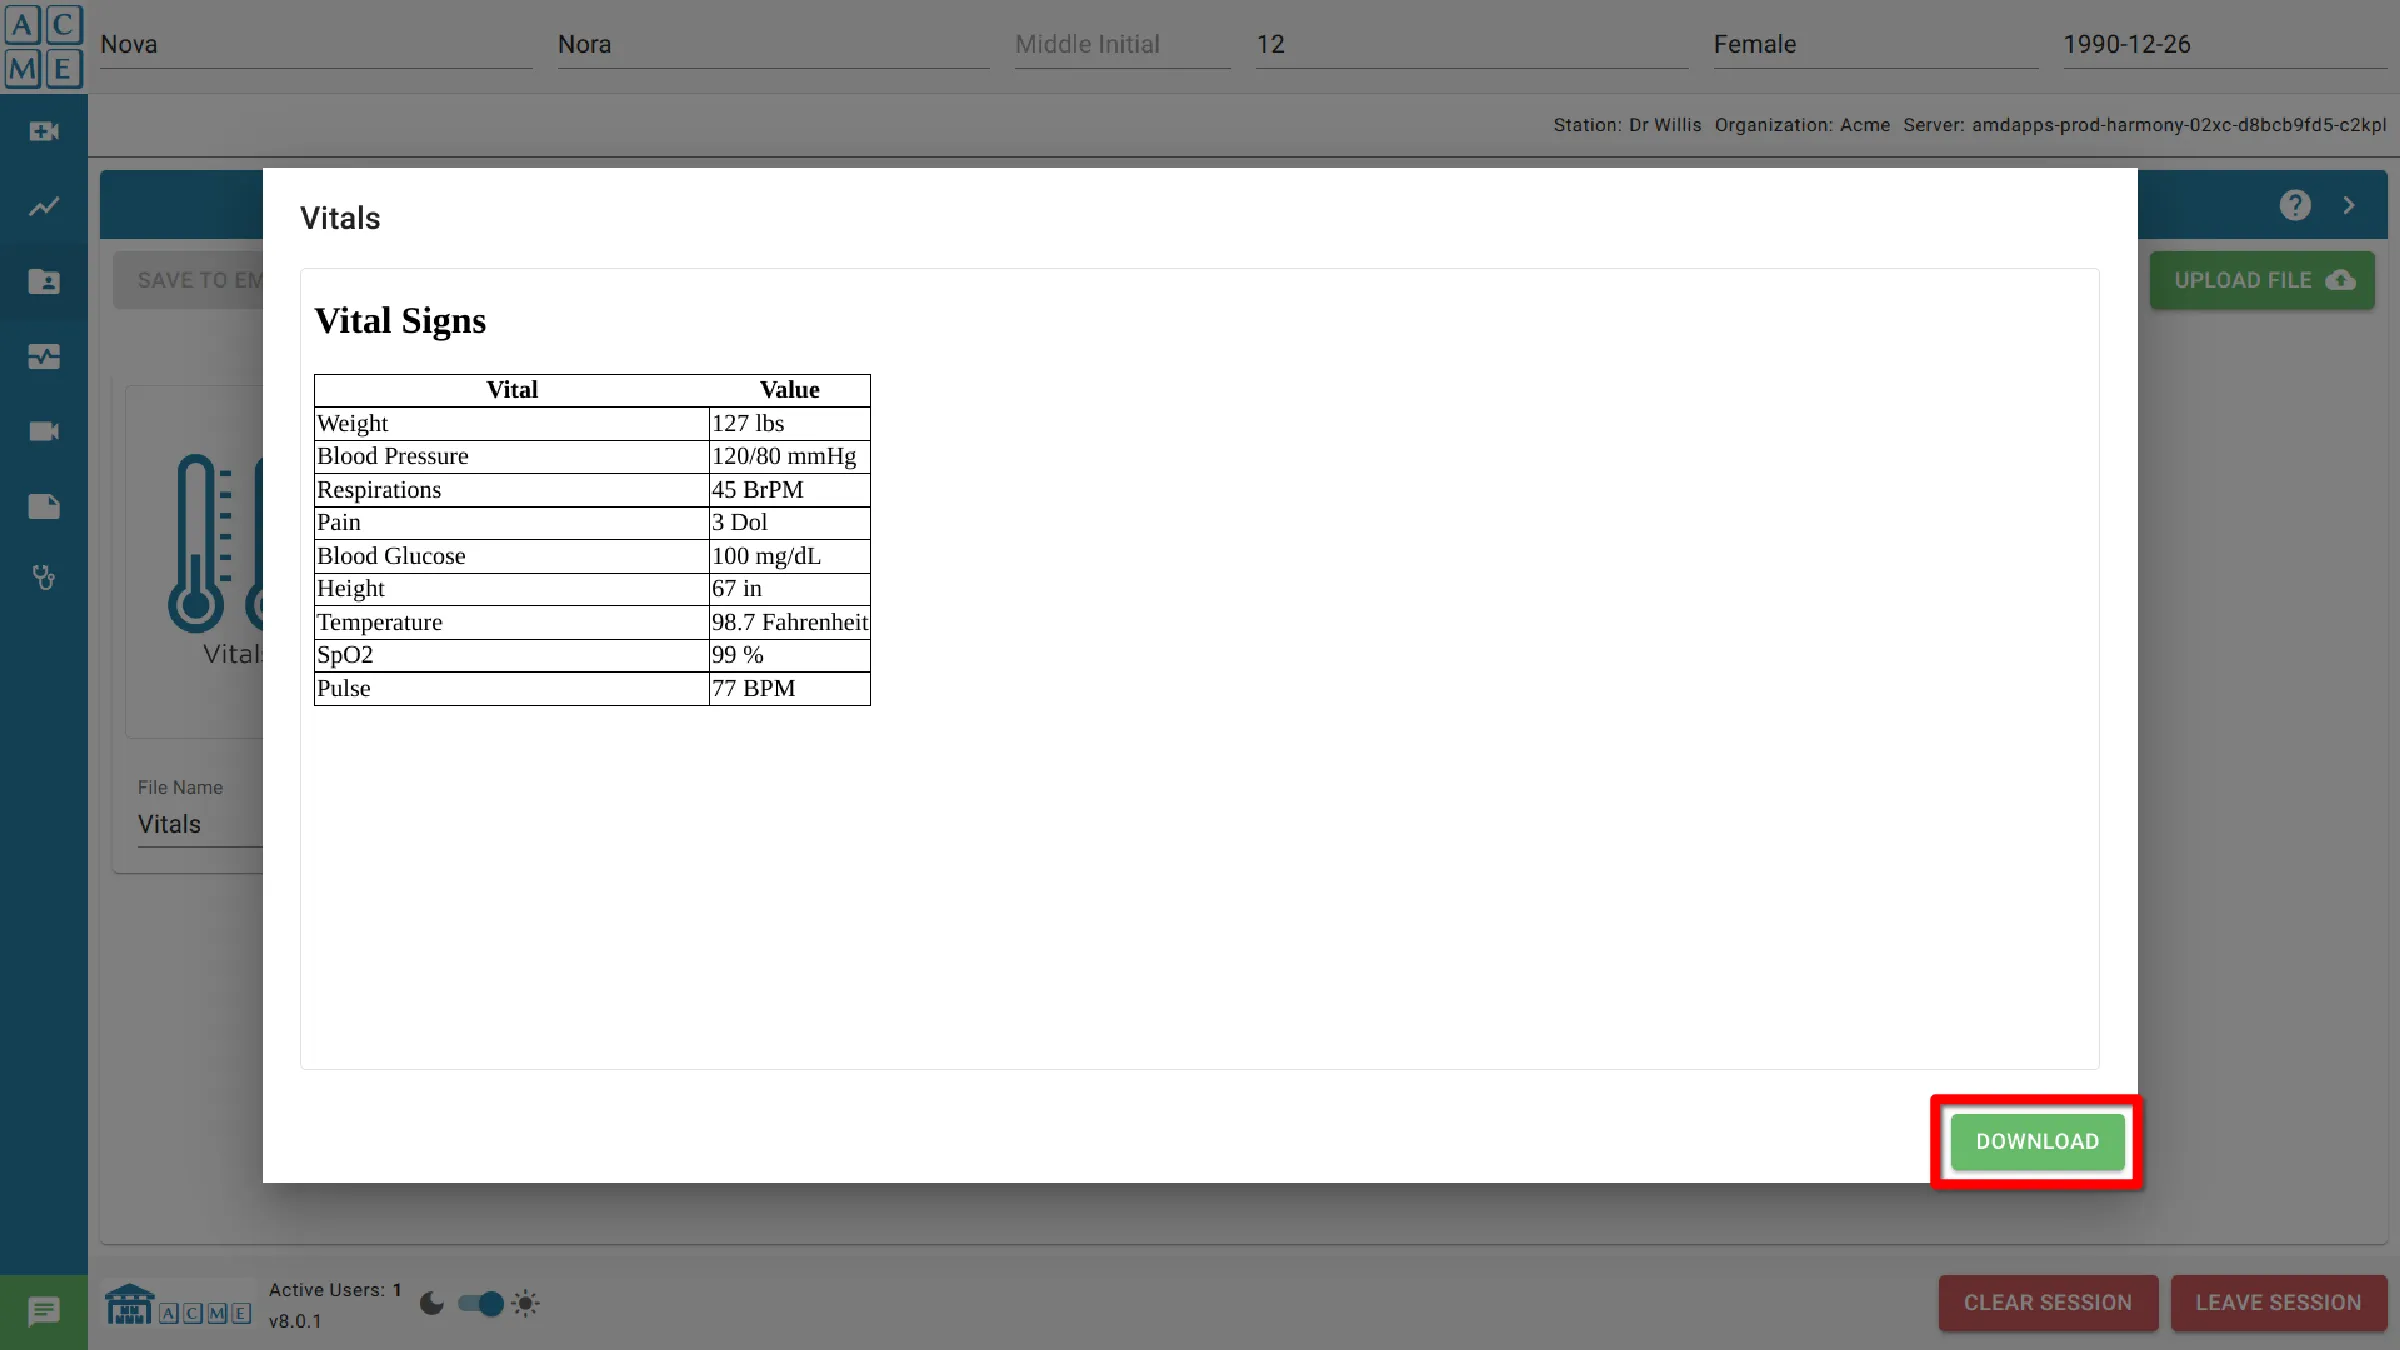
Vitals view
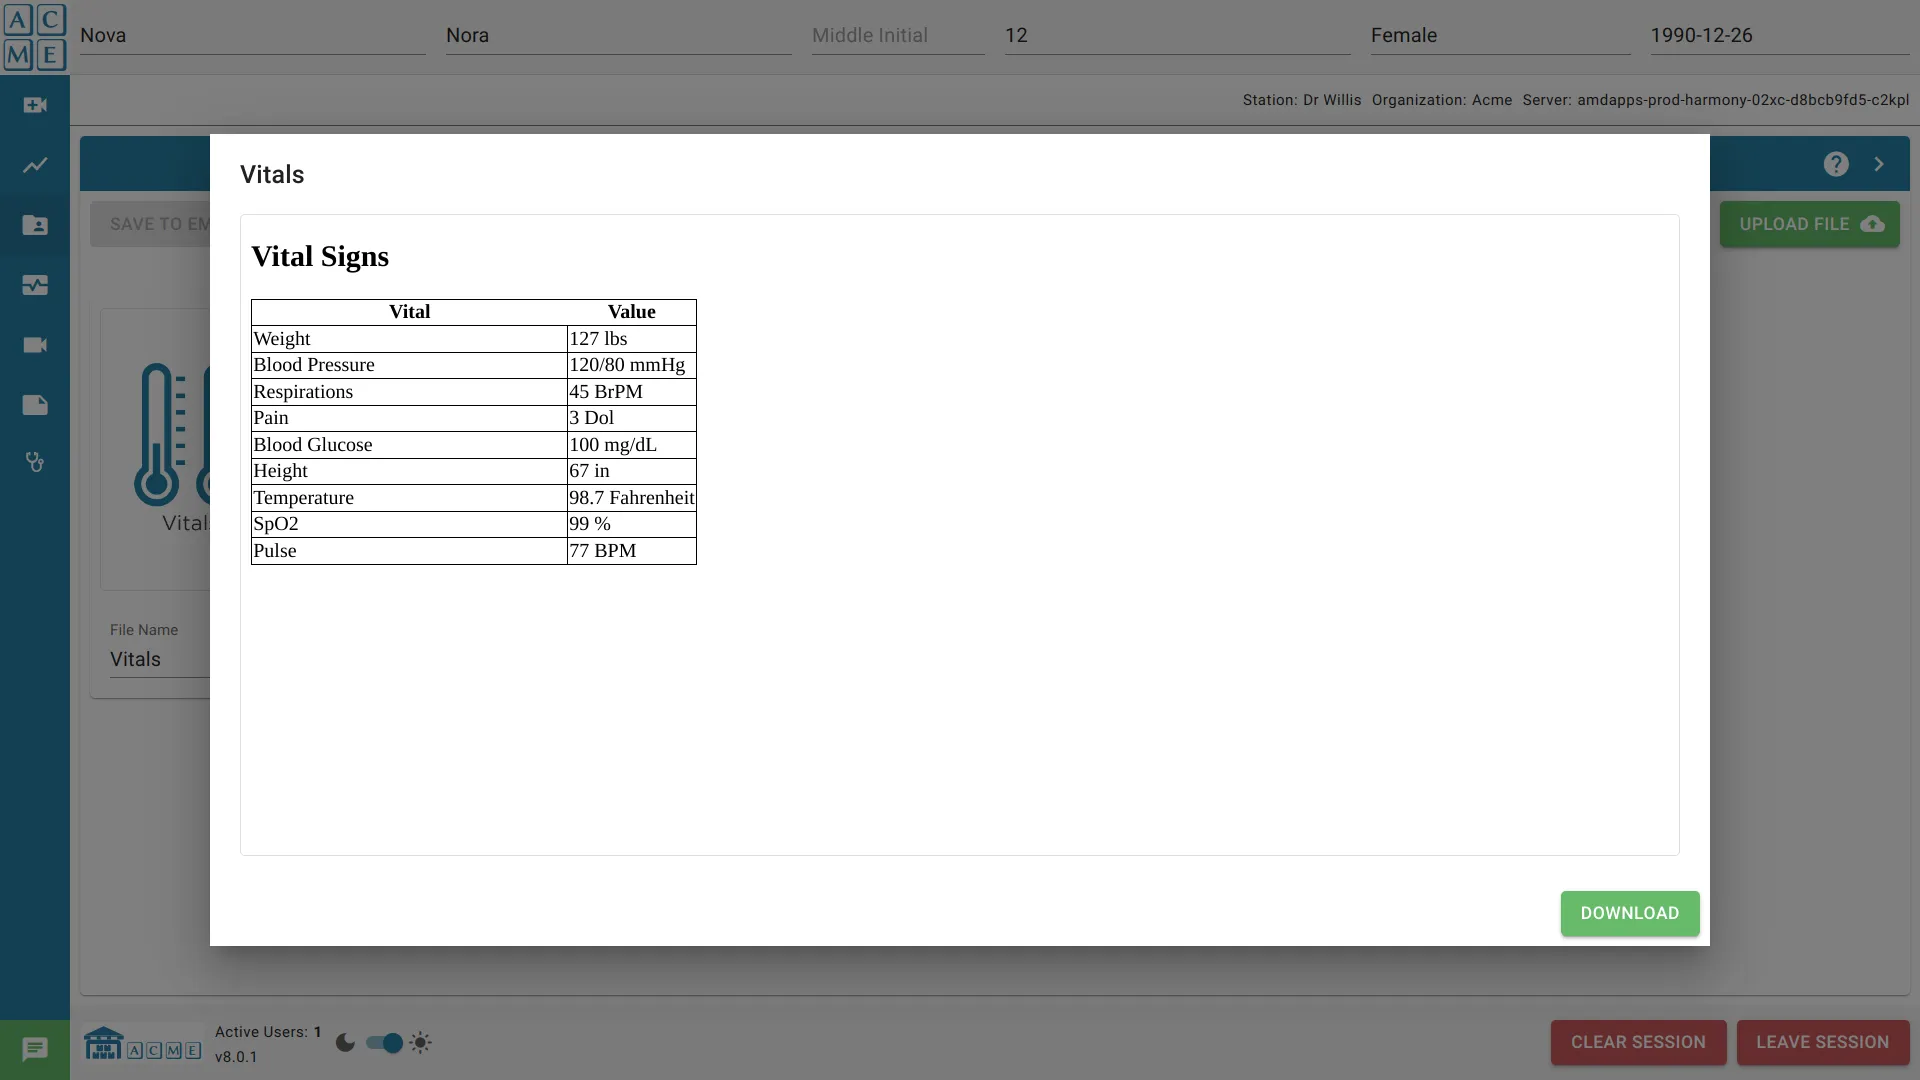
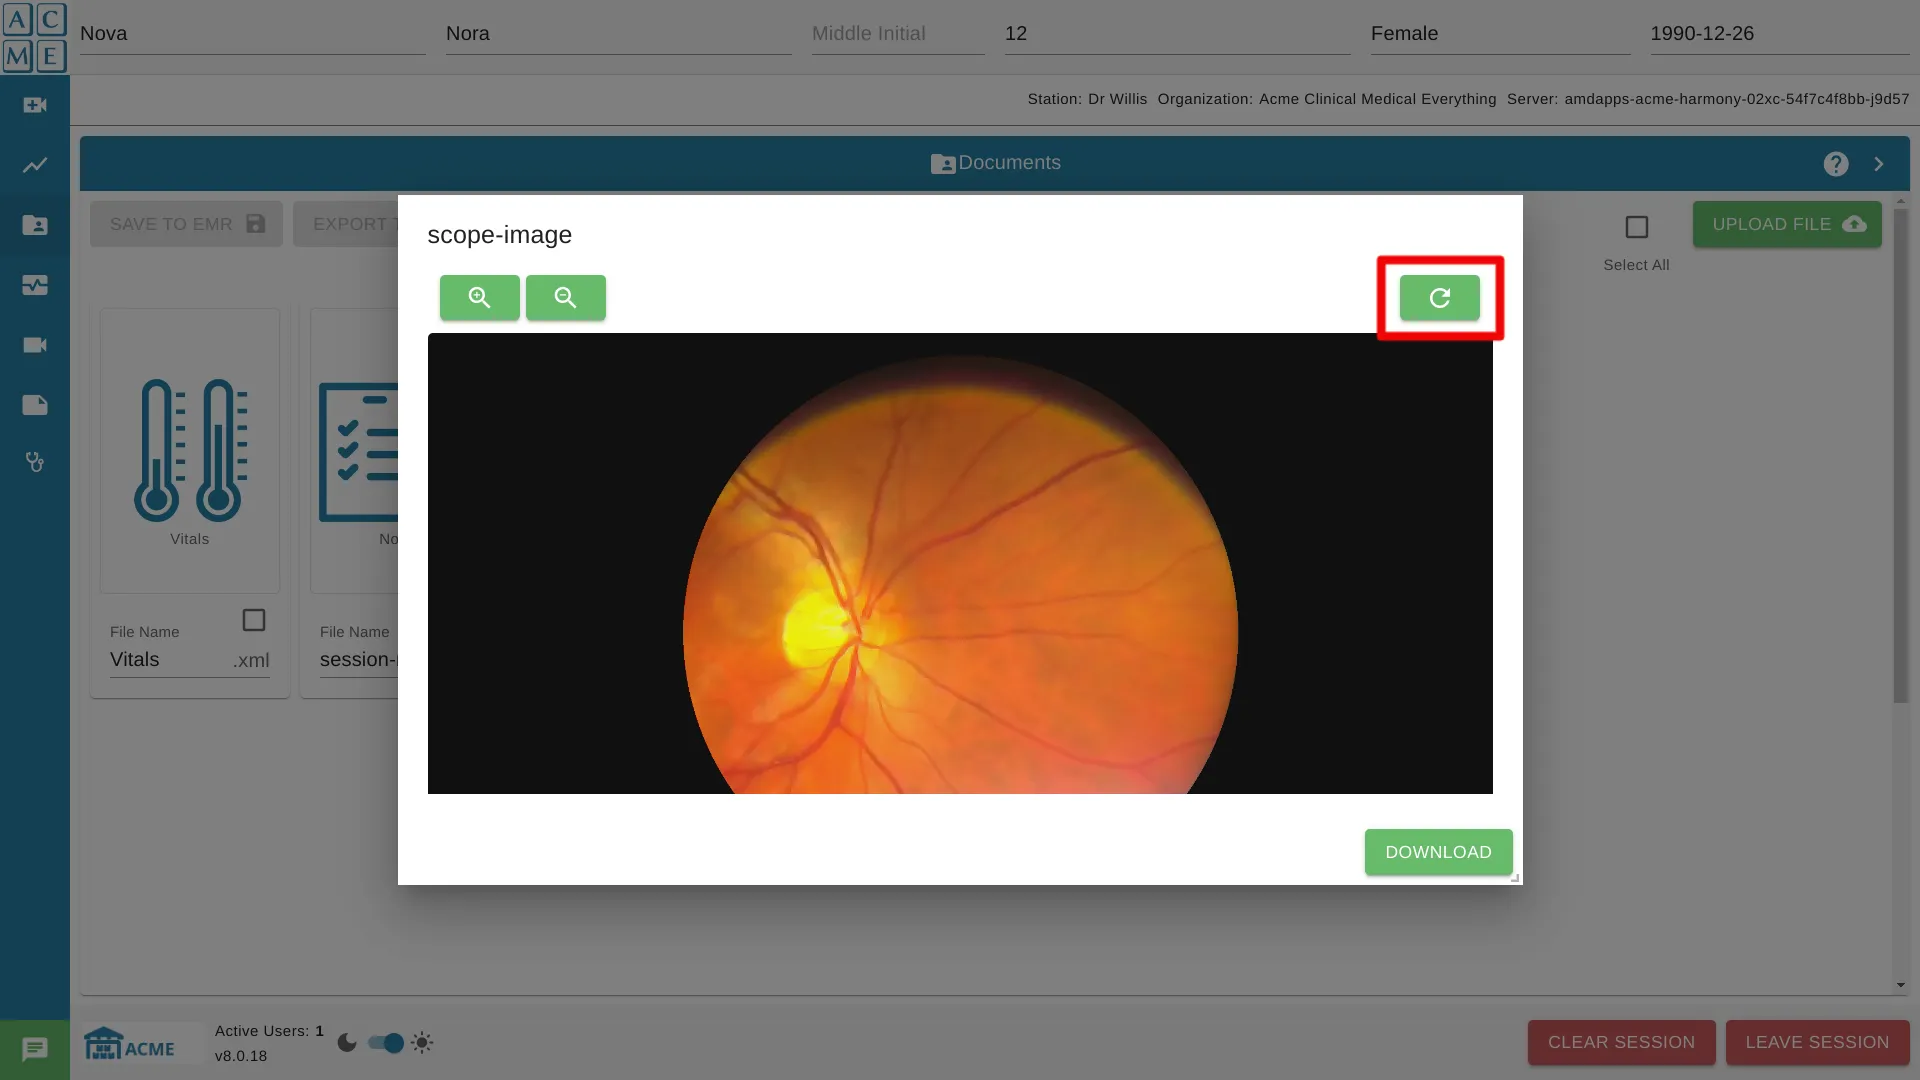
Image view

PDF view
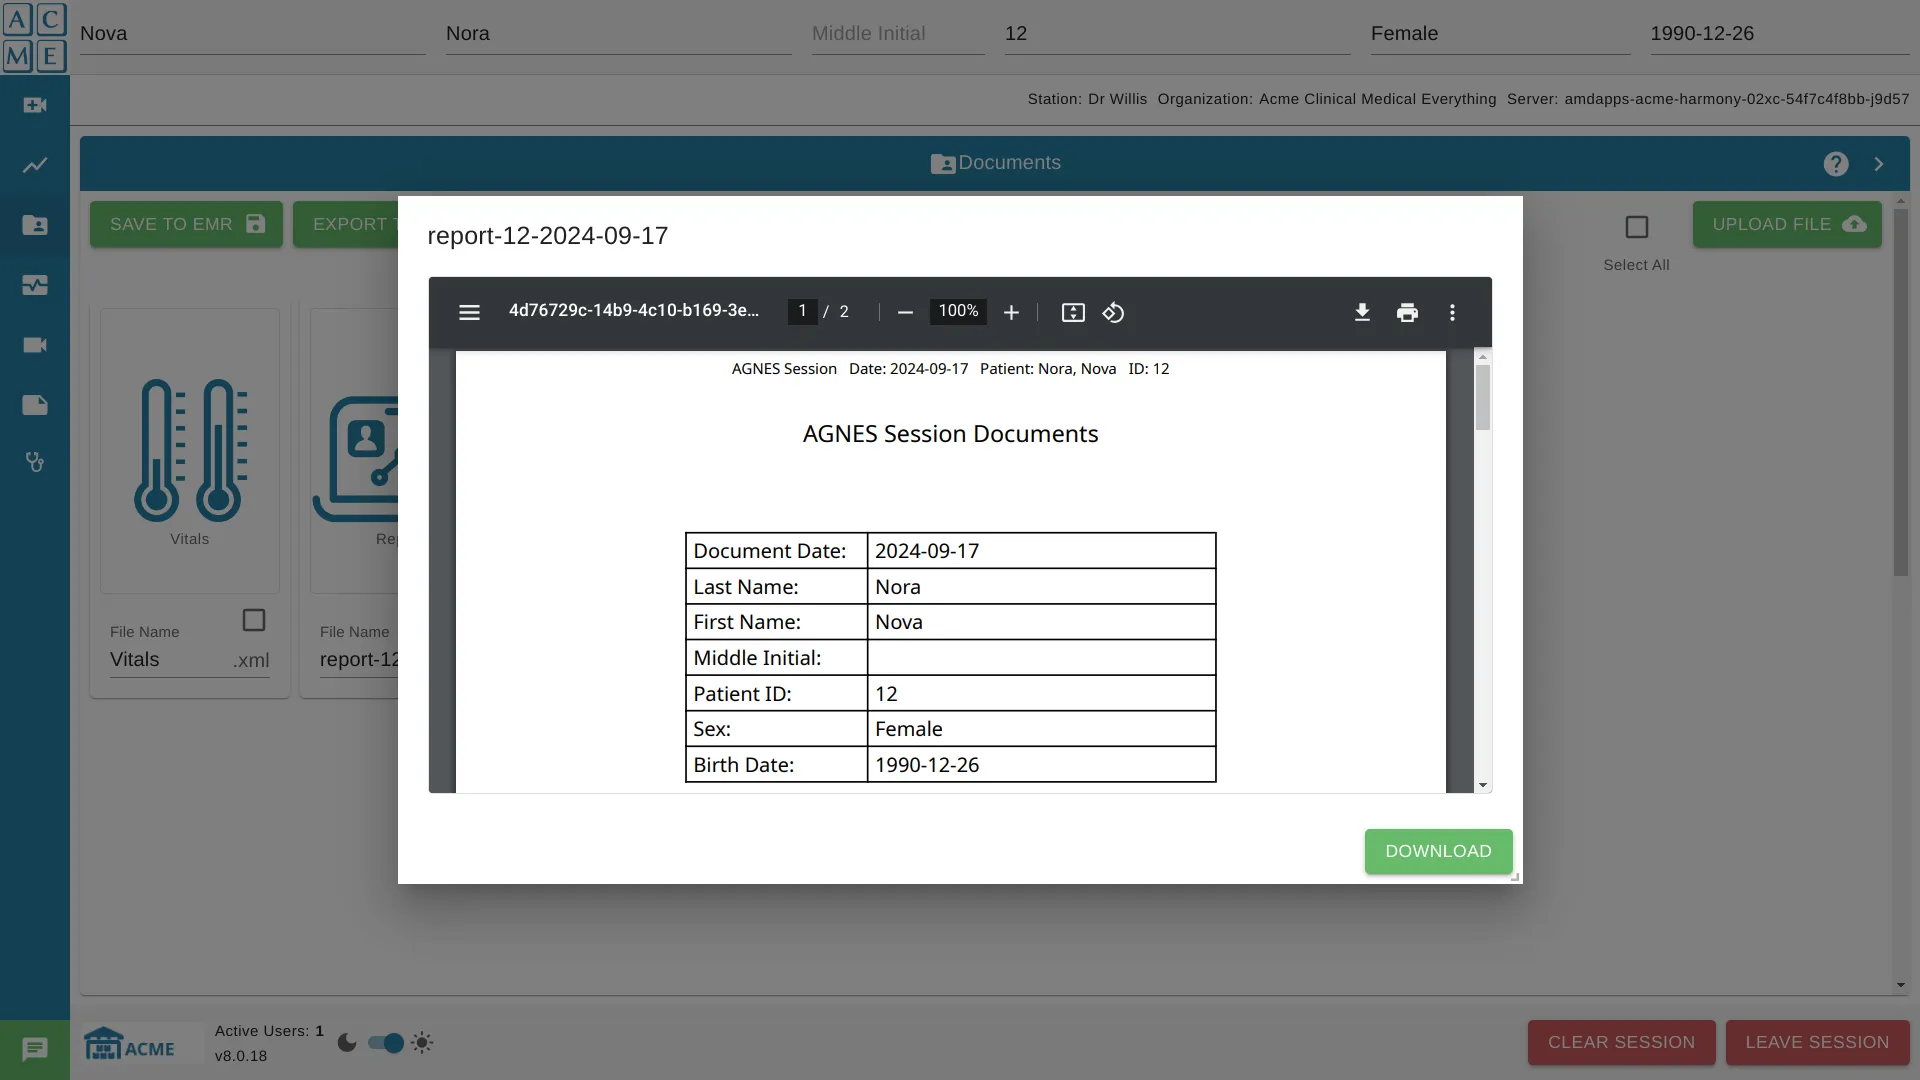
From this view, the file can be downloaded. When downloading a file, the user will select the download location.
Reposition the preview window
The preview window can be moved to any location on the screen, ensuring it does not obstruct the consultation view.
Resize the preview window
The preview window can be resized vertically and horizontally to better fit the screen layout.
Zoom and scroll images
Images can be zoomed in or out to examine details more closely. When zoomed in, scrolling allows navigation within the image.
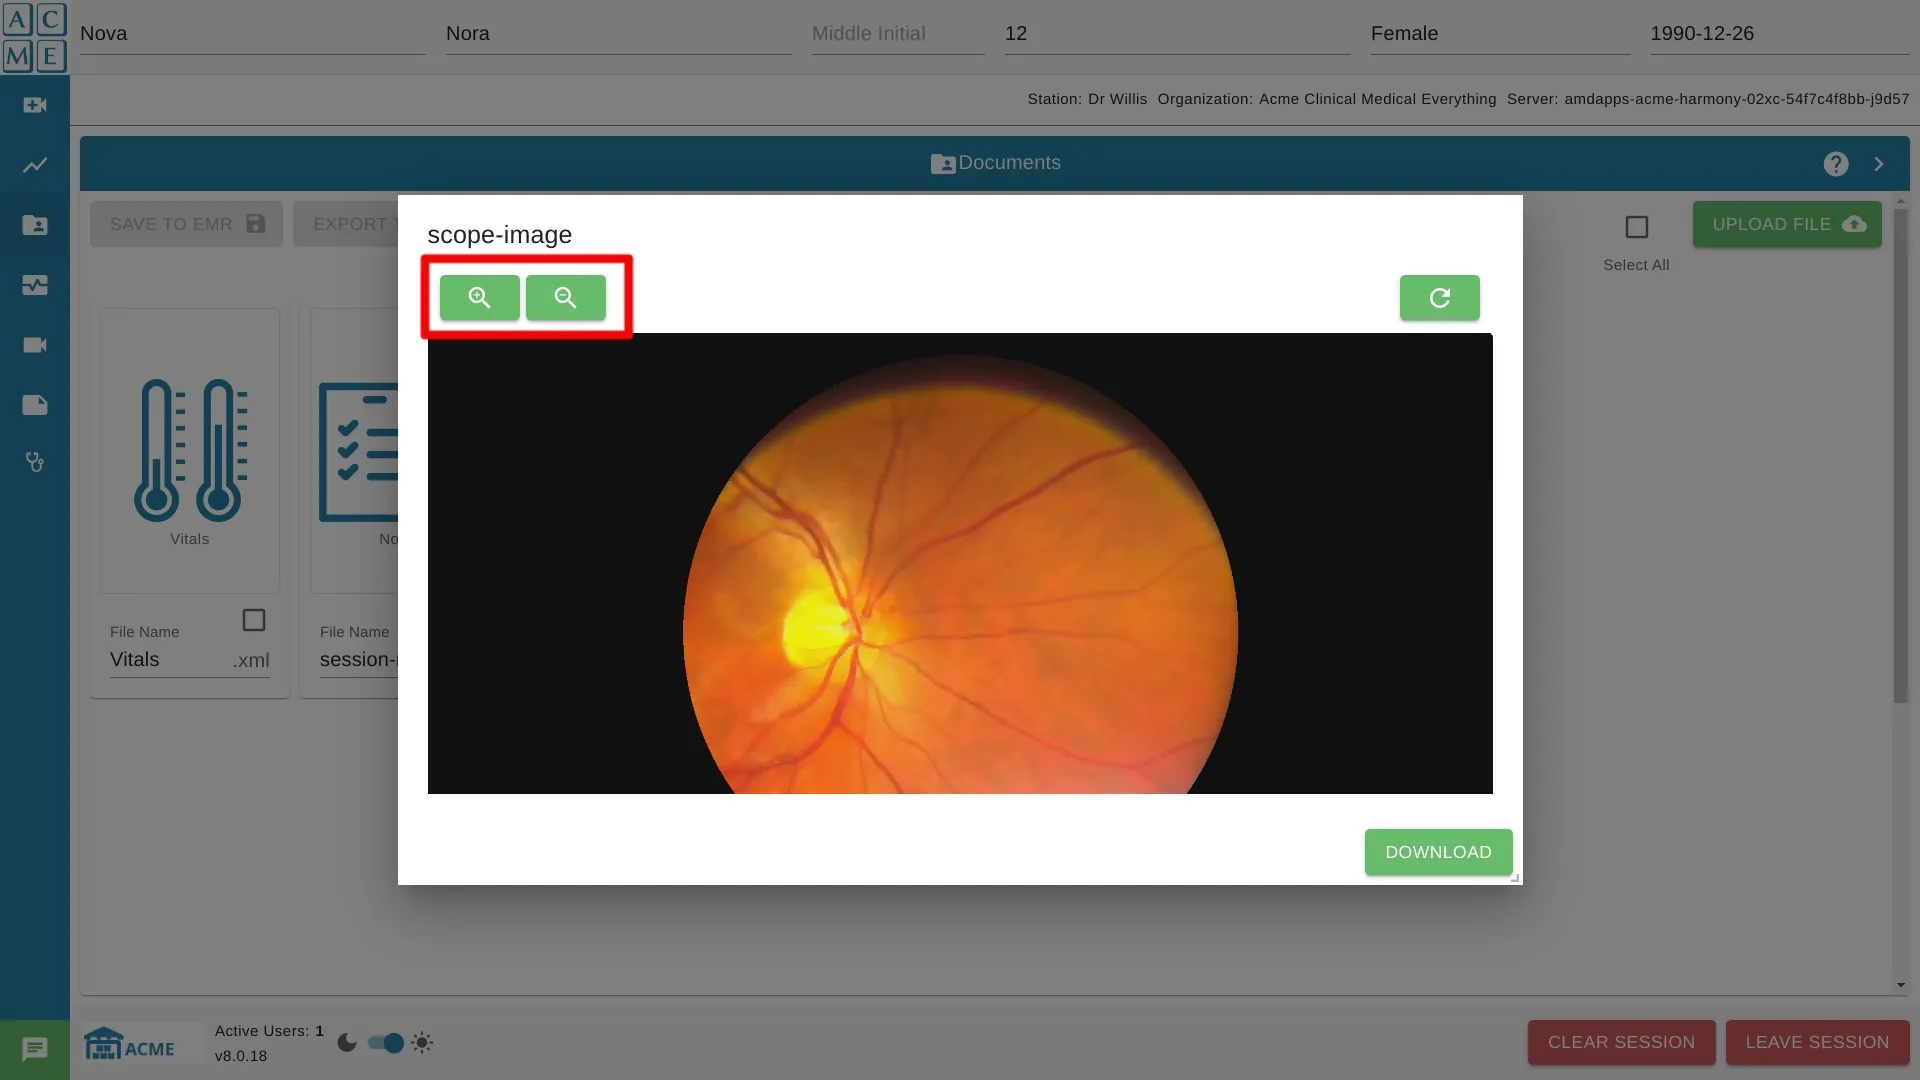
Click the reset button to reset the image zoom and scroll.
Click anywhere outside the preview to close the window.
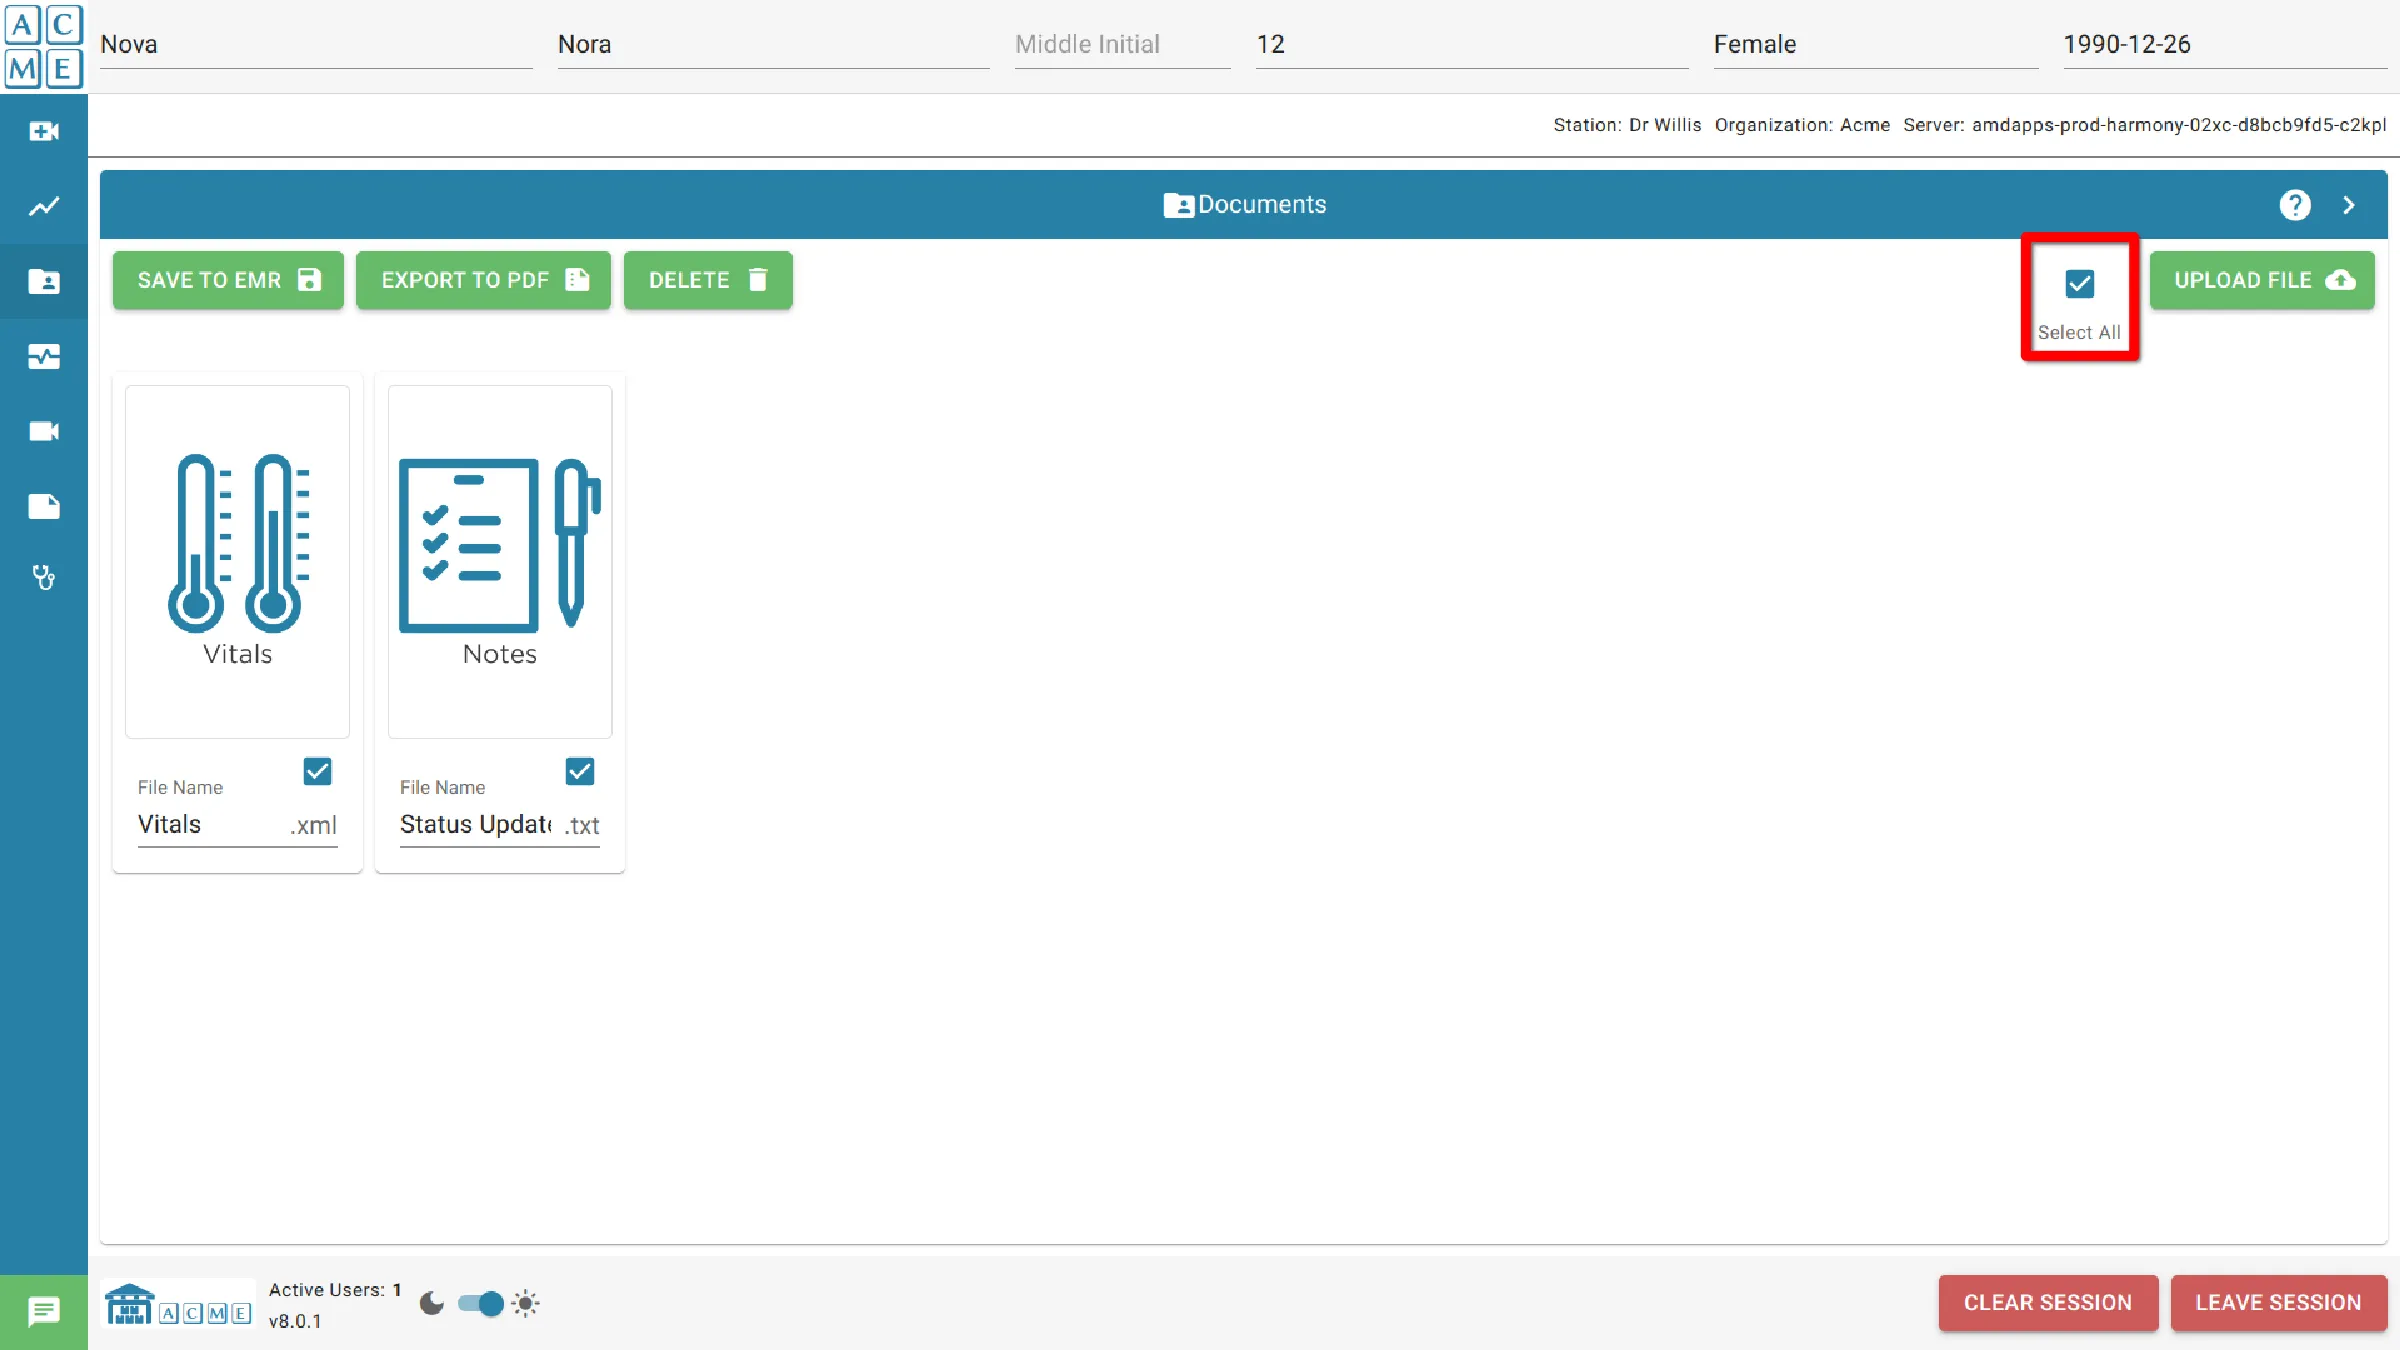
Document selection
To select a group of documents in the pane, click on the checkbox in the lower right of each document’s icon. To select all documents with one action, click Select All located in the upper right of the document pane.
All document actions can be performed on one or more documents at a time.
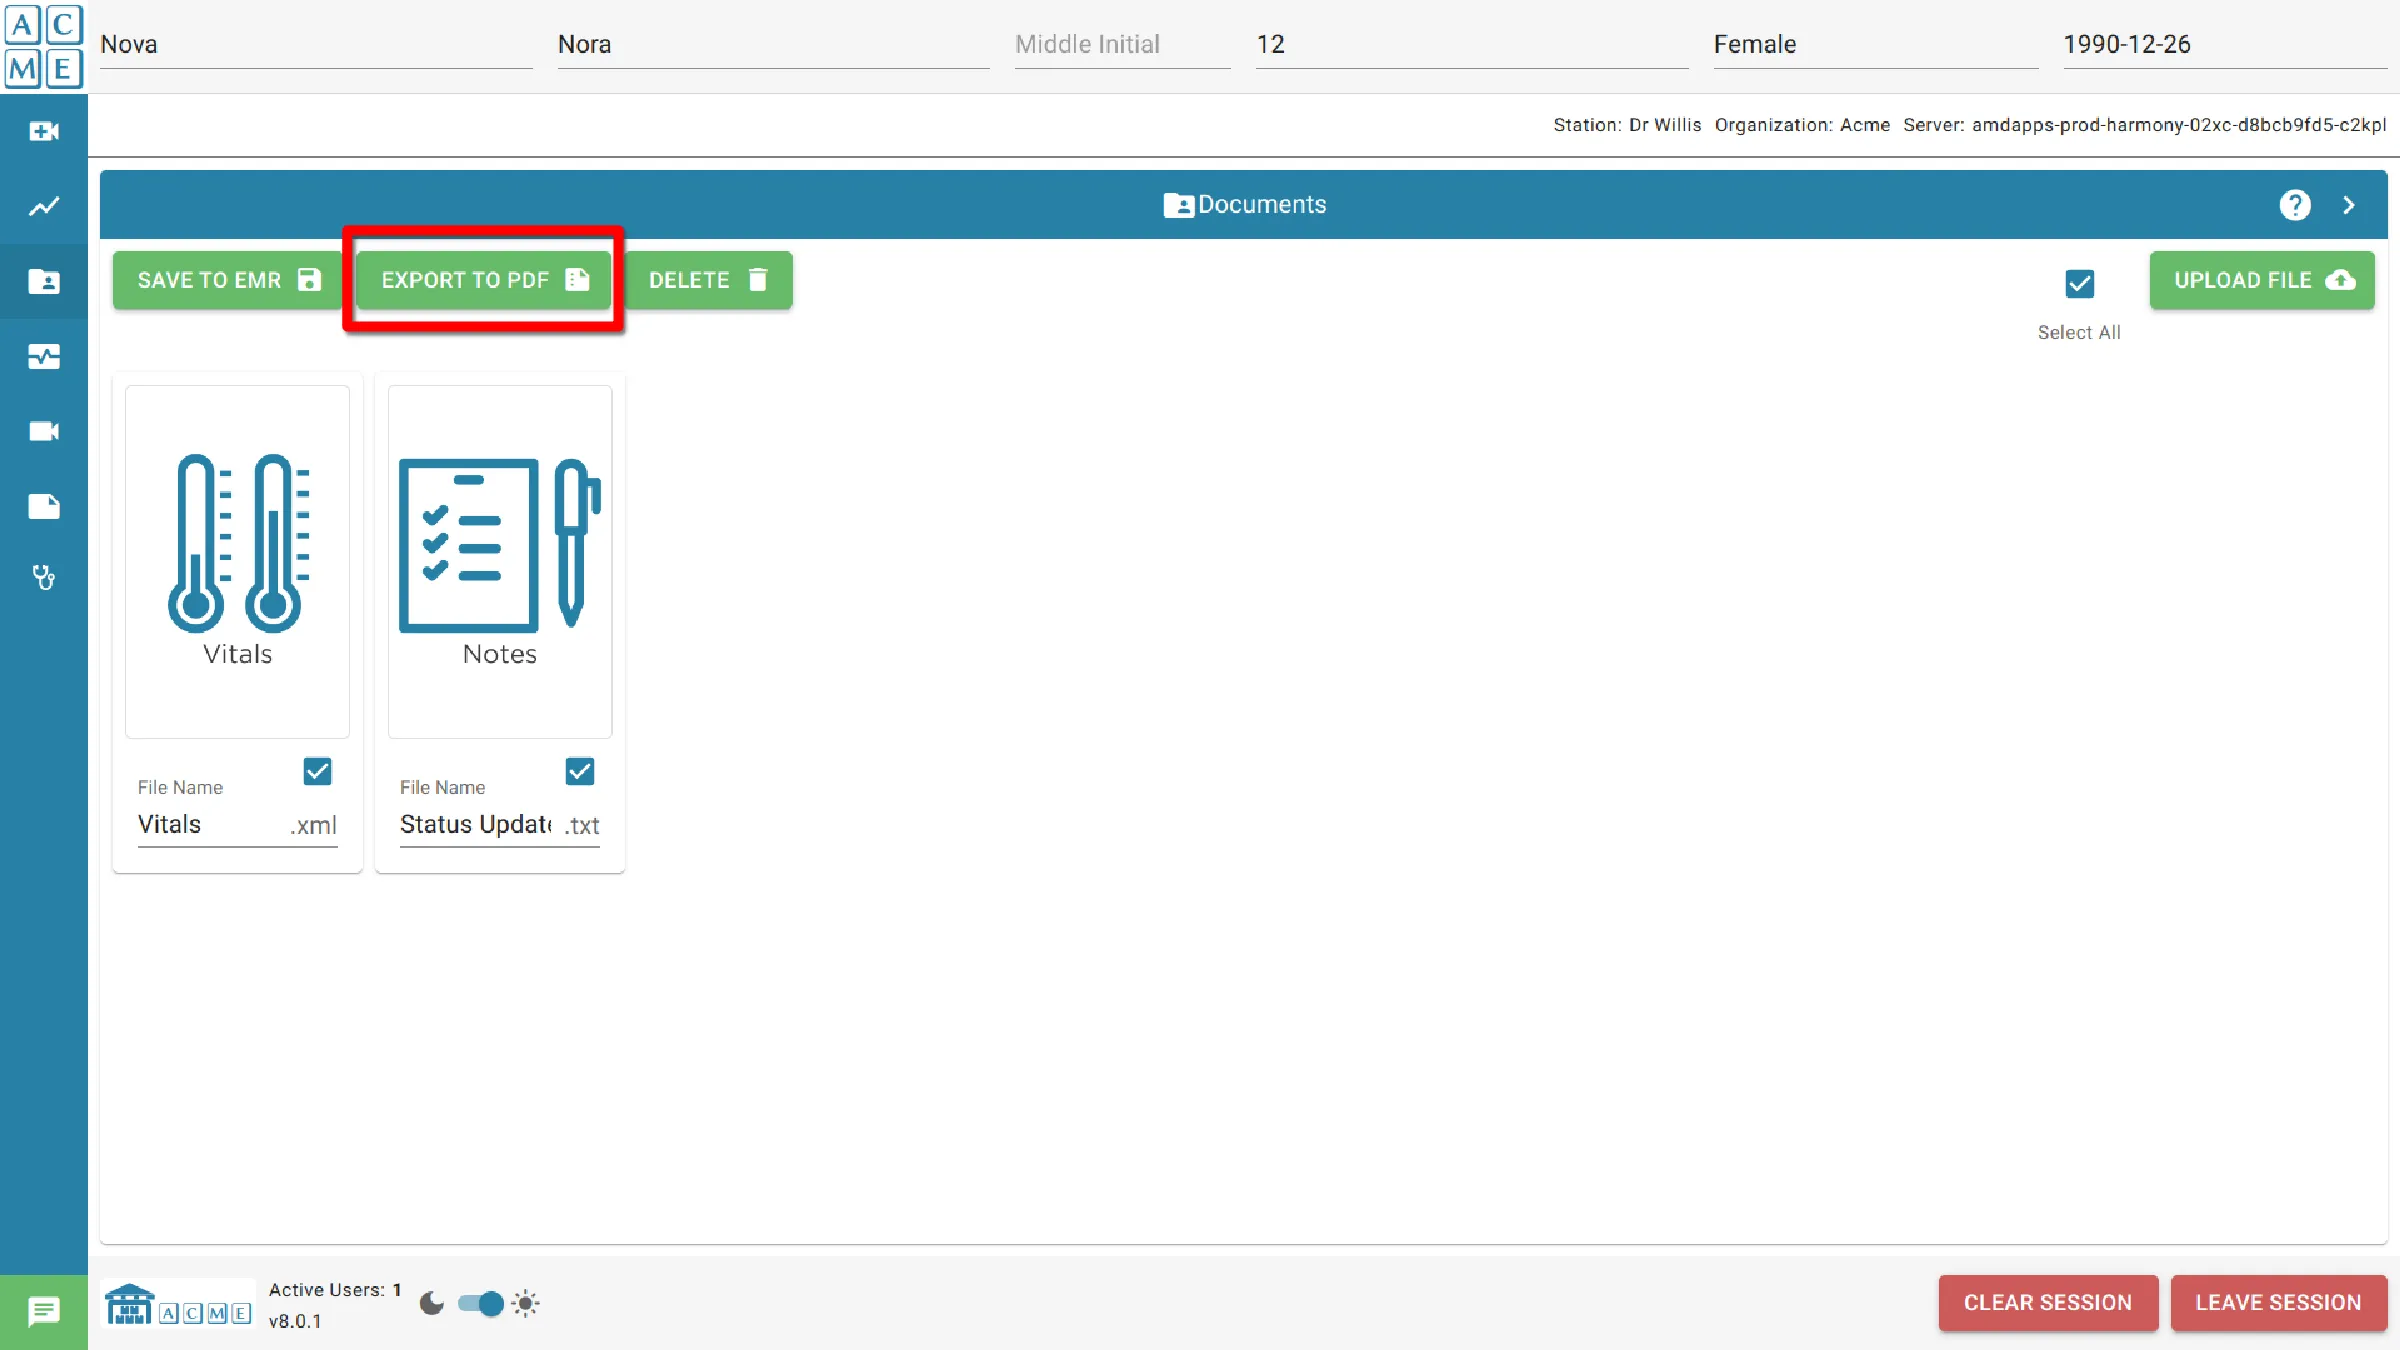
Export to PDF
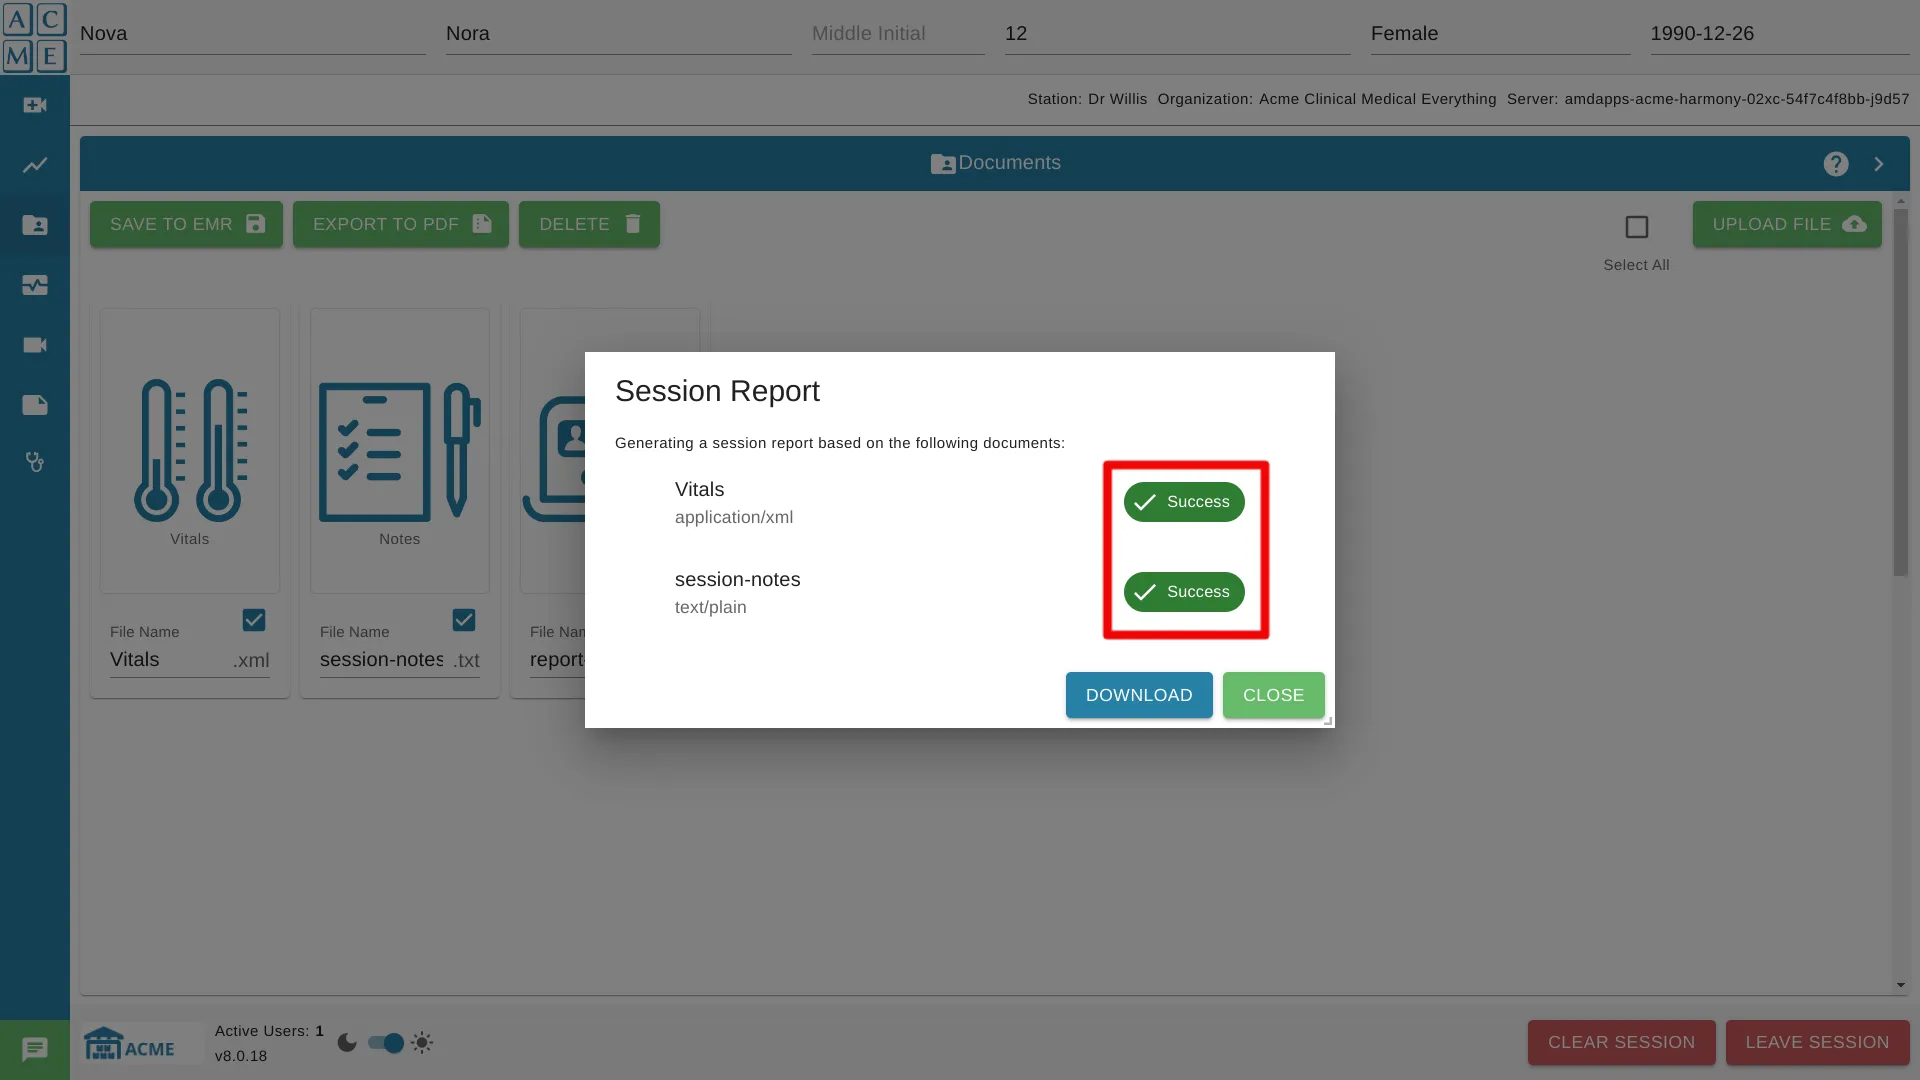
Select documents and vital signs data to be saved, then click Export to PDF.
A dialog will appear displaying the export result. Upon a successful export, a report containing the selected document’s data, along with the appropriate headers, will be generated and added to the documents pane.
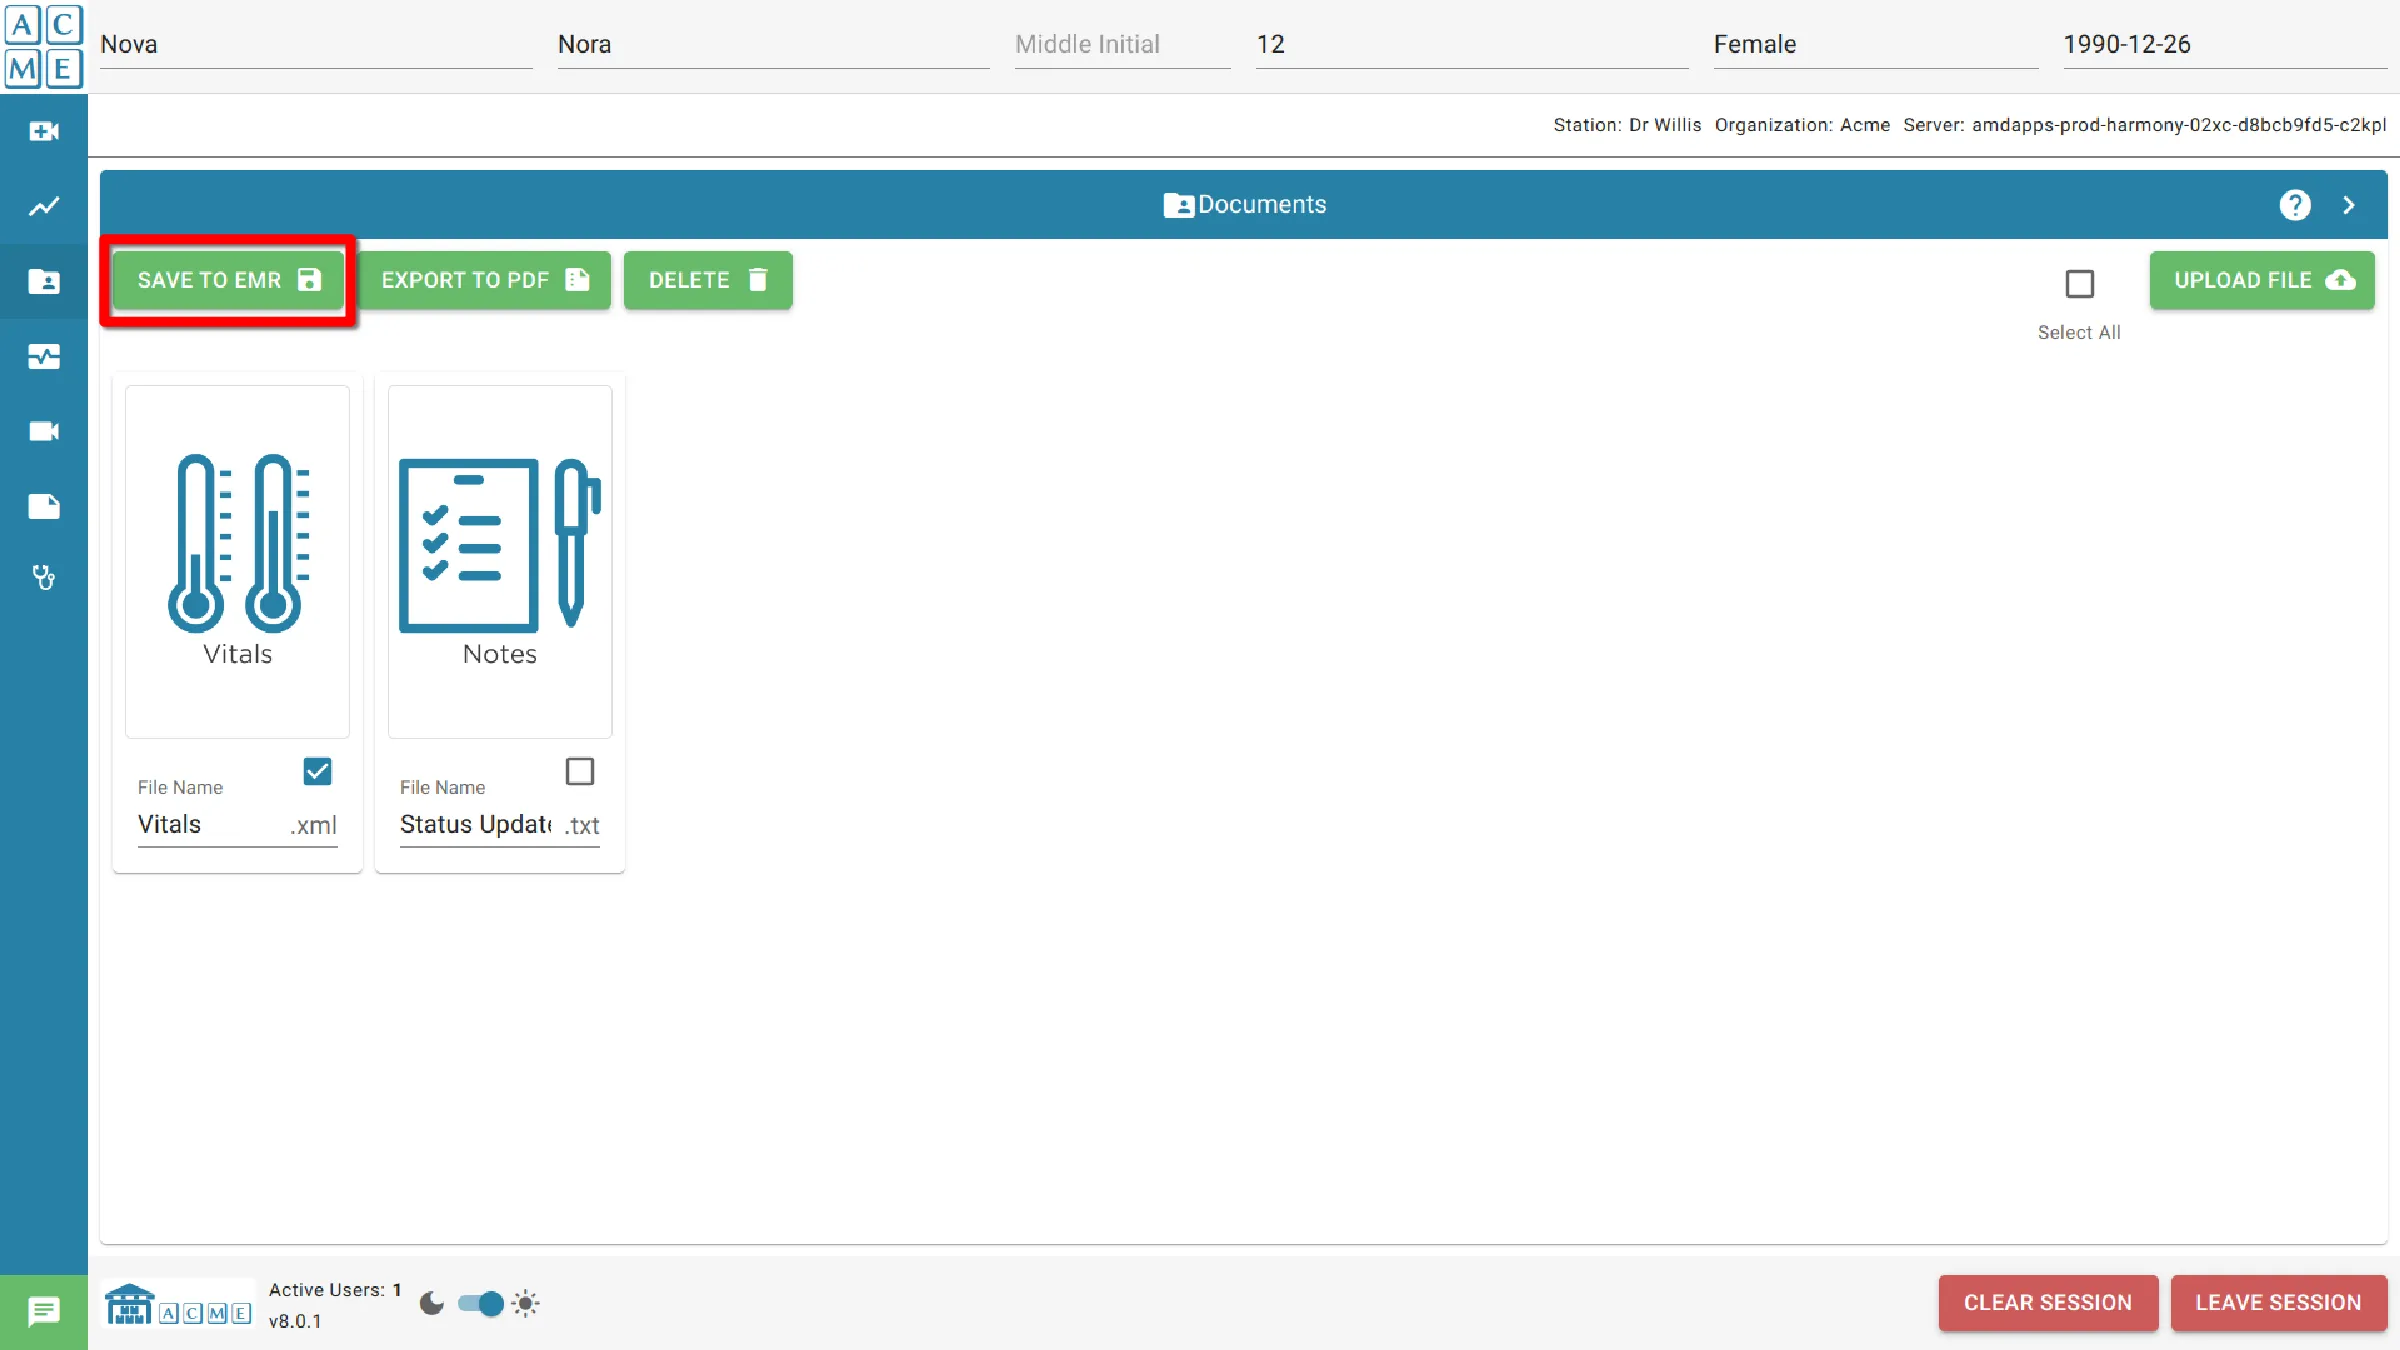
Save to EMR
If the organization is linked with an EMR system and has an active EMR license, the option to save data to the EMR is enabled. To save files, select them and click Save to EMR.
The Save to EMR function can be applied to multiple documents simultaneously. Select all the documents to be saved, then click Save to EMR.
To change the current EMR configuration, please contact a system administrator.
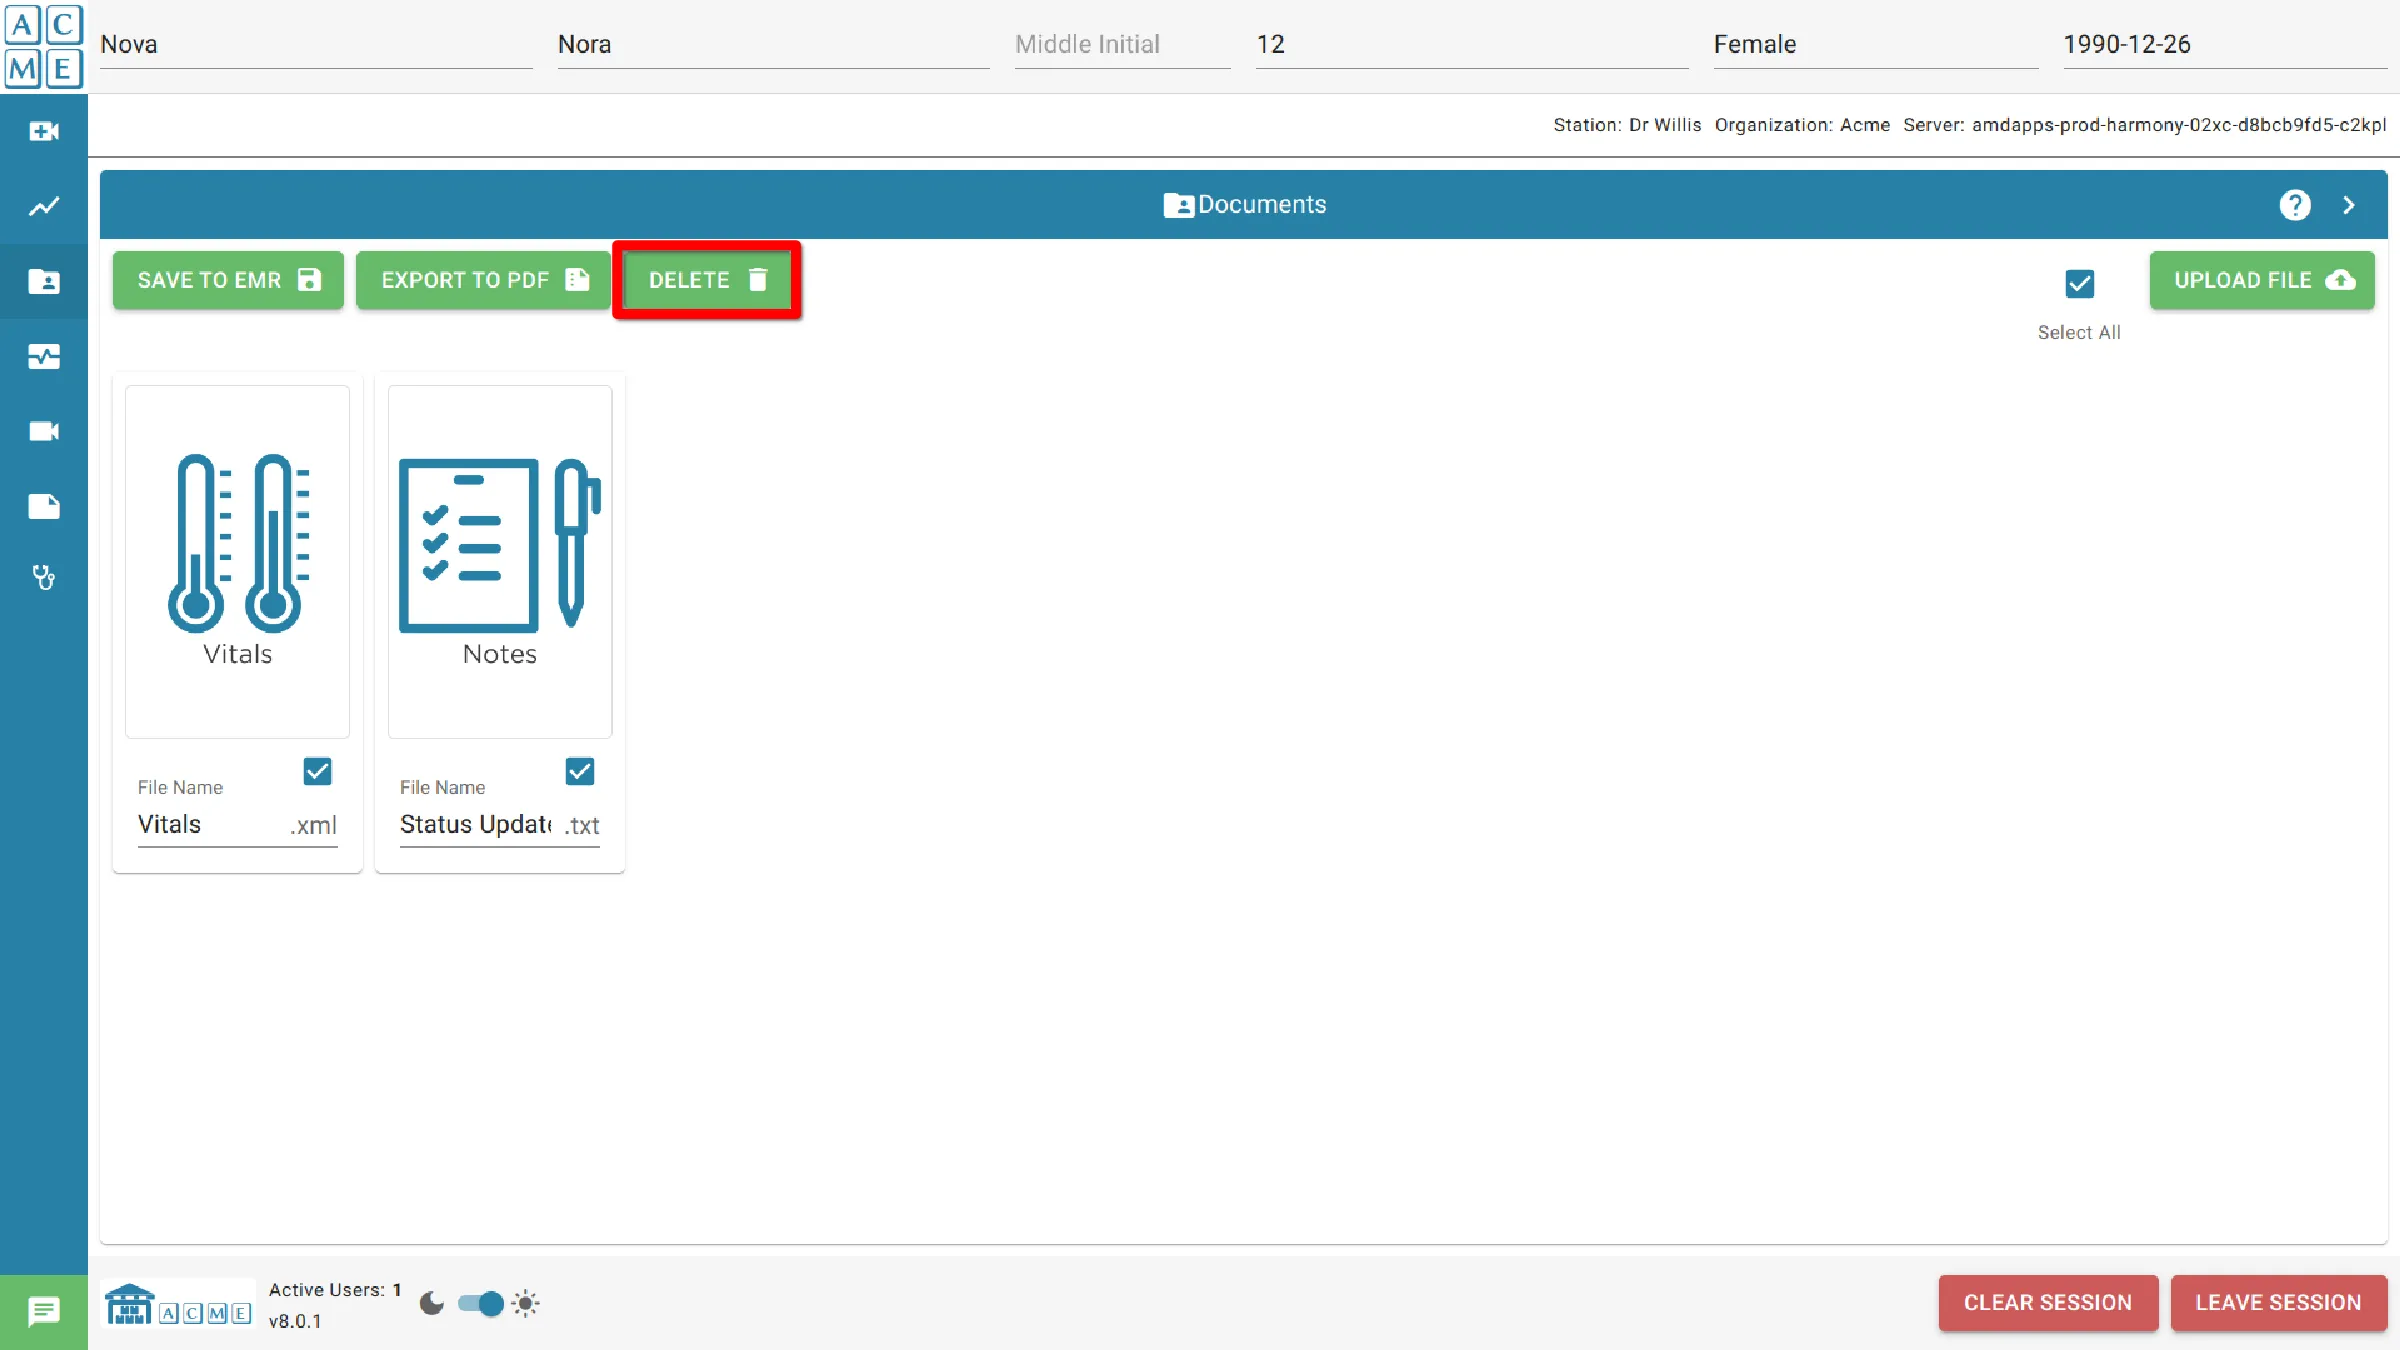
Delete a document
To delete documents, select them and click Delete. The documents will be removed from the documents’ pane.
Delete can be applied to multiple documents simultaneously. Select all the documents to be deleted, then select Delete.
Deleting a document cannot be undone.