Groups
Groups control which portals are shown to users. There is no limit to the number of groups that can be created. Each portal can be assigned to a single group, and a user can be a member of many groups.
Example of groups are:
- A group for each state, which physicians can be added to when licenced in that state. Physicians are then only shown sites where they are licensed to practice.
- A group for a remote provider that gives access to a single clinic instead of an entire organization.
Groups can be managed by users with the administrative role.
Administrators will always be shown all available sites.
Navigate to Groups
Open Site Manager
To manage Groups, the logged-in user account must have the administrator role.
Right-click the AGNES Connect icon in the system tray and select Site Manager.


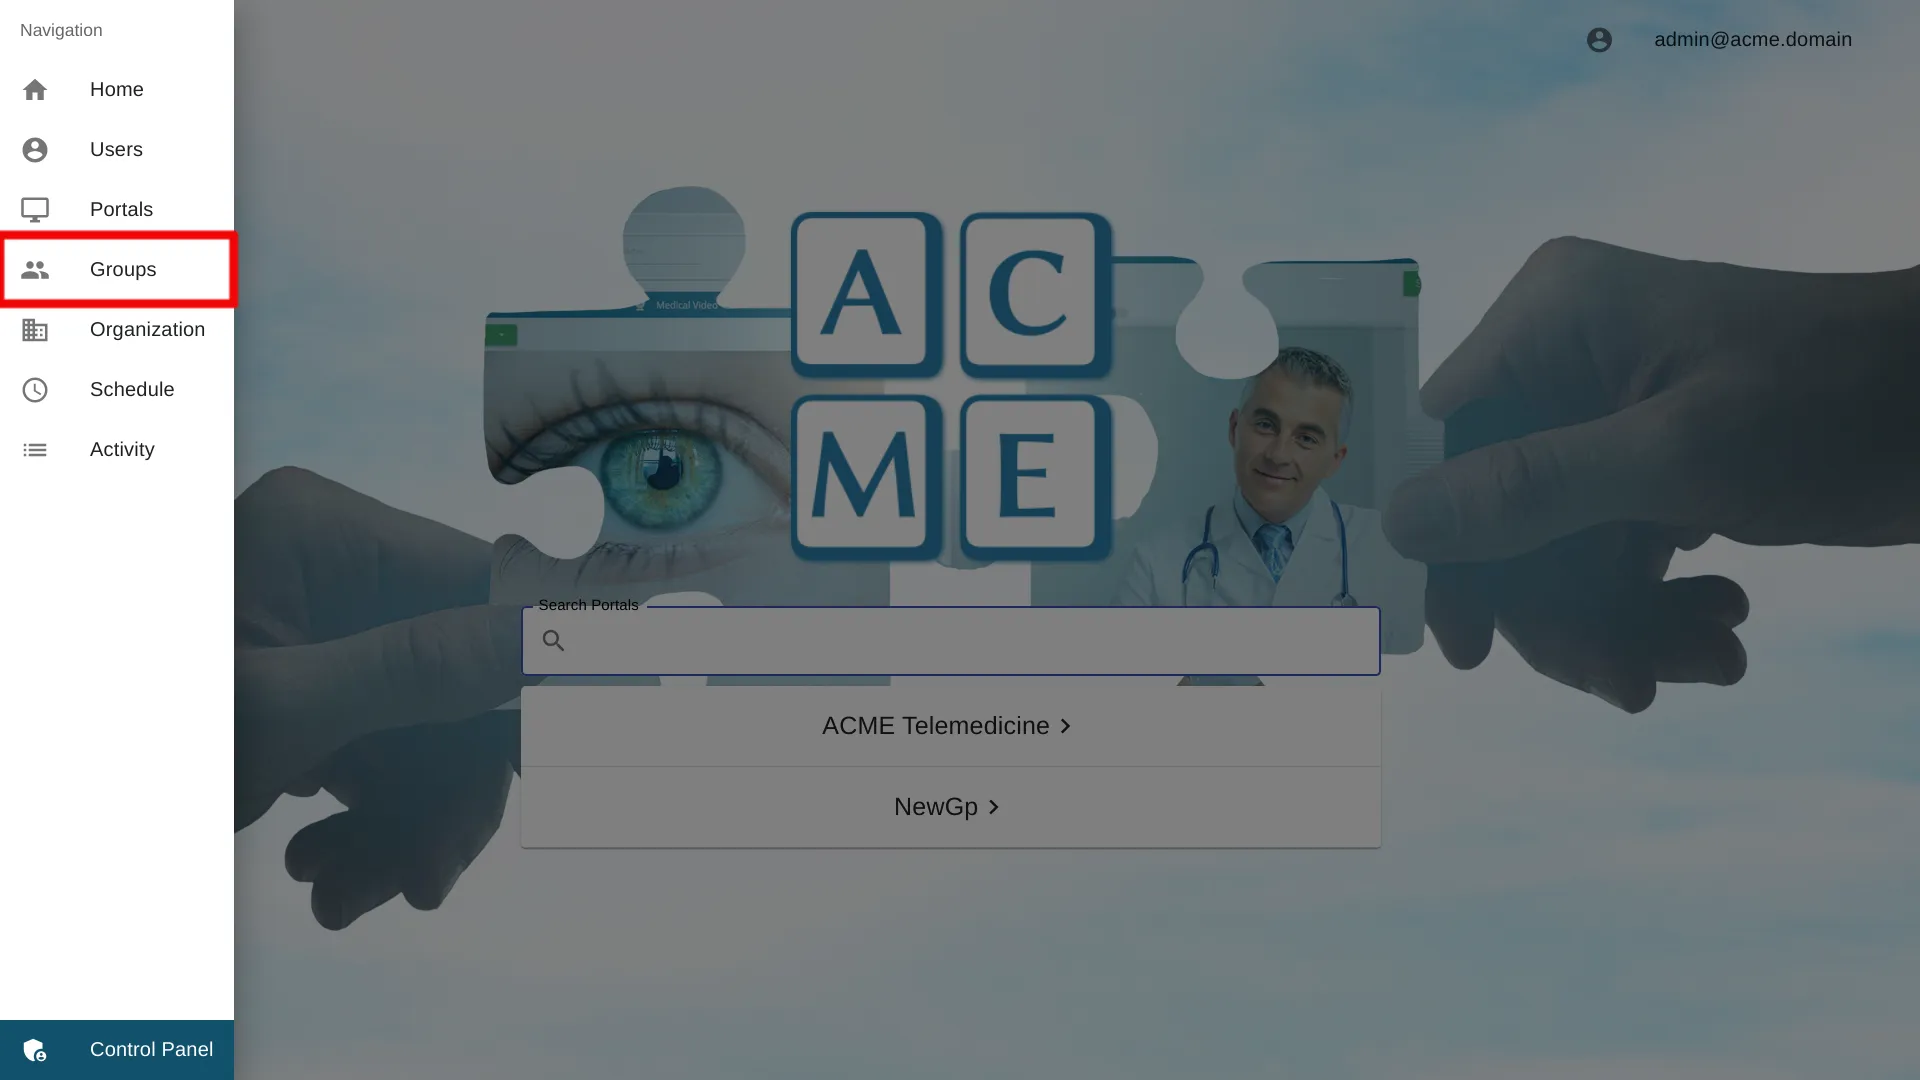
Select Groups from the Menu
Click the "≡" icon in the top left of the home screen and select Groups from the navigation bar. If the option is not available, ensure the logged-in user account has the administrator role.

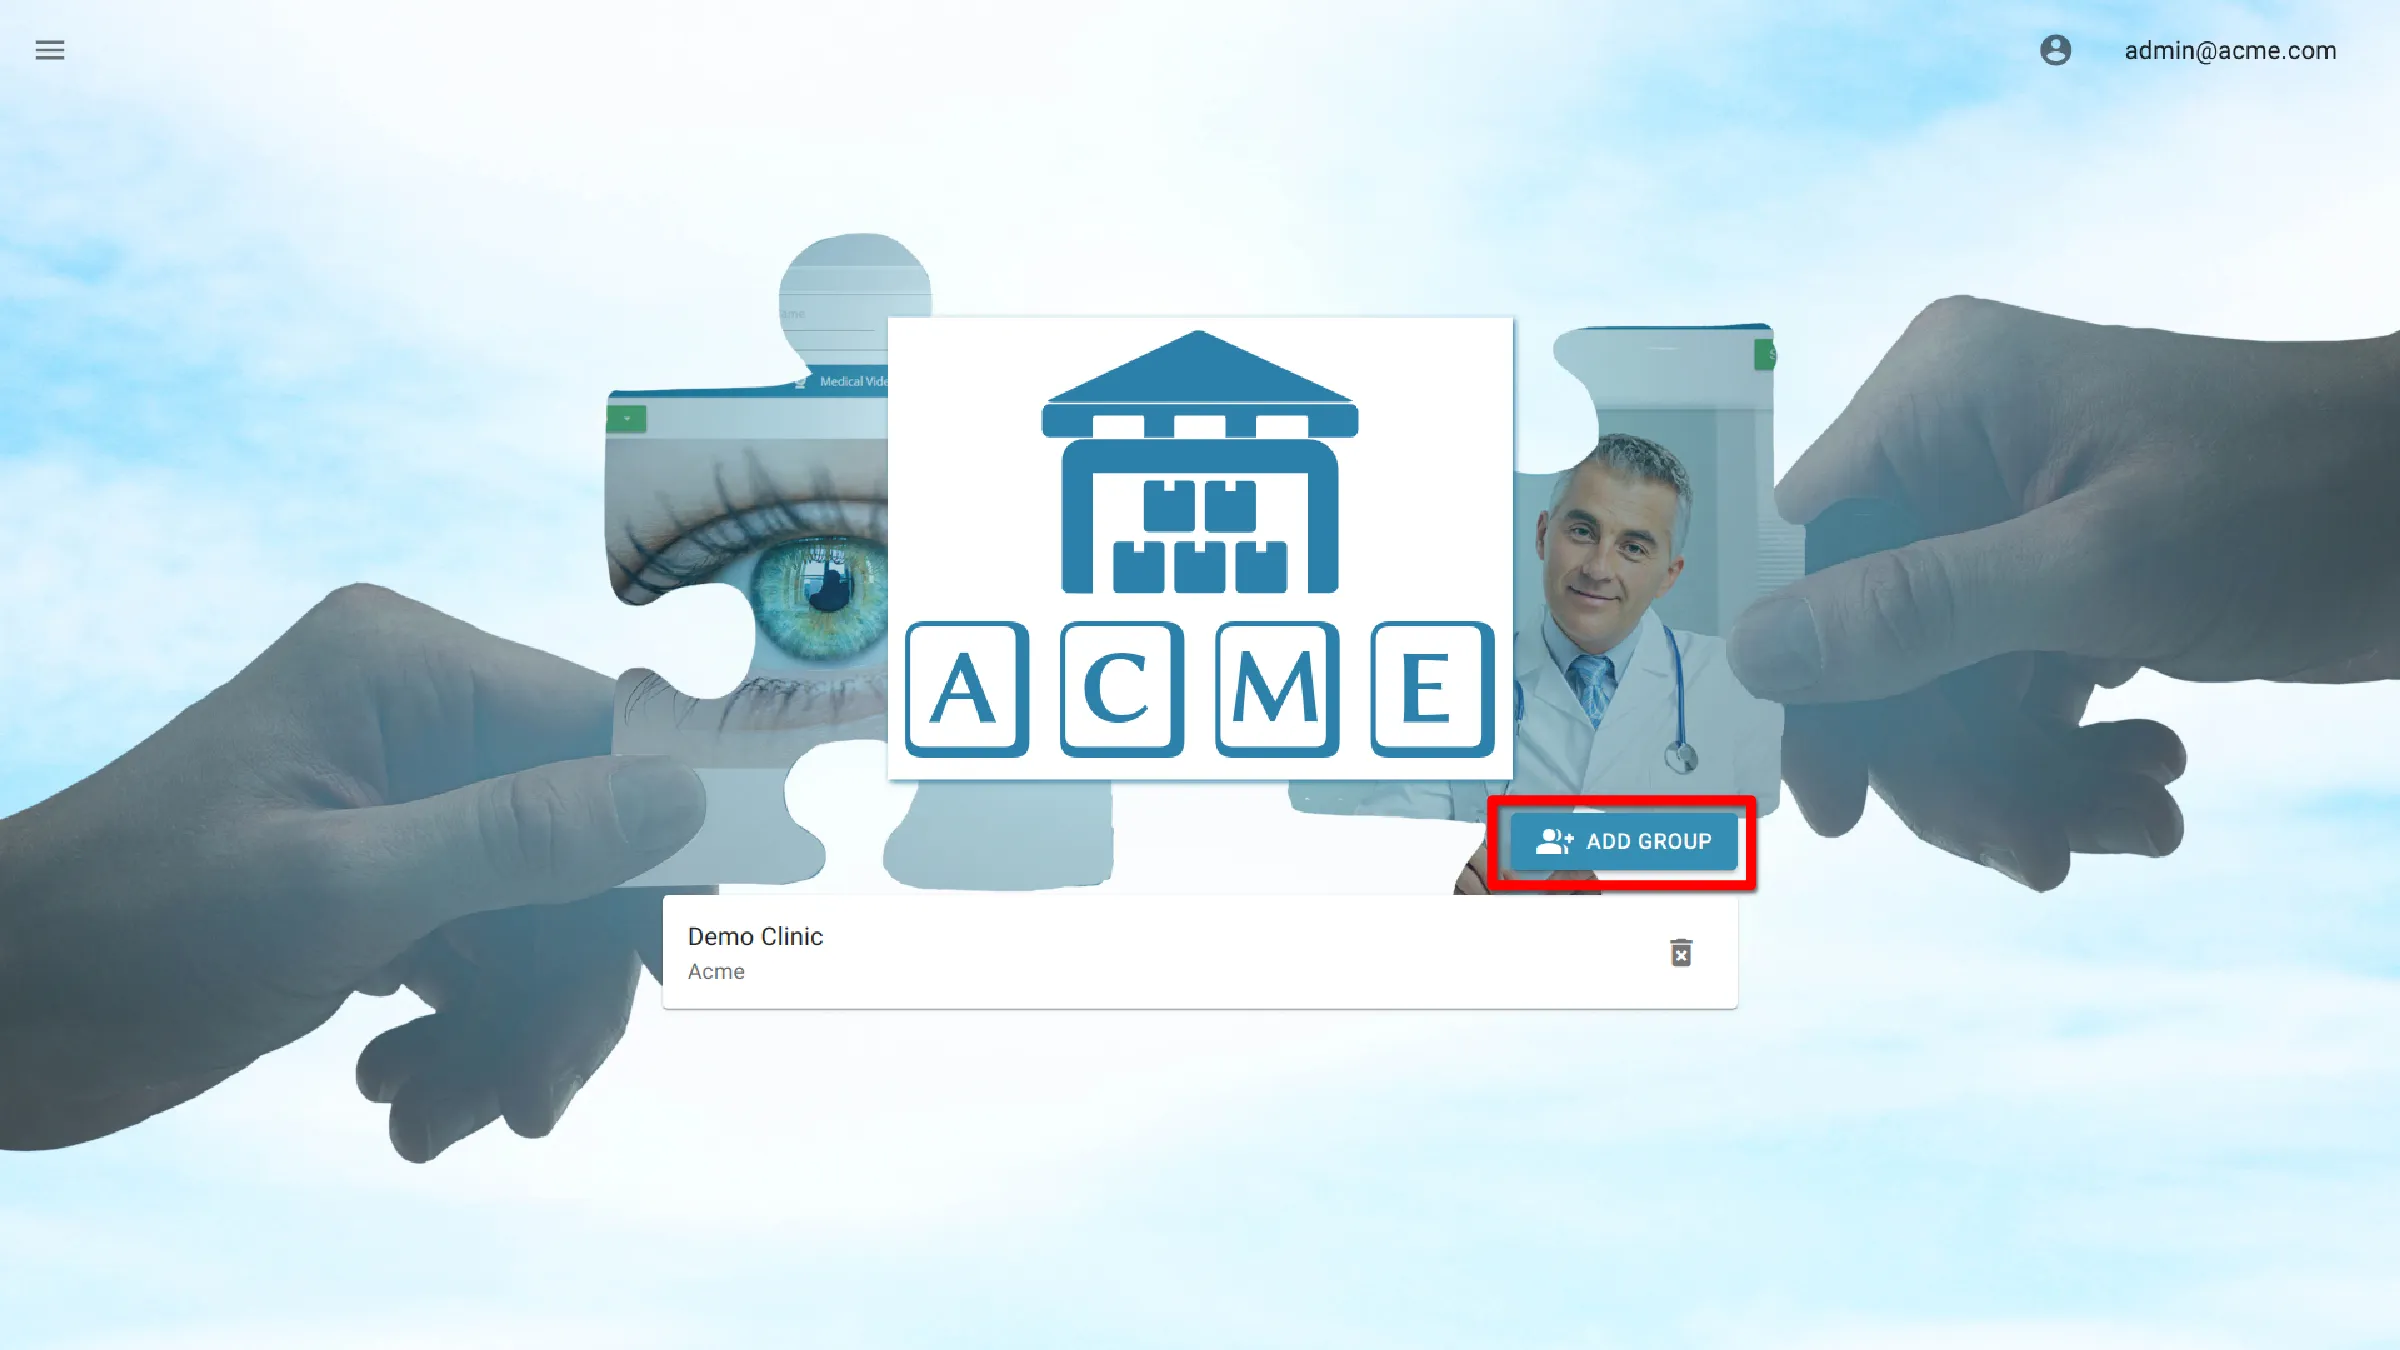
Add a Group
Click Add Group to display the new group page.
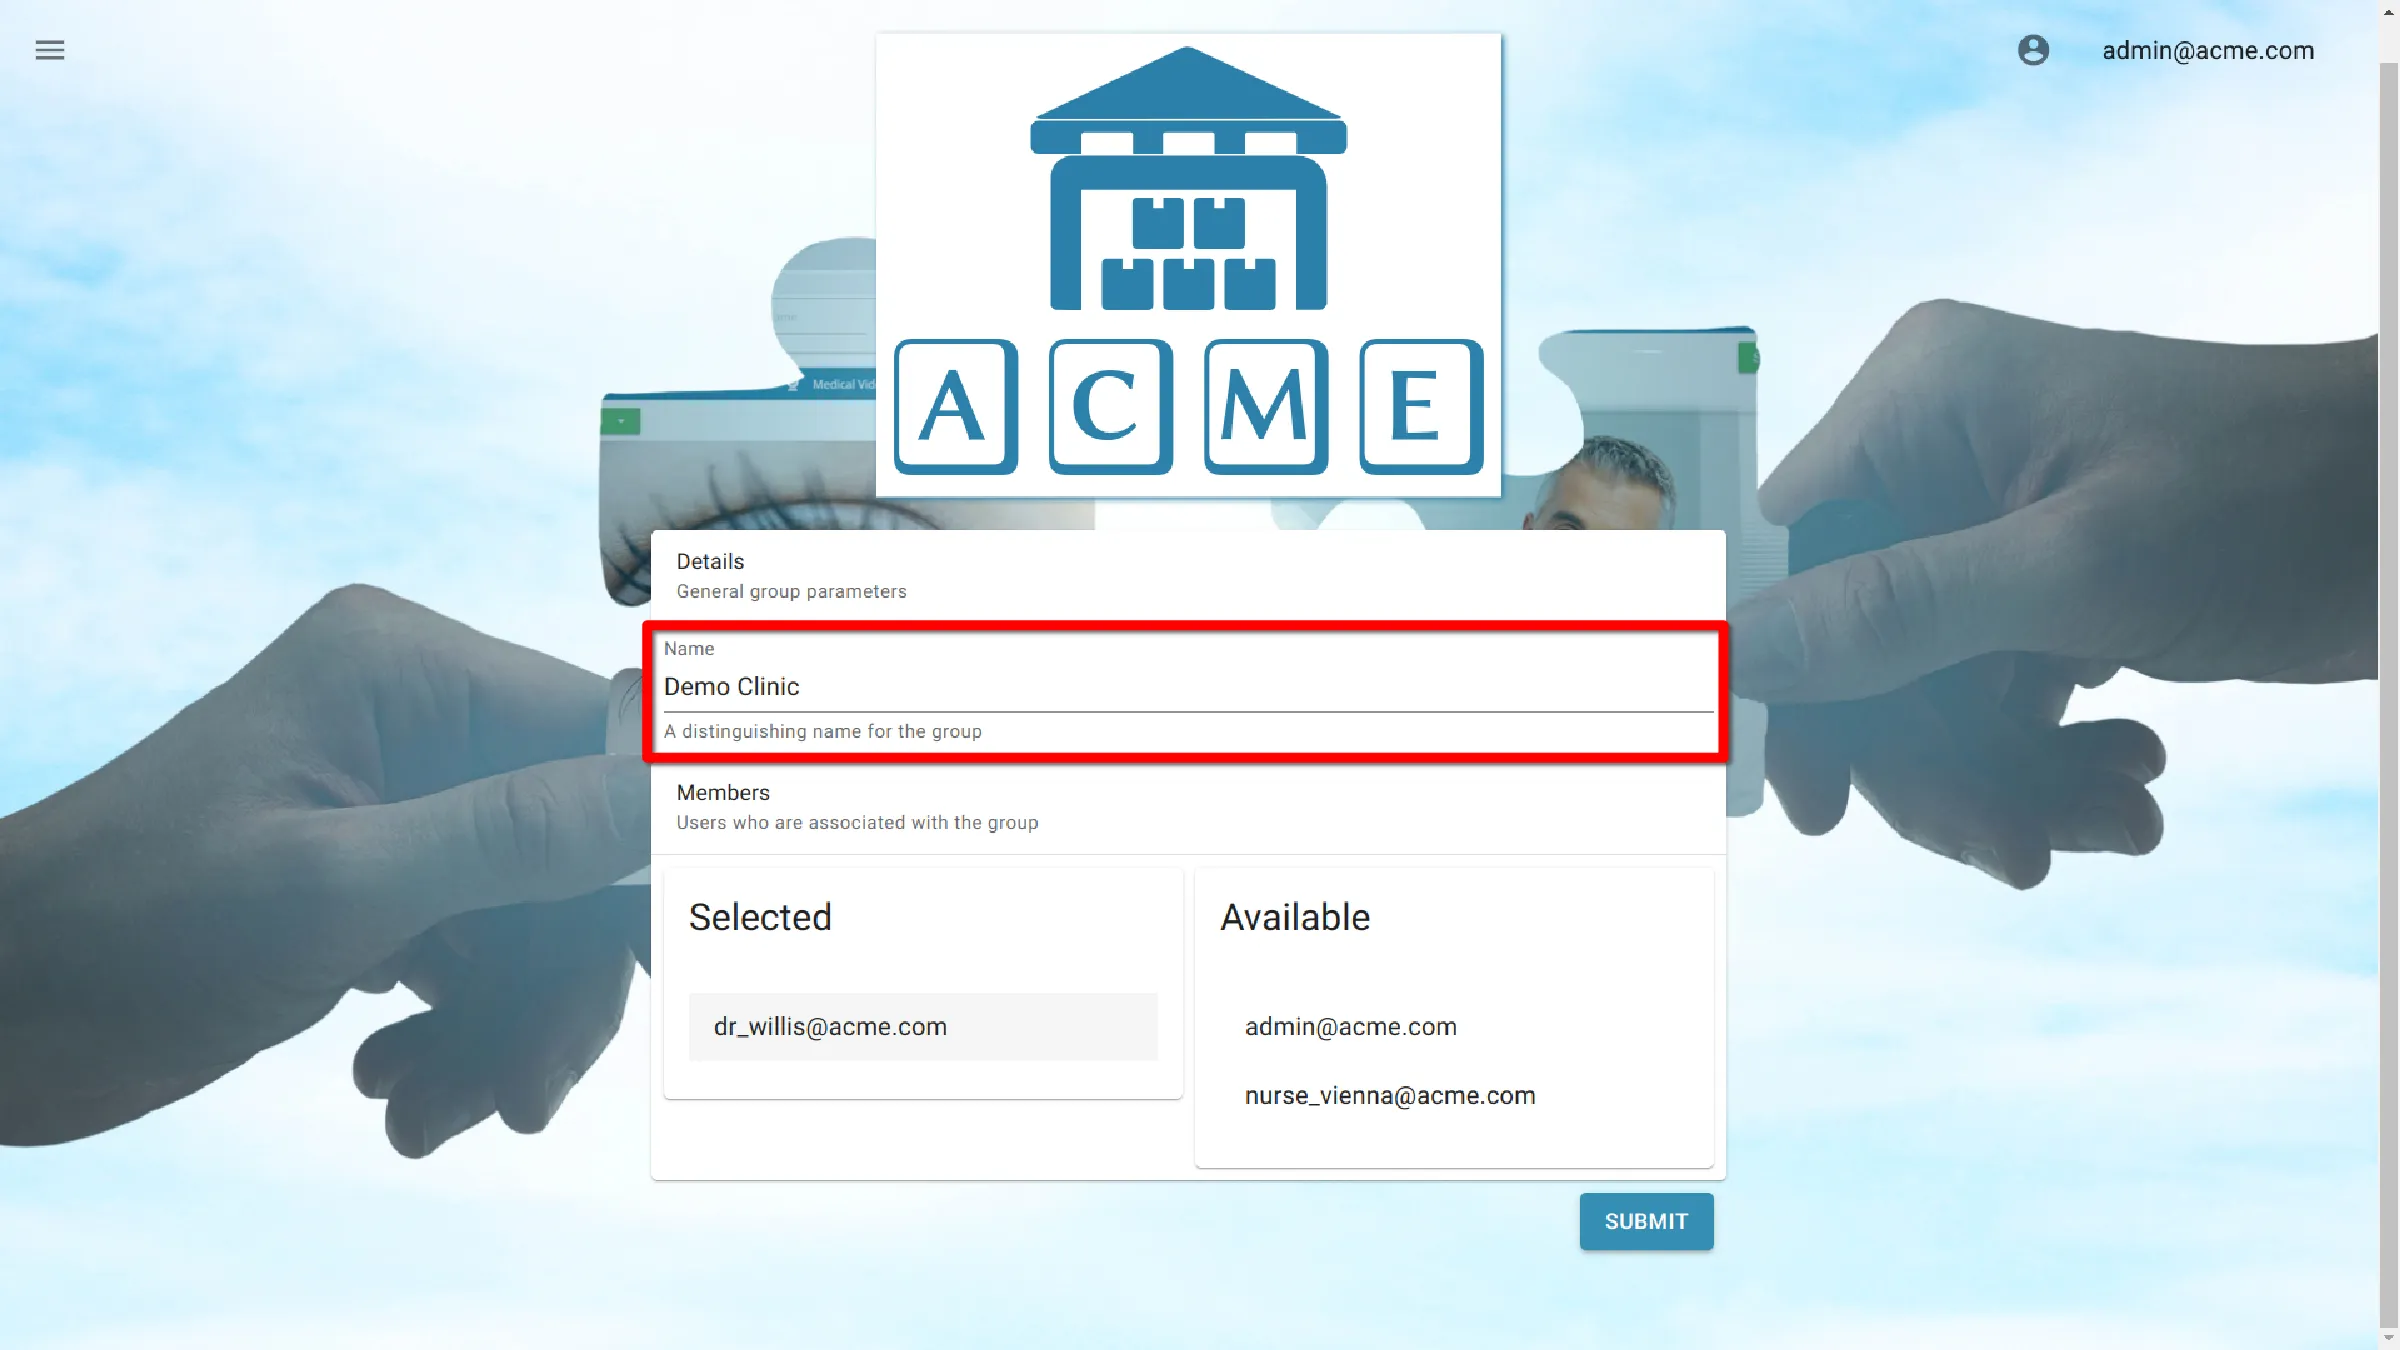
Enter a Name
Enter the name of the Group.
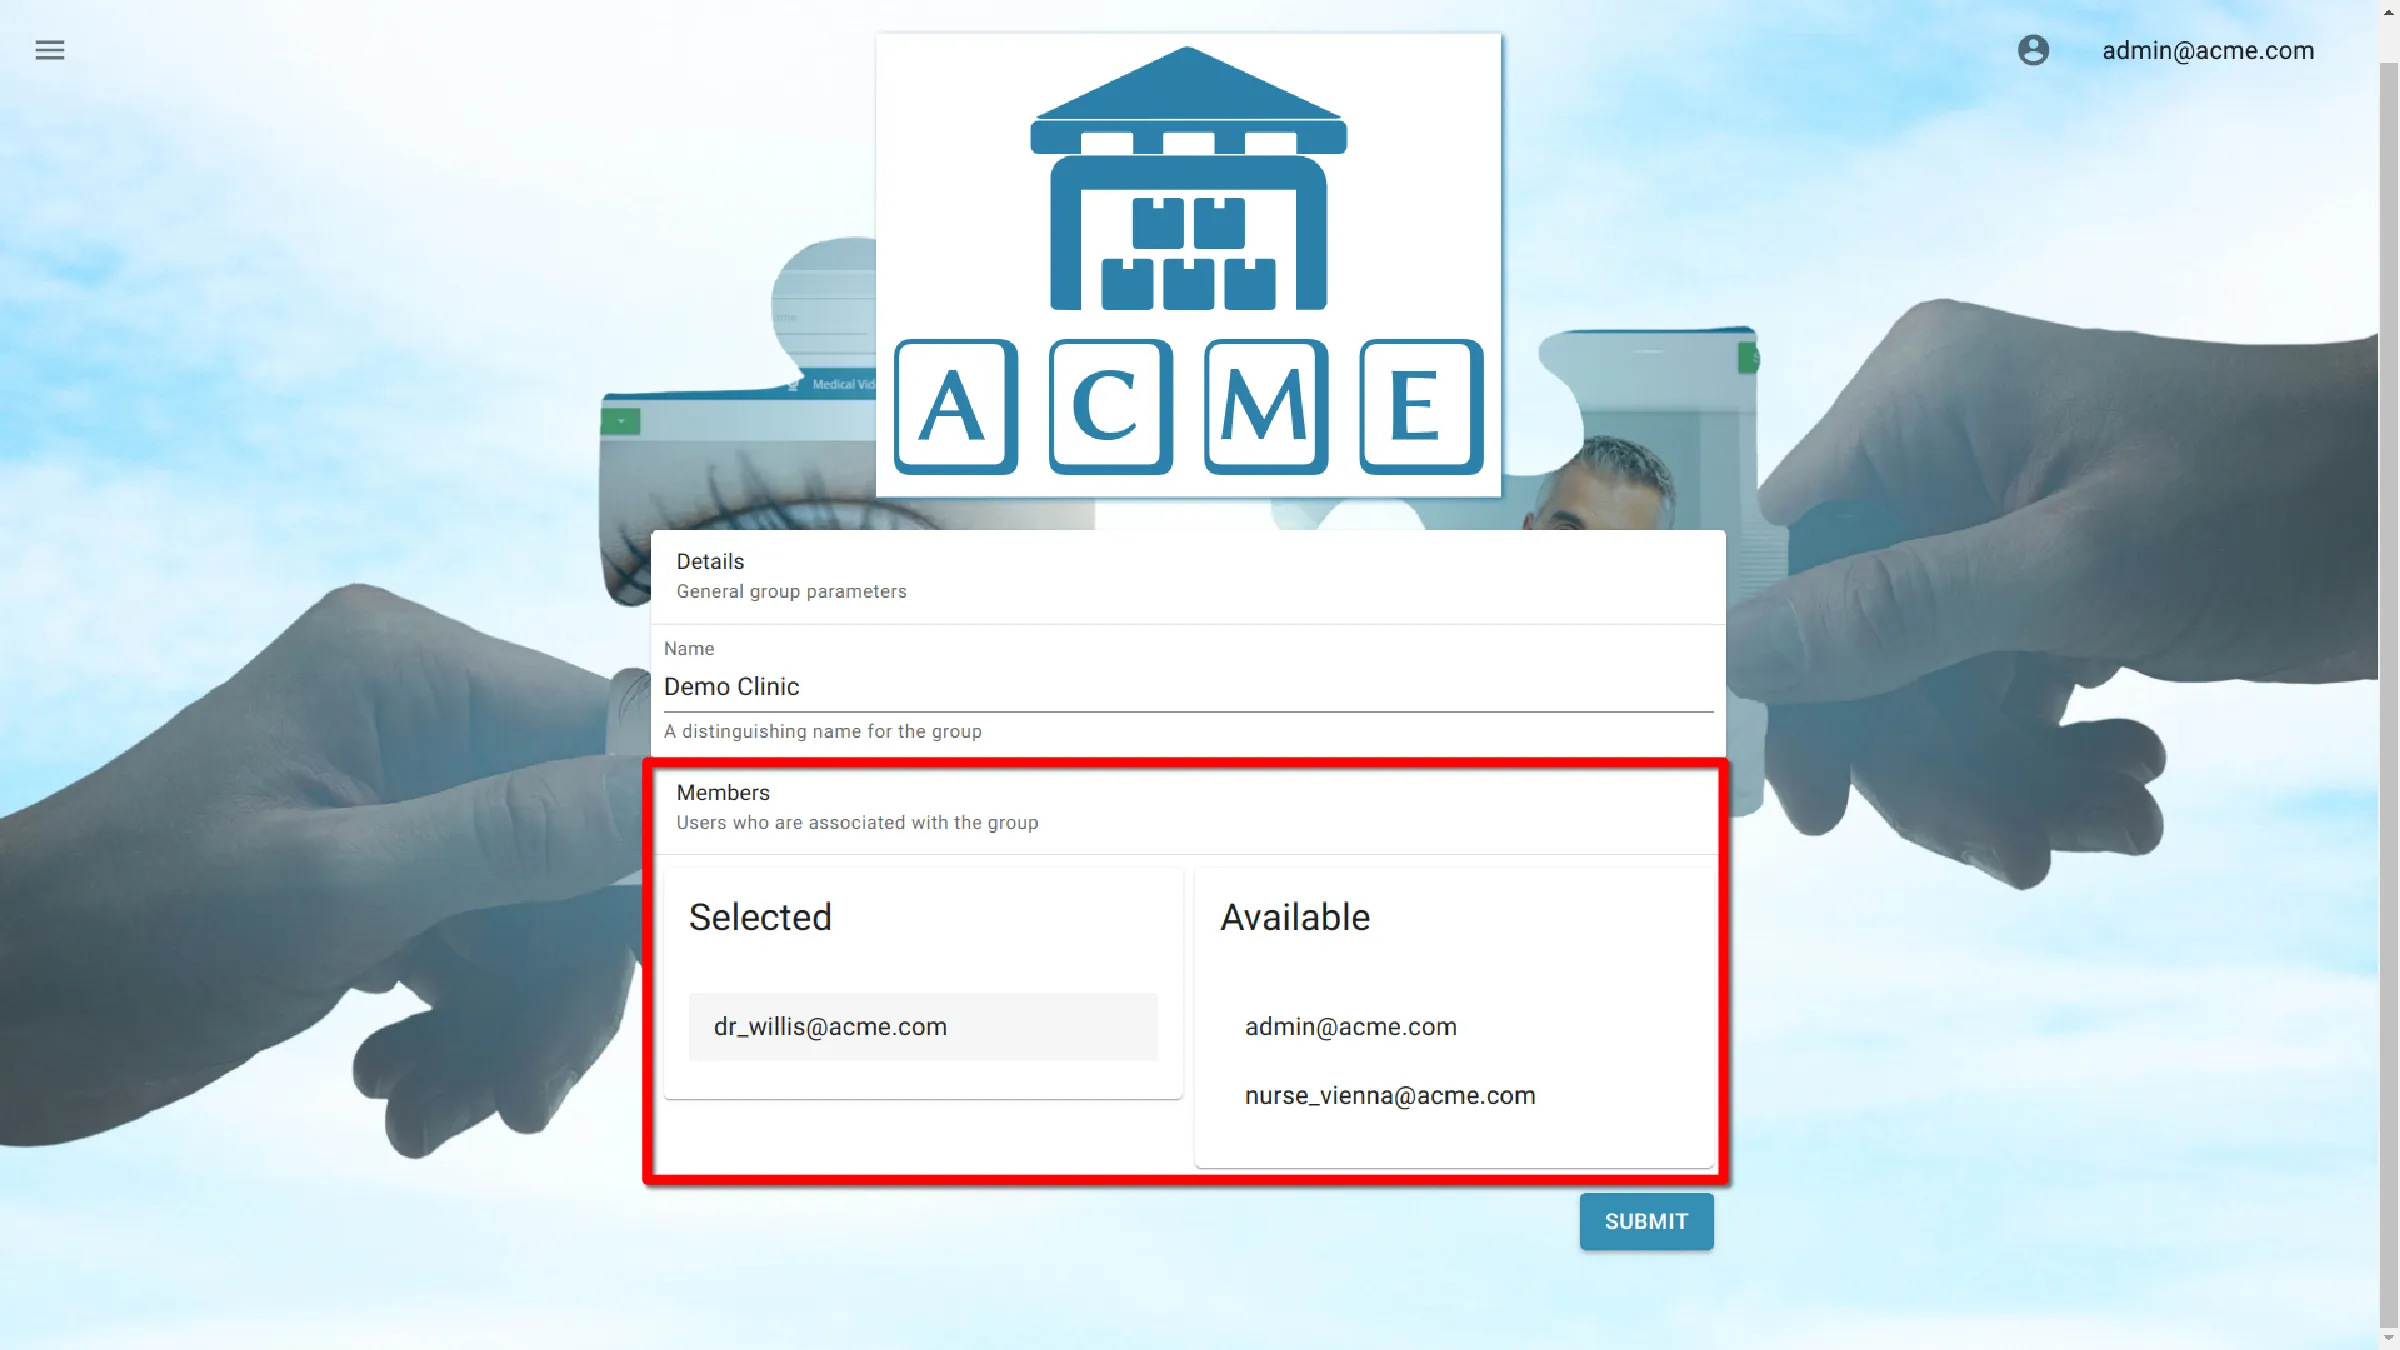
Select Group Members
Under Members there are two columns, Selected and Available. Click on a name in the Available column to move it into the Selected column. If a user is not in the Selected column they will not have access to the group.
Submit
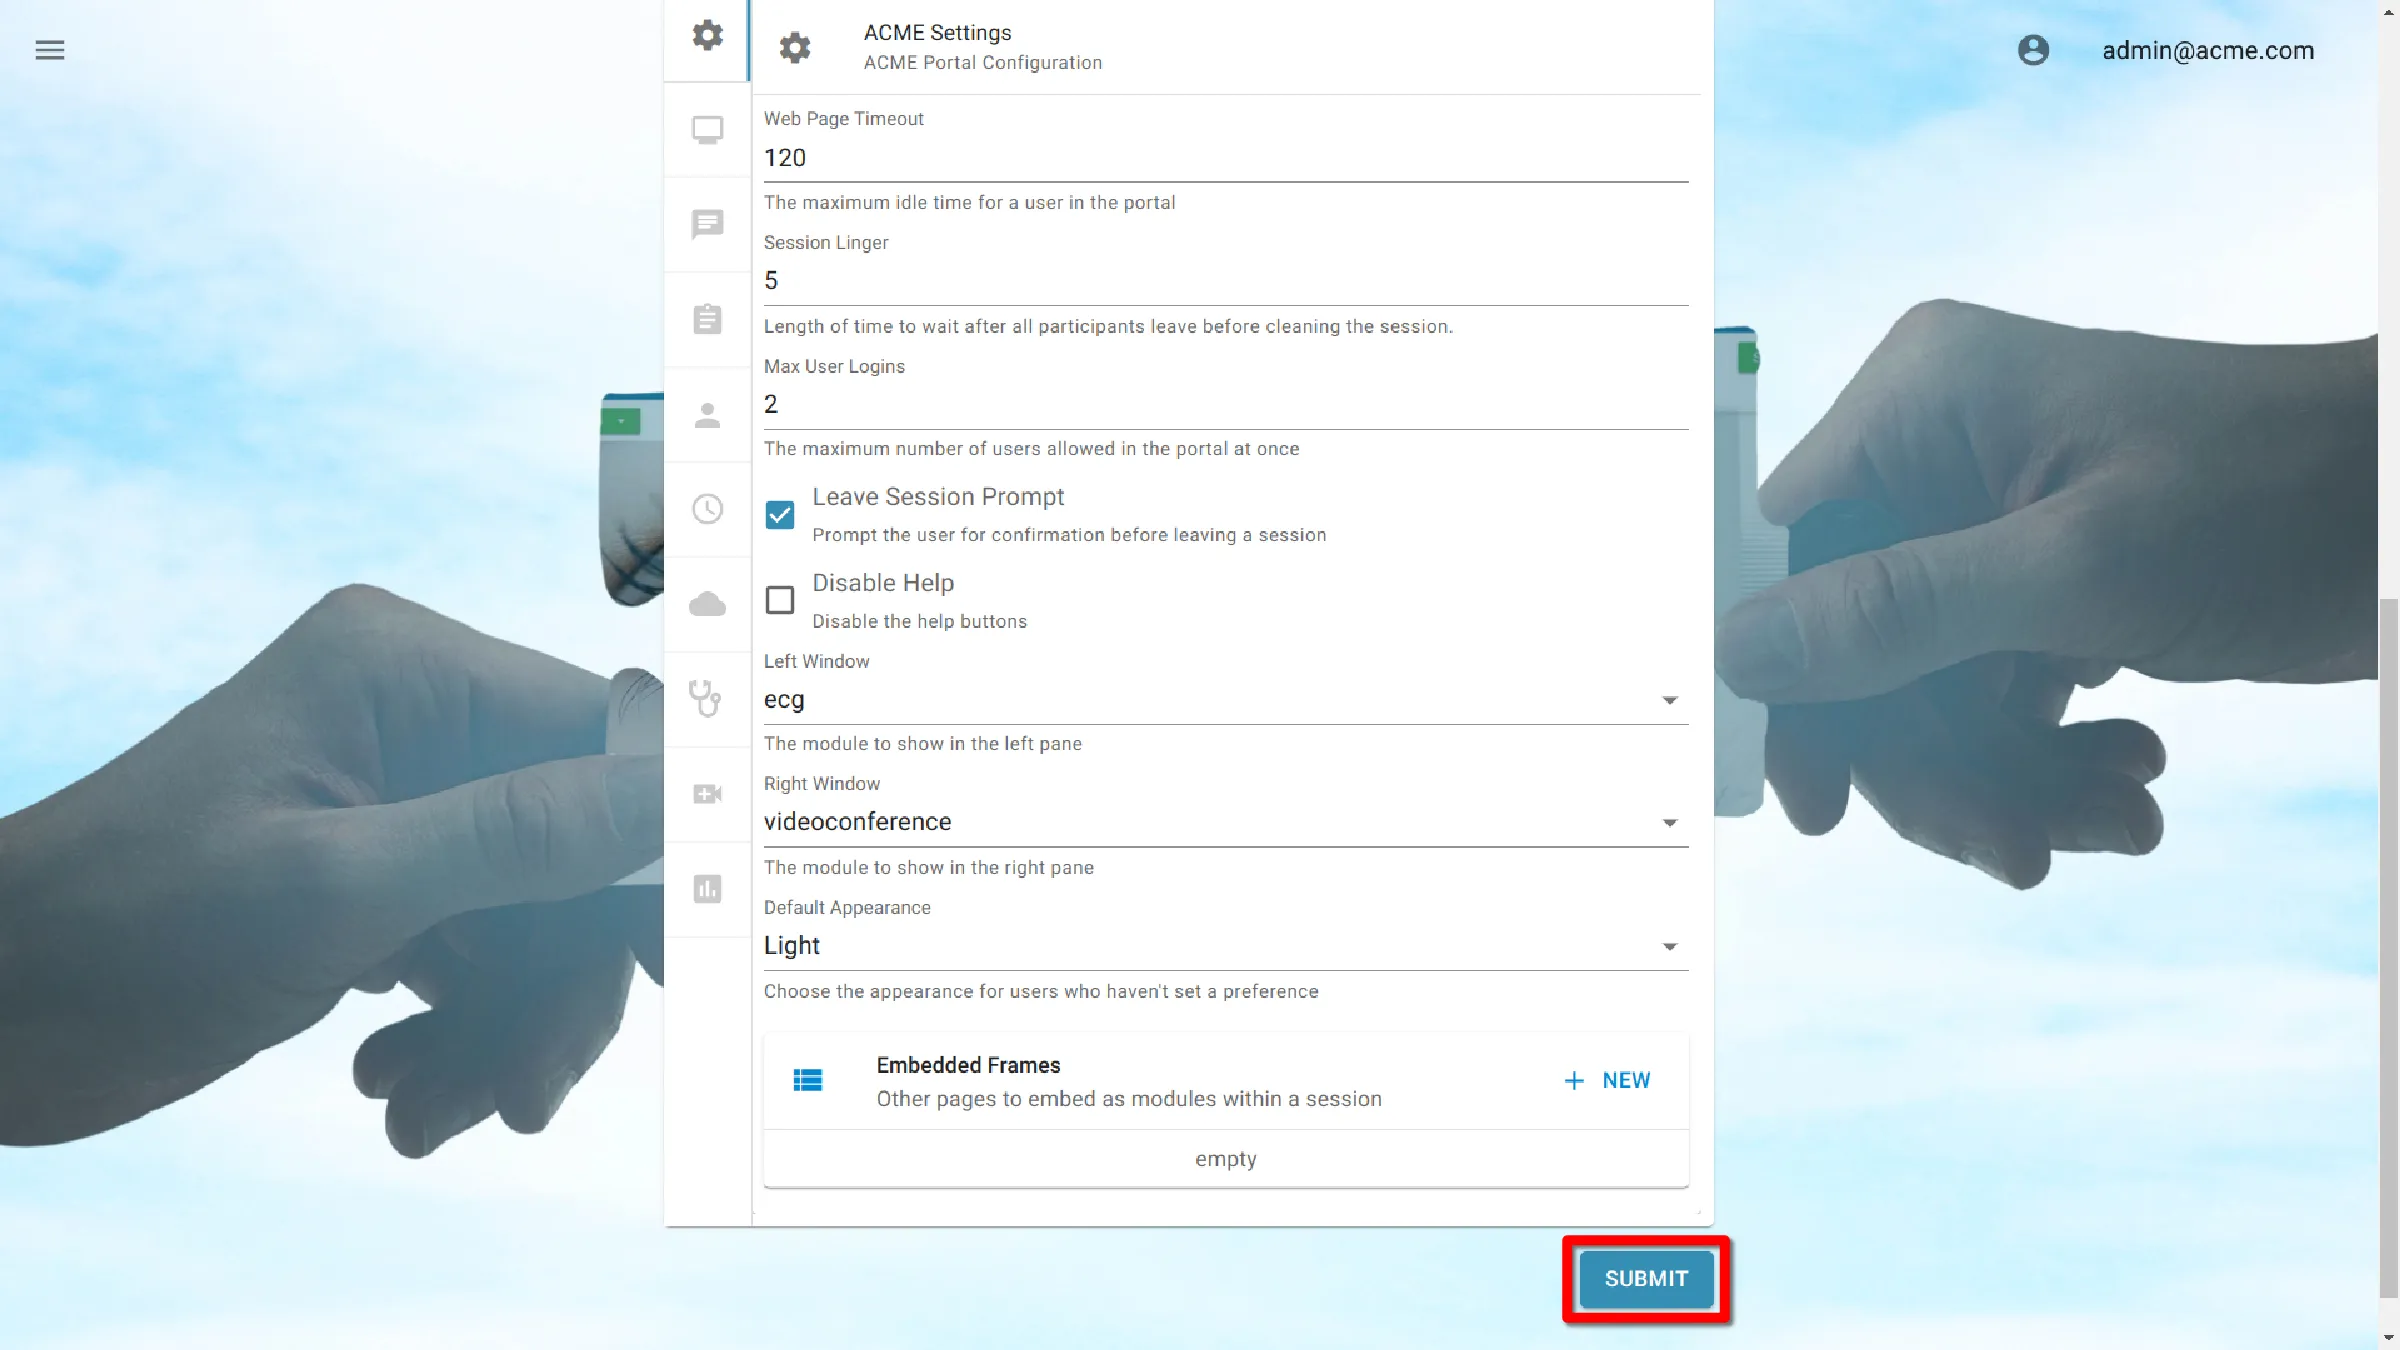
Click Submit to save changes.
Assign Portals to Groups
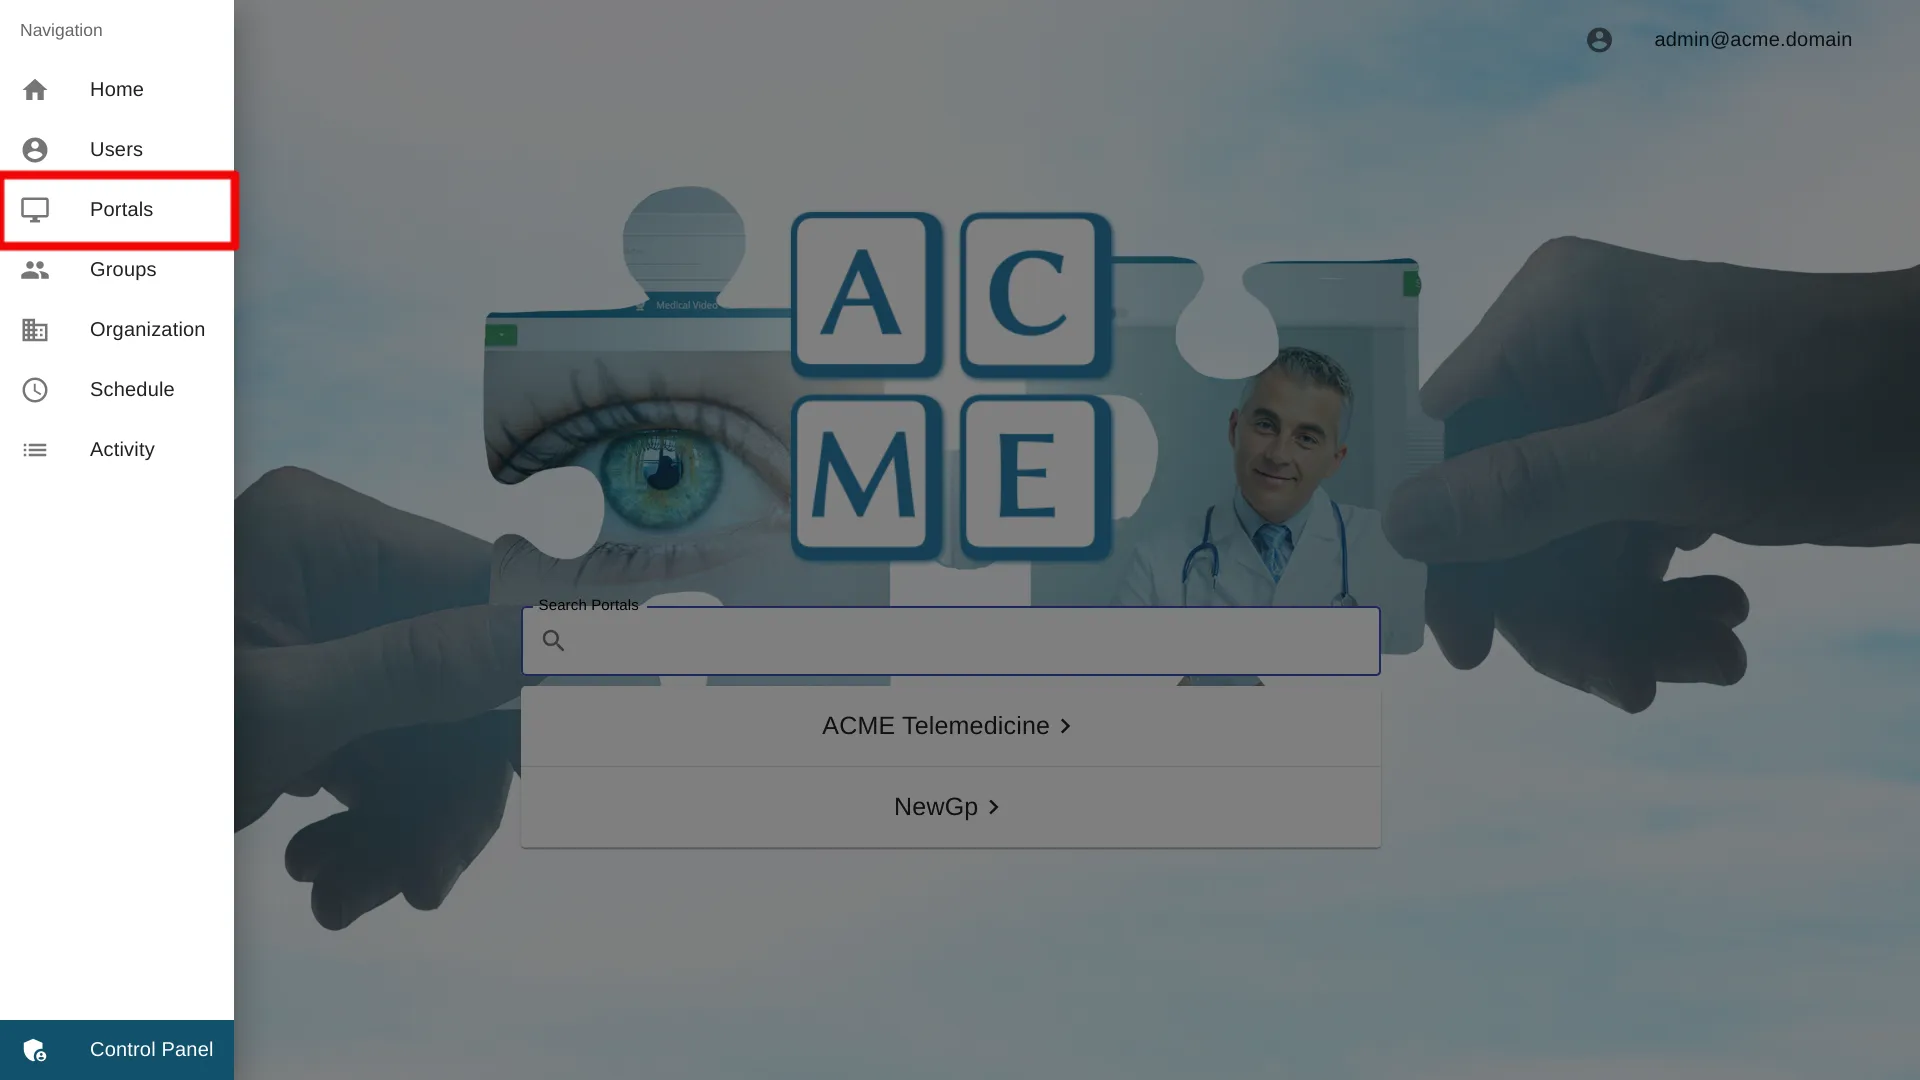
Select Portals from the Menu
Click Menu in the navigation bar, and then select Portals.

Select Portal Settings
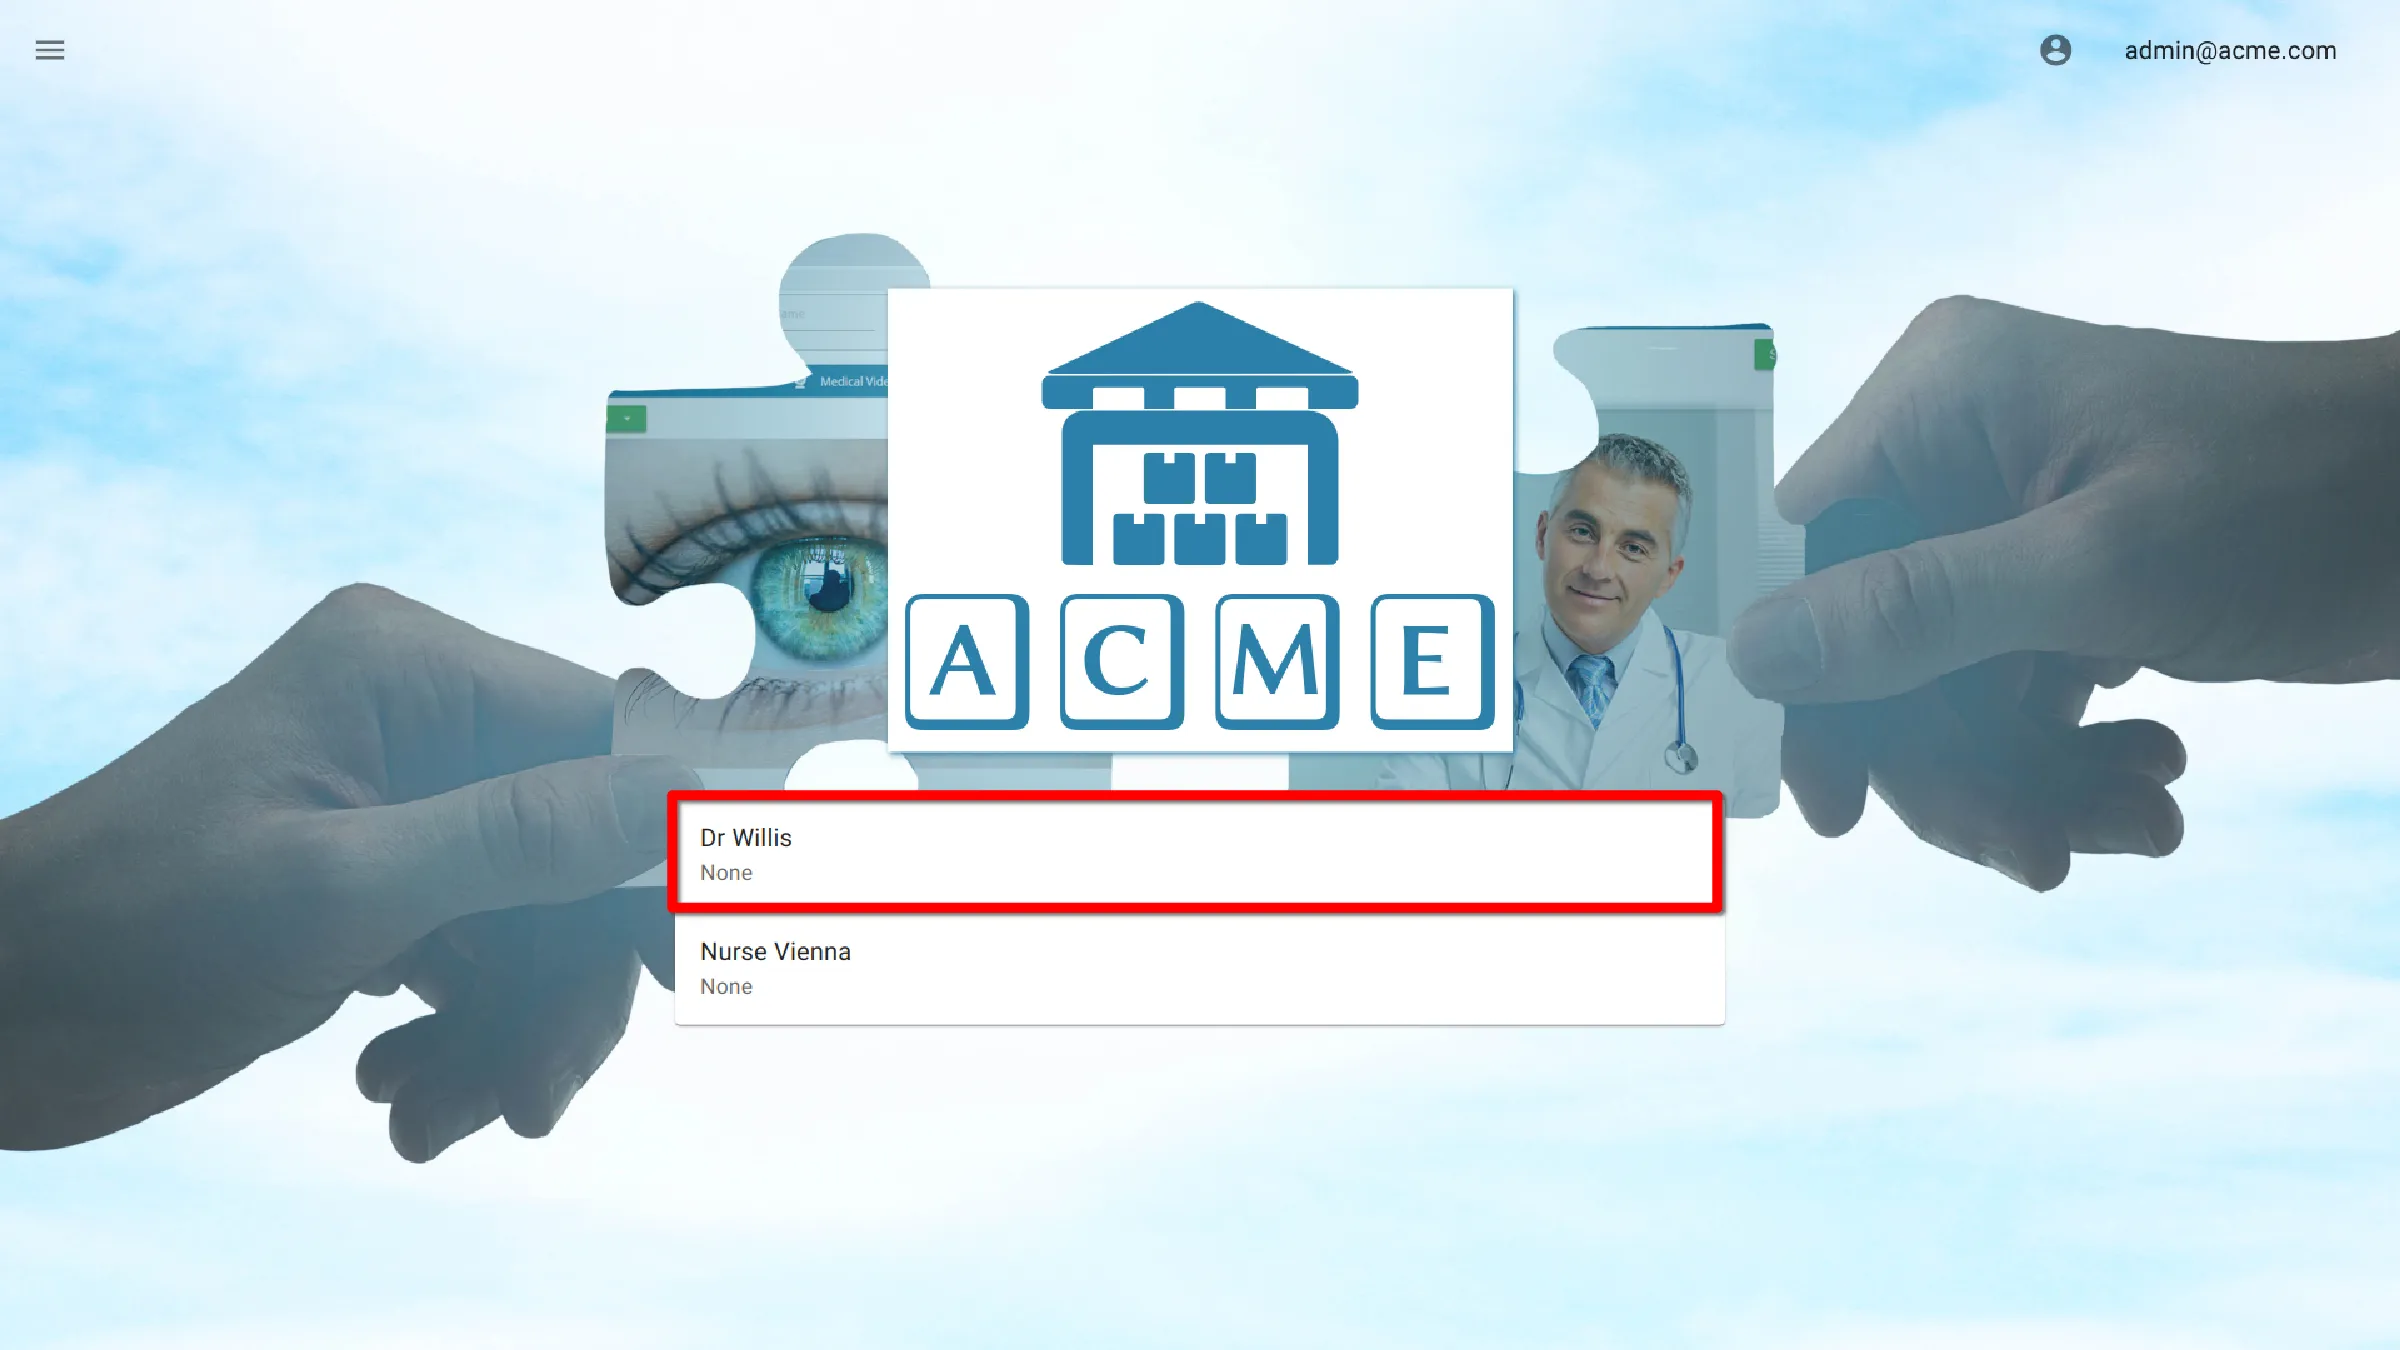
Click on a portal to access its settings.
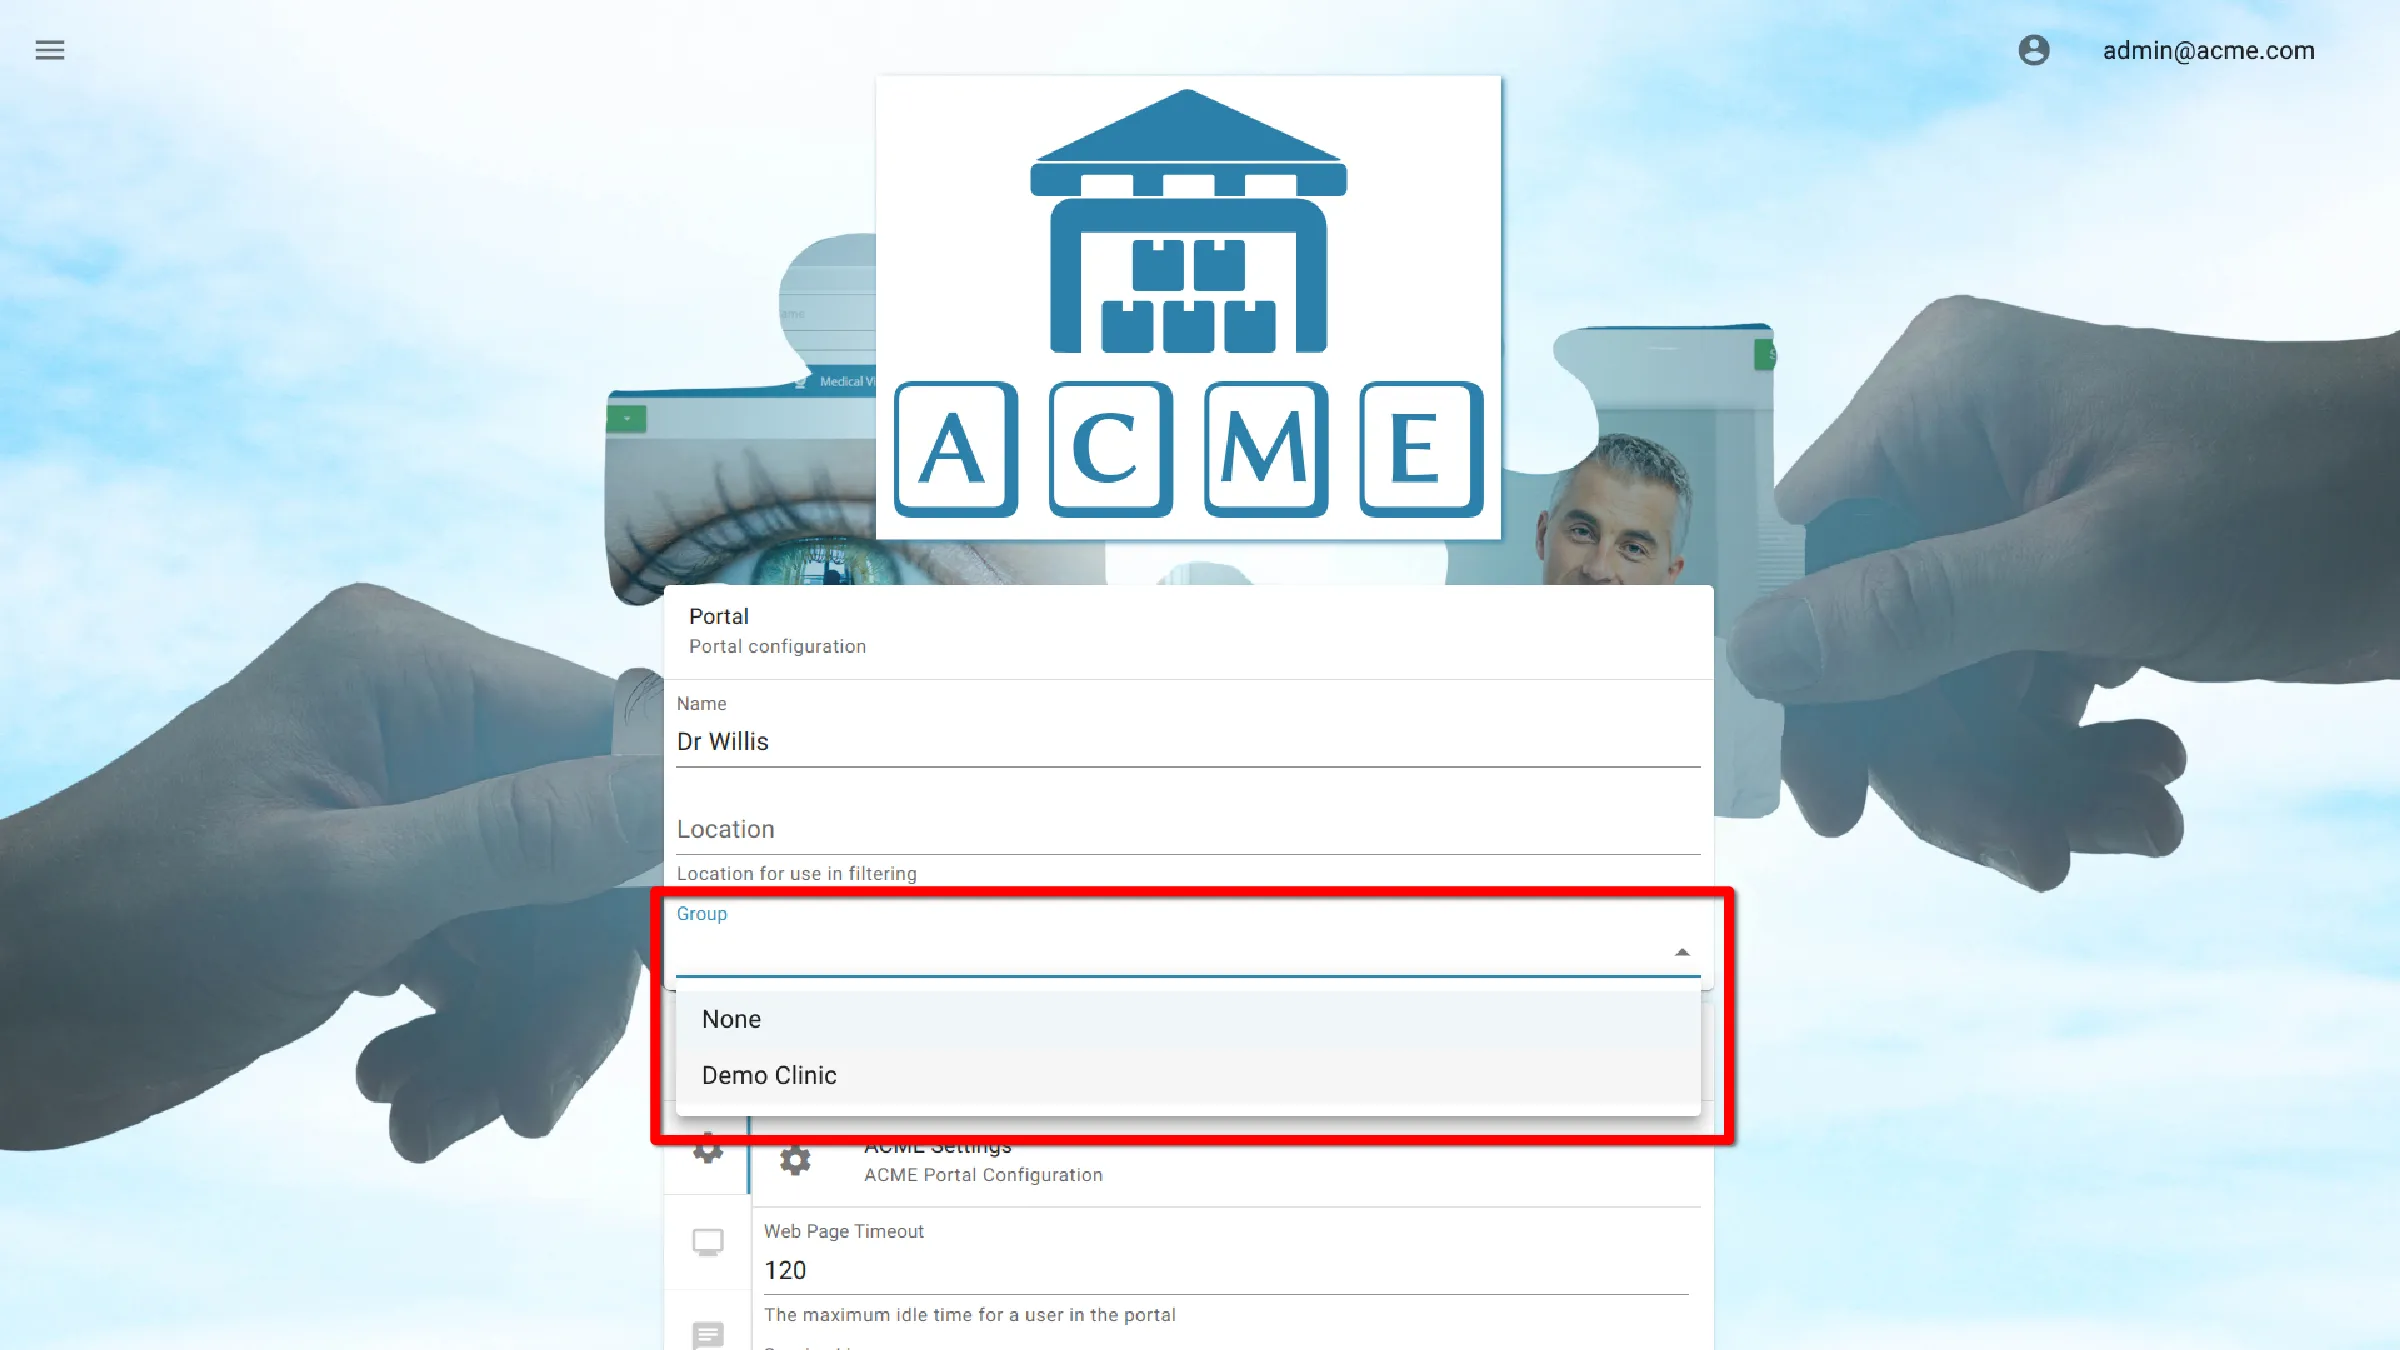
Assign Portal to a Group
Under Group click the input and a dropdown list will be displayed with the available groups in the organization. Select a group to add the portal to. That portal will only be available to users that are members of that group.
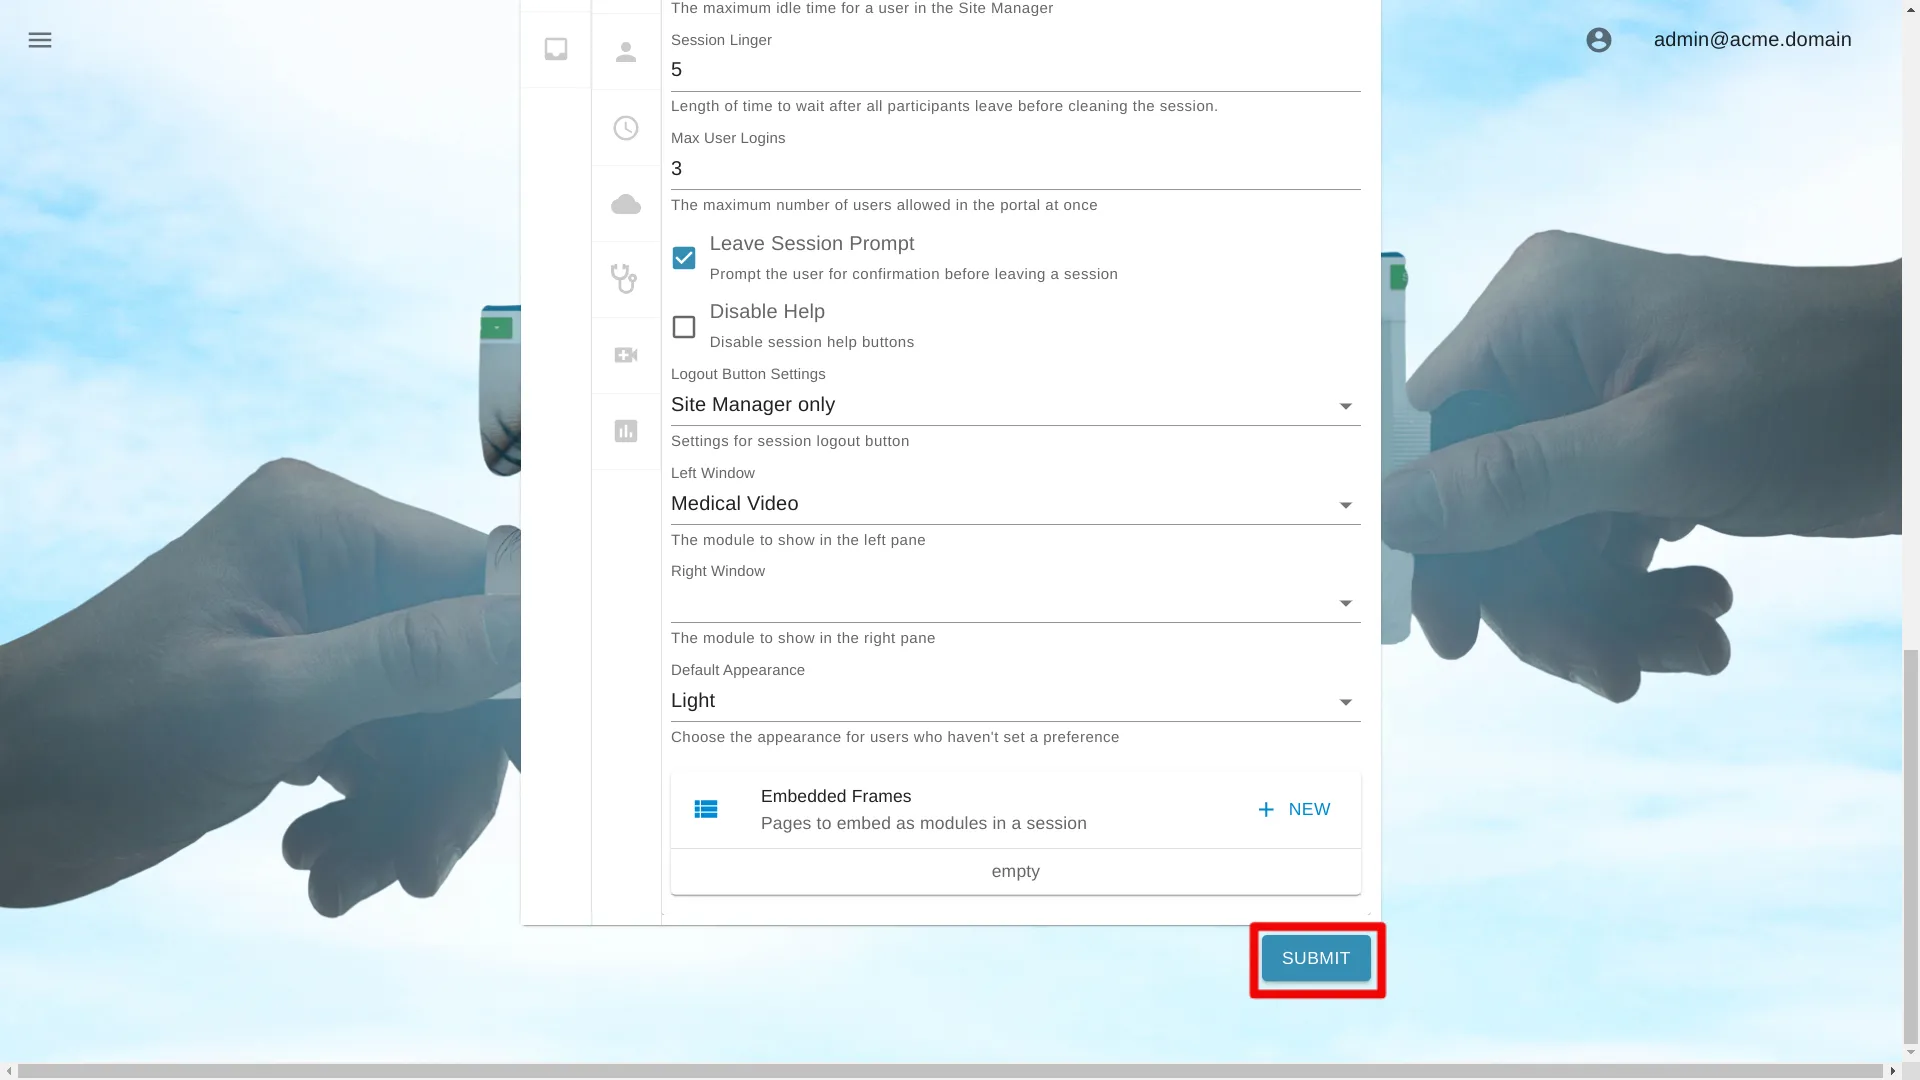
Save Settings
Click the Submit button to save the settings.
