Appointments
AGNES Connect can accept scheduled appointments. A scheduled appointment contains patient demographics, time of appointment, location, and the provider. Once the appointment is completed, AGNES deletes the patient demographics.
If the organization is integrated with an EMR, appointments will appear once scheduled in the EMR.
Administers may also manually add appointments.
View Schedule
Open Site Manager
To view or edit Appointments, the logged-in account must have the administrator role.
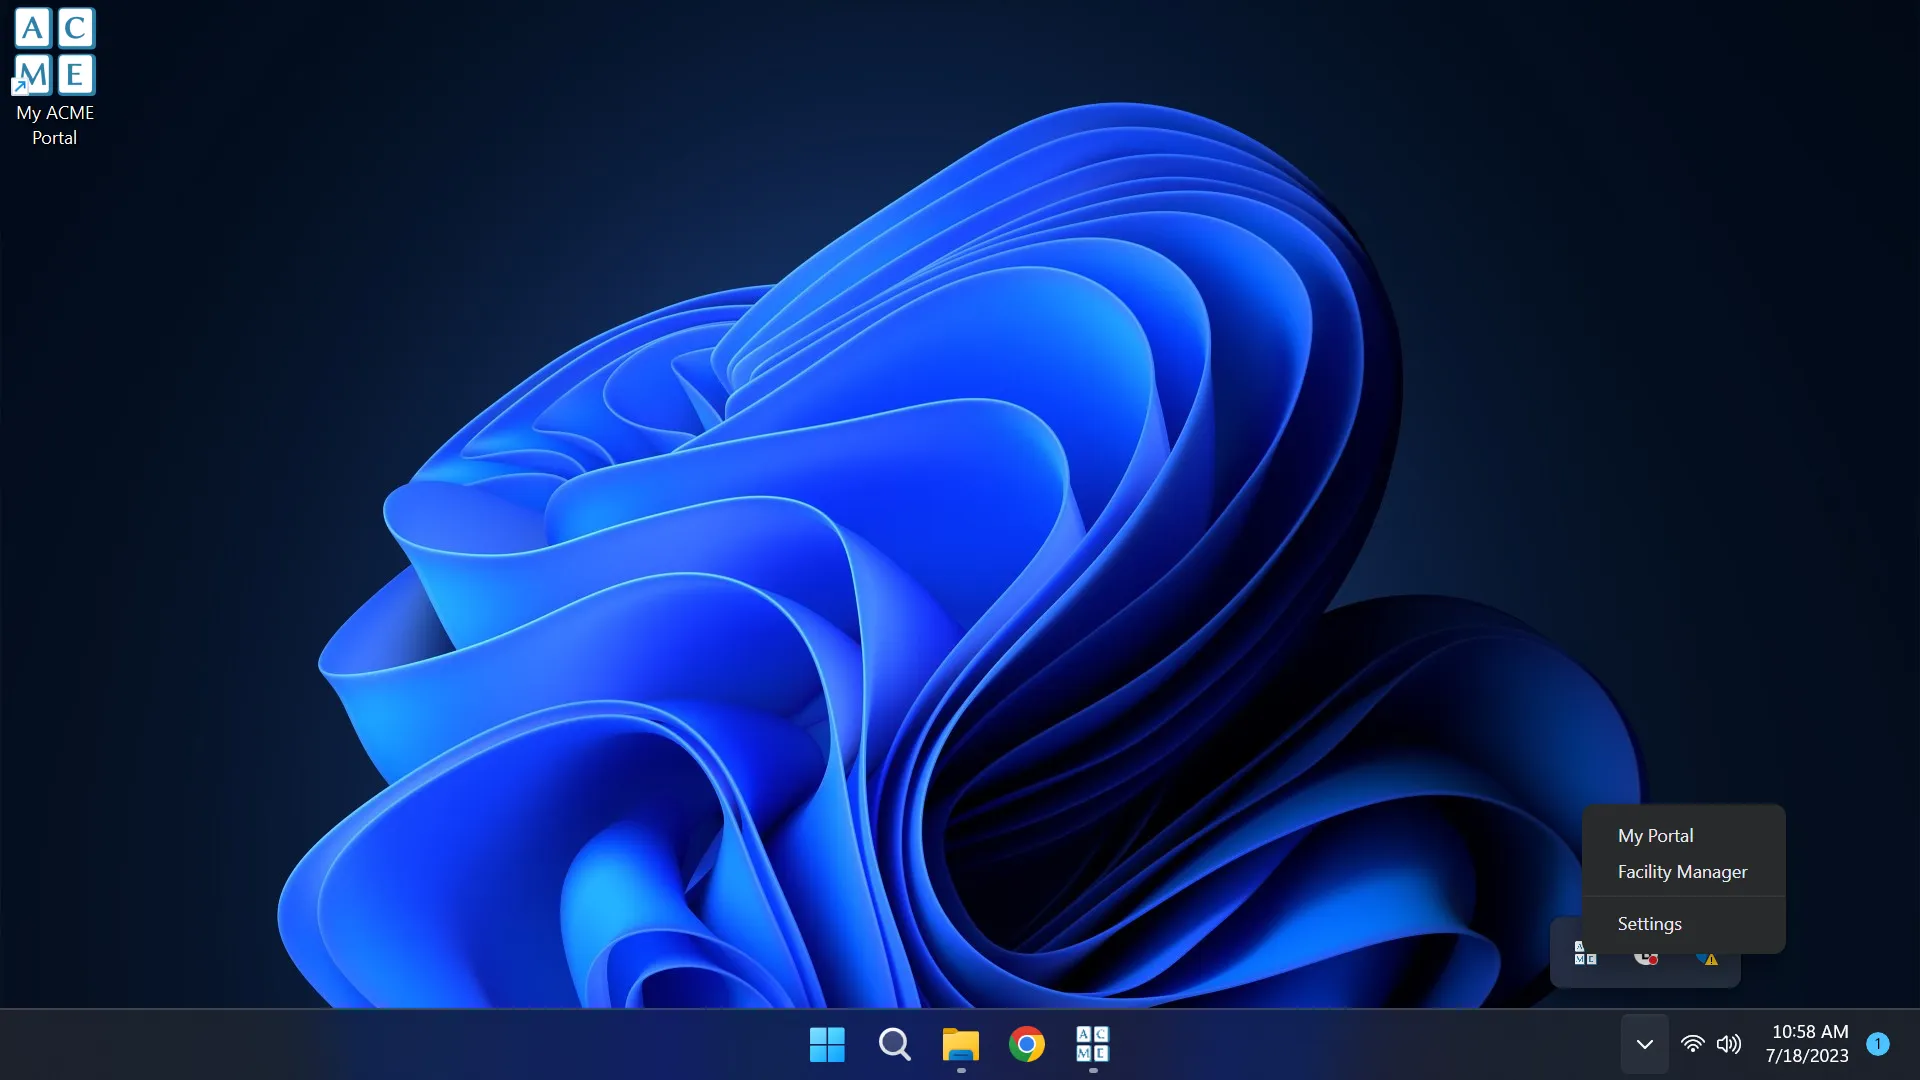
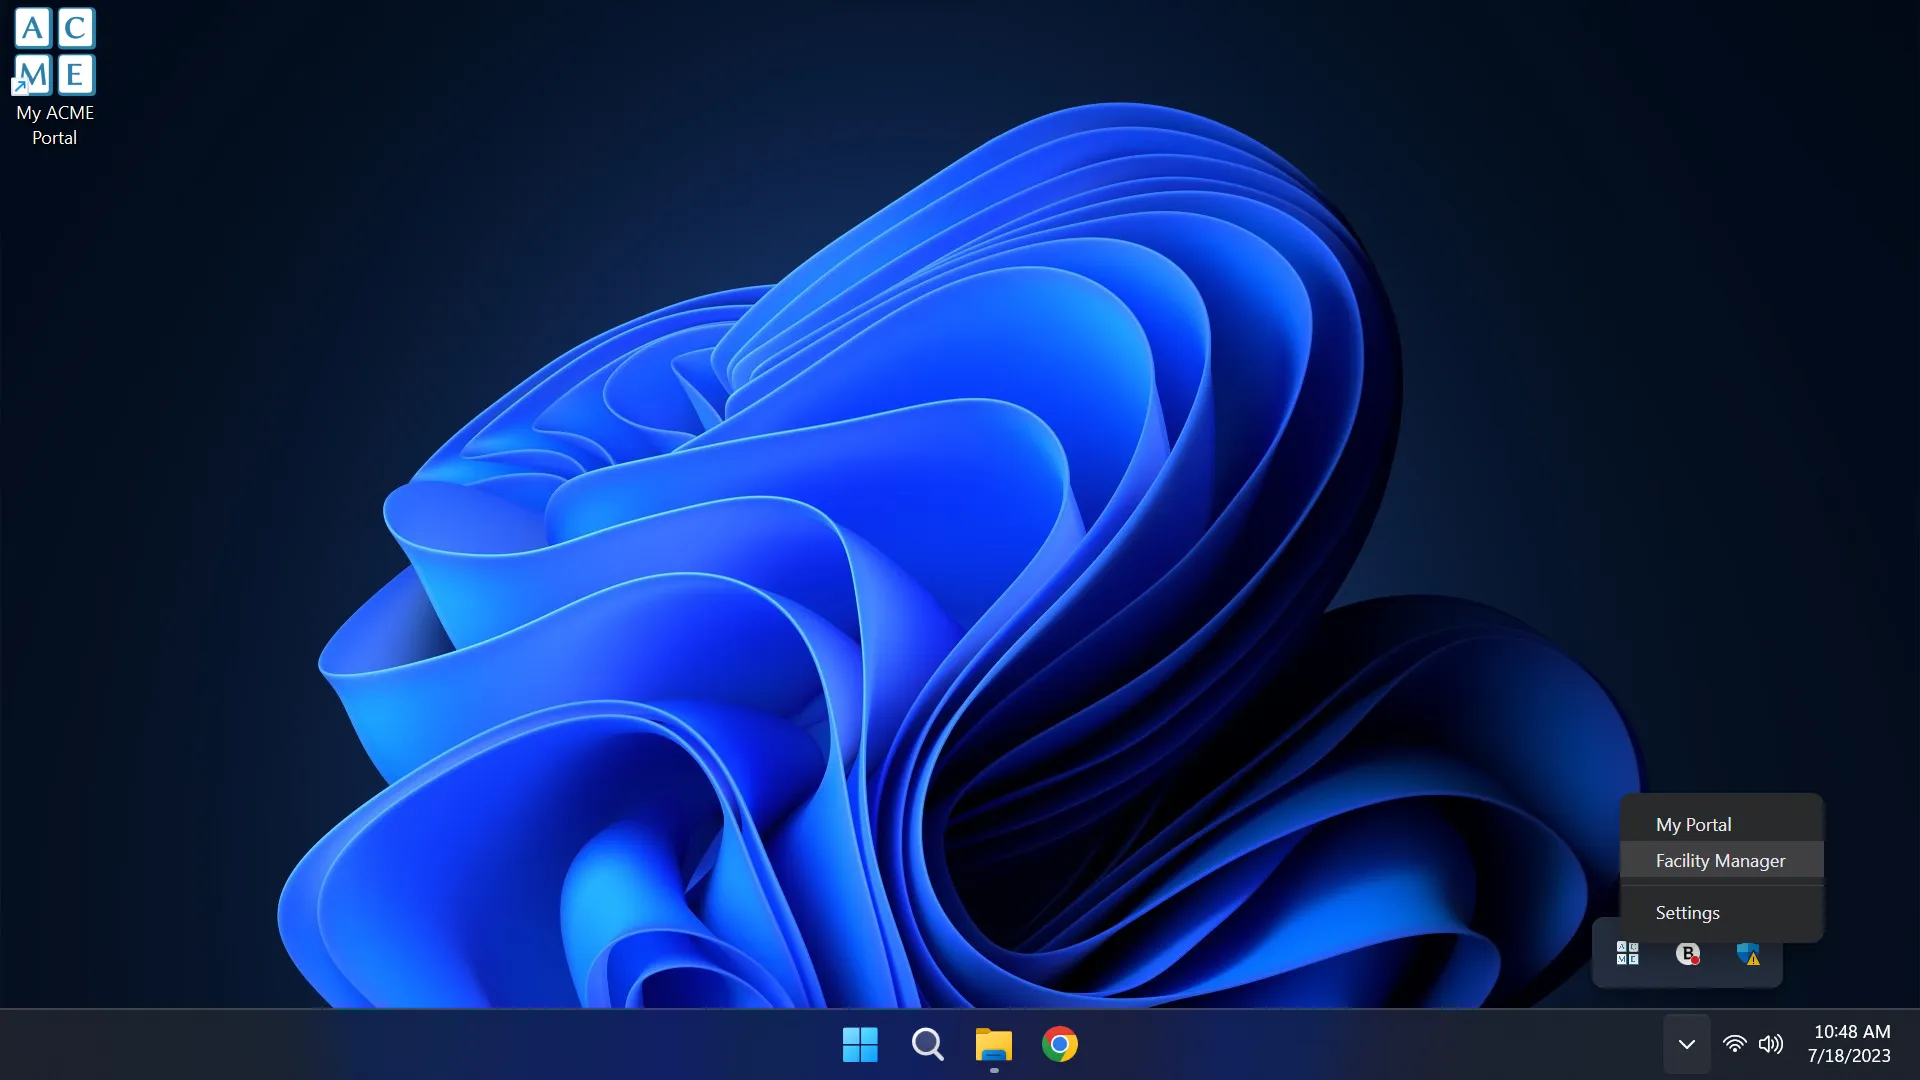
Right-click the AGNES Connect icon in the system tray and select Site Manager.
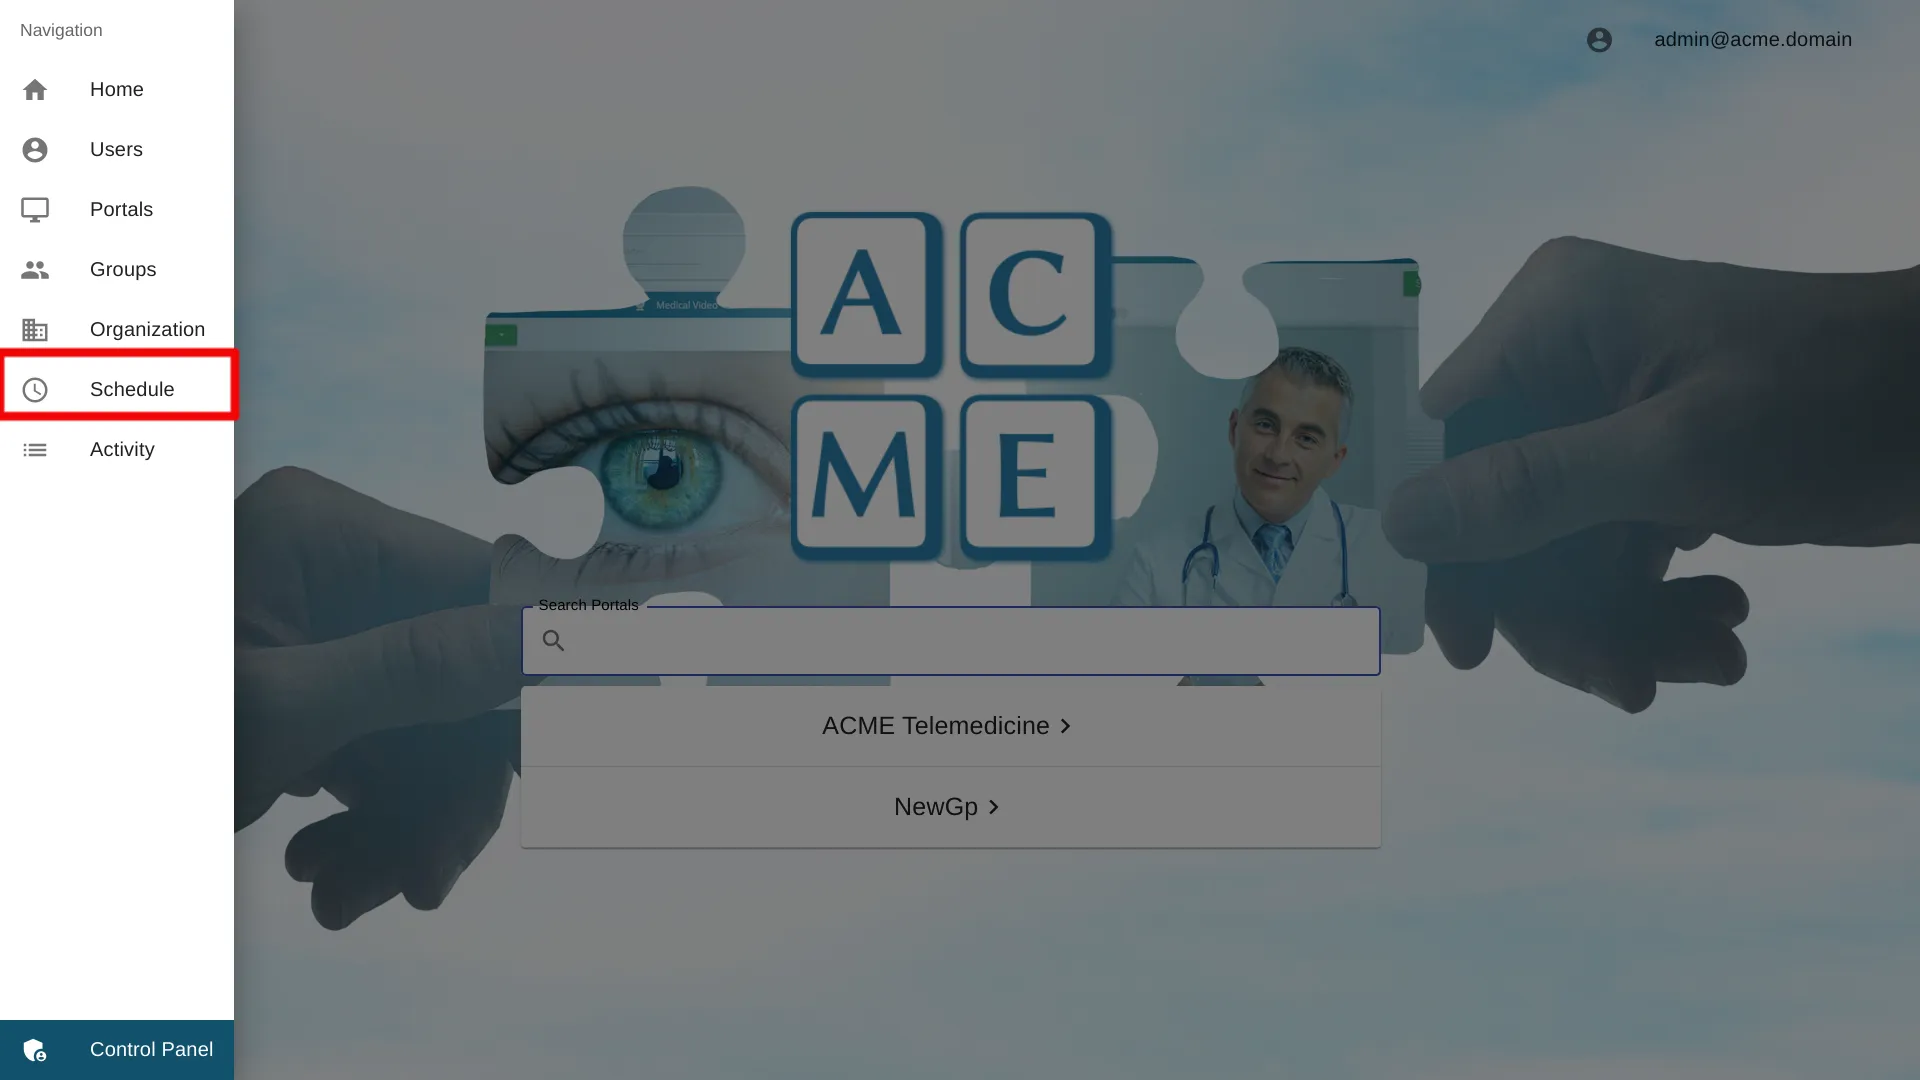
Select Schedule from the navigation bar
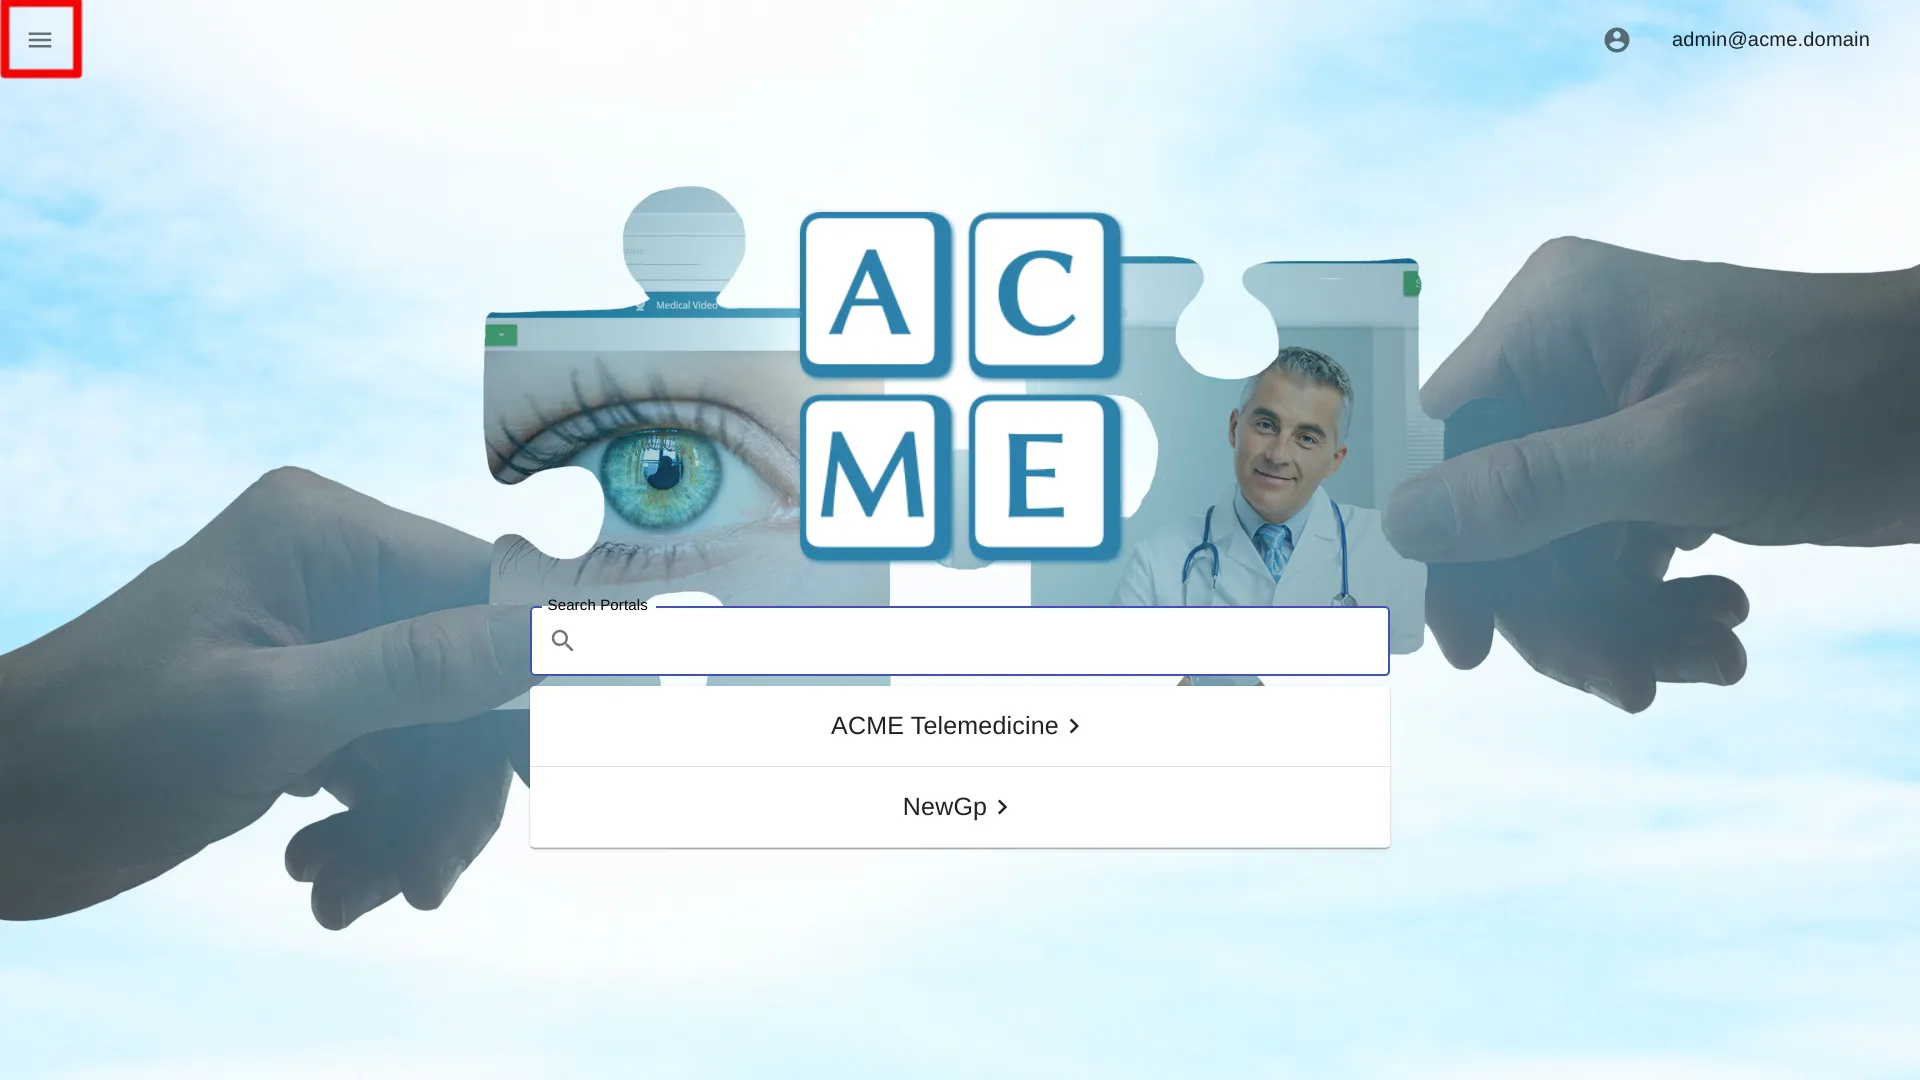
Click the "≡" icon in the top left of the home screenand select Schedule from the navigation bar. If the option is not available, ensure the logged-in user account has the administrator role.
Calendar View
On the Schedule screen is a calendar view of scheduled appointments.
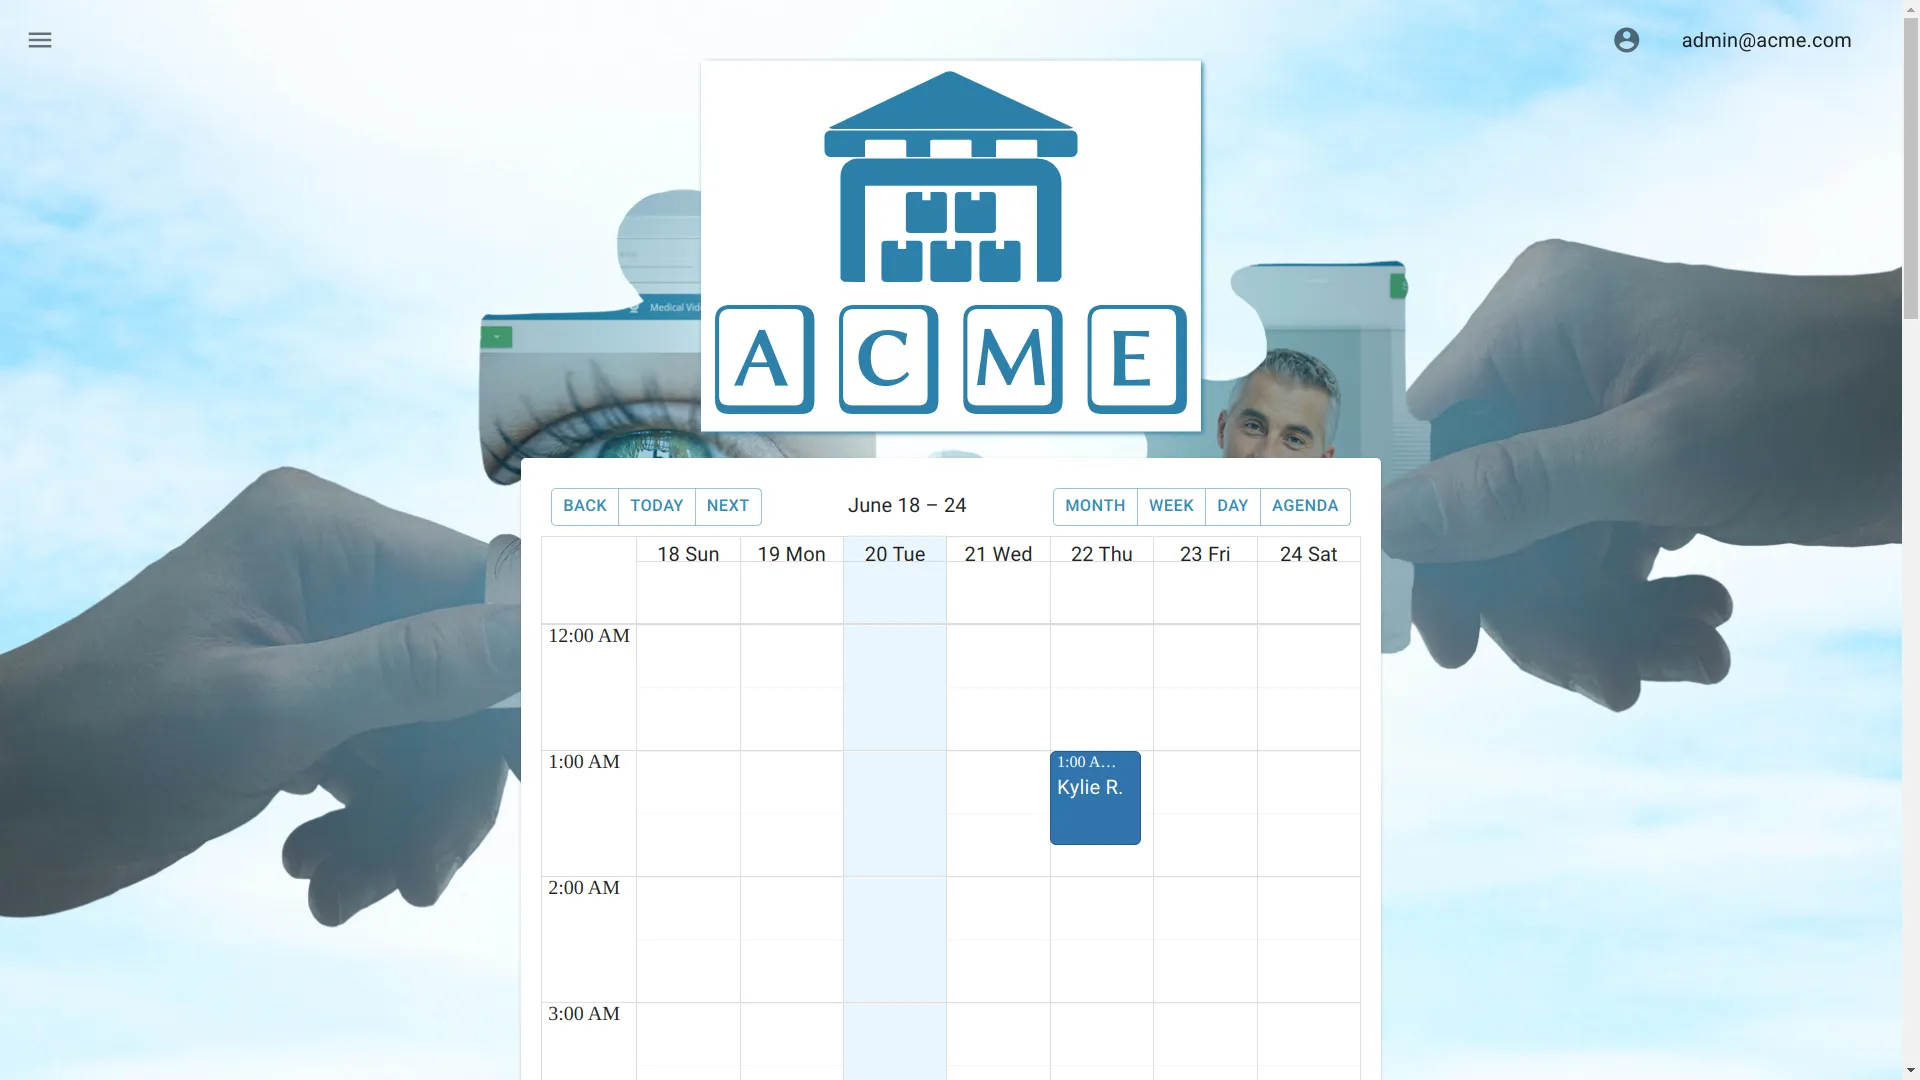
To navigate through the calendar, use the buttons on the top left.
Back moves the calendar view back in time
Next advances the calendar view
Today brings the calendar view to today
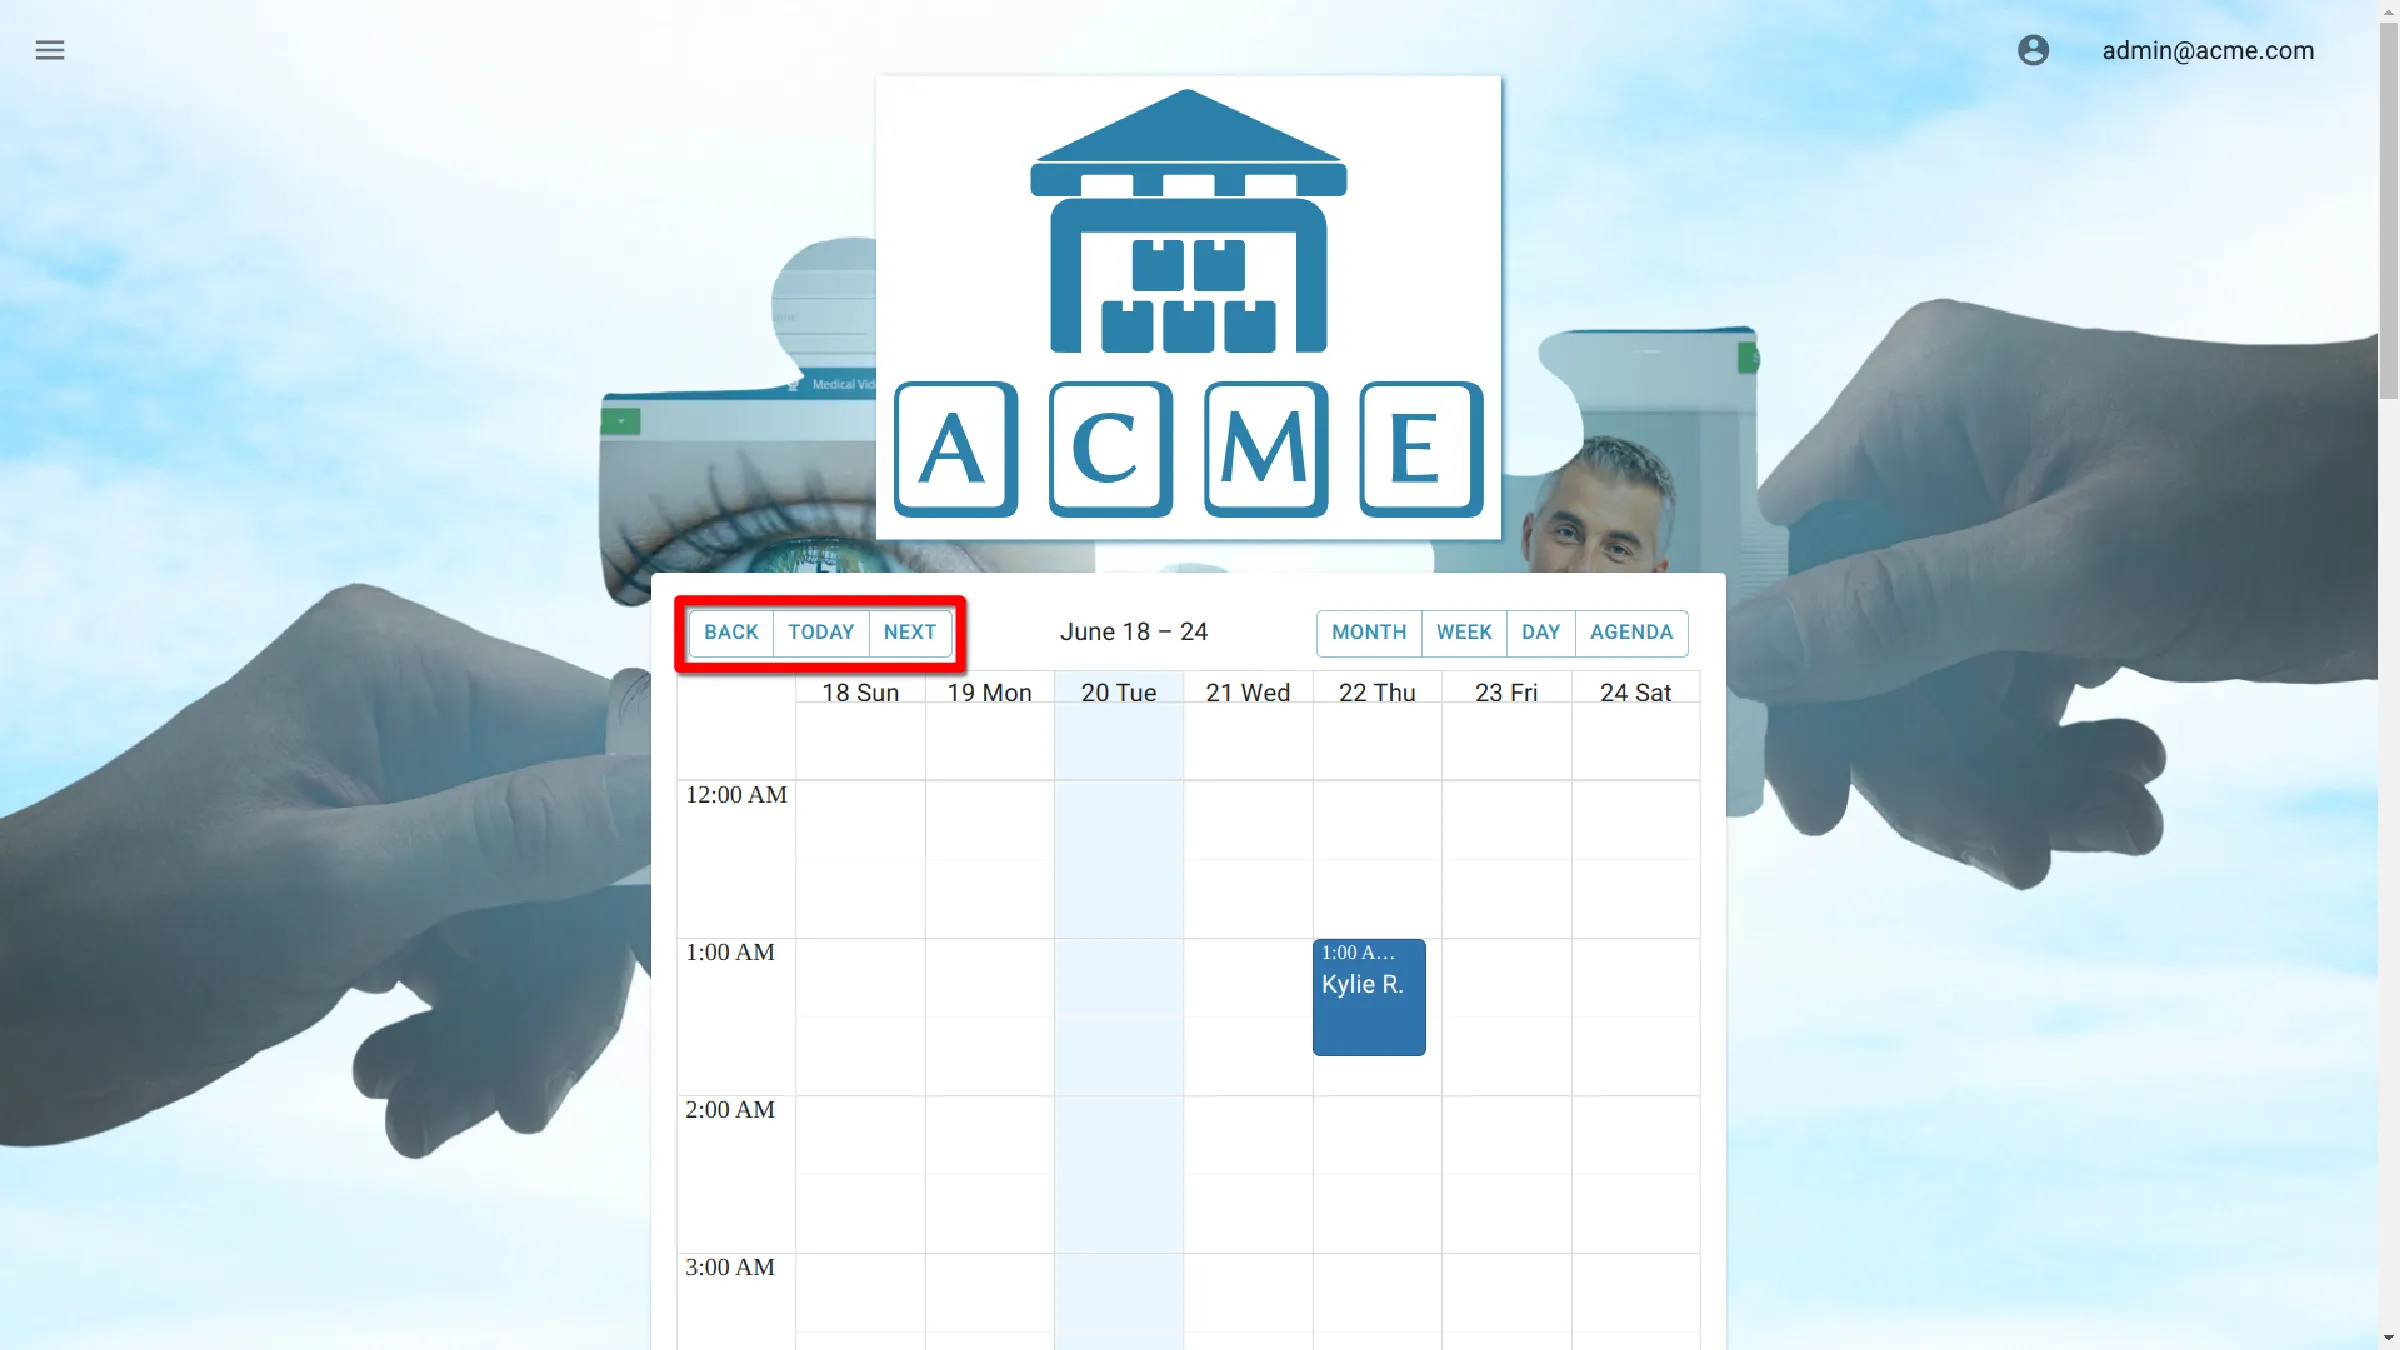
To change the calendar view, use the buttons on the top right.
Month Show an overview of the month
Week Shows an overview of the week
Day Shows an overview of the day
Agenda List overview of monthly Appointments
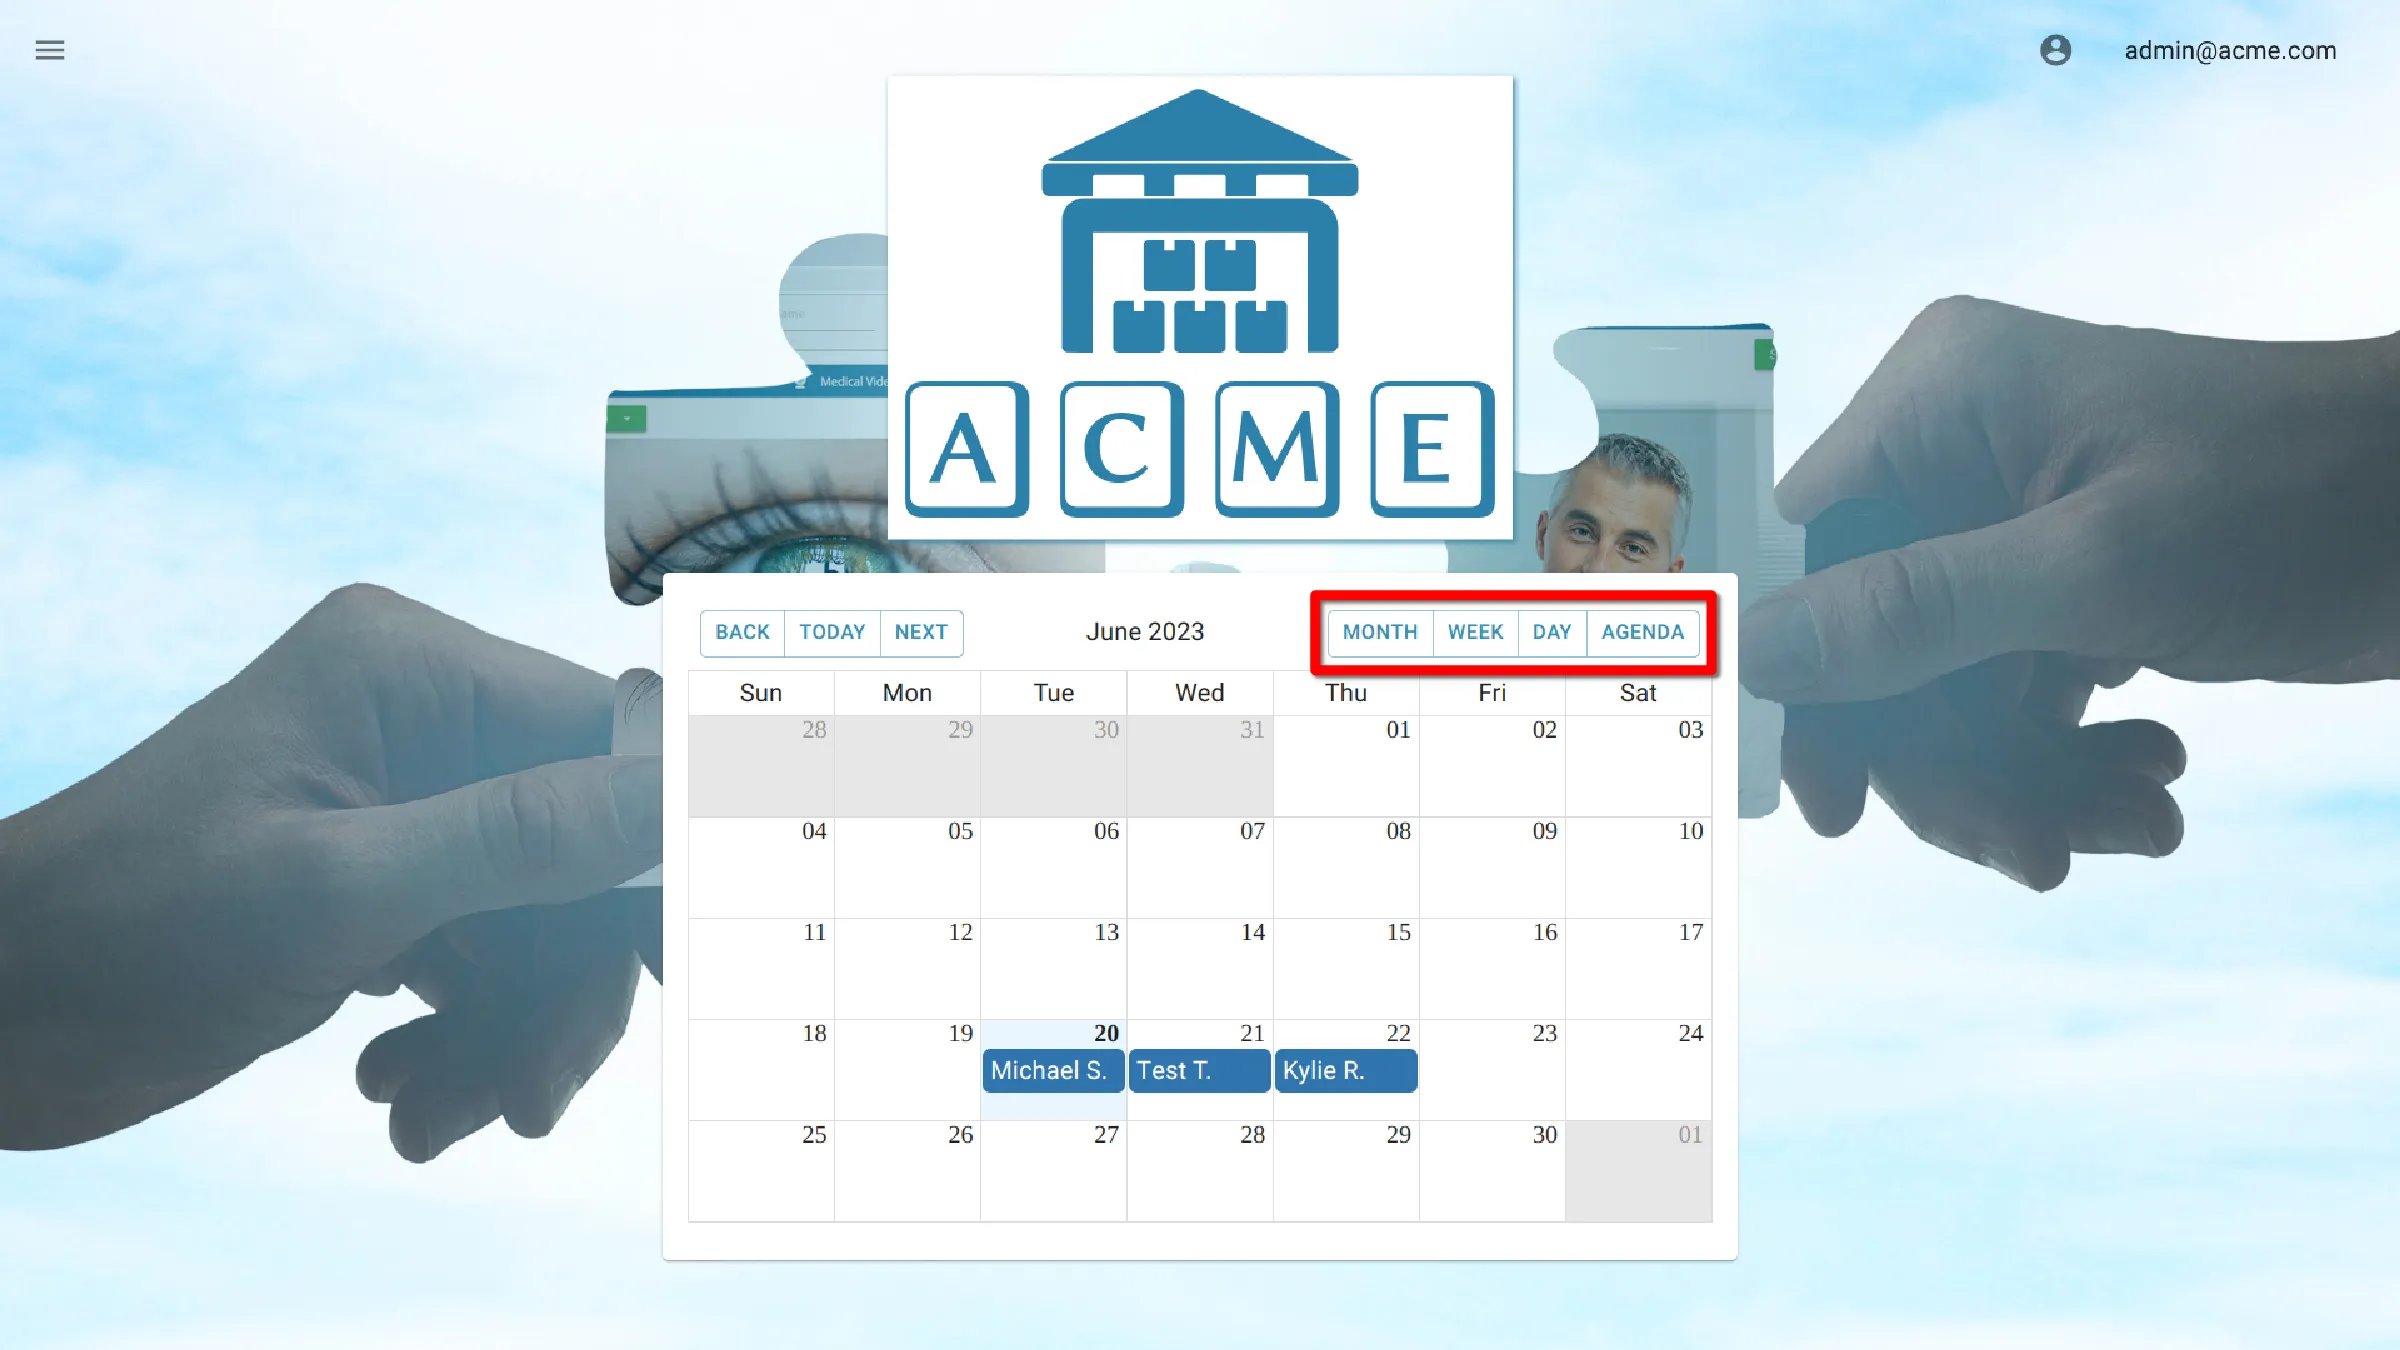
Add an appointment
Add appointment data
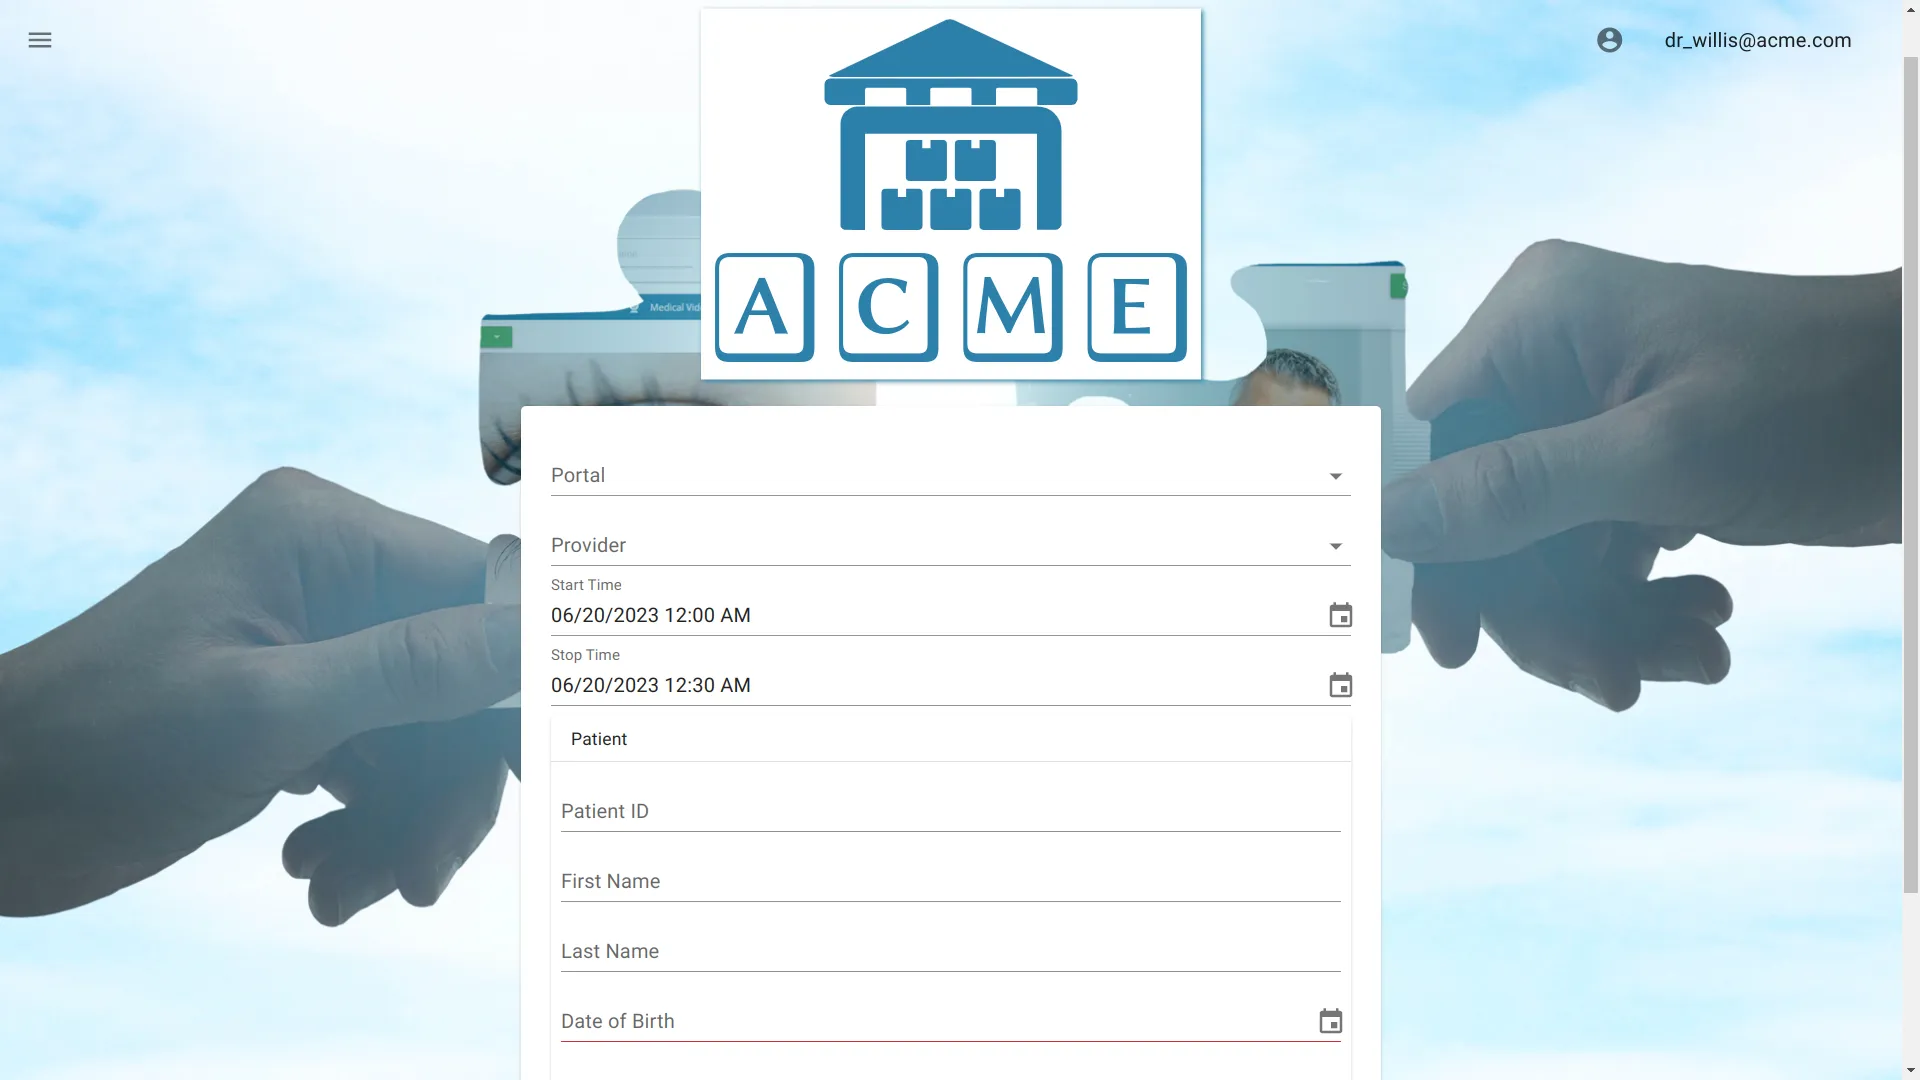
Select time and date
To schedule an appointment, click on the time and date you wish to schedule the appointment to bring up the new appointment page.
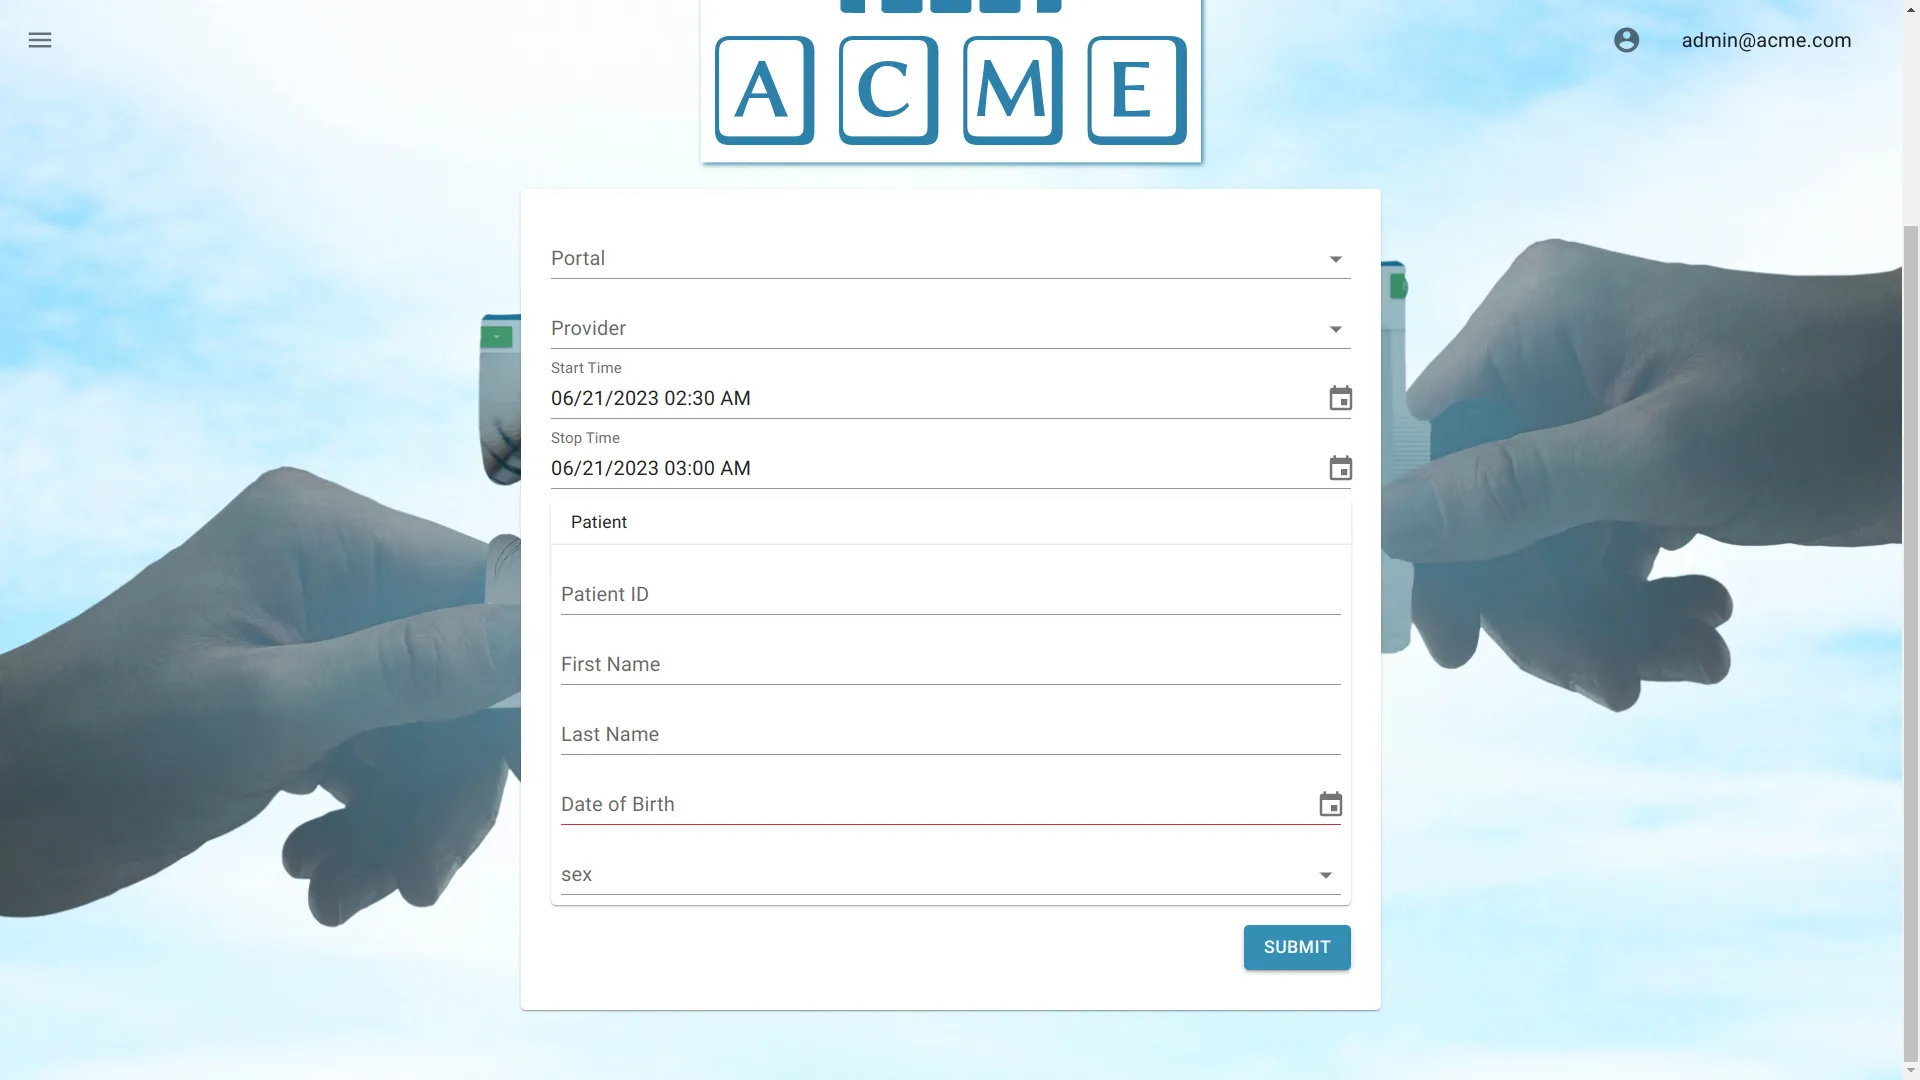
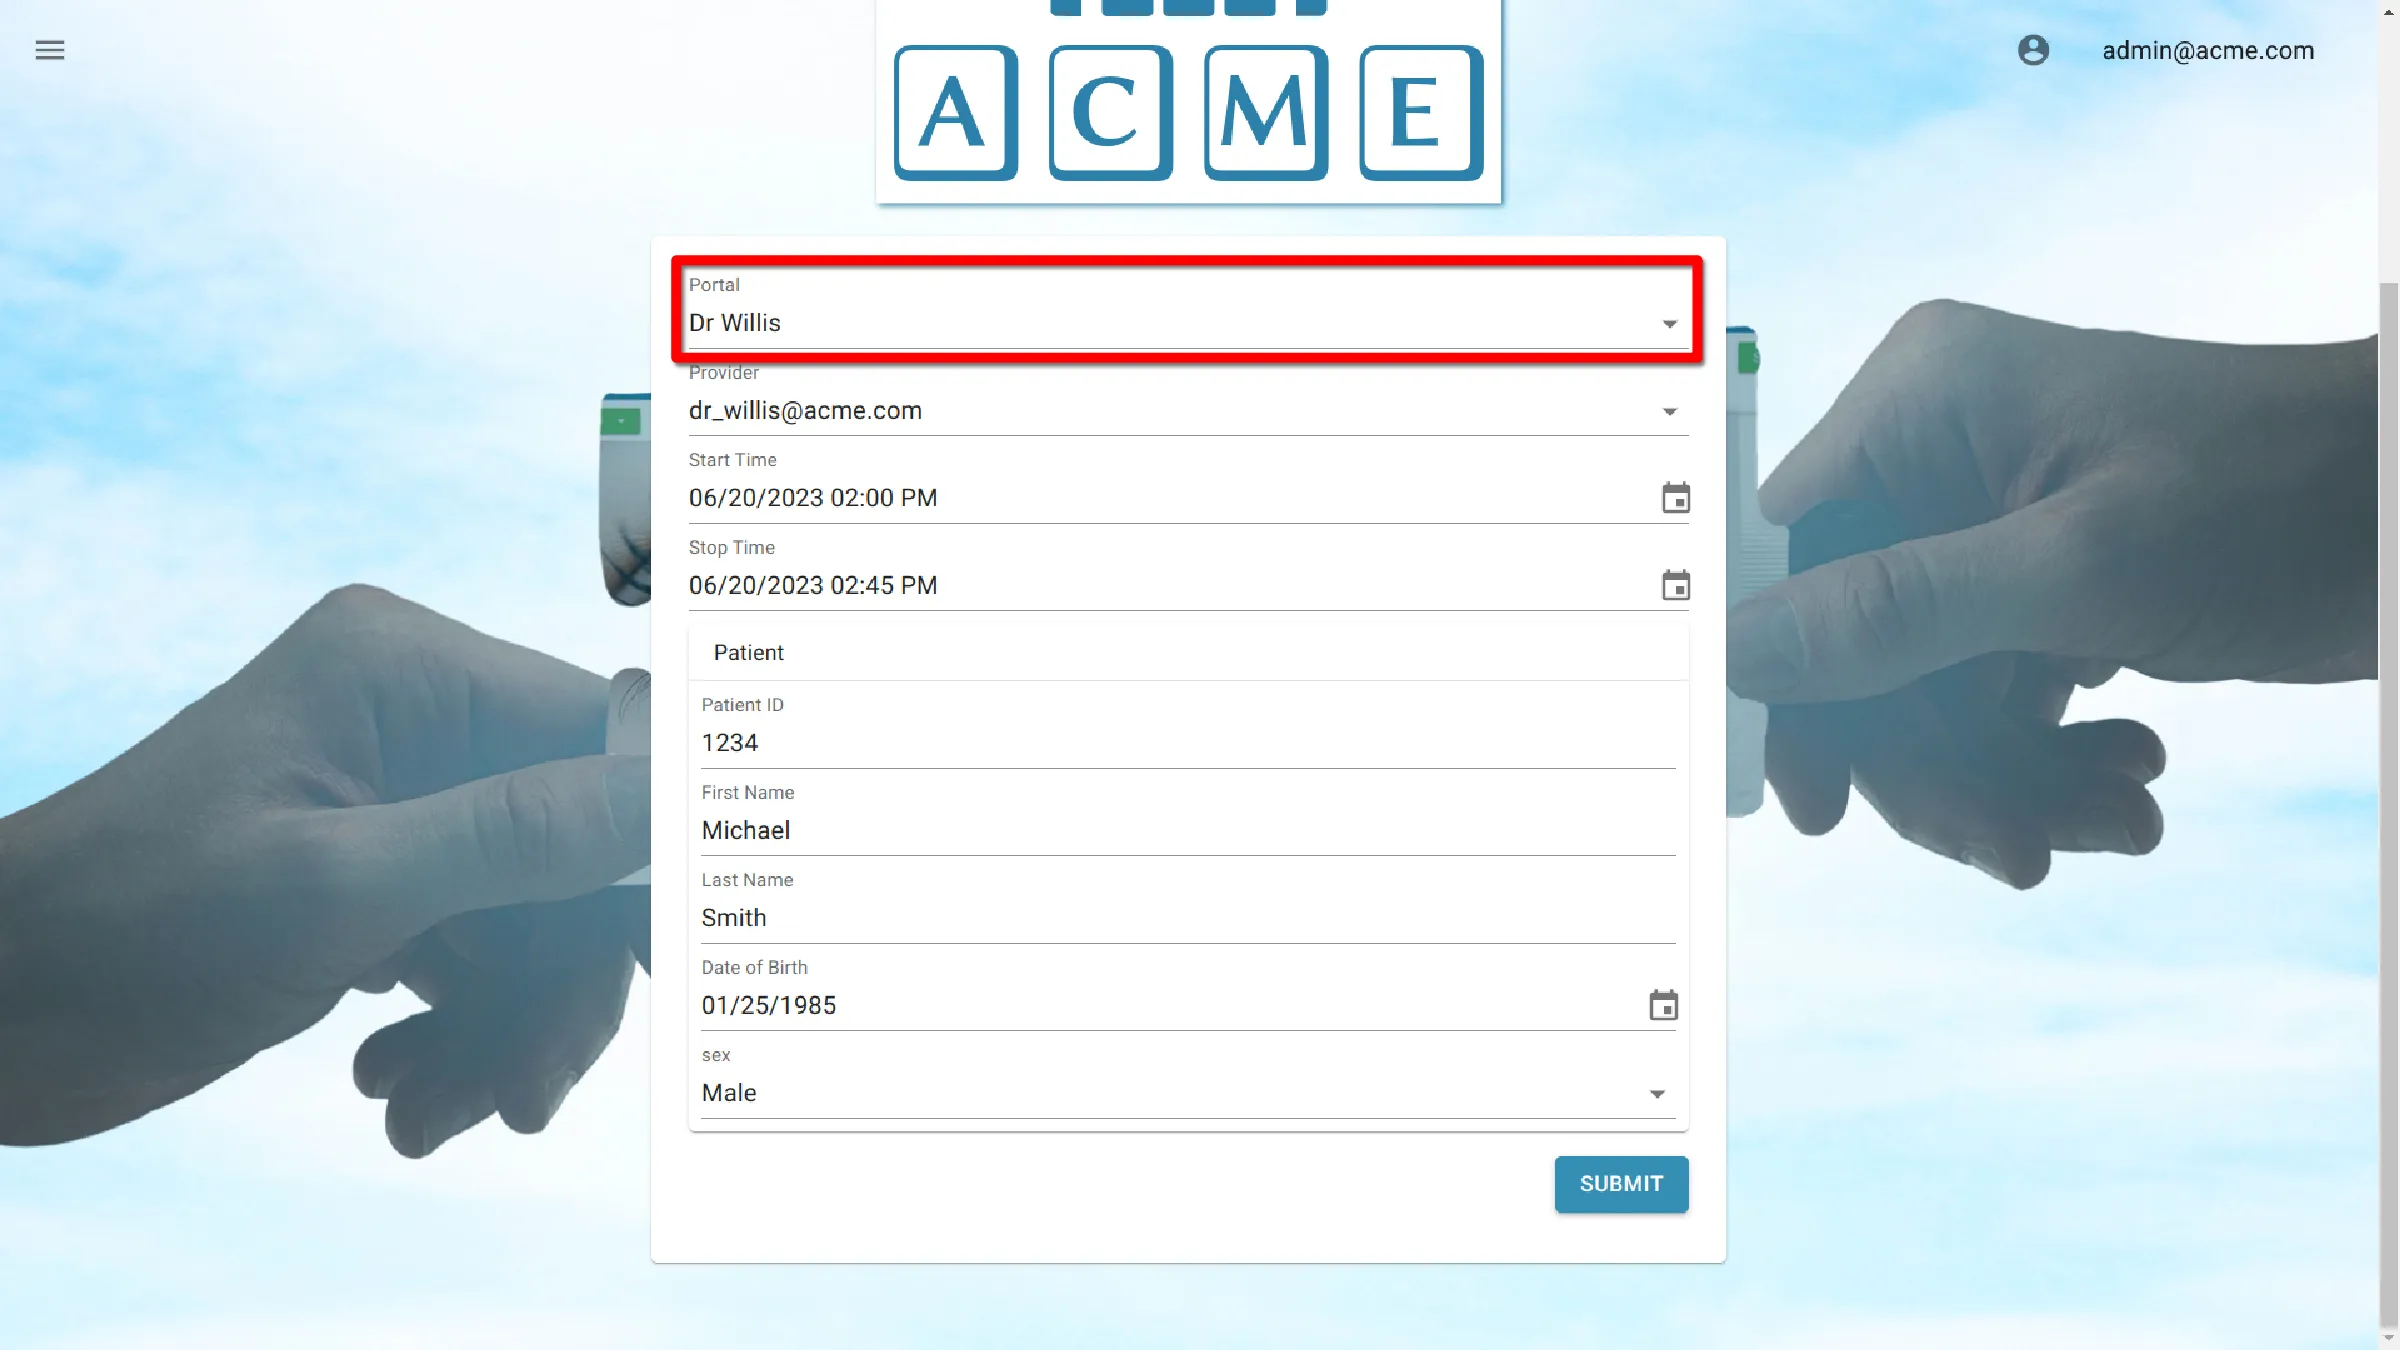
Portal
Portal controls where the appointment is scheduled to happen. Click on the section to reveal a dropdown menu with the available portals for your organization. Select the desired portal.
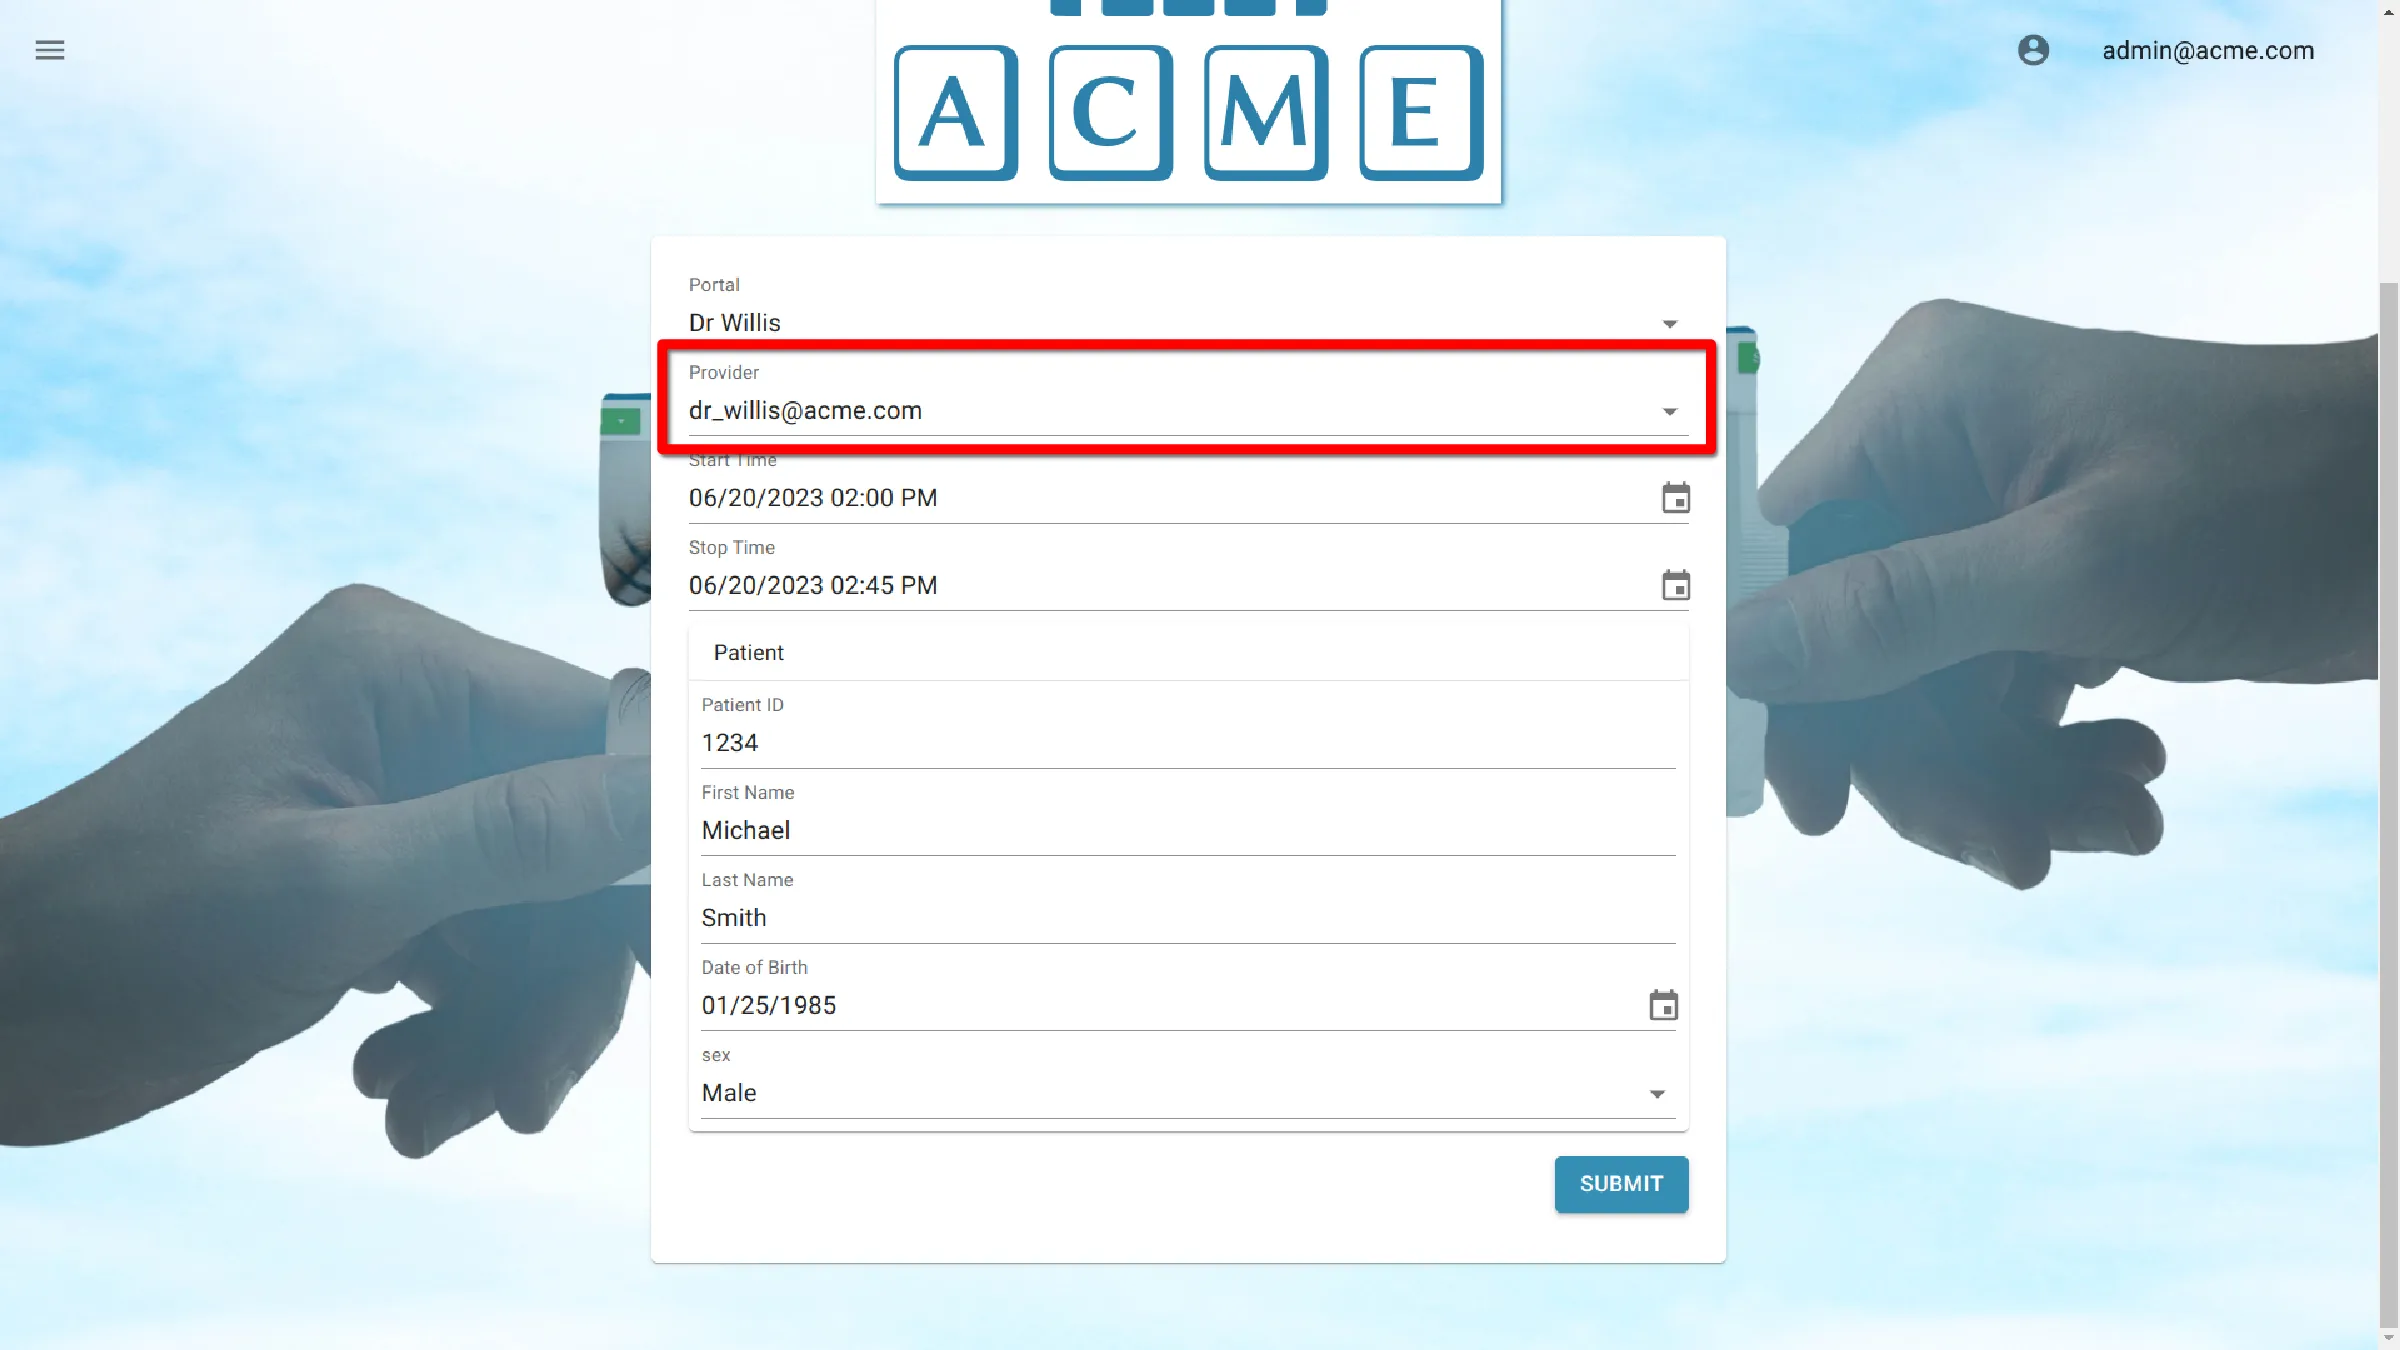
Provider
The provider setting is optional and allows associating a provider with an appointment. It is used in some EMR integrations. Click on the section to reveal a dropdown list of providers configured in the organization. Select the desired provider, or leave this section blank.
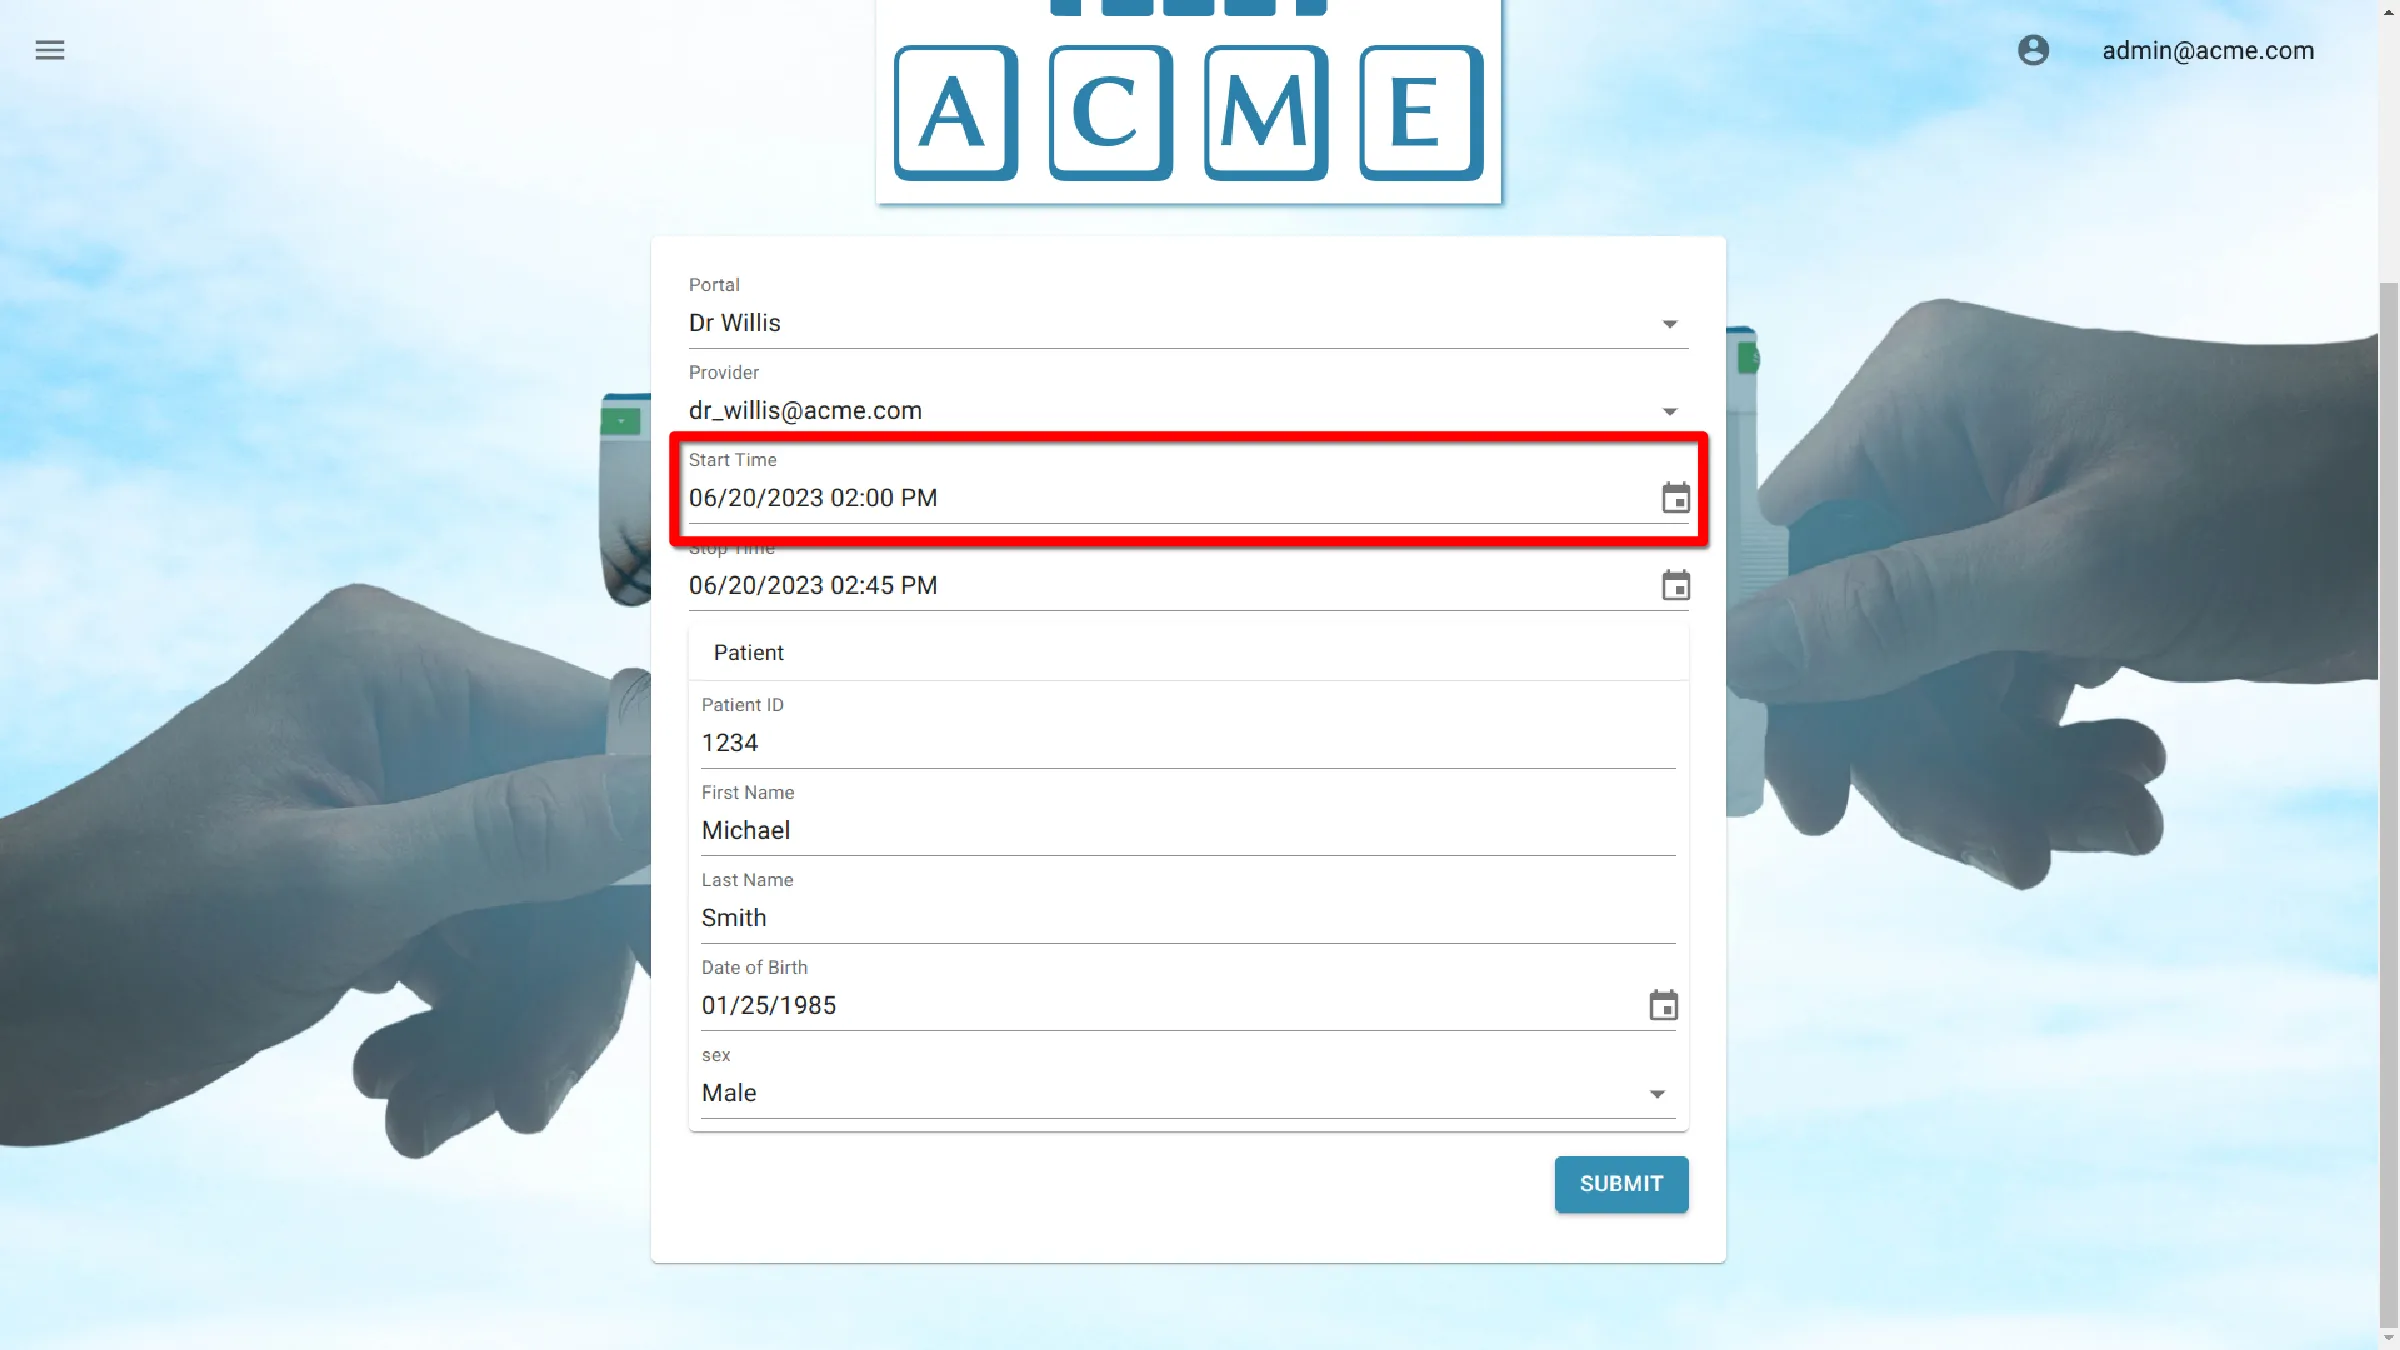
Start Time
Start time indicates when an appointment will start. It defaults to the time initially selected on the calendar, but can be changed. Click the date to reveal calendar and time selection. Here, the appointment time and date can be selected.
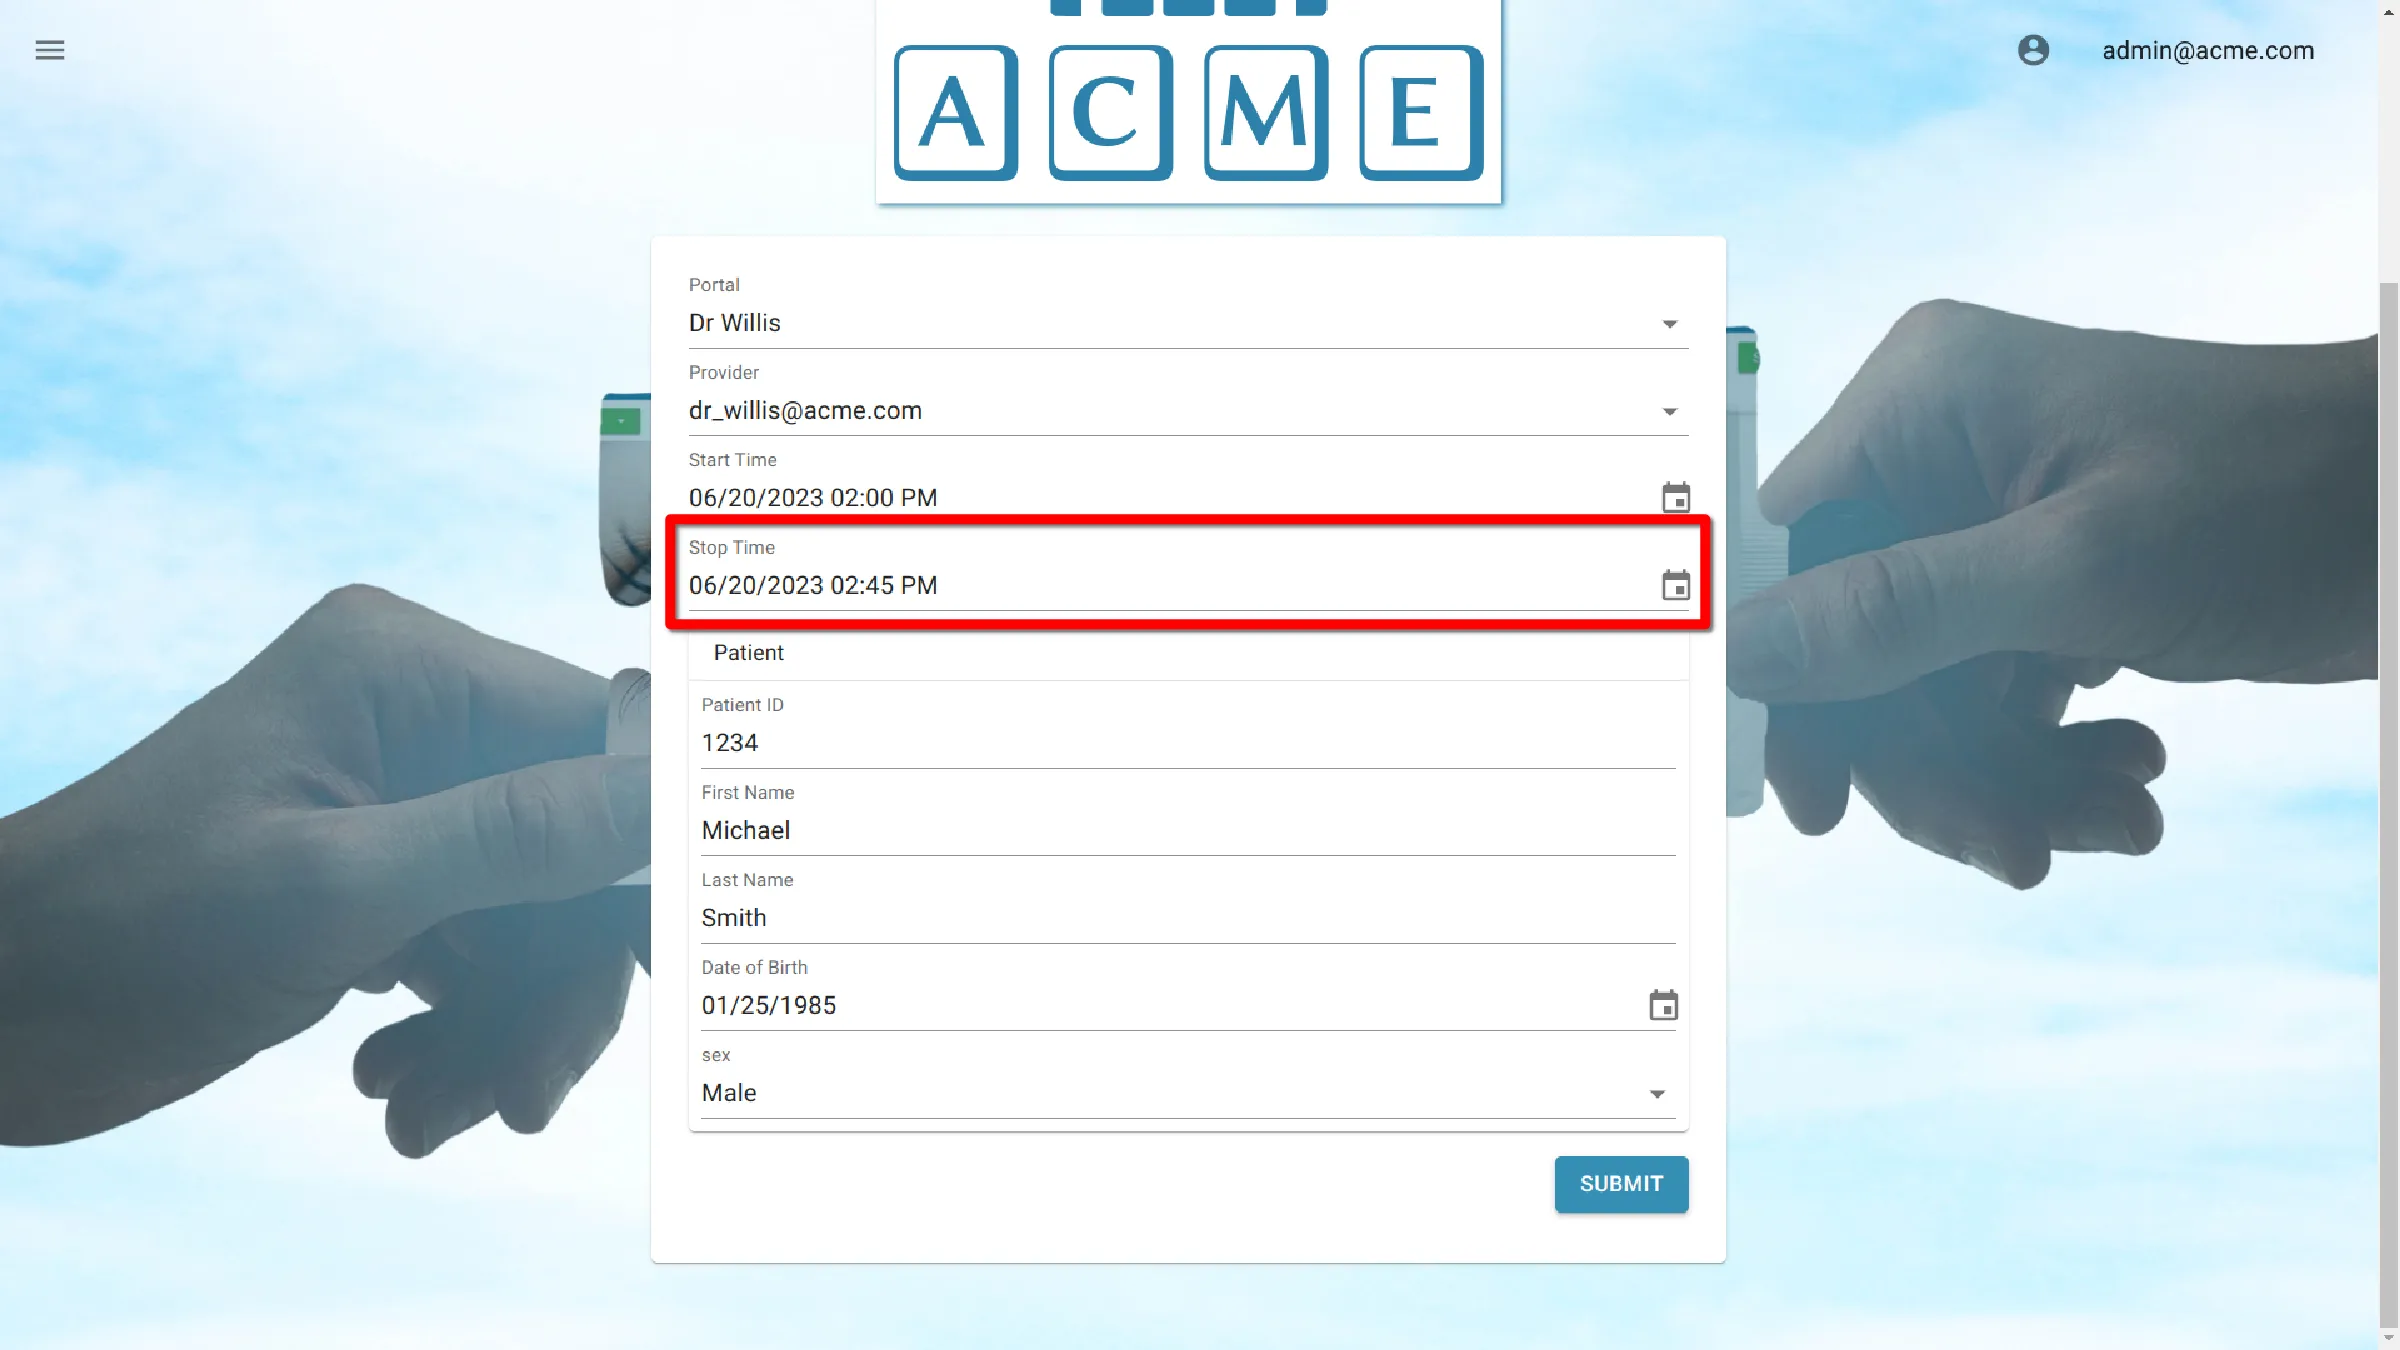
Stop Time
Stop time indicates when an appointment will conclude. It defaults to thirty minutes after the time selected on the calendar, but can be changed. Click the date to reveal calendar and time selection. Here, the appointment stop time can be selected.
Patient Info
Patient information included in this section will automatically populate a session when starting an appointment from the schedule.
Patient ID
Enter Patient ID here
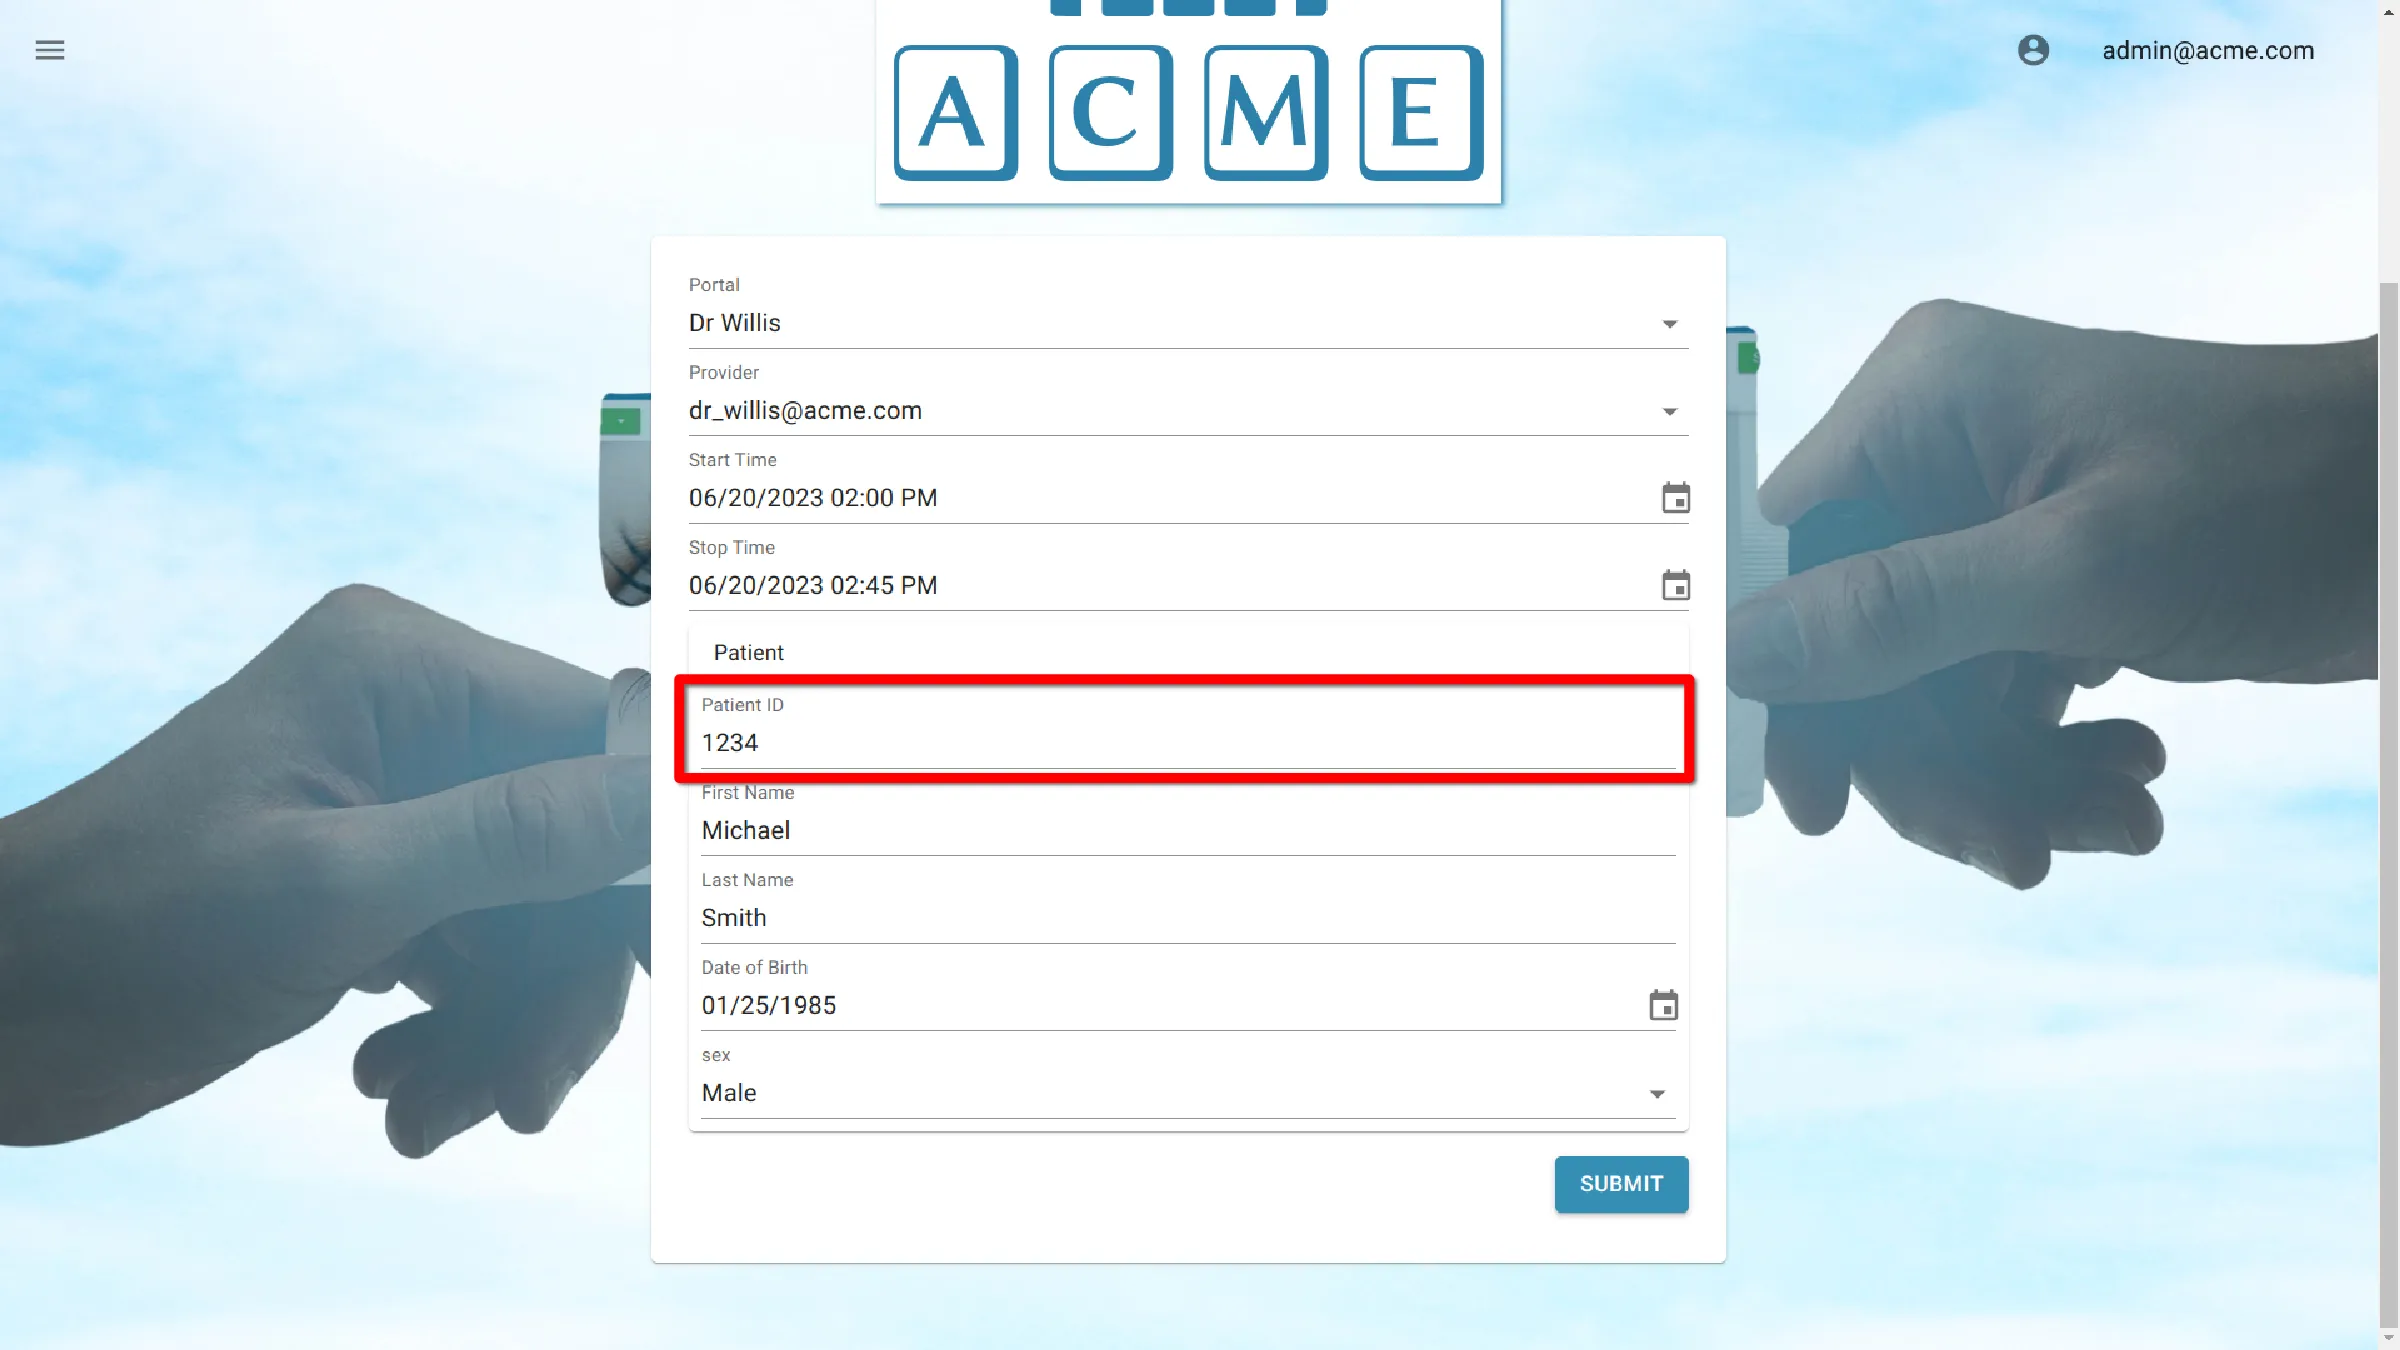
First Name
Enter Patient First Name here
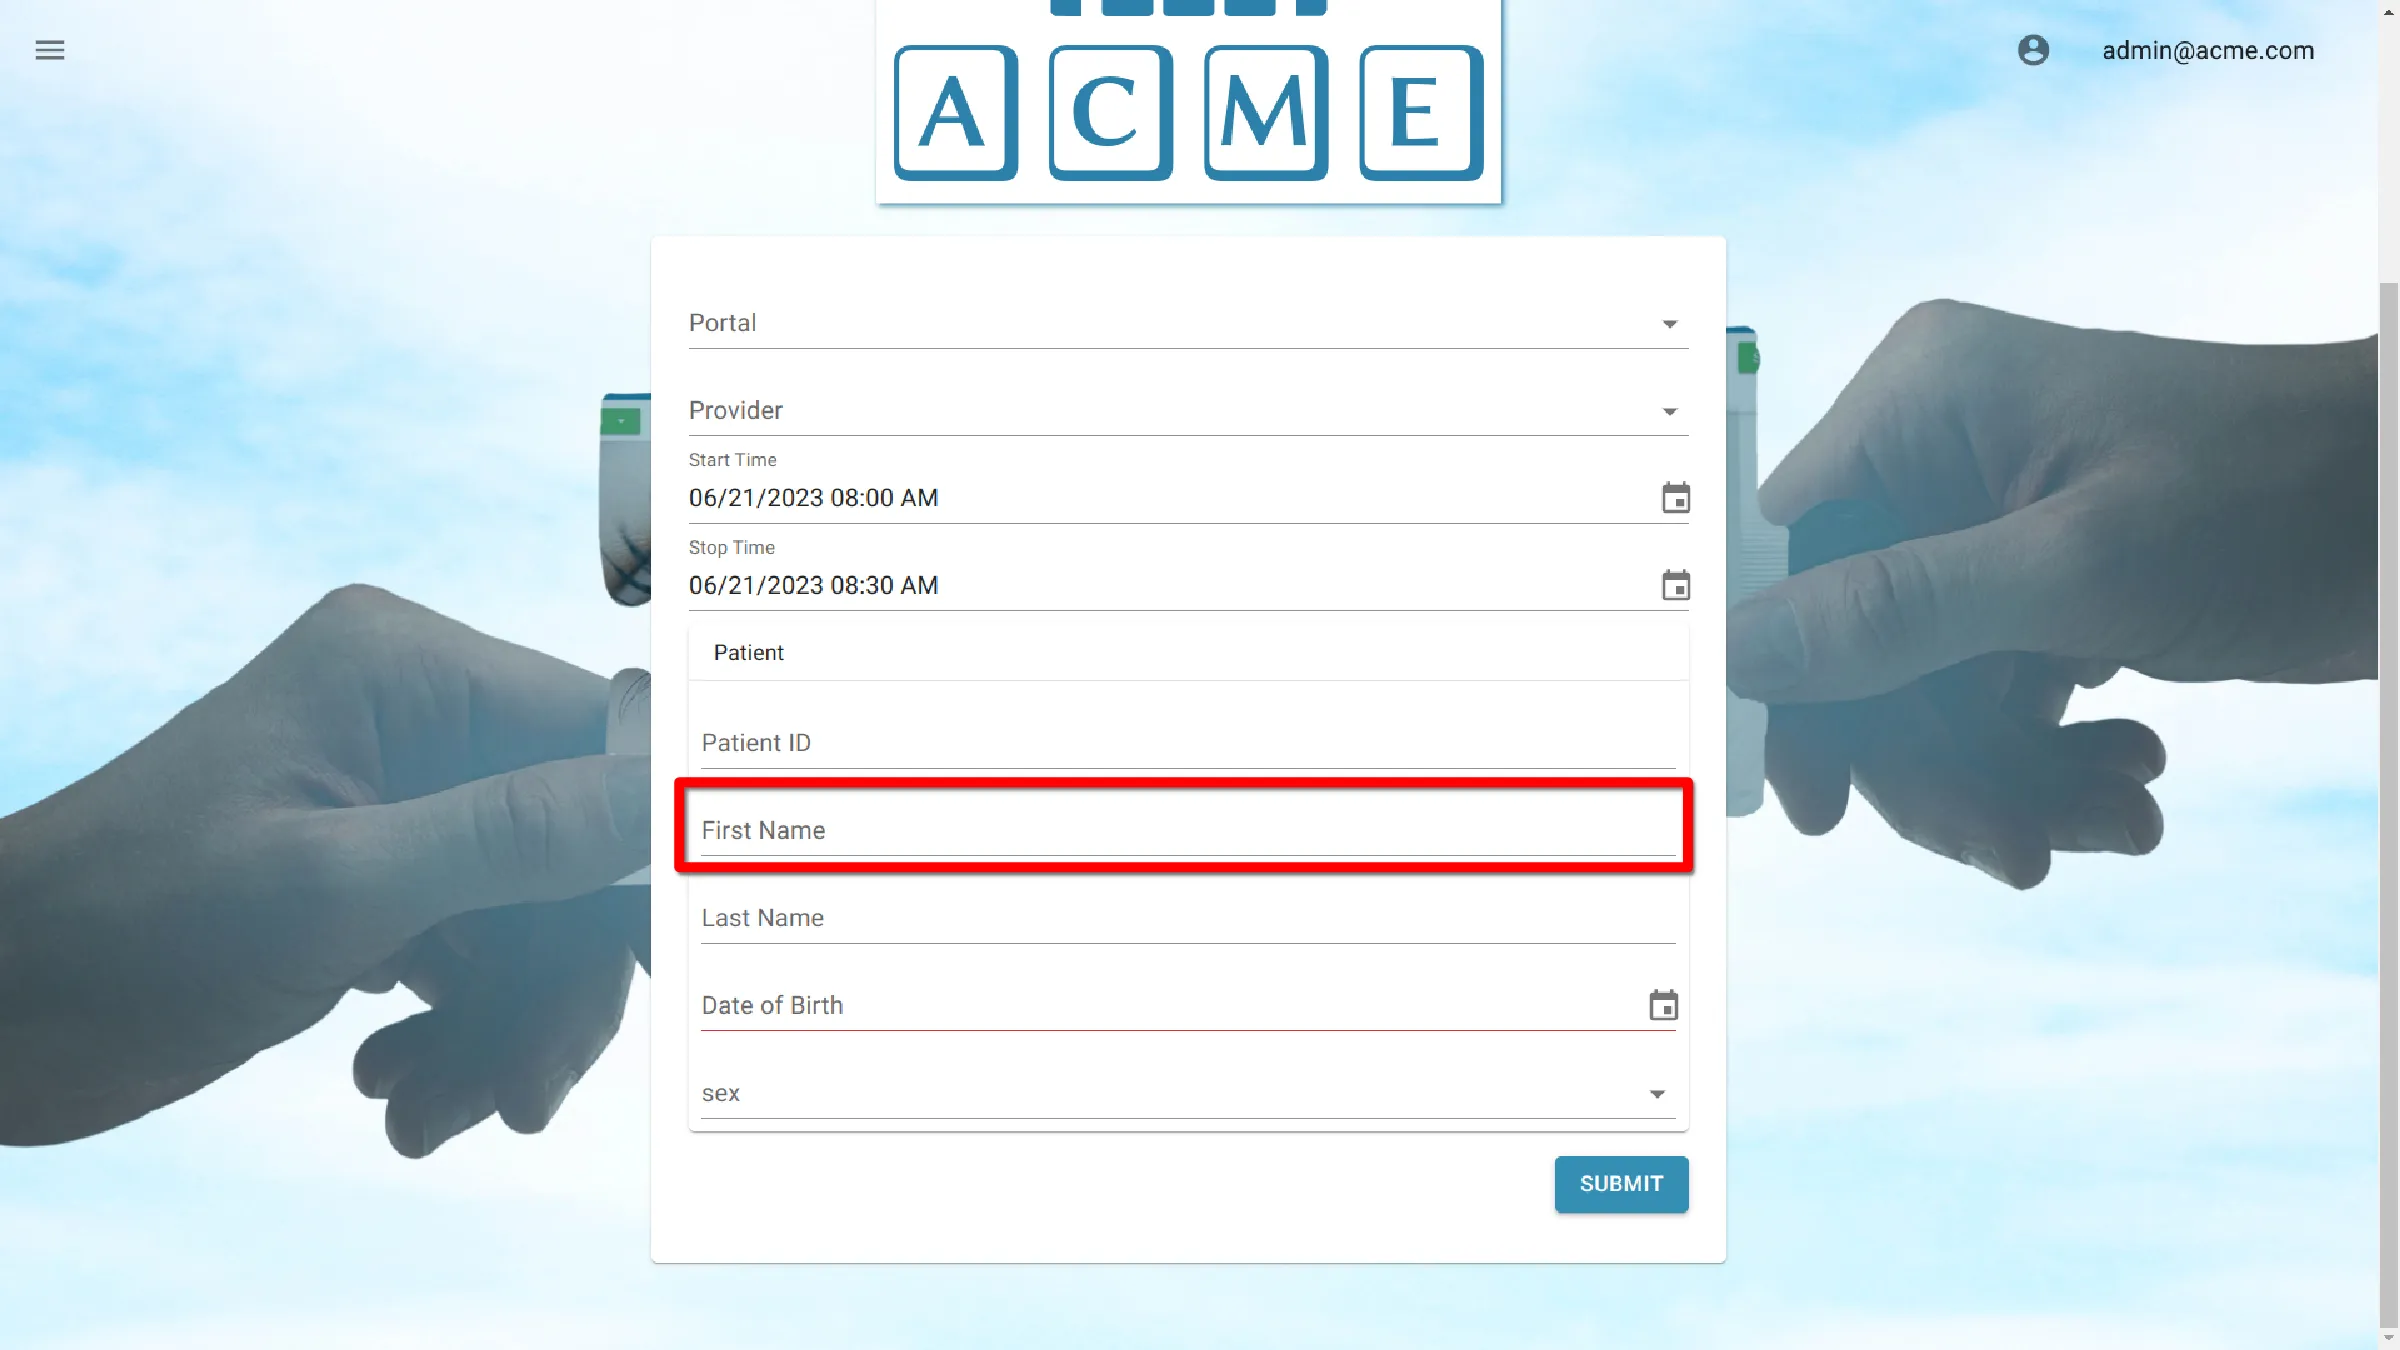
Last Name
Enter Patient Last Name here
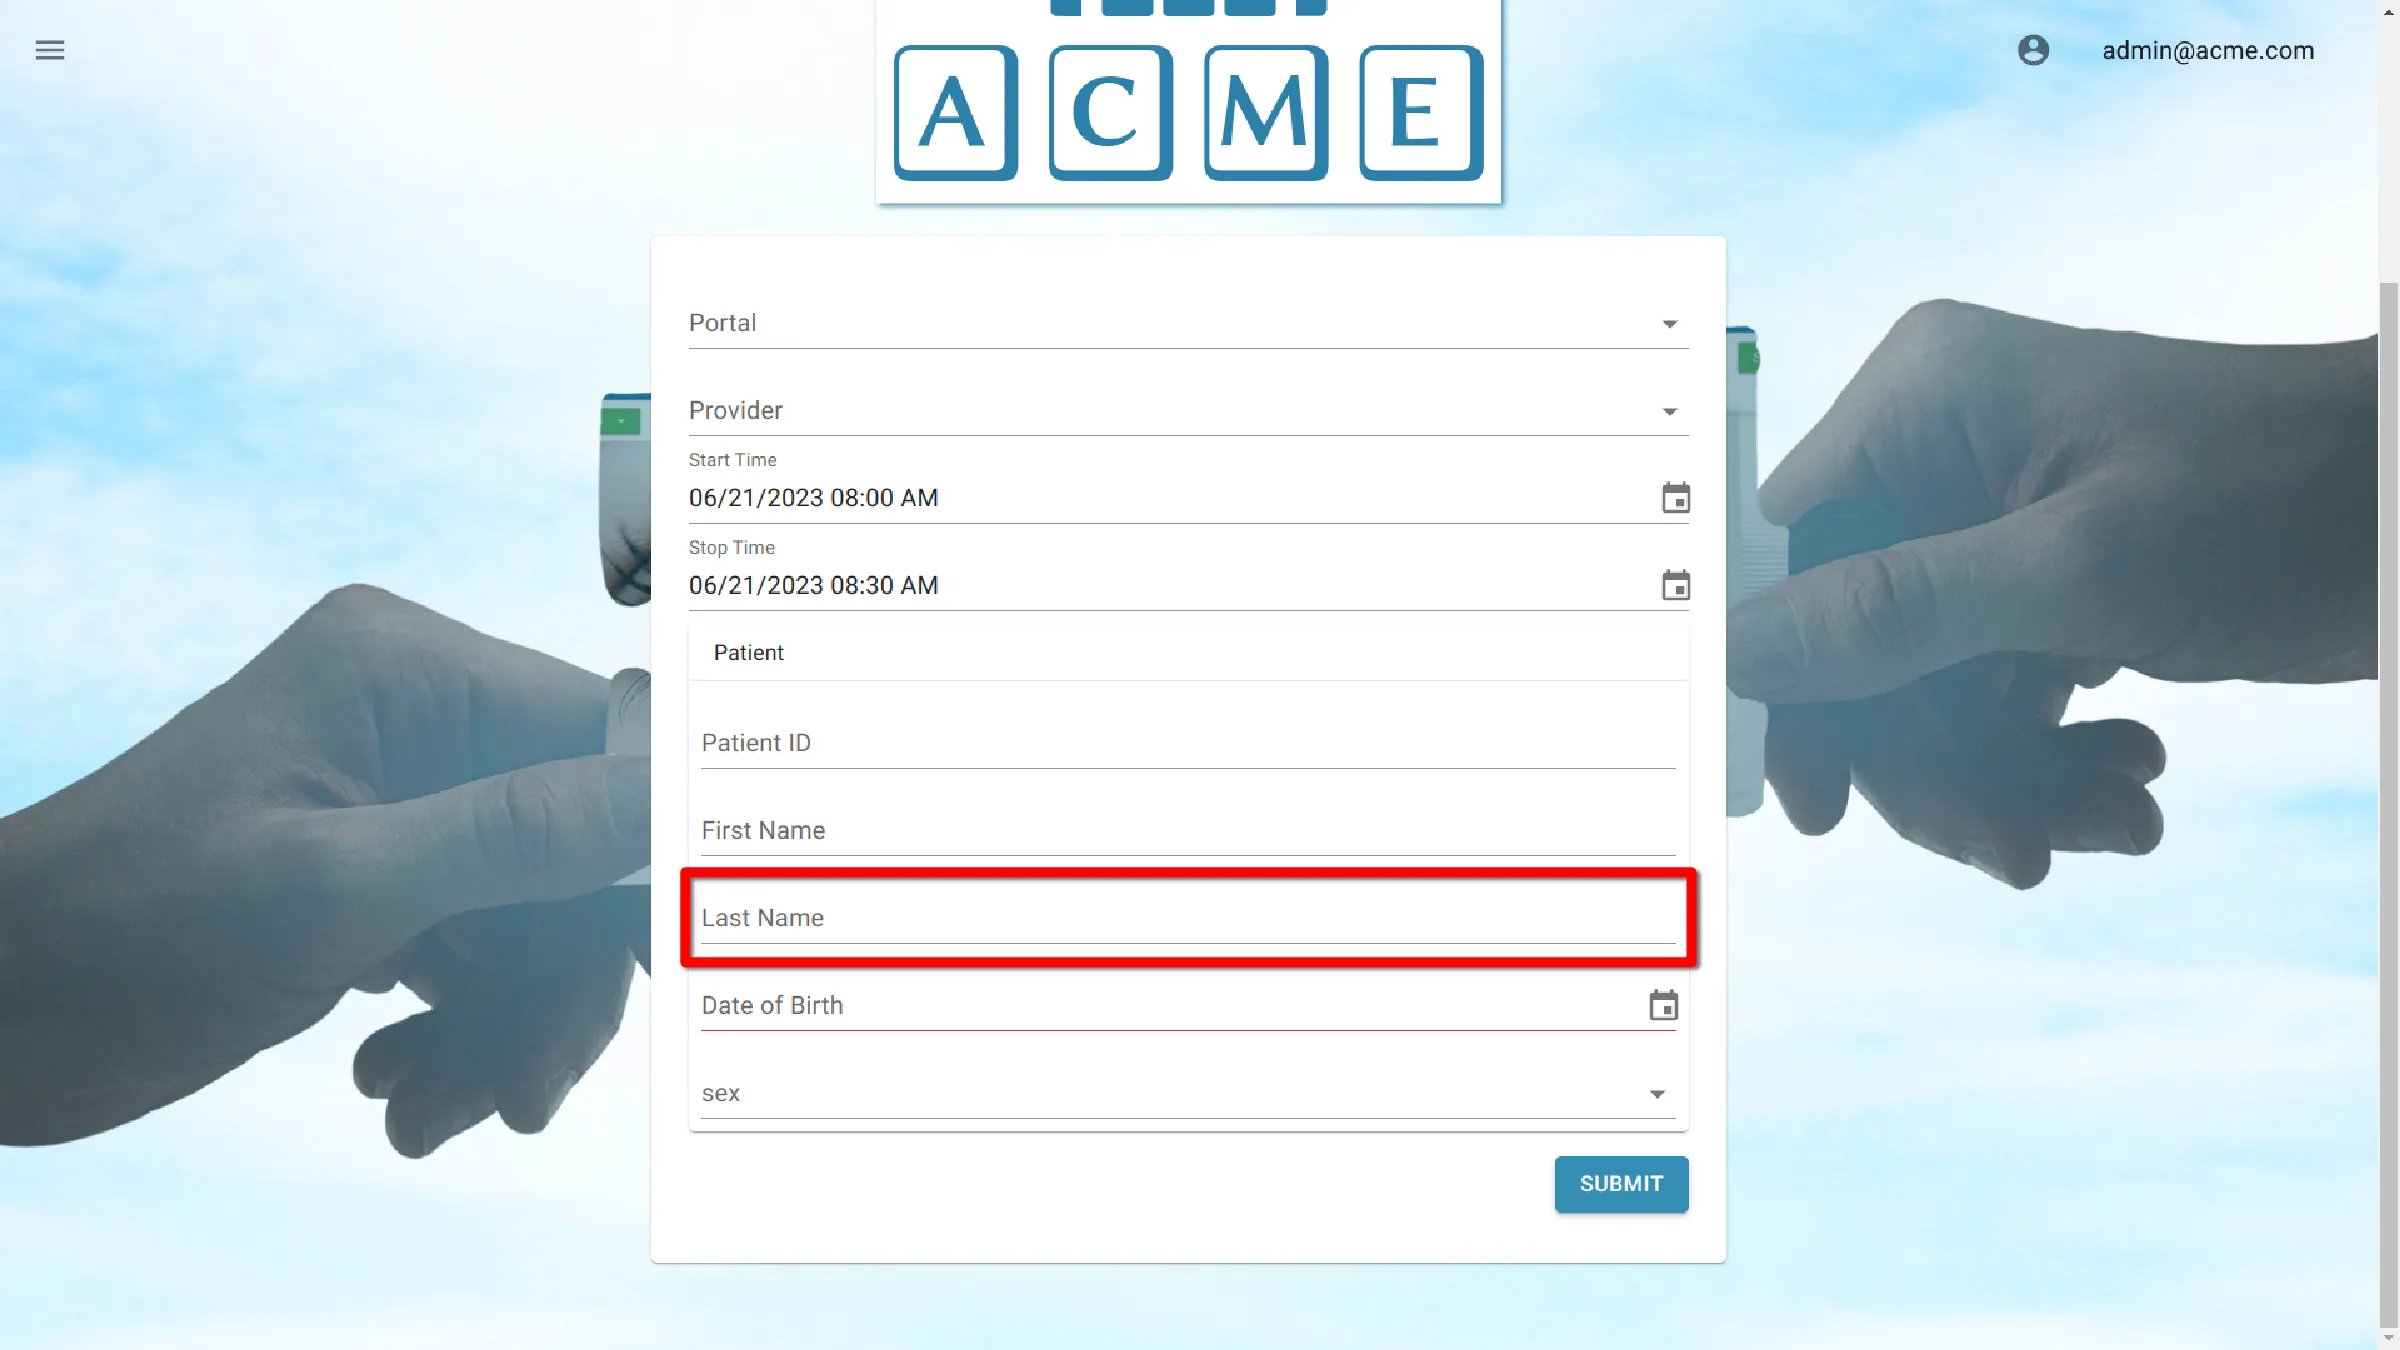
Date of Birth
Use the calendar date picker to enter the user’s birthdate. Click on birthdate to reveal the date picker.
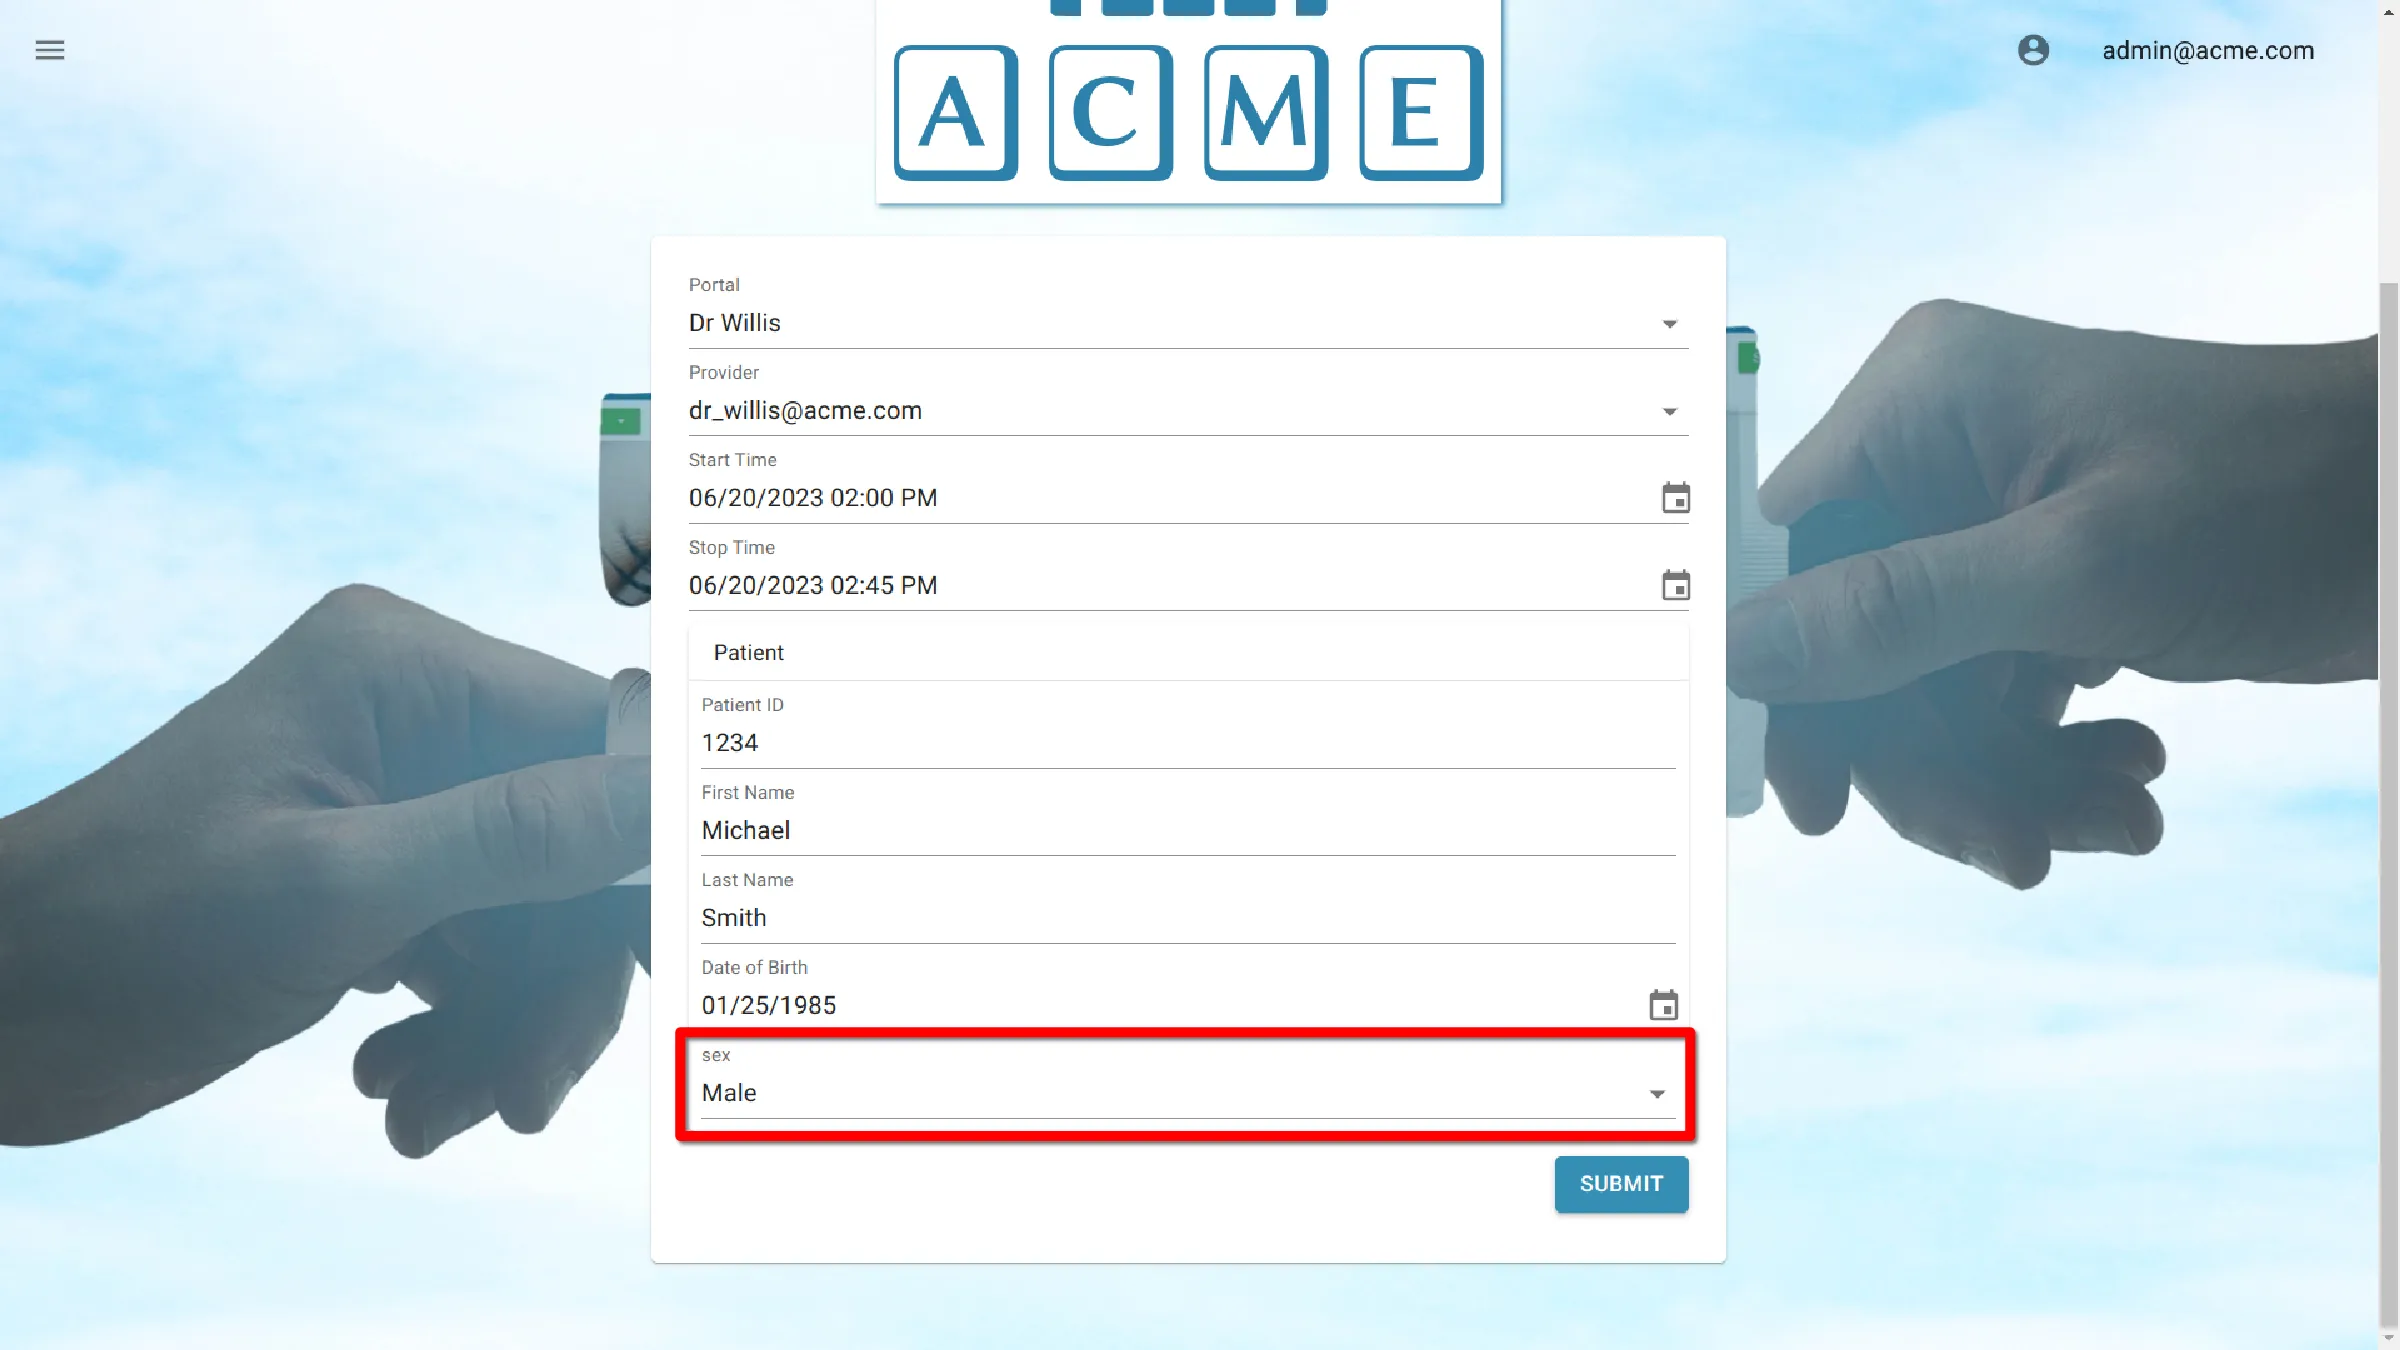
Sex
Click on sex to reveal a dropdown menu to select sex
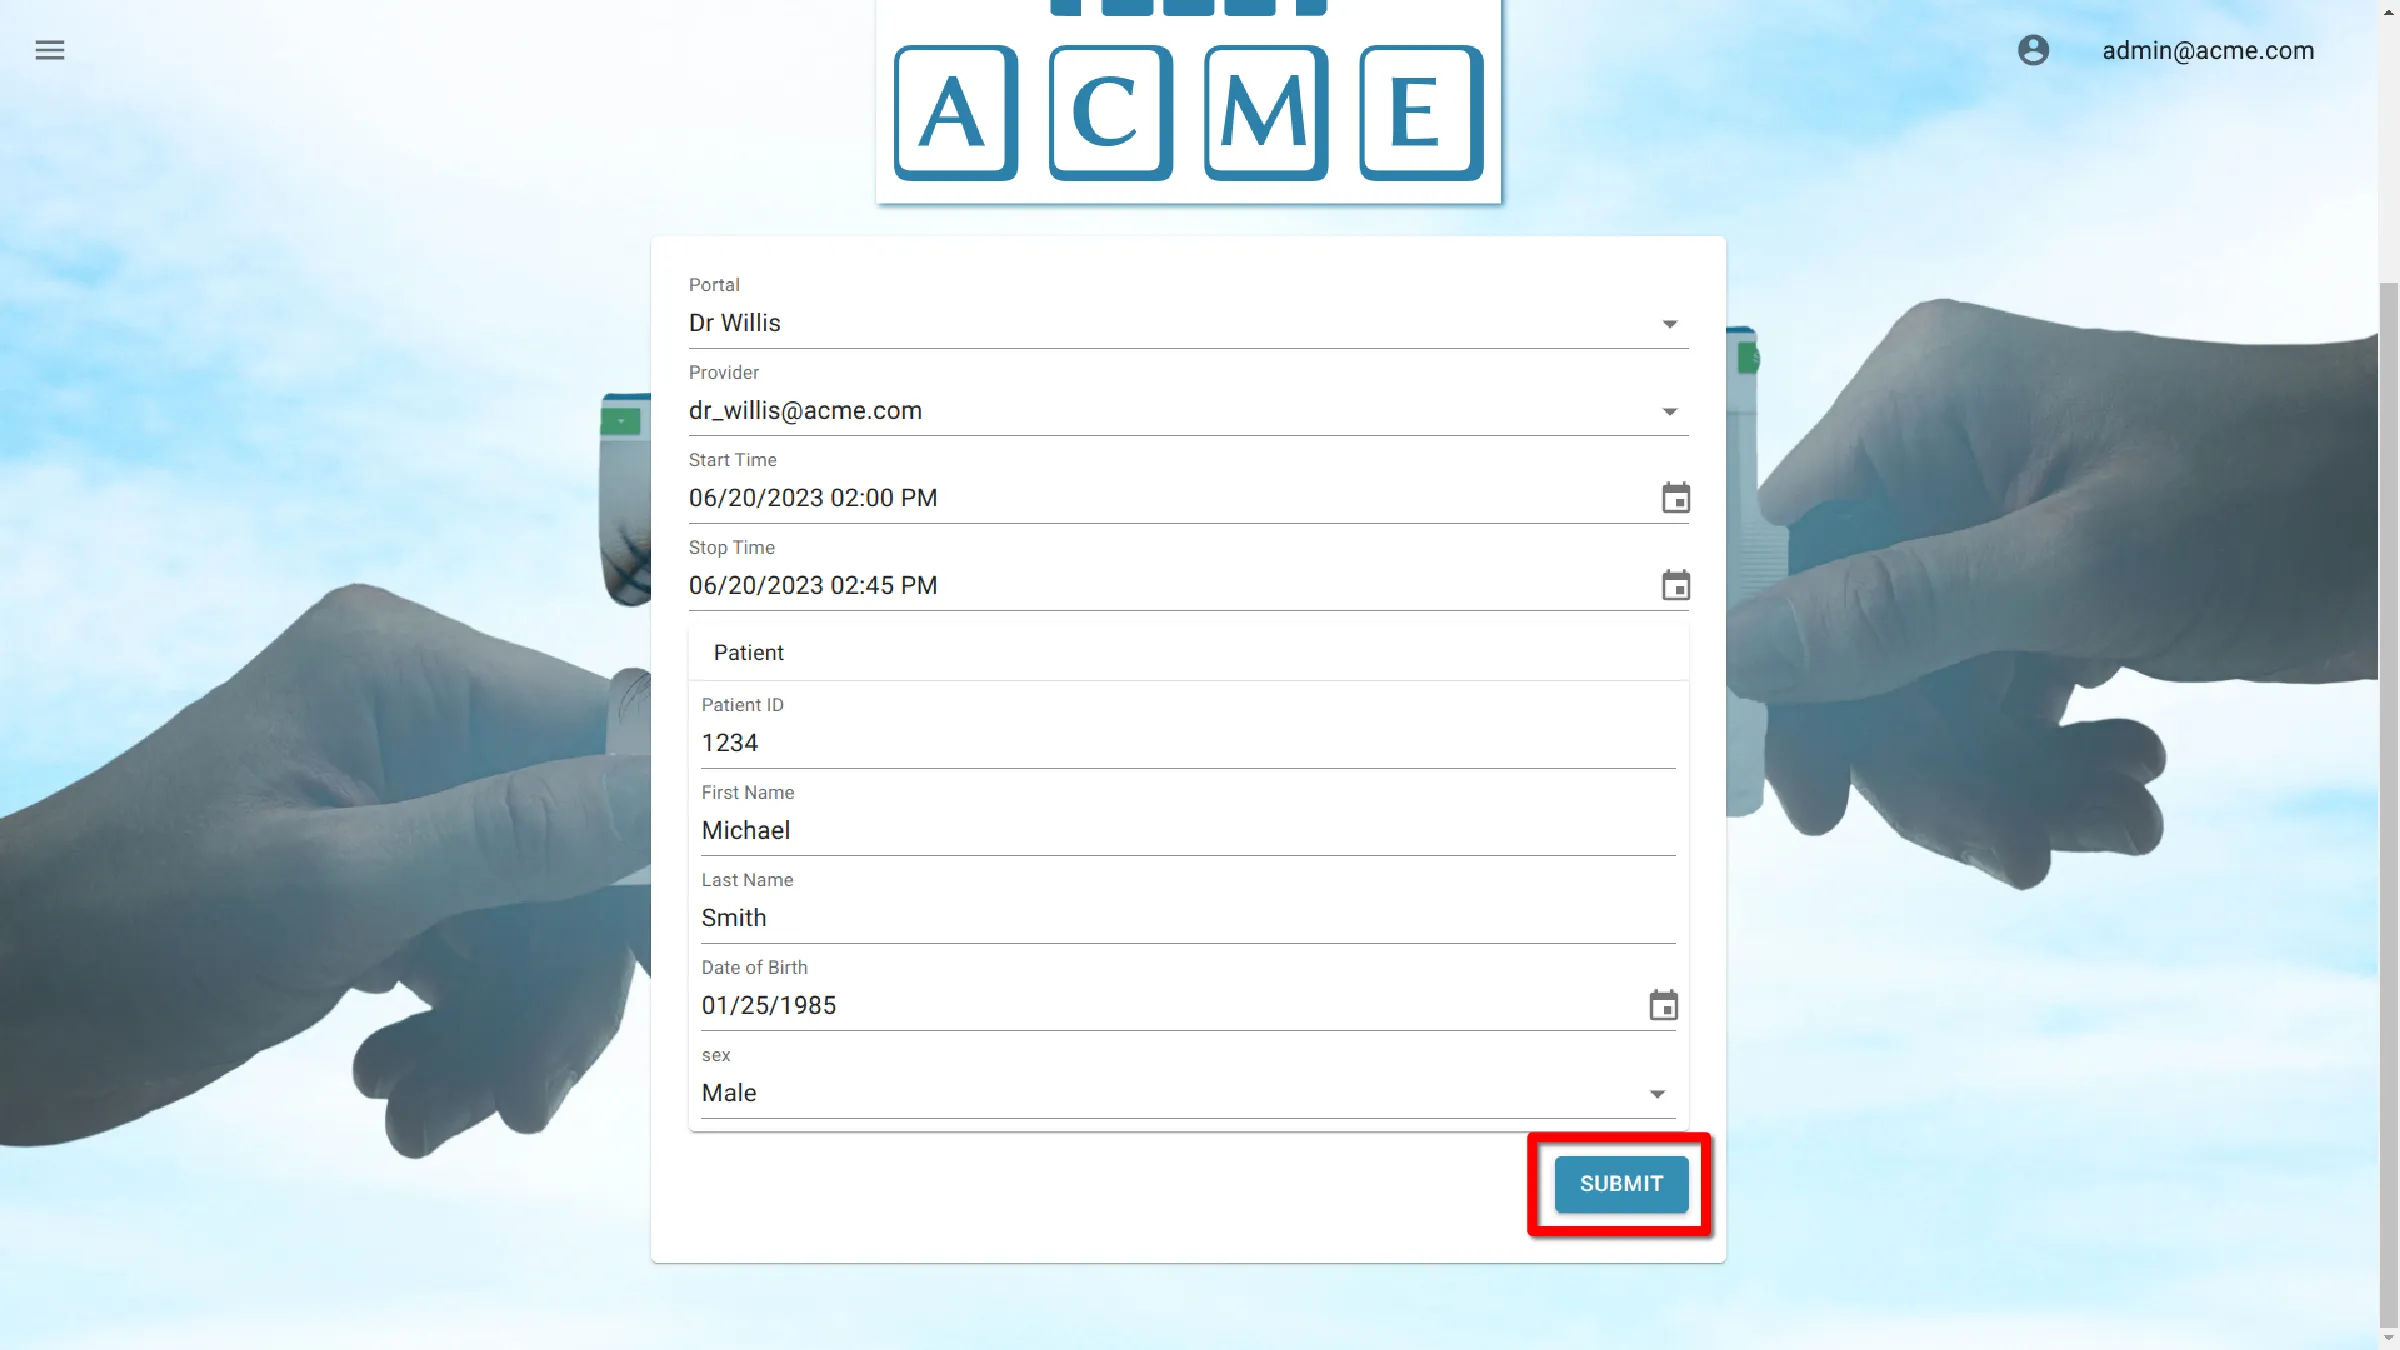
Save
Click Save to save the appointment.
Edit Appointment
Change appointment time or length
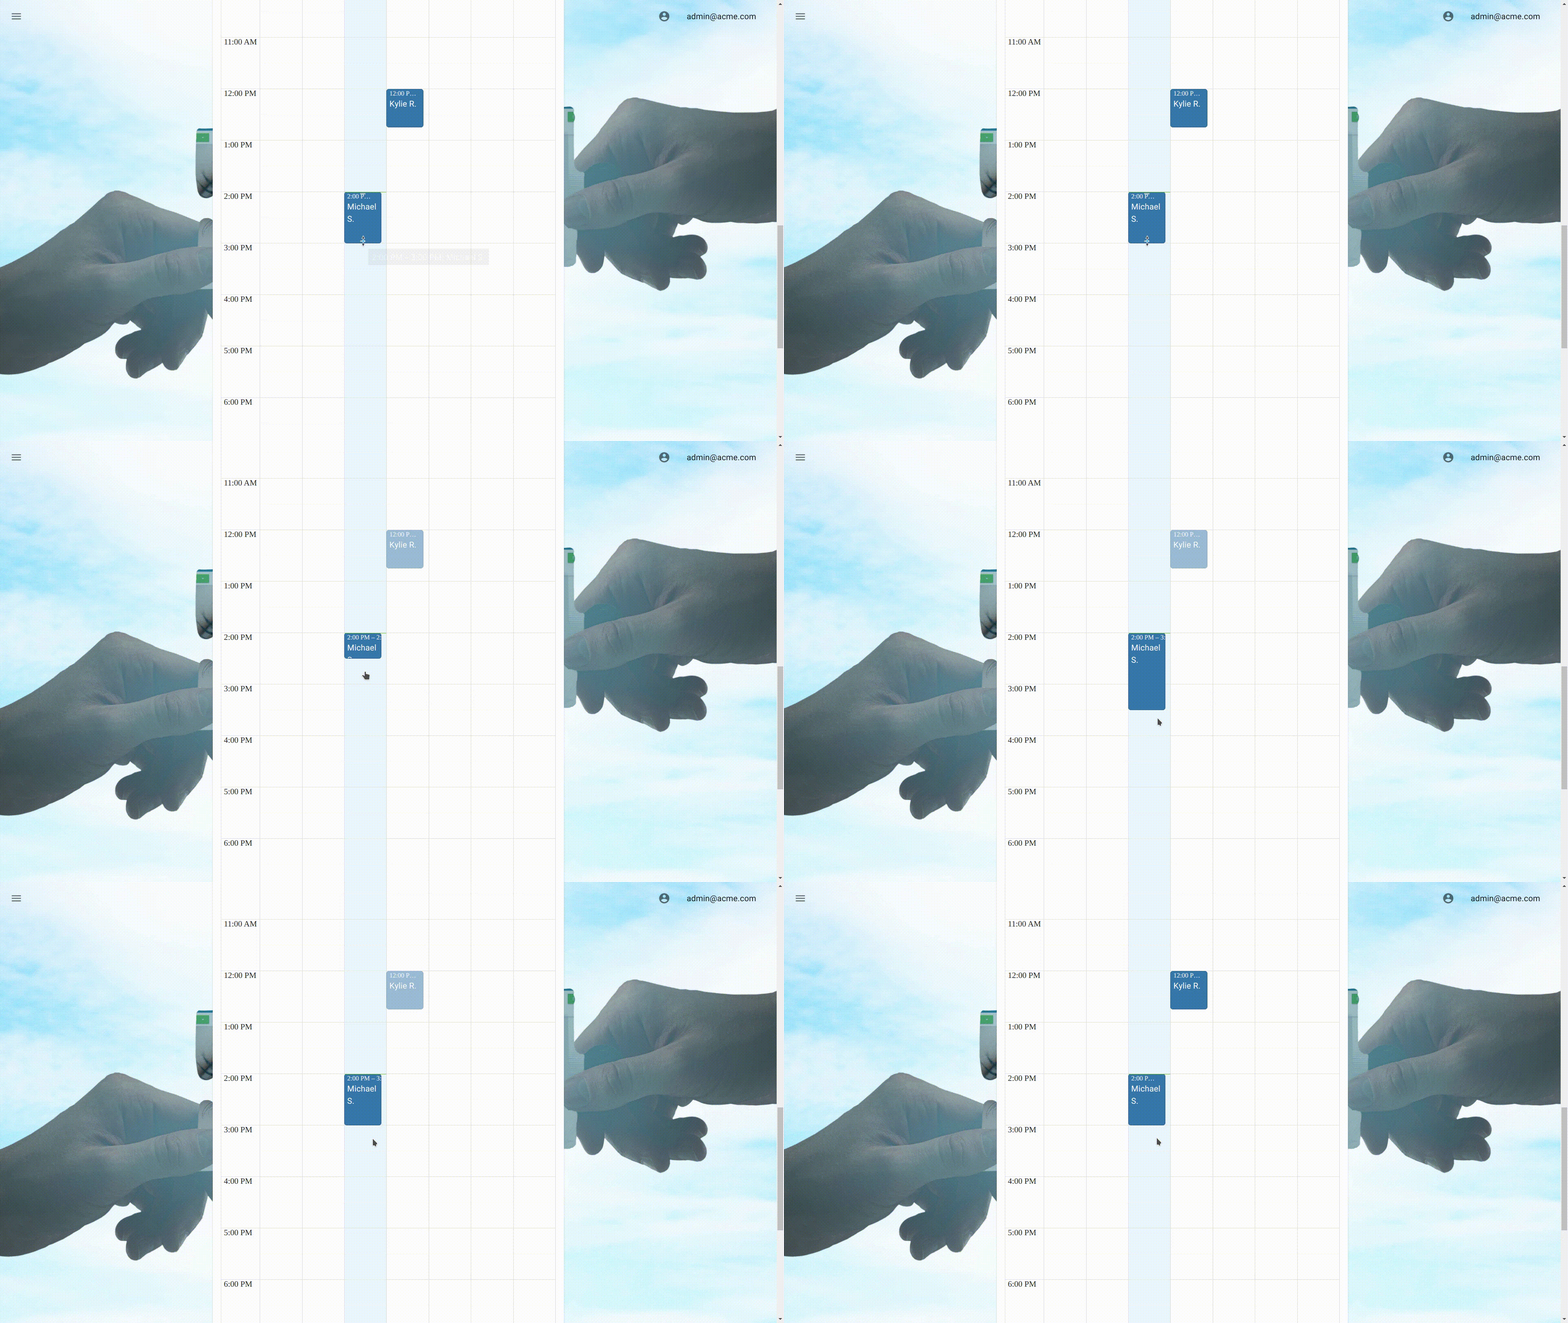
The appointment time and length can changed directly from the calendar overview.
Change appointment length
The length of the appointment can be expanded or shortened by dragging the edges of the appointment.
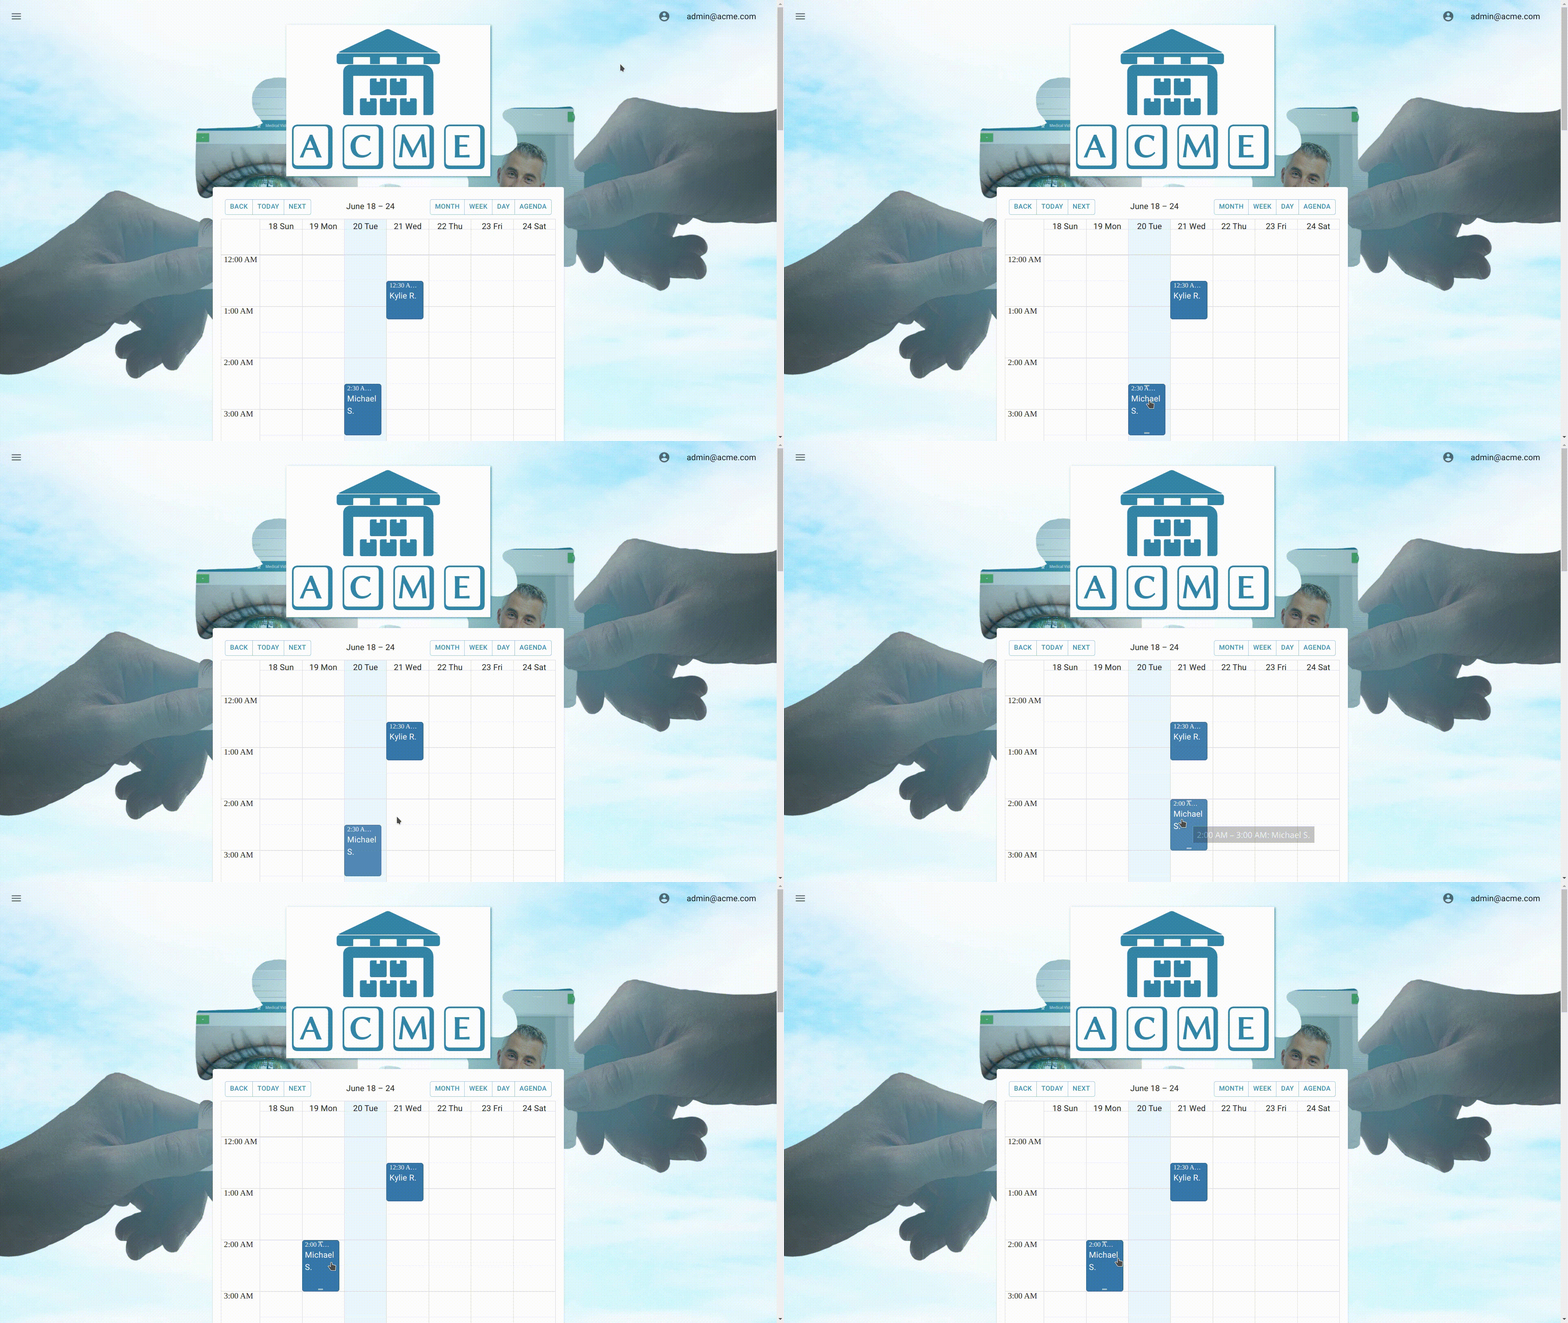
Change appointment time
The placement of the appointment can be dragged and dropped across dates and times. Drop the appointment into the desired location.
Edit Appointment Screen
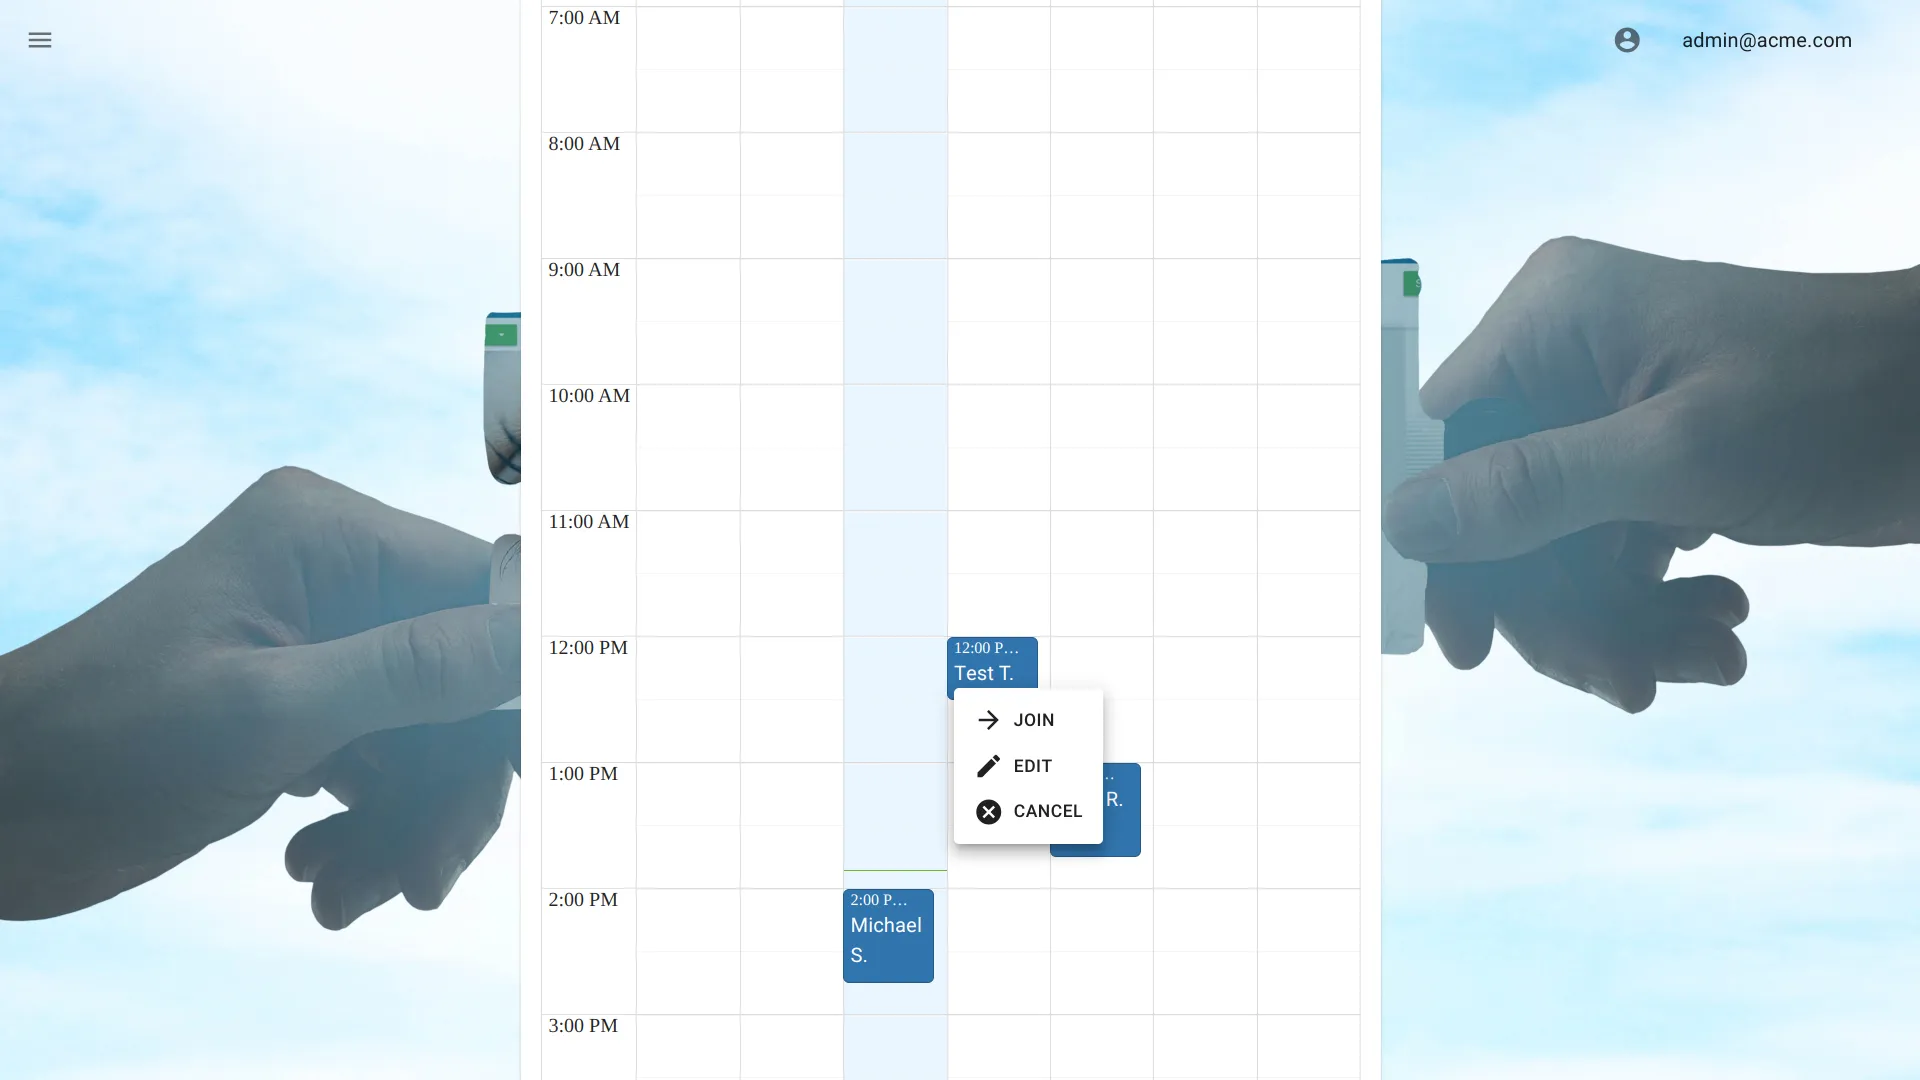
To edit an existing appointment, right-click on the patient name displayed on the appointment from the calendar overview. Select Edit to bring up the edit appointment screen.
Join Appointment
Users may join an appointment from the schedule view or from the home screen.