Locations
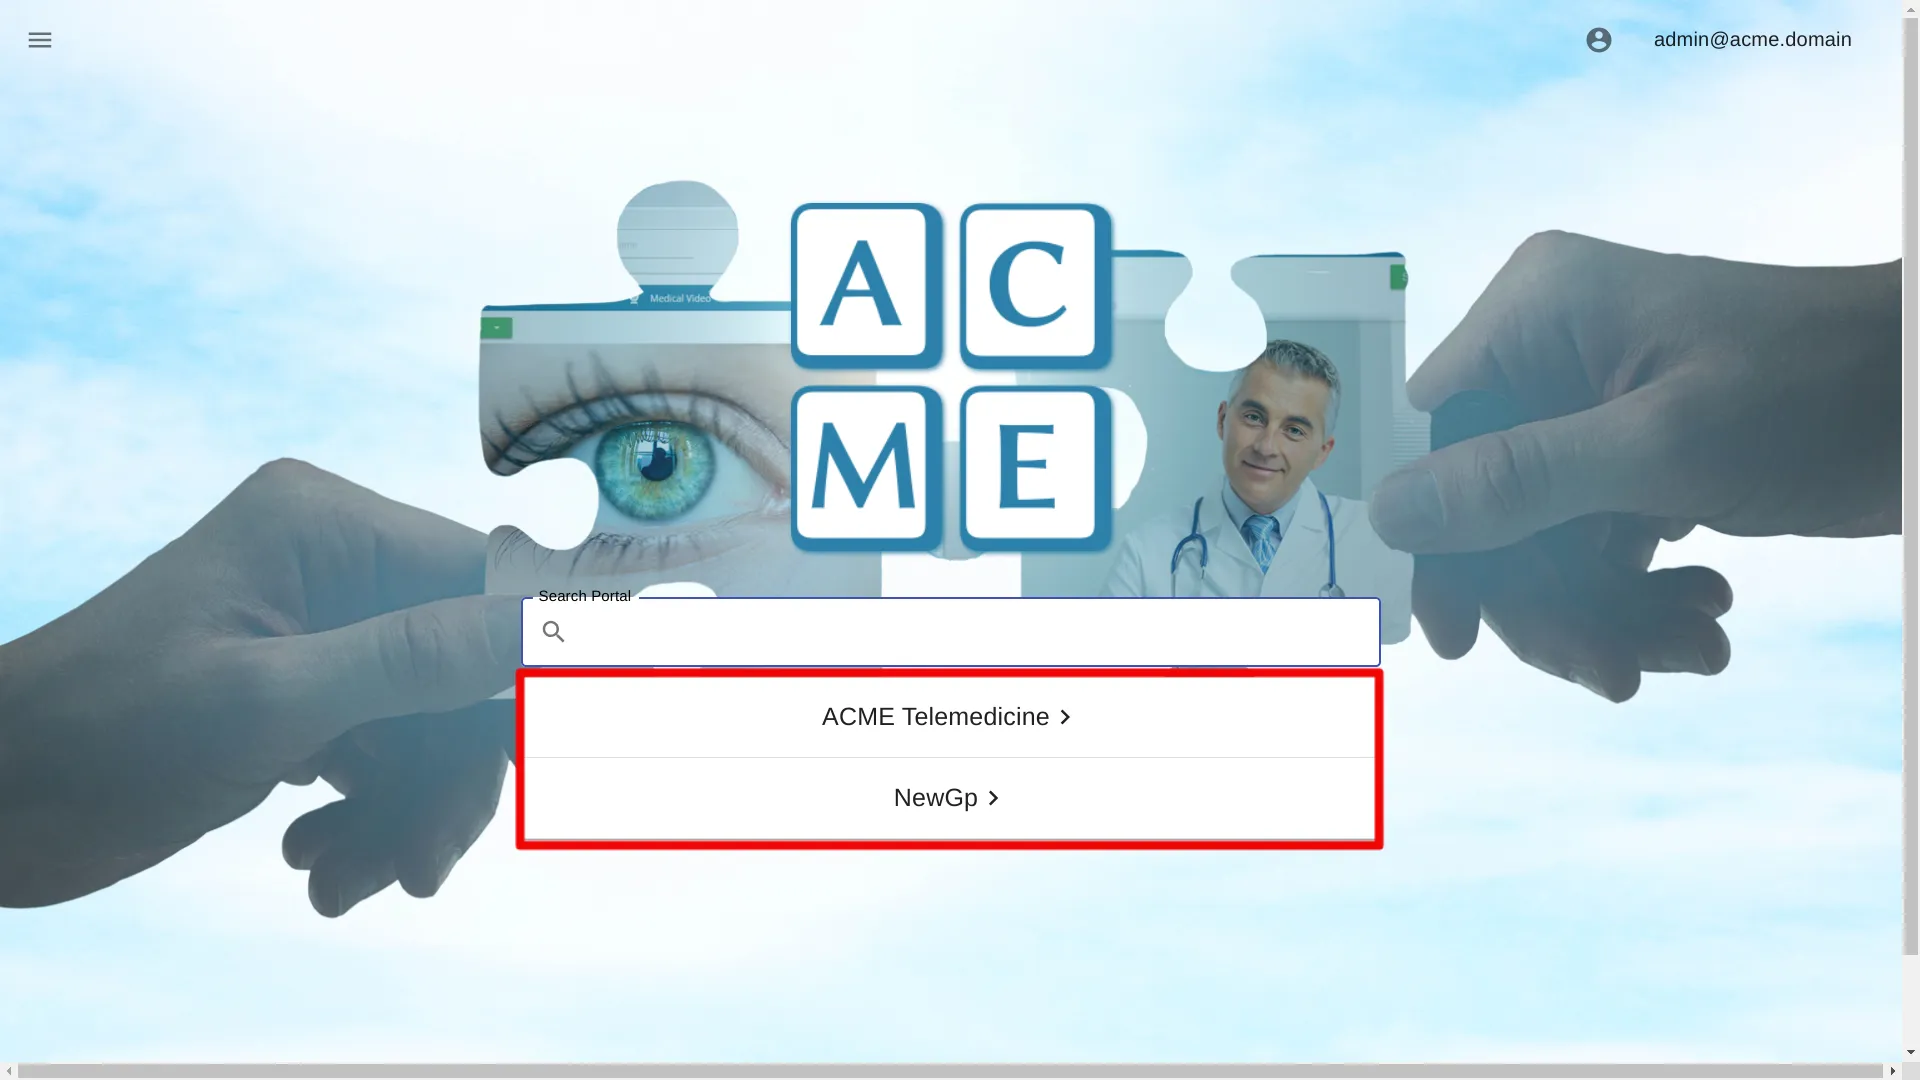
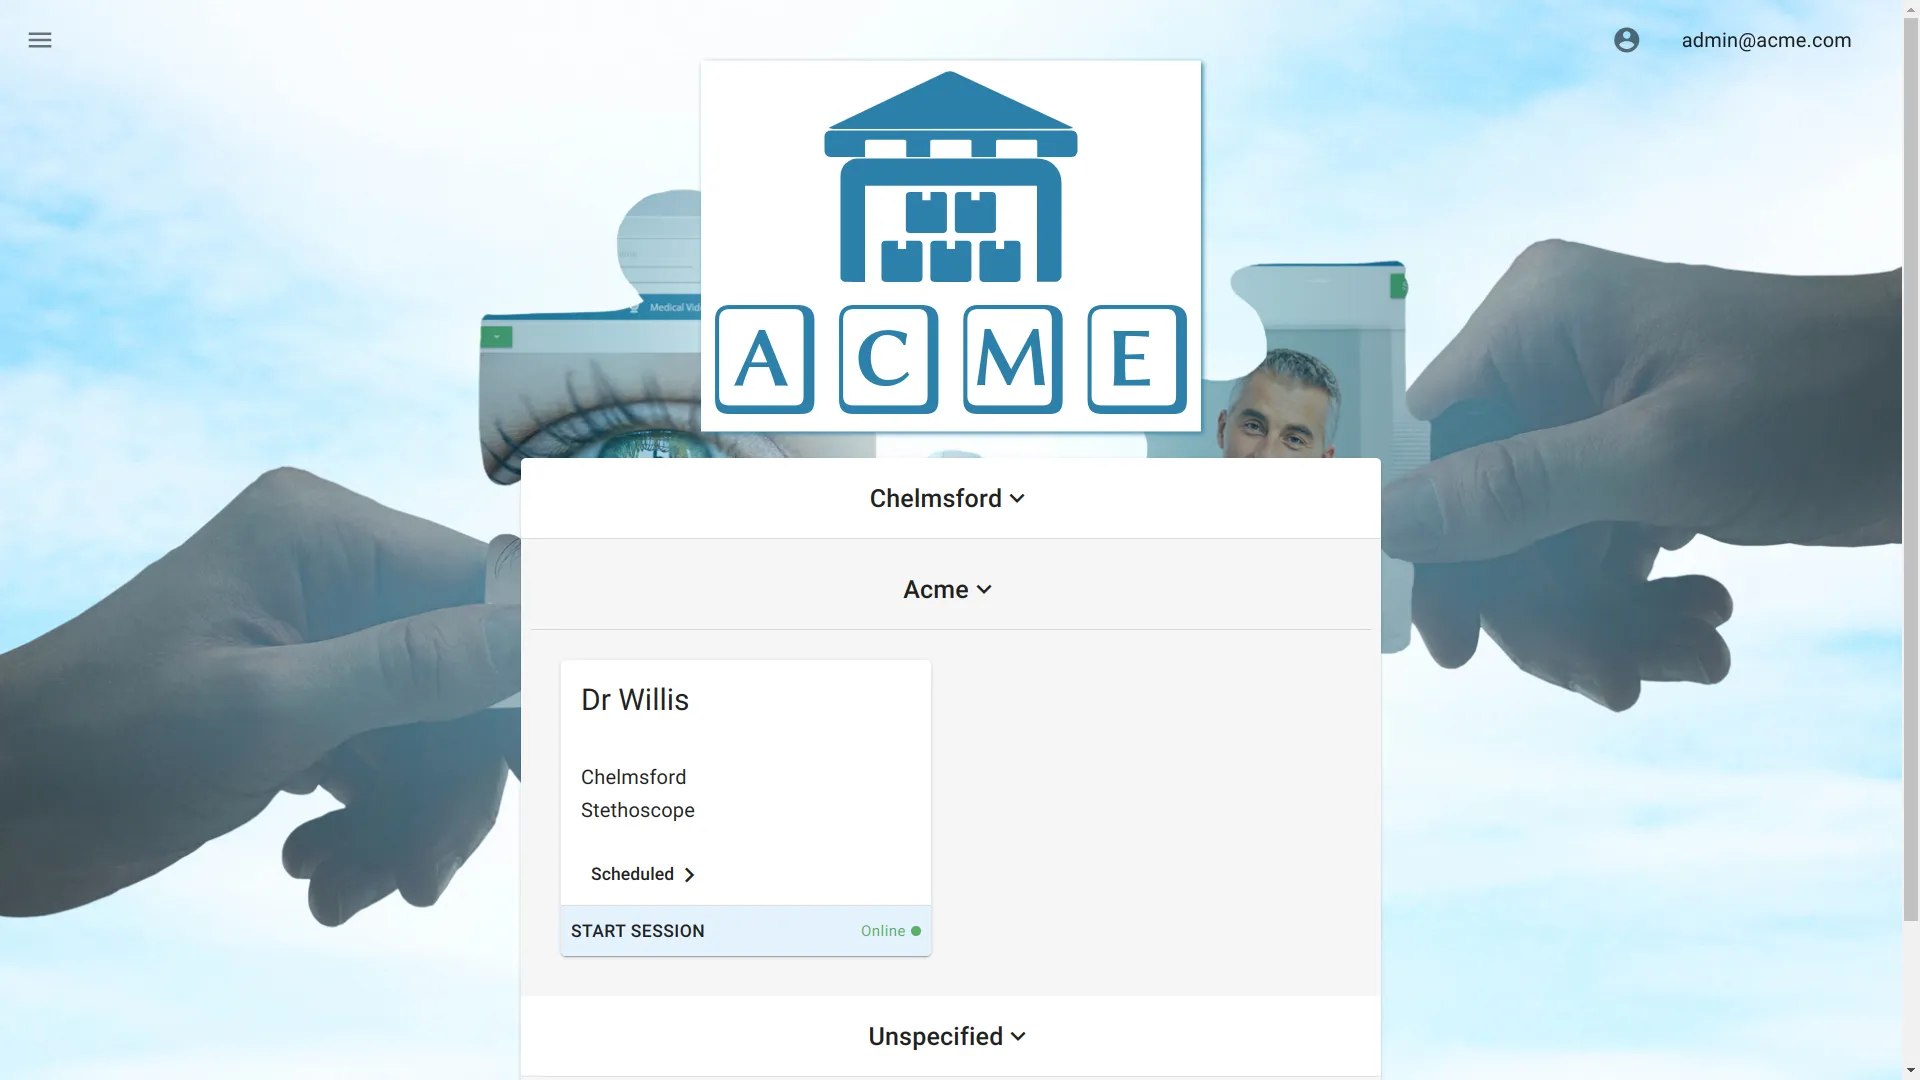
When managing facilities across multiple states or provinces, grouping them by location can assist in locating the appropriate facility.
This setting applies to all portals within the organization. Configuring this setting for a particular portal will override the organization-wide value.
The following instructions provide a step-by-step guide on how to configure this setting.
Navigate to Organization Settings
Open Site Manager
To edit this setting, the logged-in user account must have an administrator role.
Right-click the AGNES Connect icon in the system tray and select Site Manager.


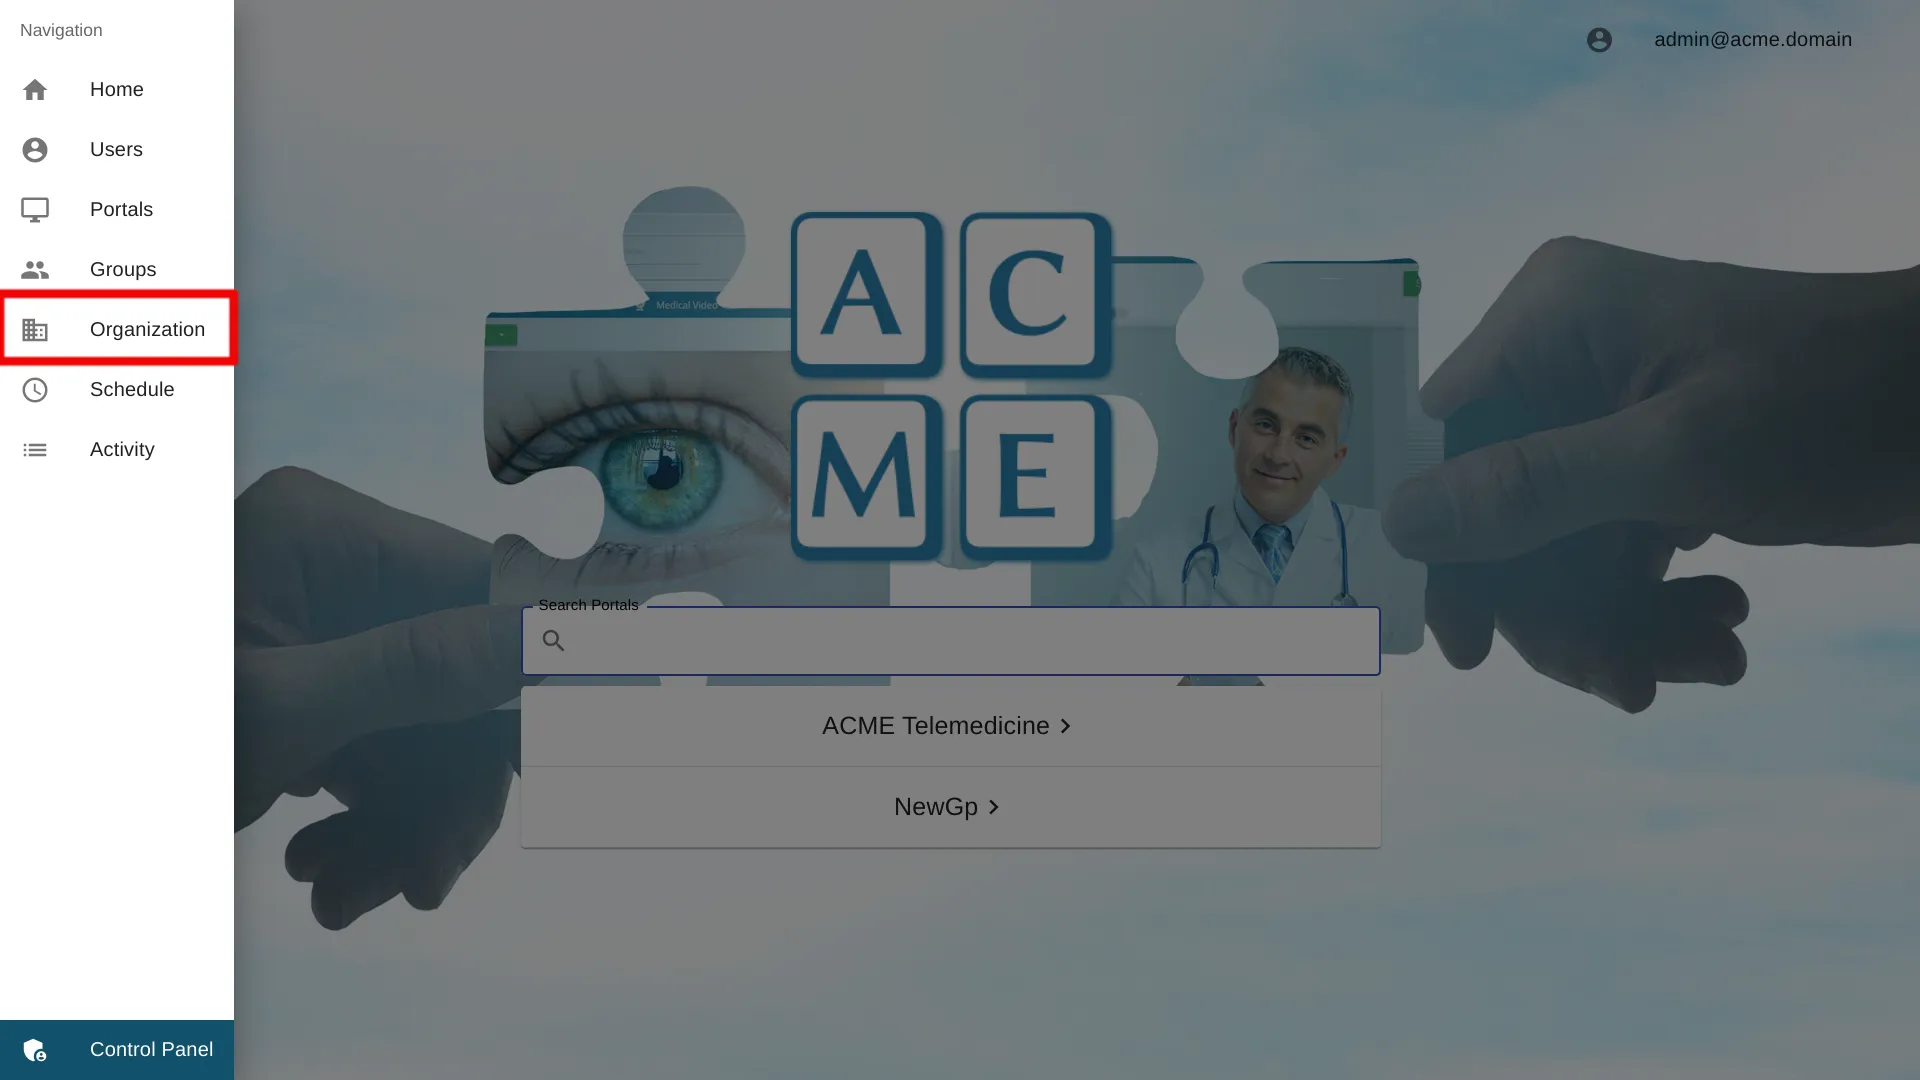
Select Organization from the navigation bar
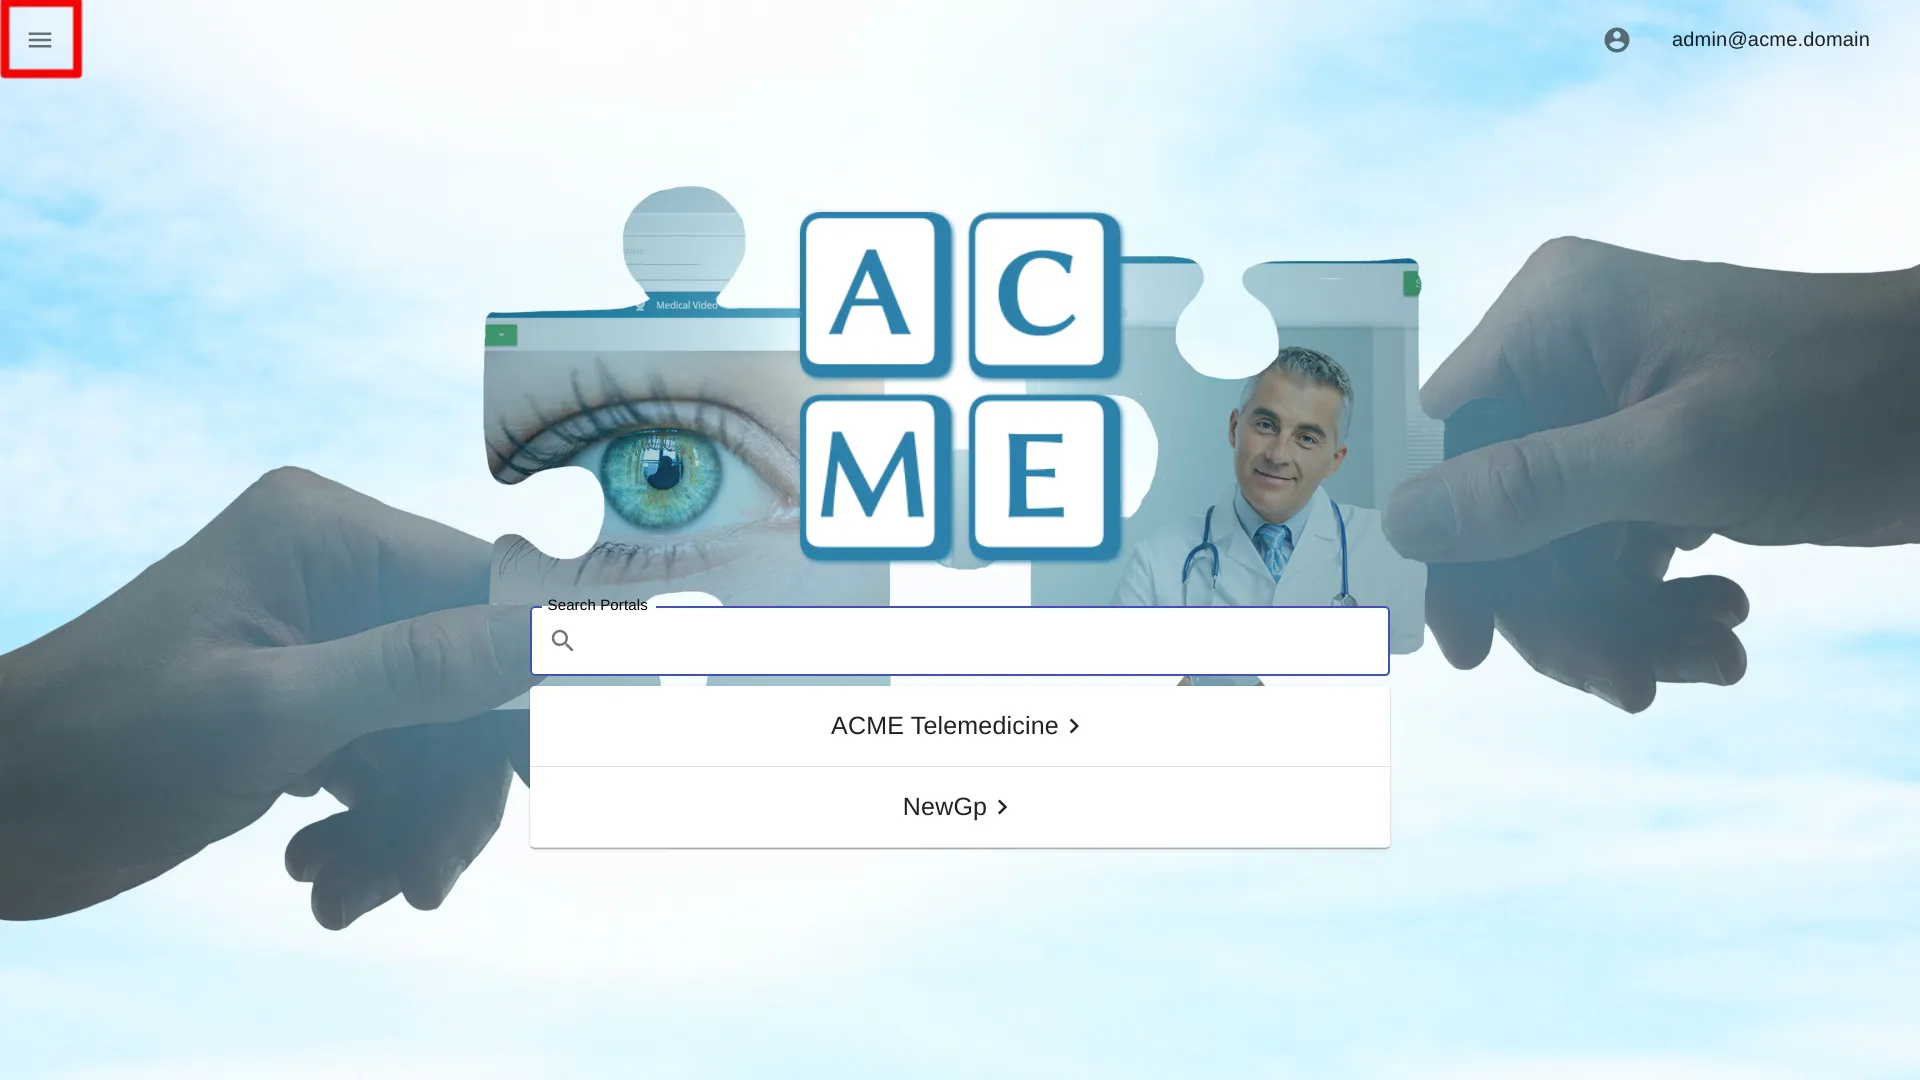
Click the ’≡’ icon in the top left of the home screen, and select Organization from the navigation bar. If the option is not available, ensure the logged in user account has the administrator role.
Enable Location Filtering
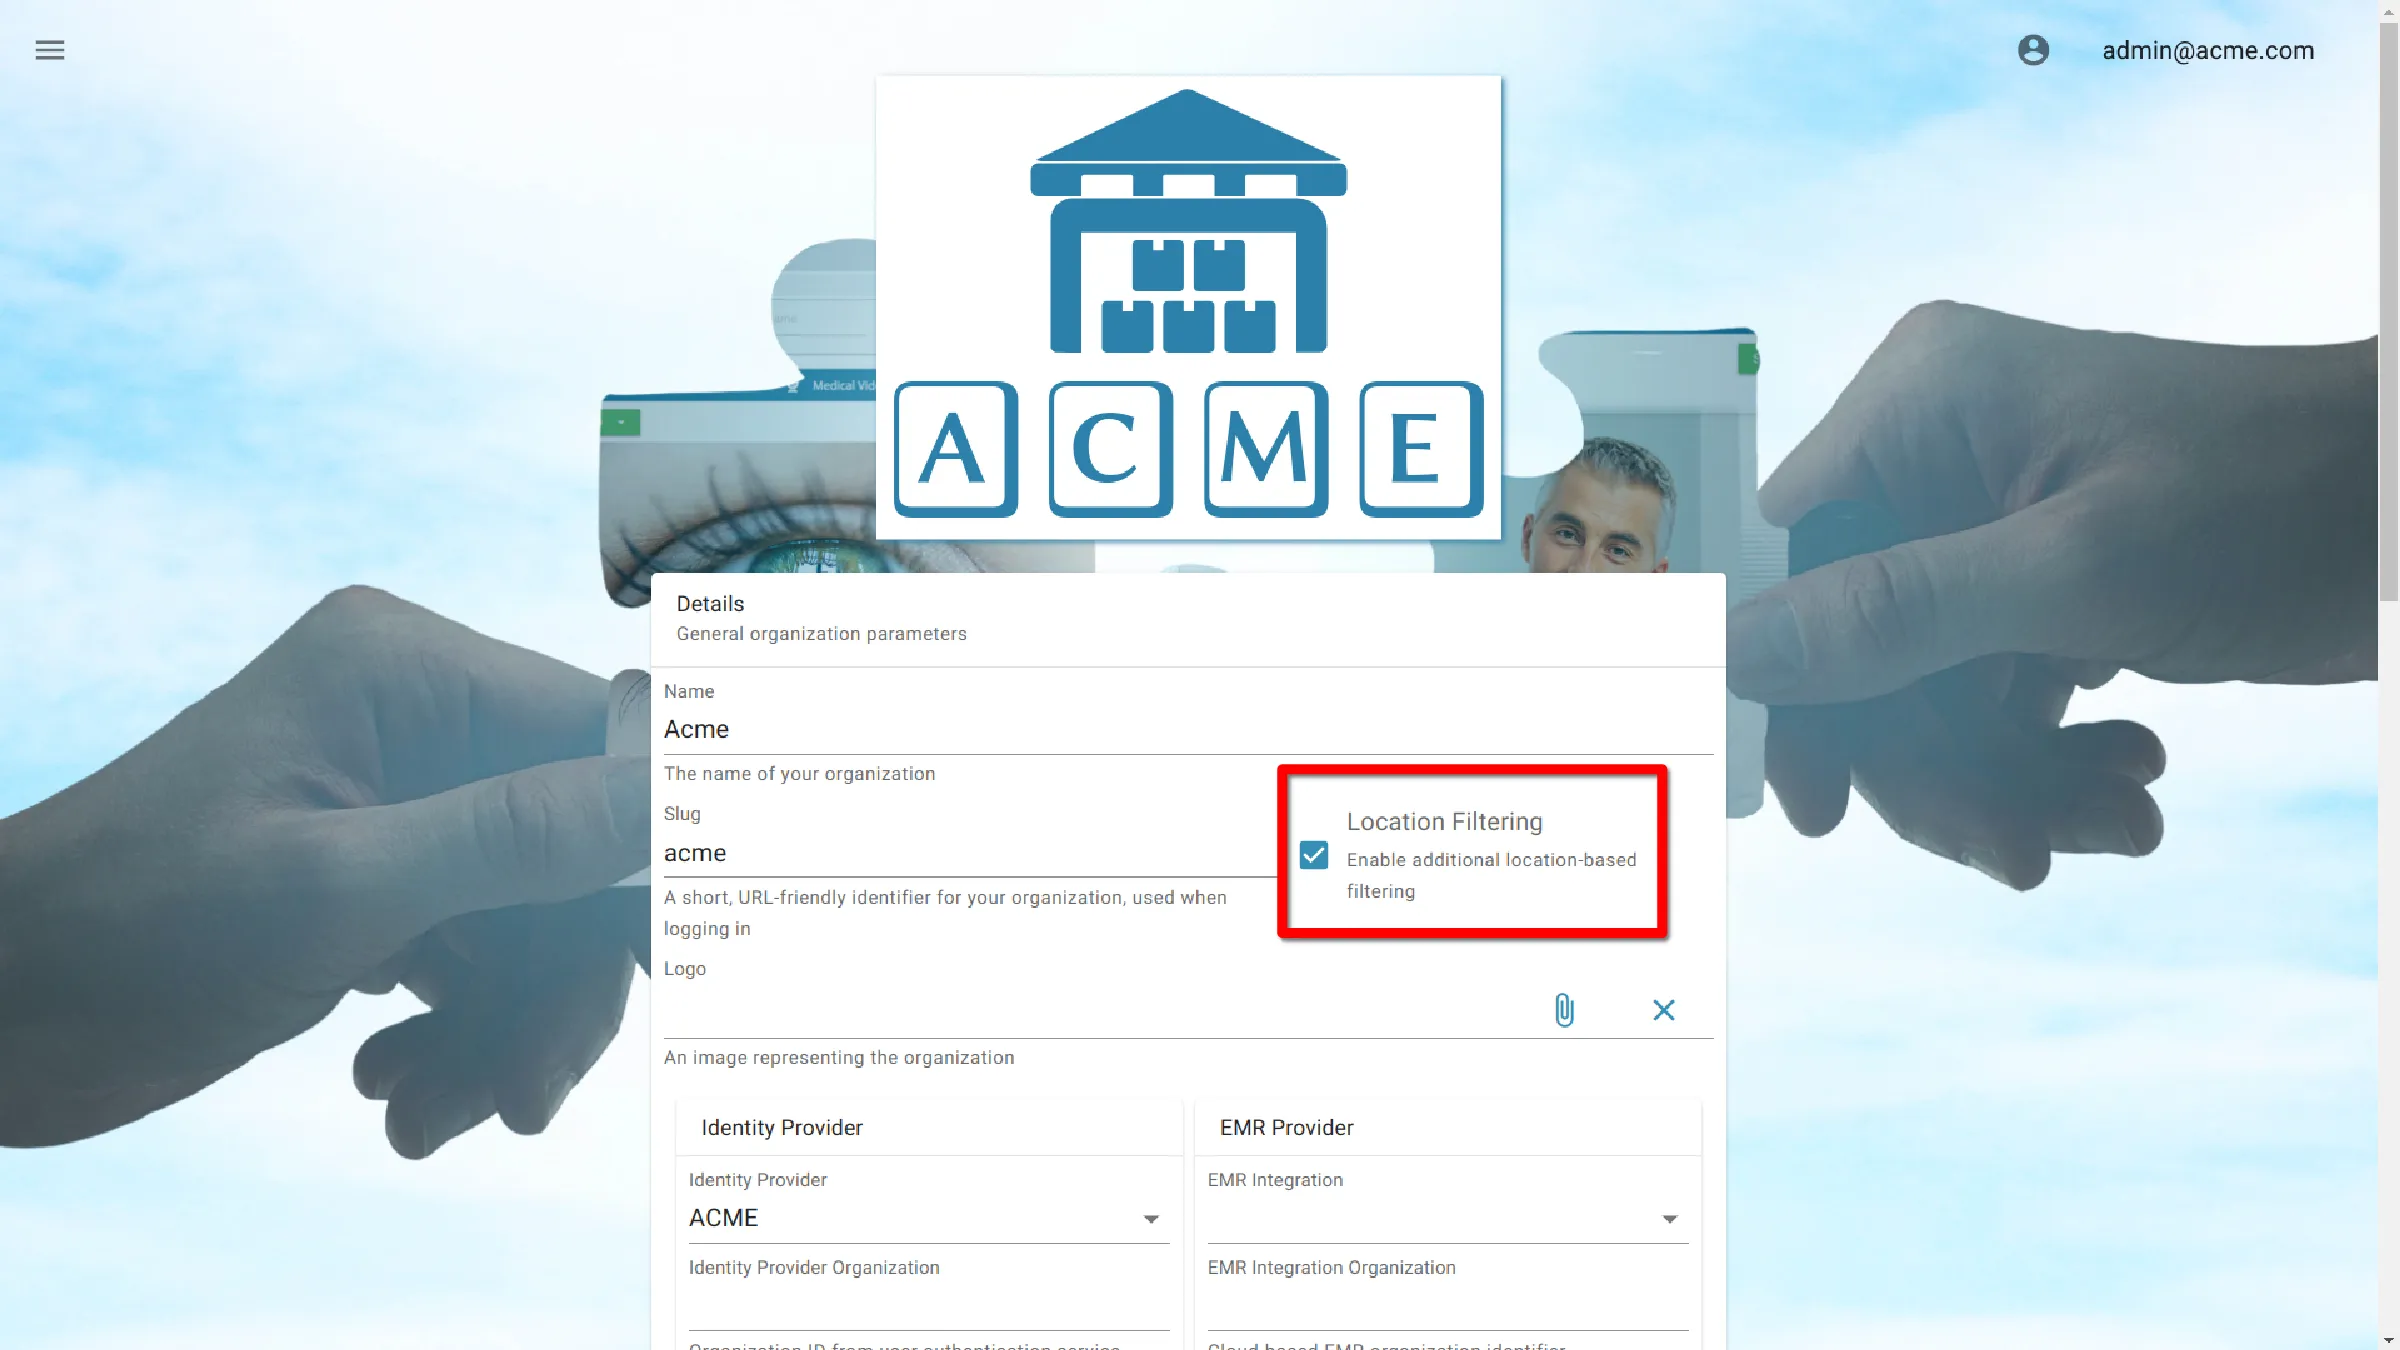
Add a Location to a Portal
Navigate to Portal Settings
Open Site Manager
To edit this setting, the logged-in user account must have an administrator role.
Right-click the AGNES Connect icon in the system tray and select Site Manager.


Select Portals from the navigation bar
Click the ’≡’ icon in the top left of the Home Screen, and select Portals from the navigation bar. If the option is not available, ensure the logged in user account has the administrator role.

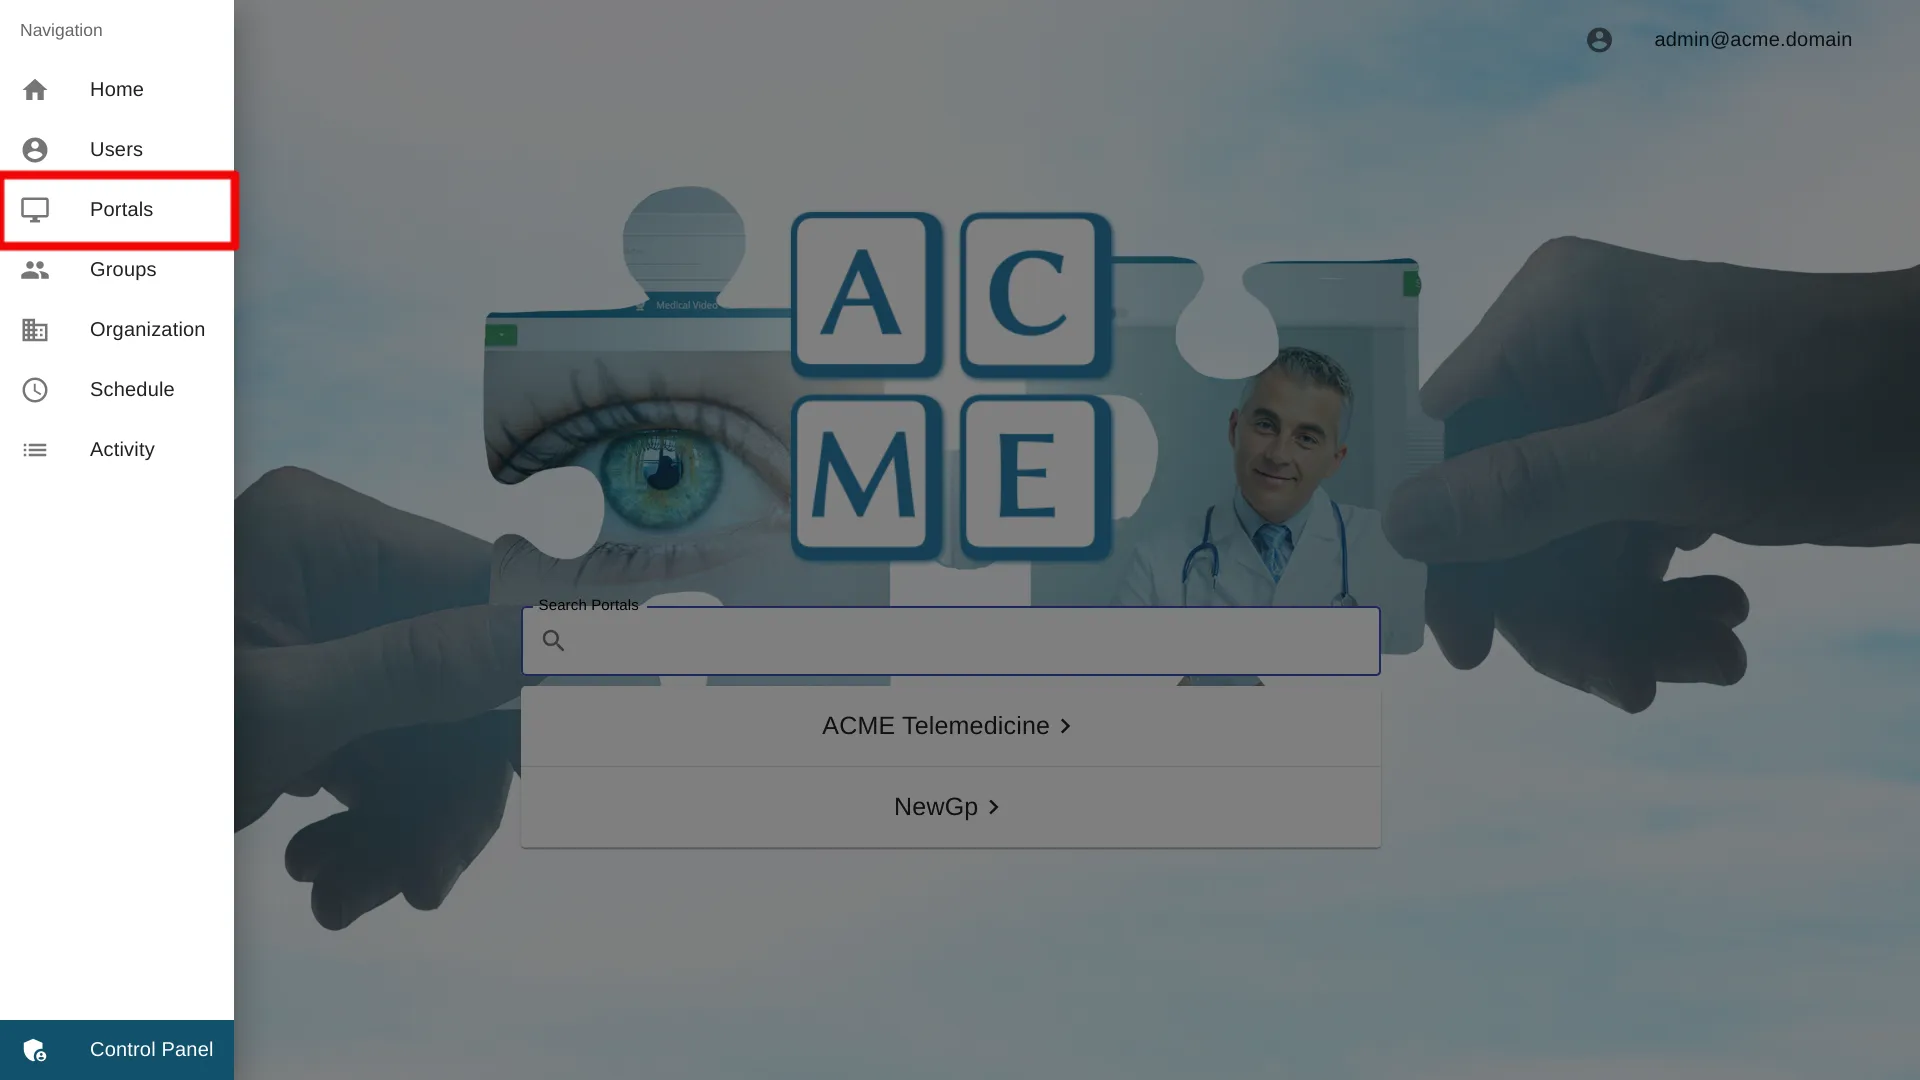
Select the Portal Name
Click the Portal name to access the settings for a particular portal.
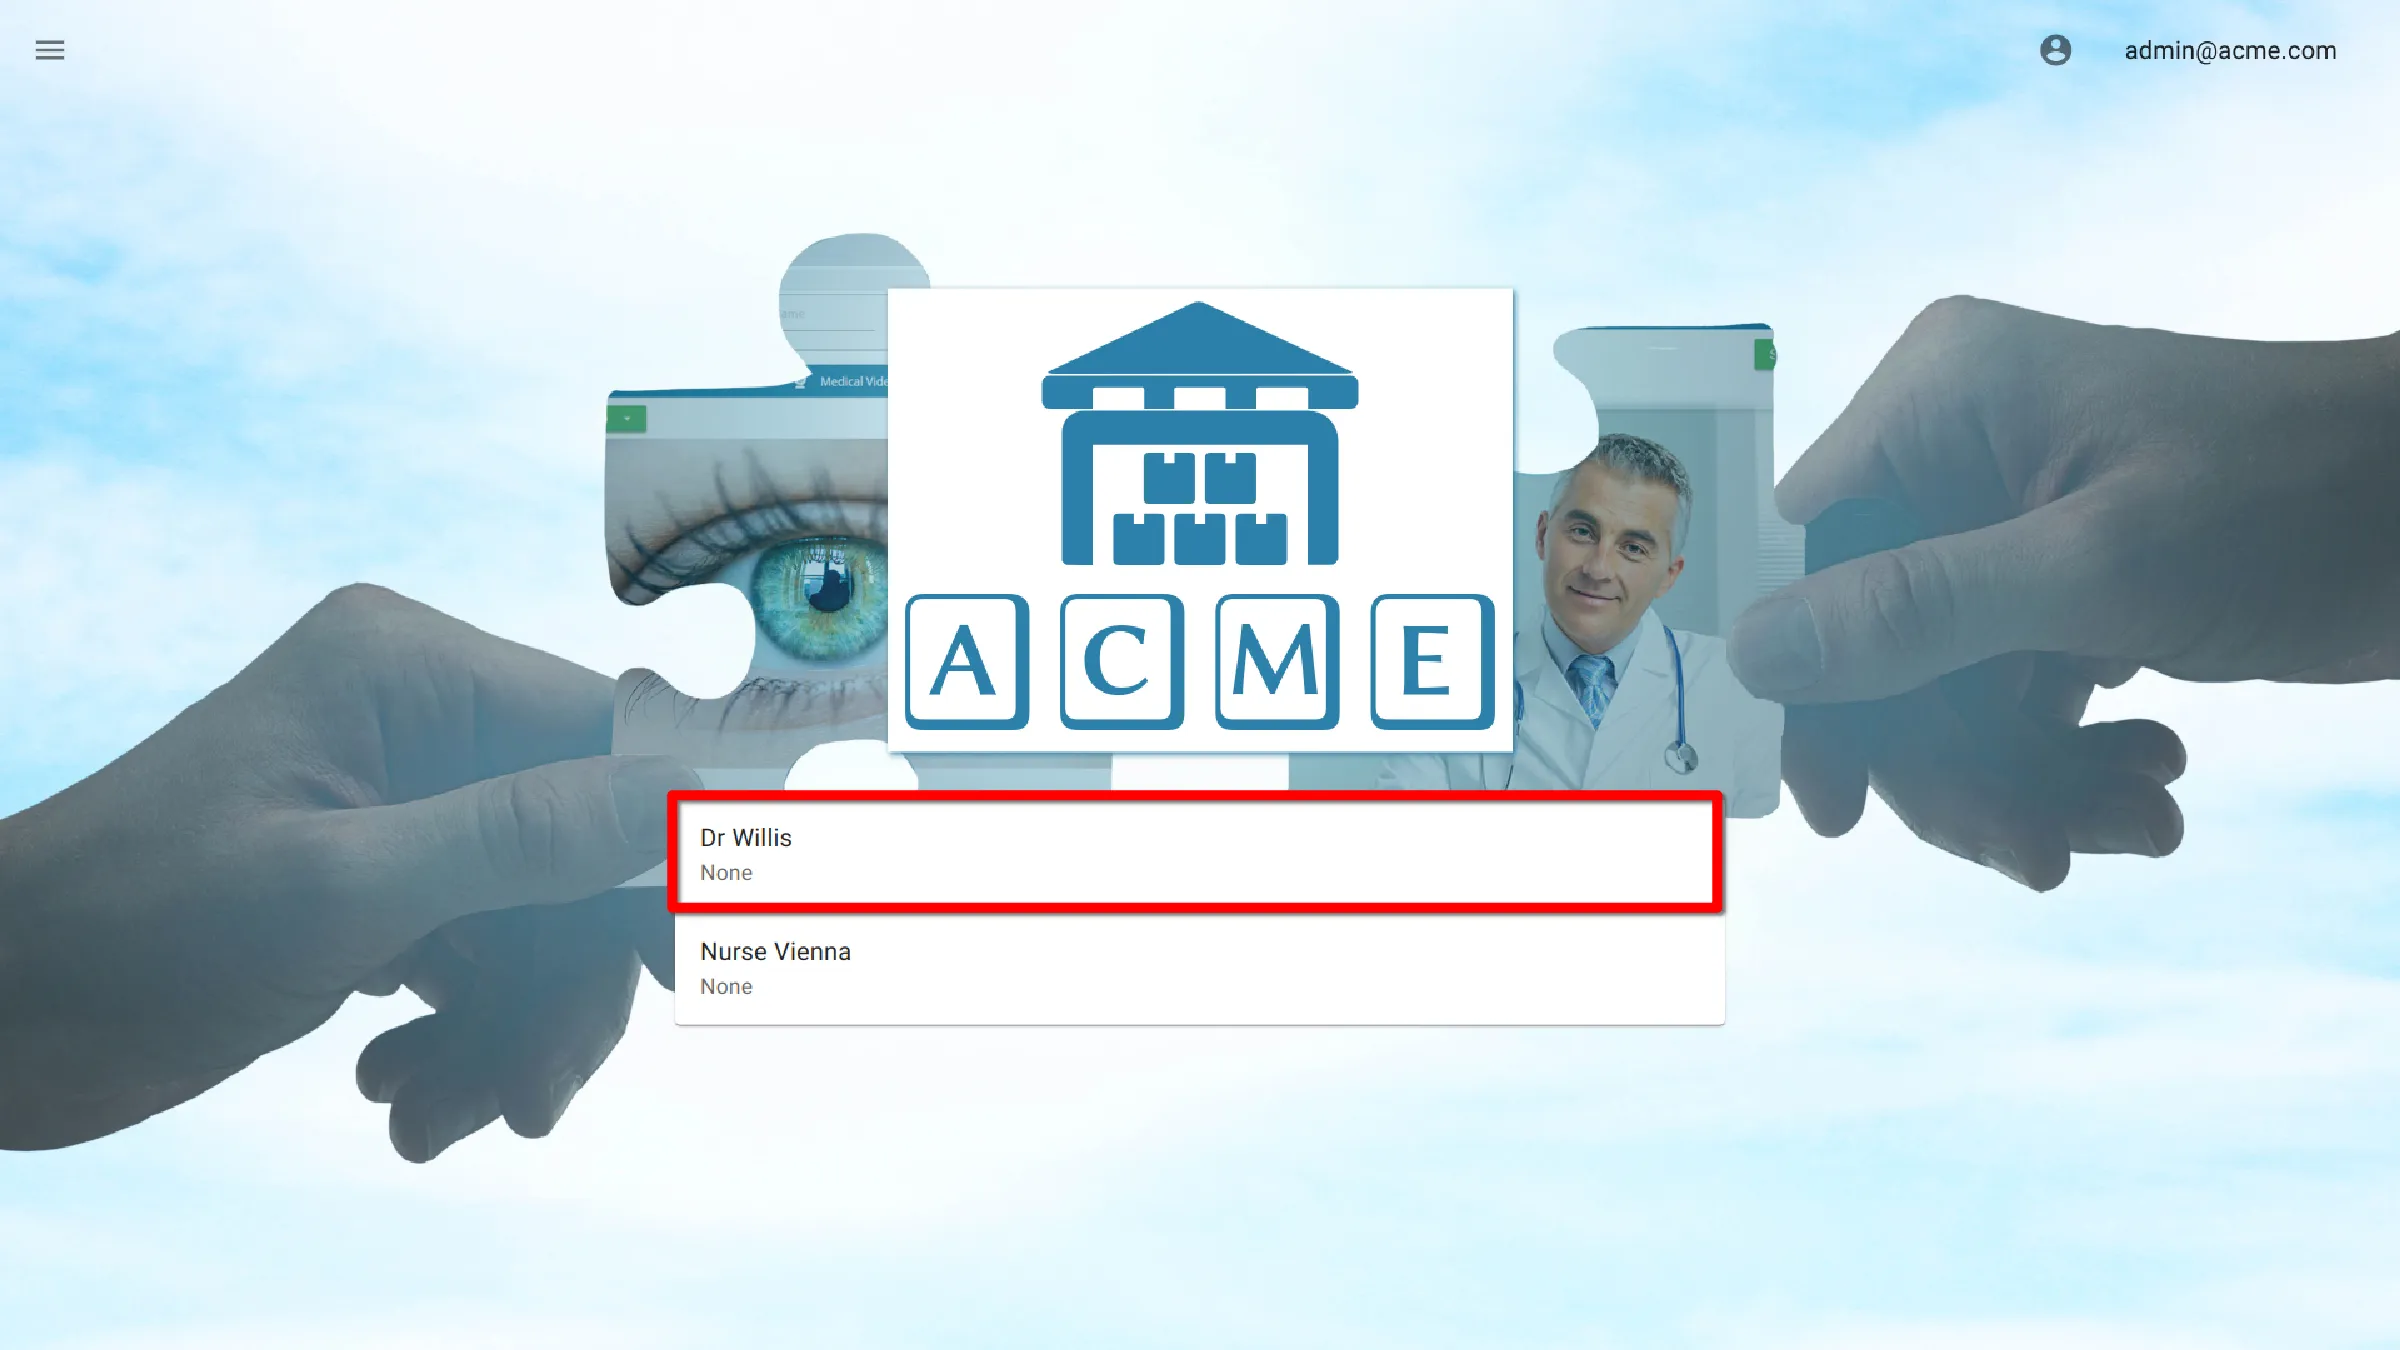
Enter a Location
Enter the name of the location as it should appear in the Site Manager.
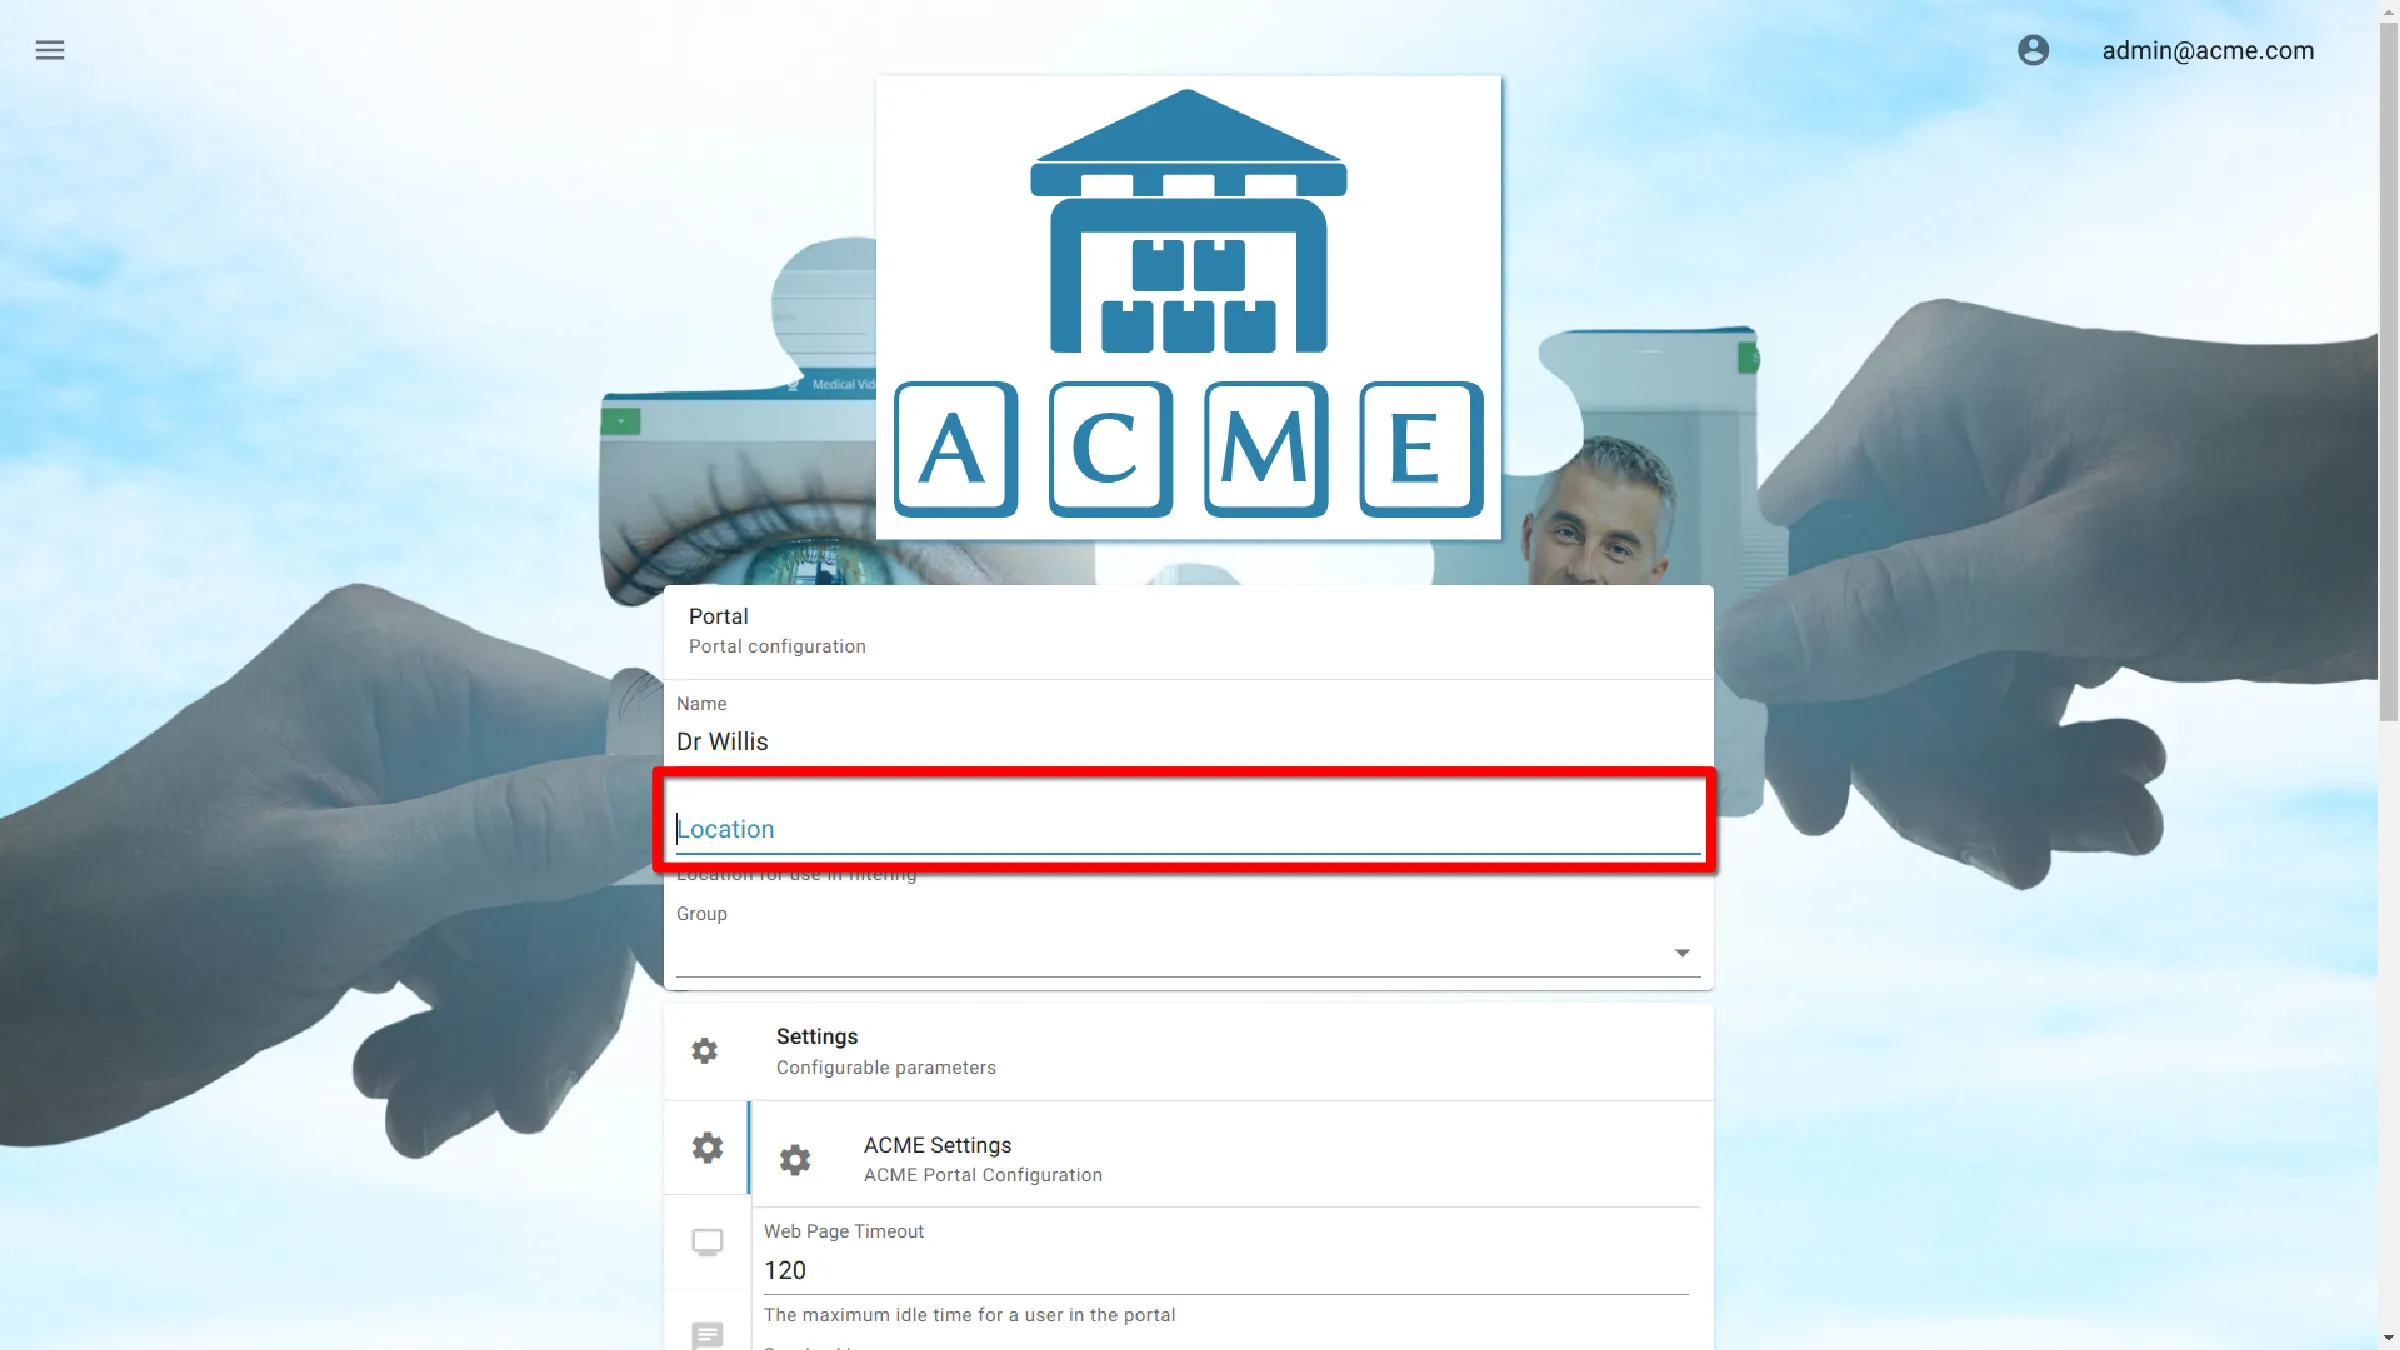
View Locations in Site Manager
Click the "≡" icon in the top left of the home screen and select *Locations* from the navigation bar. If the option is not available, ensure the logged in user account has the administrator role.
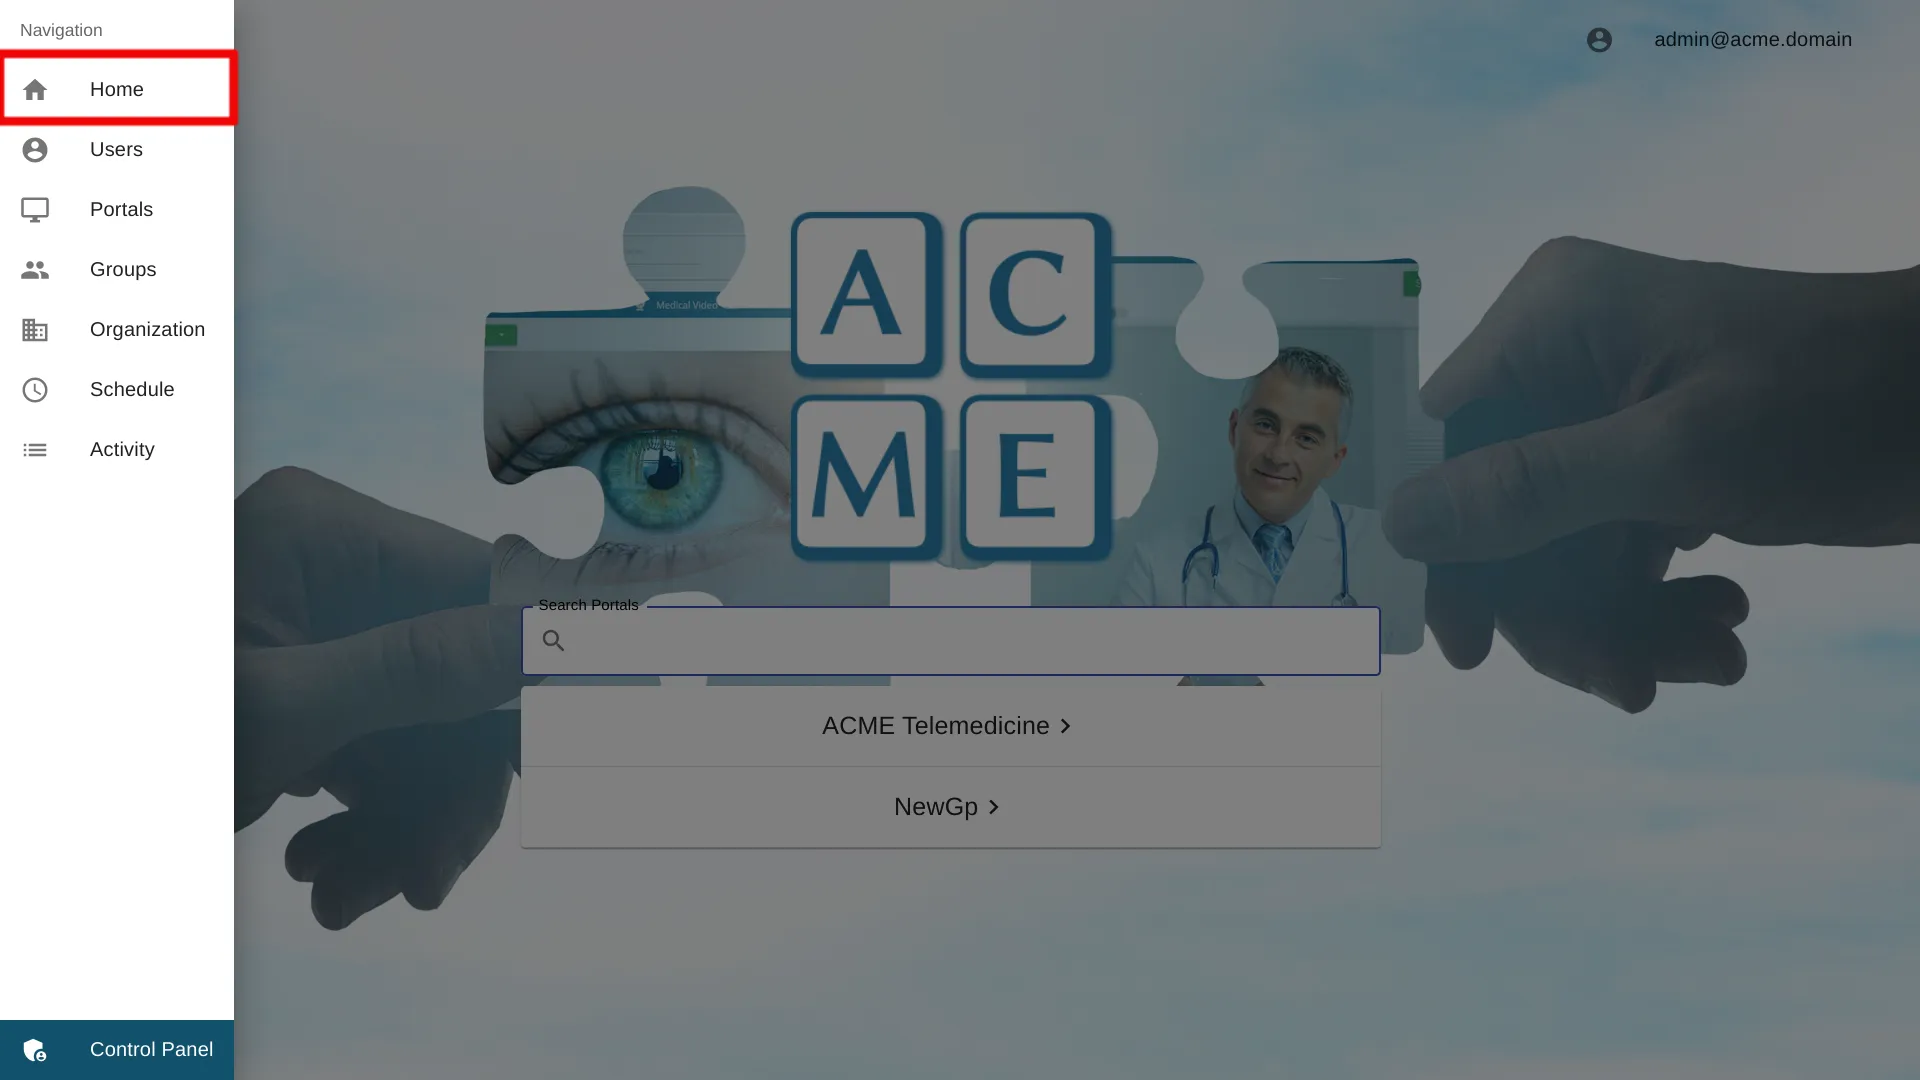
View Locations
Portals are separated by location. If a portal is not assigned a location, the location will appear as unspecified.
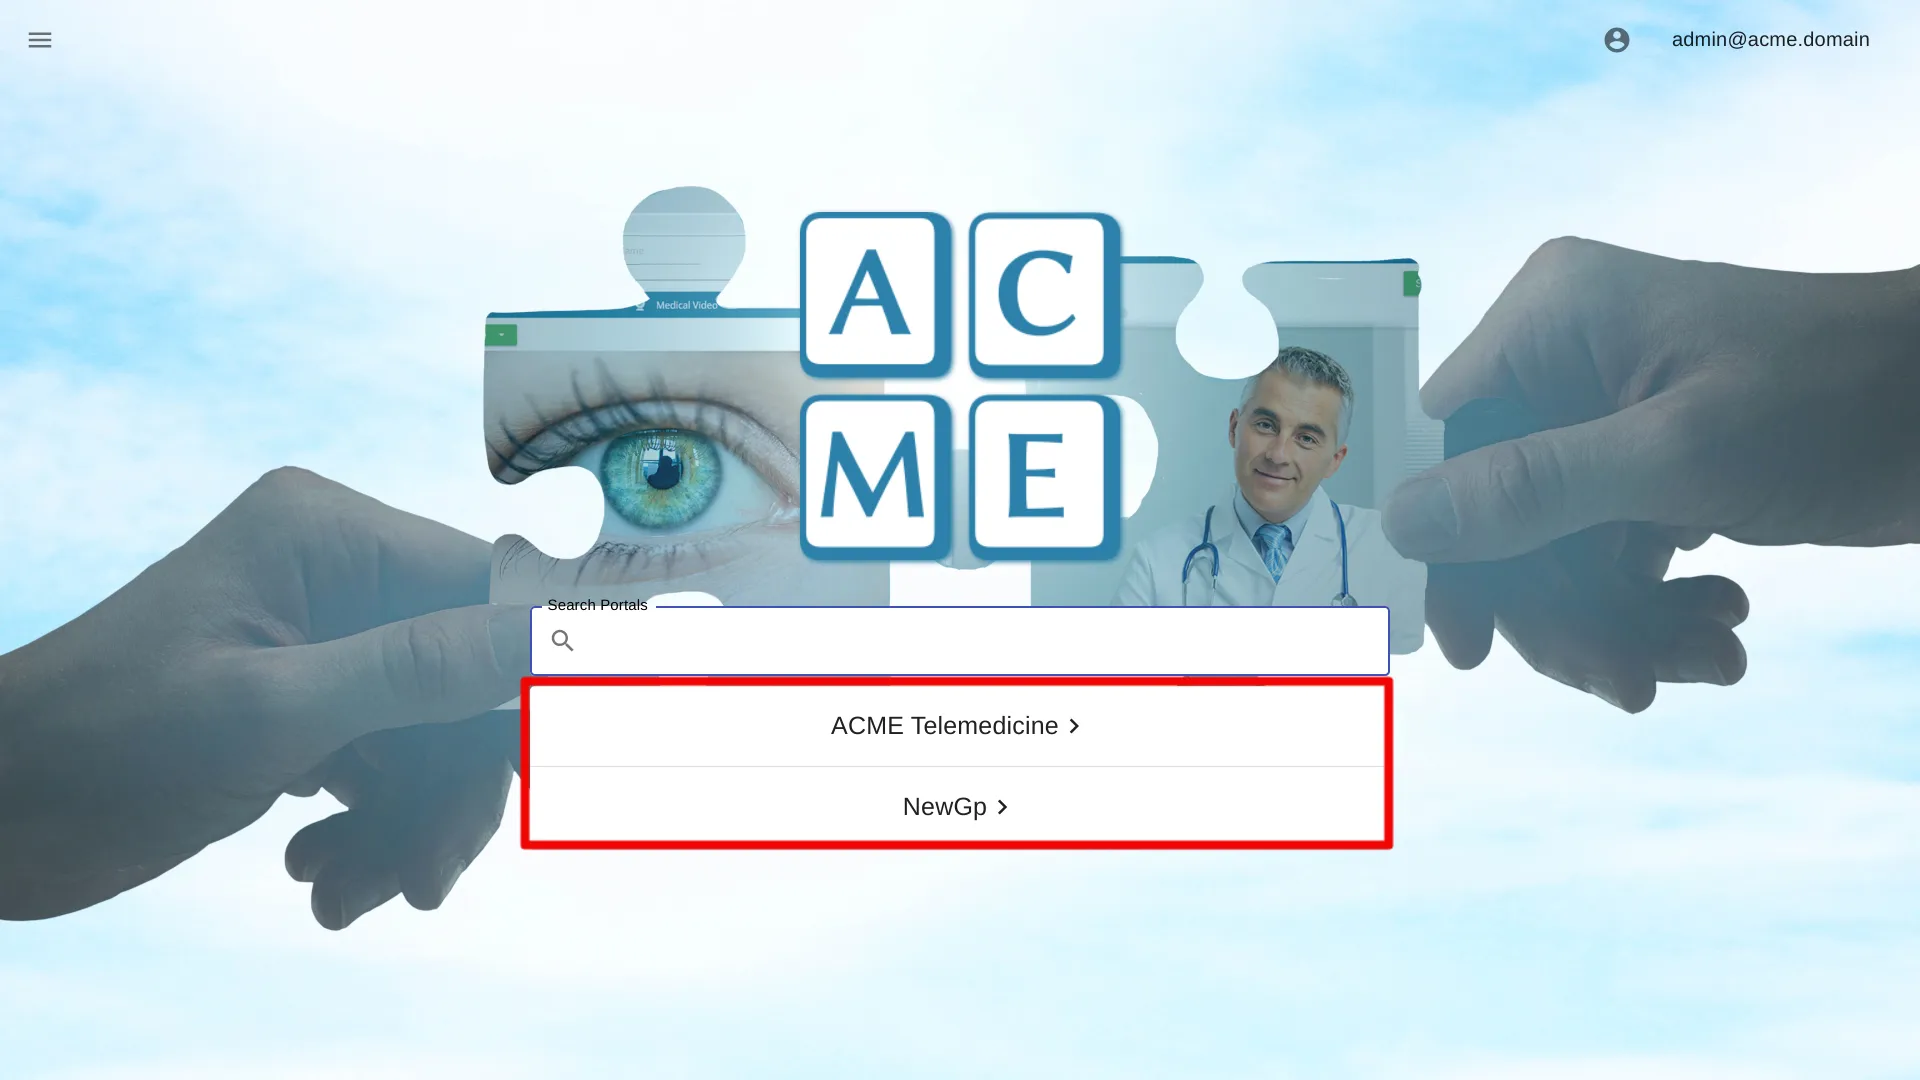
When a location is expanded, it shows the groups in that location. Click a group to see the portals available.
