Getting Started
AGNES Connect is an online telemedicine platform allowing clinicians to capture and share medical device data, exchange documents and medical images, engage in real-time interactions, and join live video conferences with remote healthcare providers.
Software Overview
AGNES can be accessed using Google Chrome at https://home.agnes.live.
The computer with the medical devices will run the AGNES Connect application in the system tray.
Organization ID
Each AGNES organization has a unique ID associated with it, which will be provided to the licensing organization’s administrator. The Organization ID is typically the name of the organization with spaces replaced by a dash.
When first connected, an input asking for the Organization ID will be displayed.
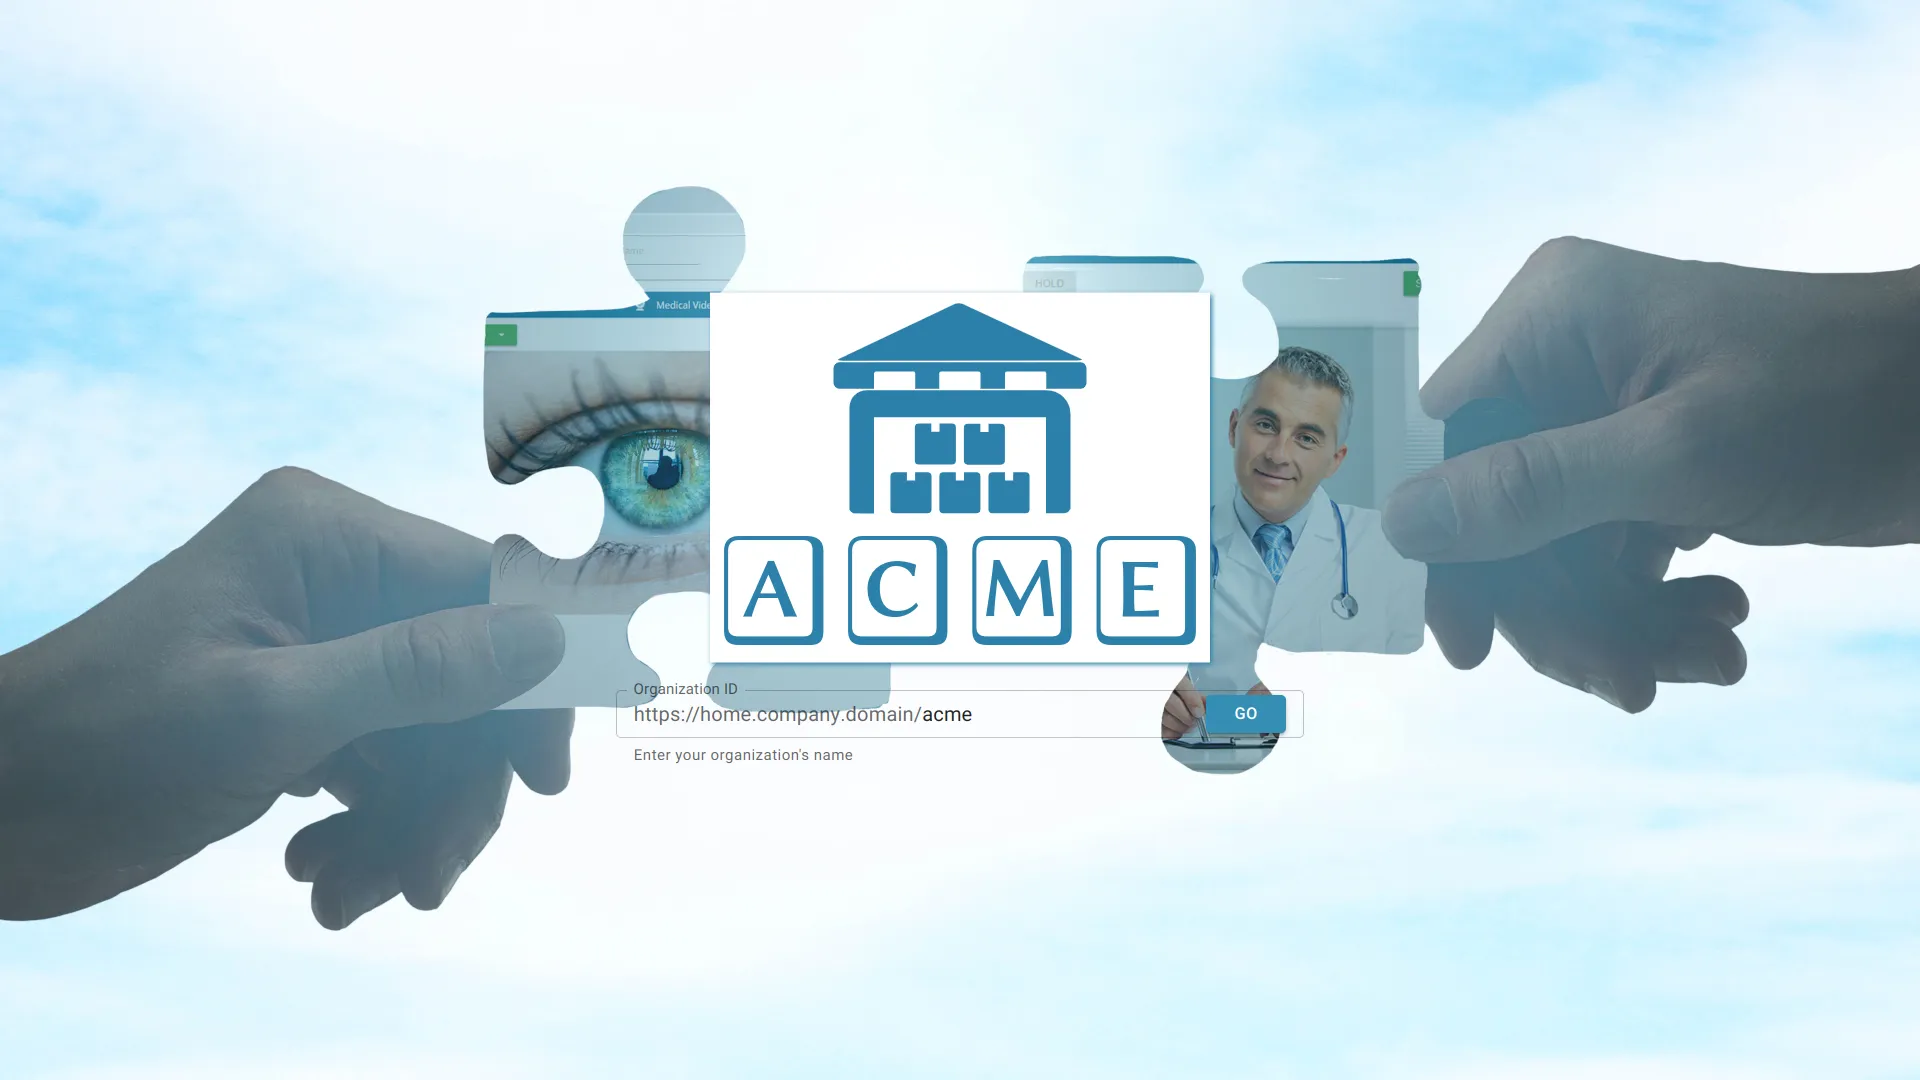
Bypass Organization IDT
The Organization ID can be added to the URL, e.g. https://home.agnes.live/organization-id. For instructions on adding the Organization ID to the AGNES Connect application, see Application Setup.
Log in Screen
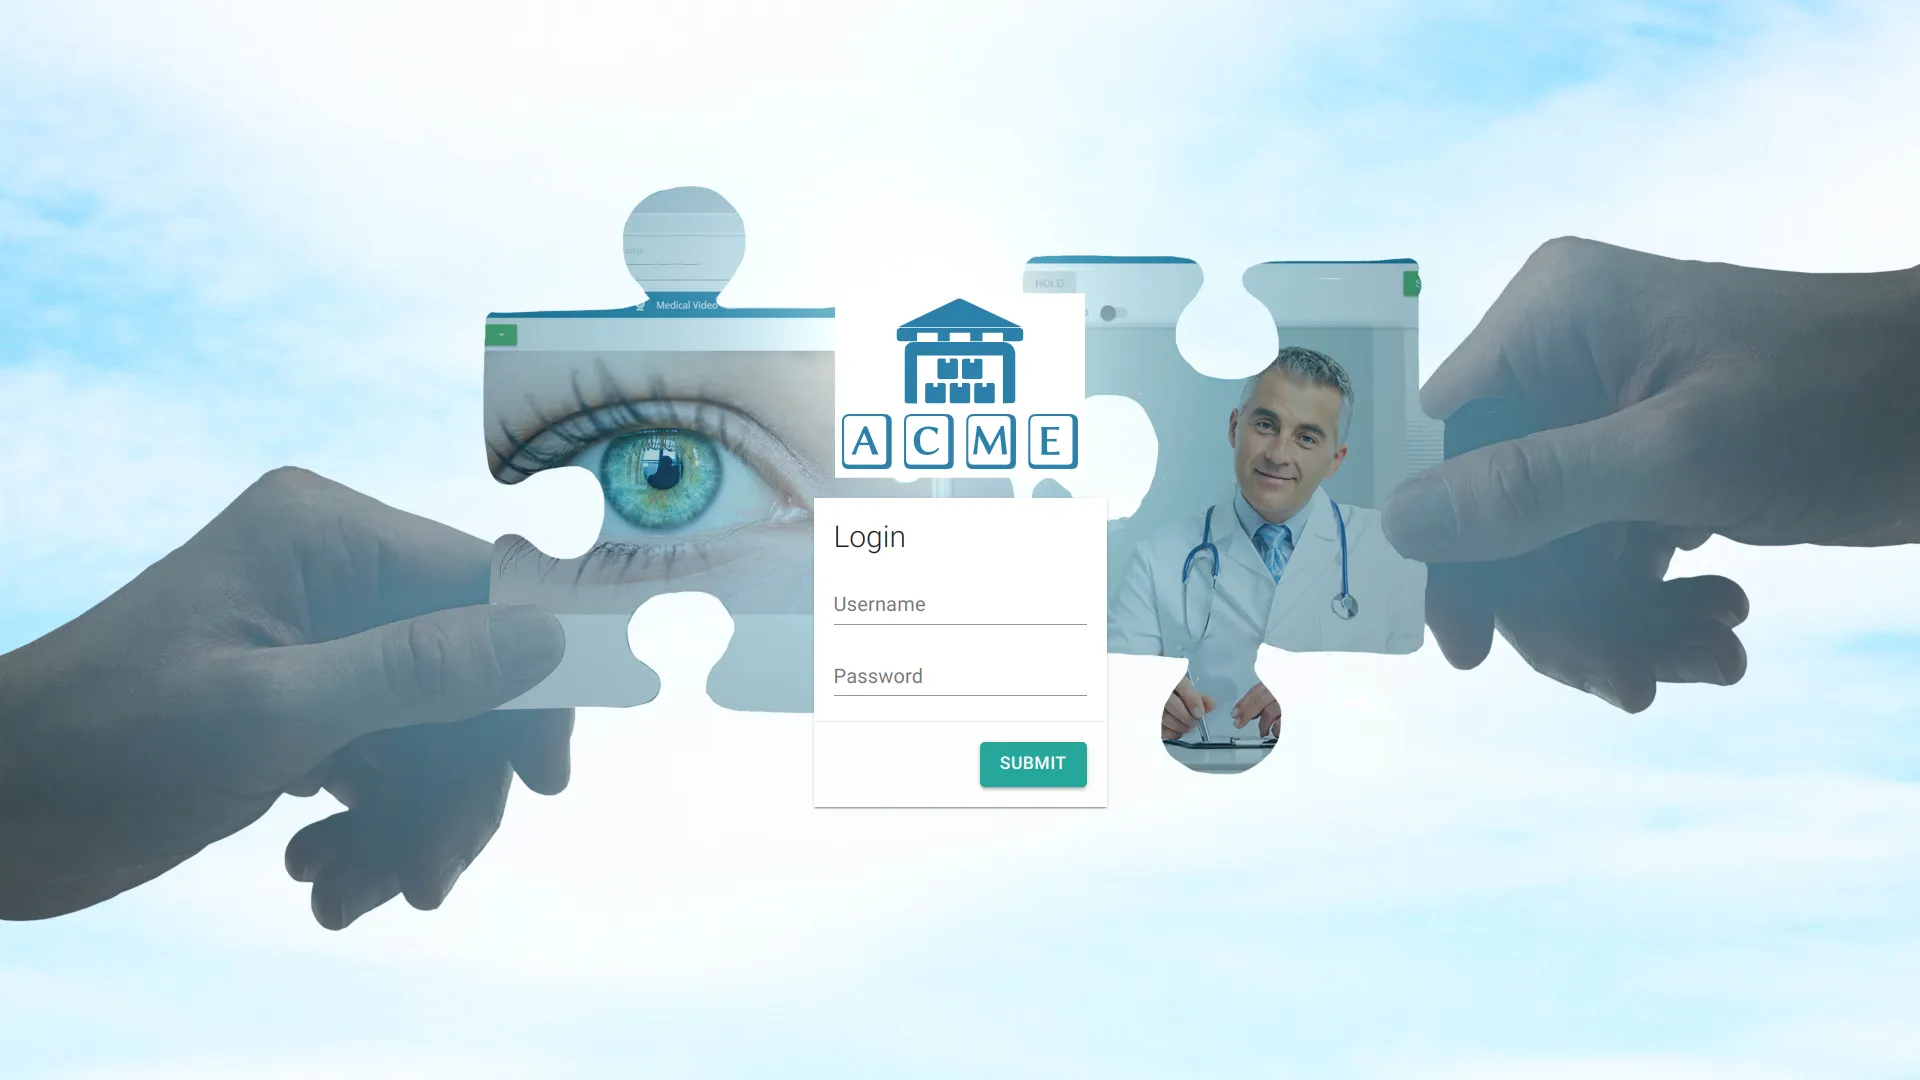
When accessing AGNES Connect, a login screen will be presented to the user. The login credentials are provided by the licensing organization’s administrator. If the password cannot be remembered, contact the licensing organization’s administrator to request a replacement.
Home Screen
AGNES Connect makes it easy for doctors to manage multiple remote sites by providing a facility overview upon login.
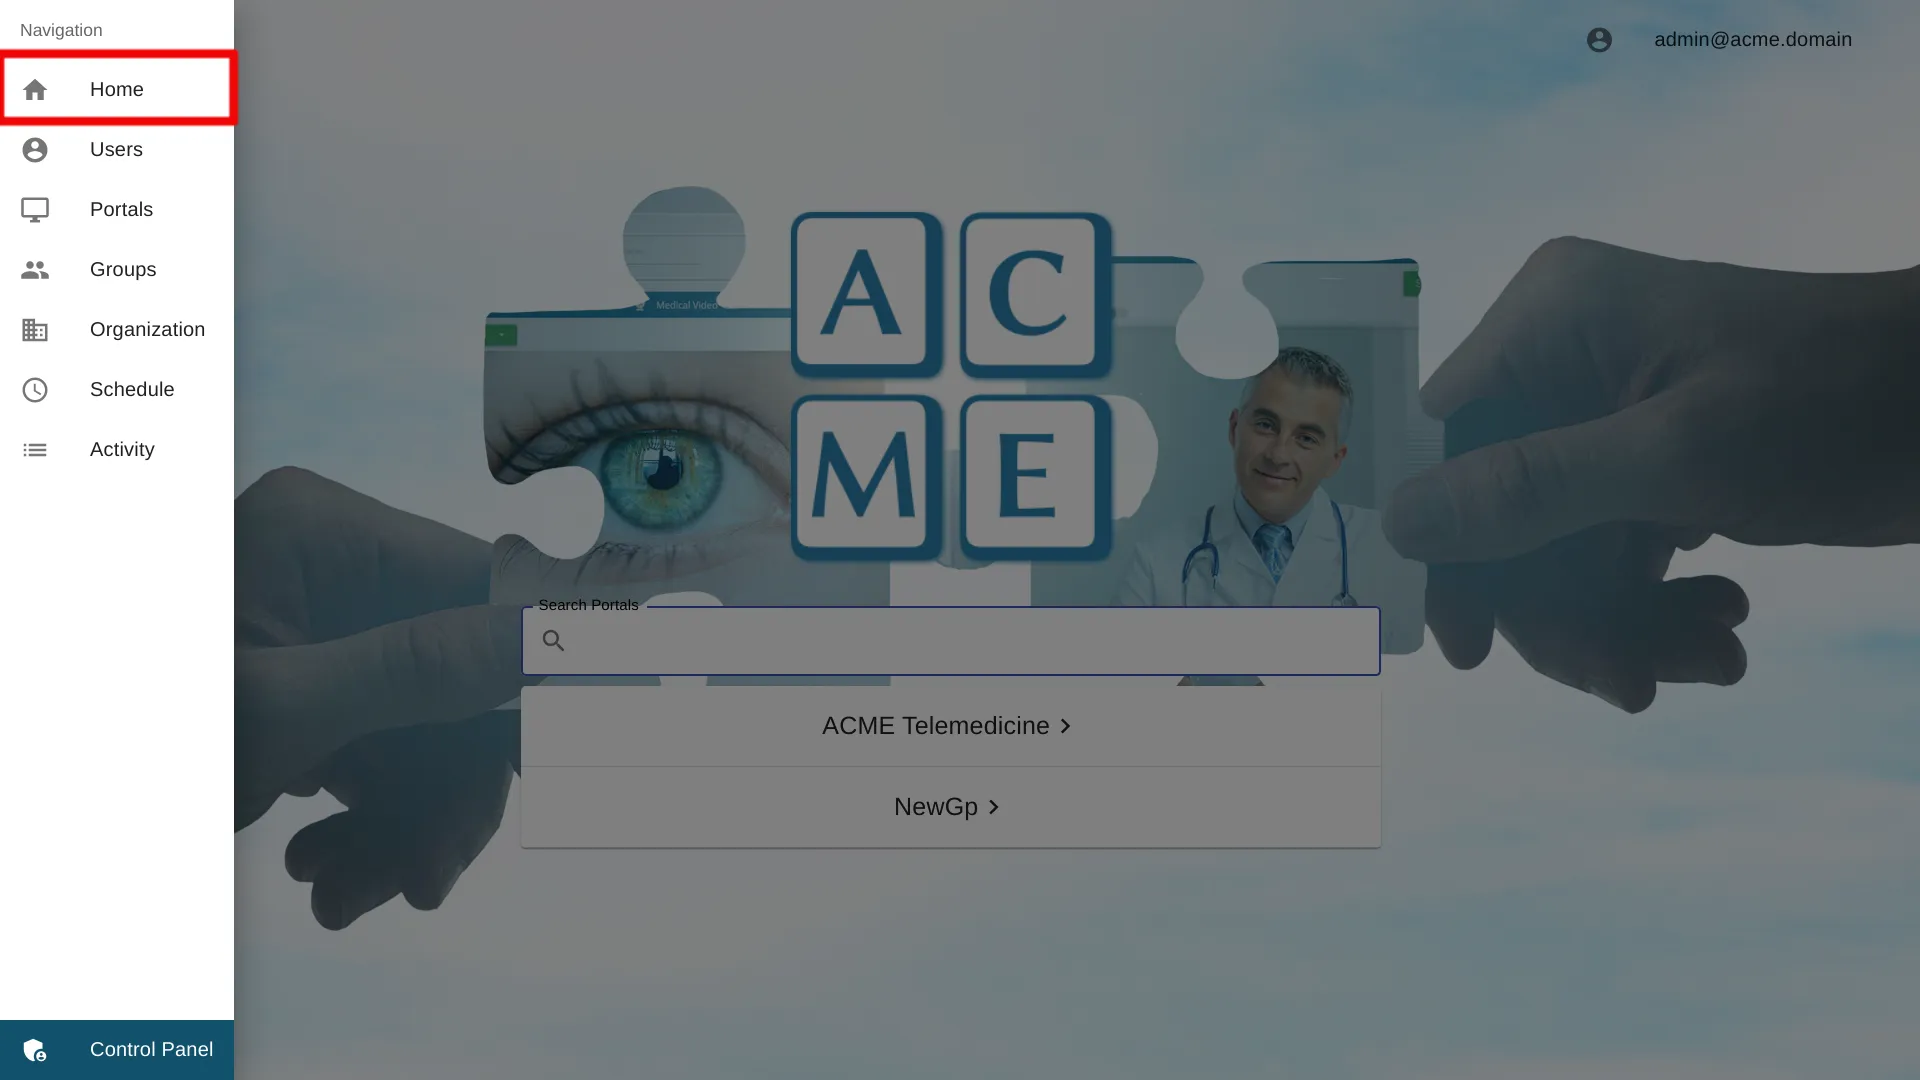
Select Group
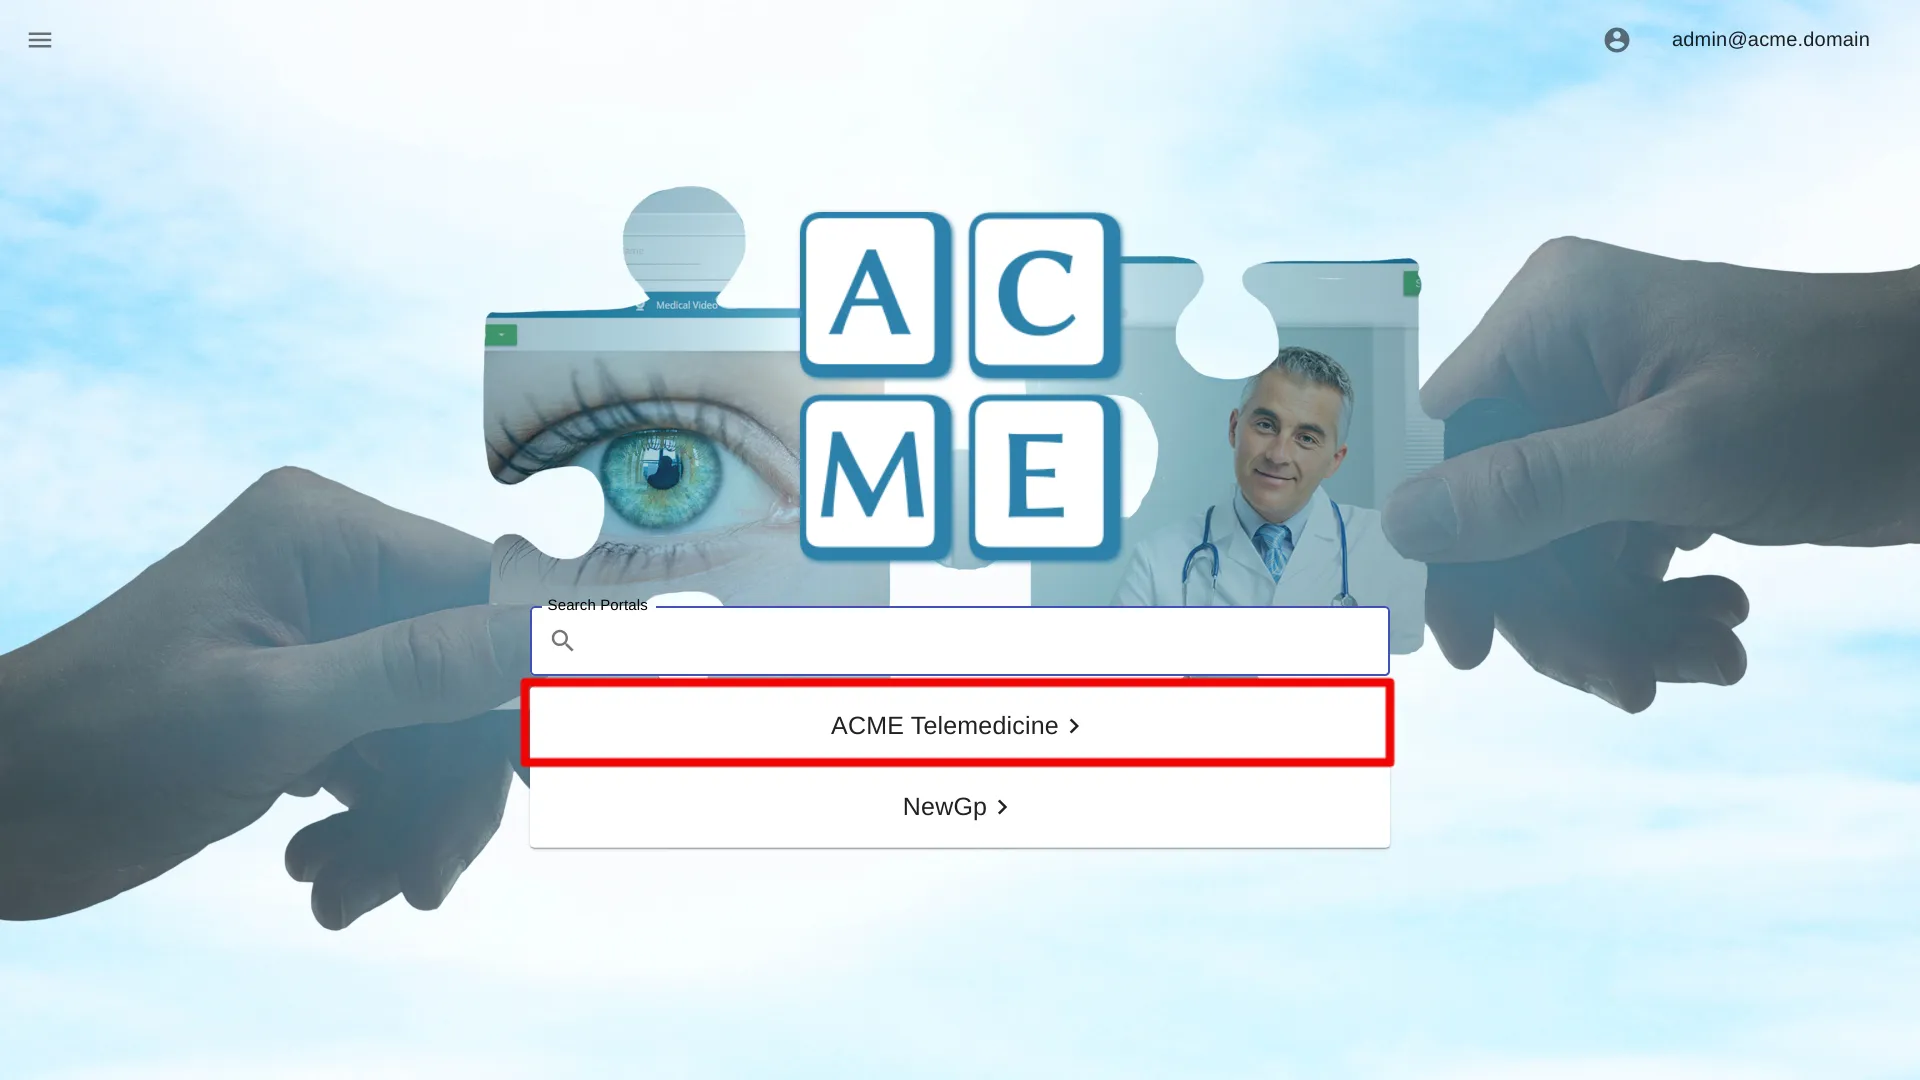
When a user first logs in, they are presented with a list of available groups. Click the desired group to show available sites.
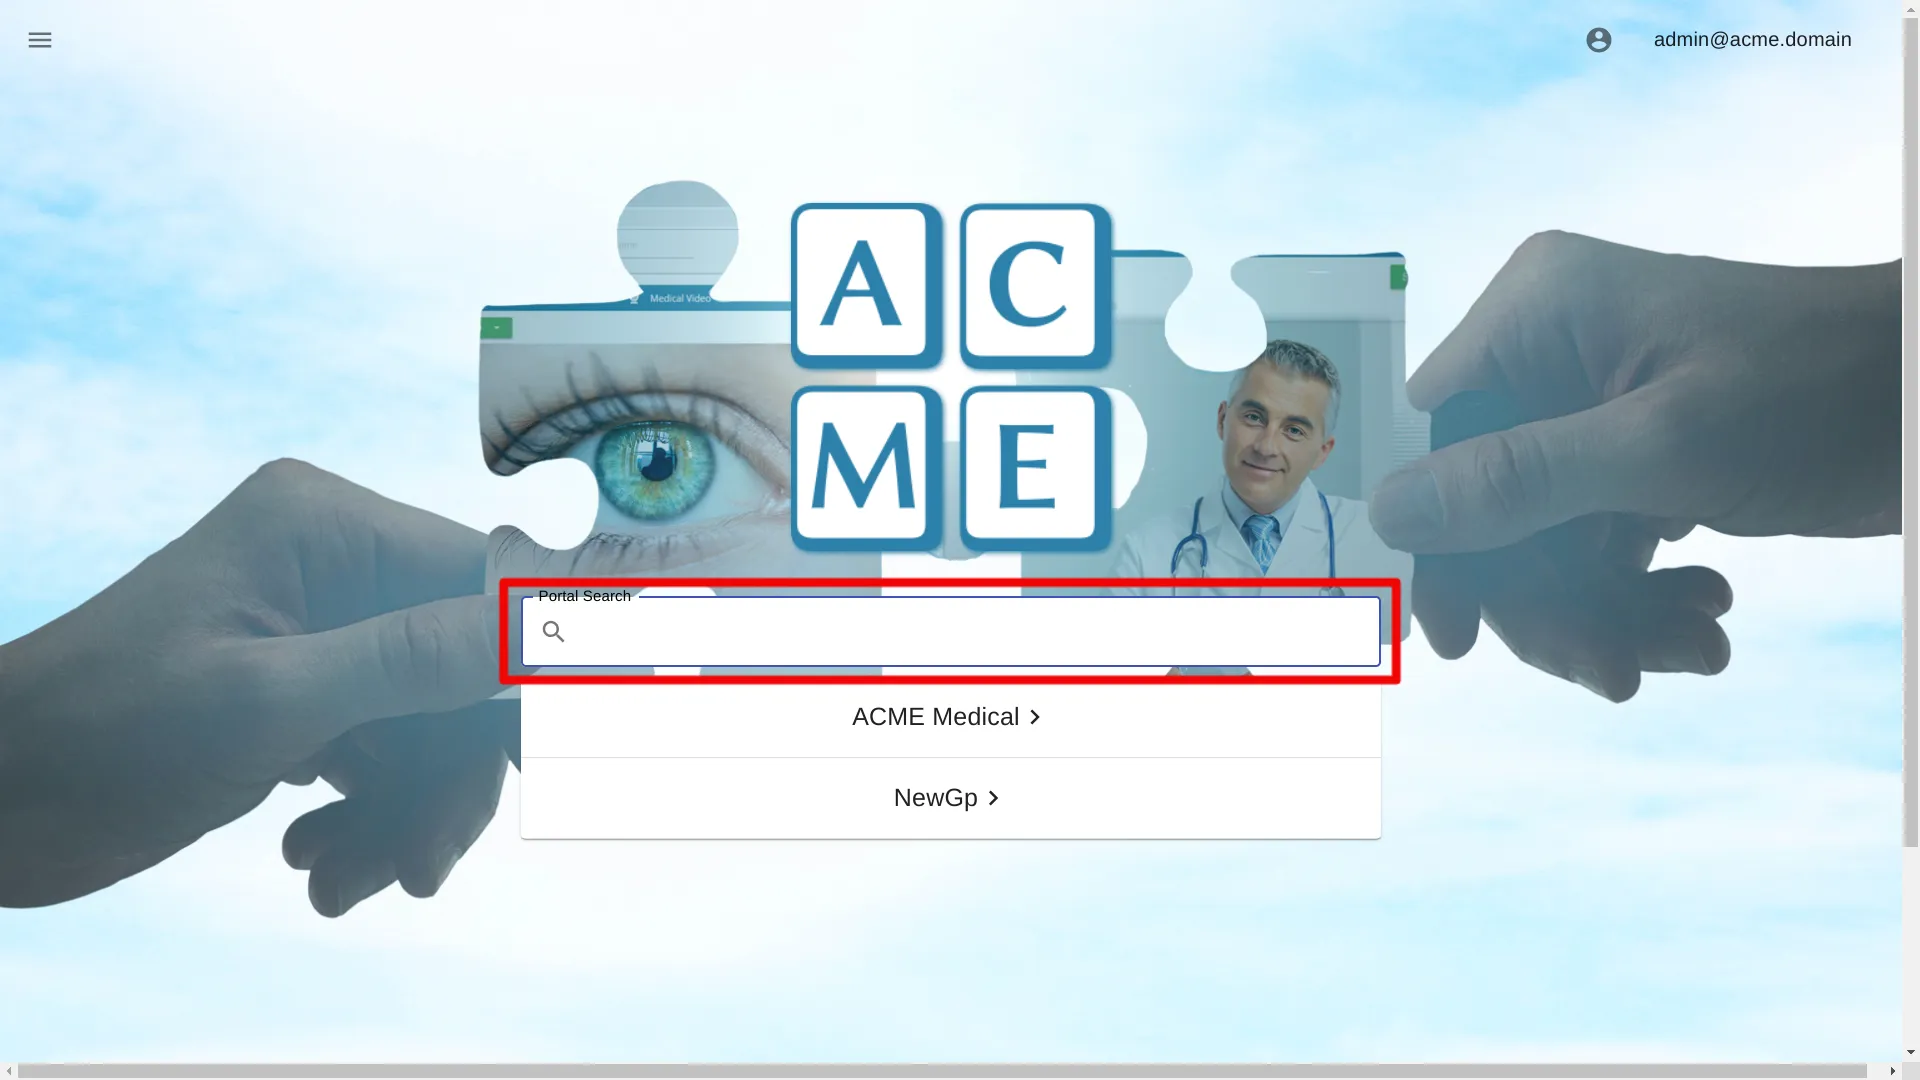
Portal search
Located on the home page, the portal search bar allows users to search for portals and groups. As the user types, results are filtered, with portals and groups that don’t match hidden from view. Both full and partial matches are supported.
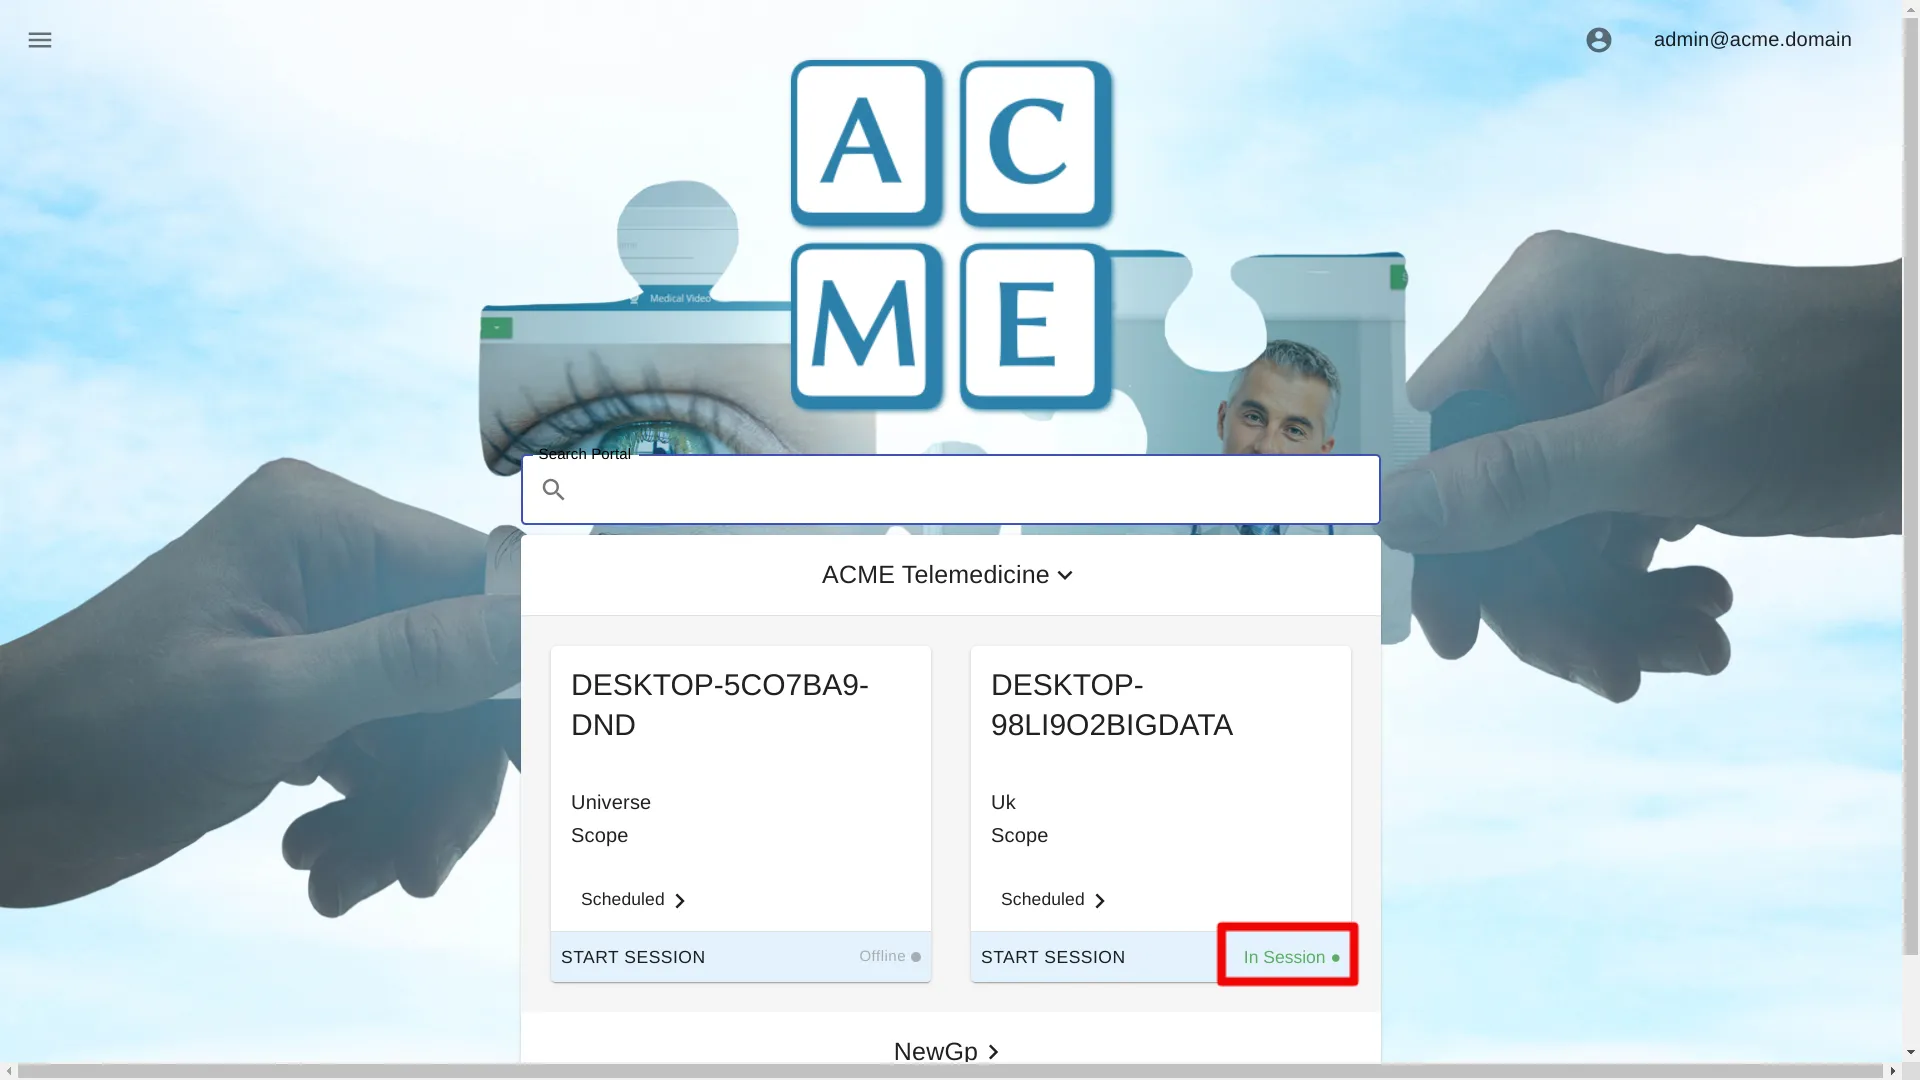
Portal Status
The portal status is displayed on the portal card next to Start Session.
Possible Statuses are:
- Offline
- Online
- In Session
Scheduled Visits
Scheduled Visits for a portal can be listed by clicking the arrow on the Scheduled Menu.
Click the arrow to reveal the scheduled visits, then click the desired appointment to load a session with the selected patient data.
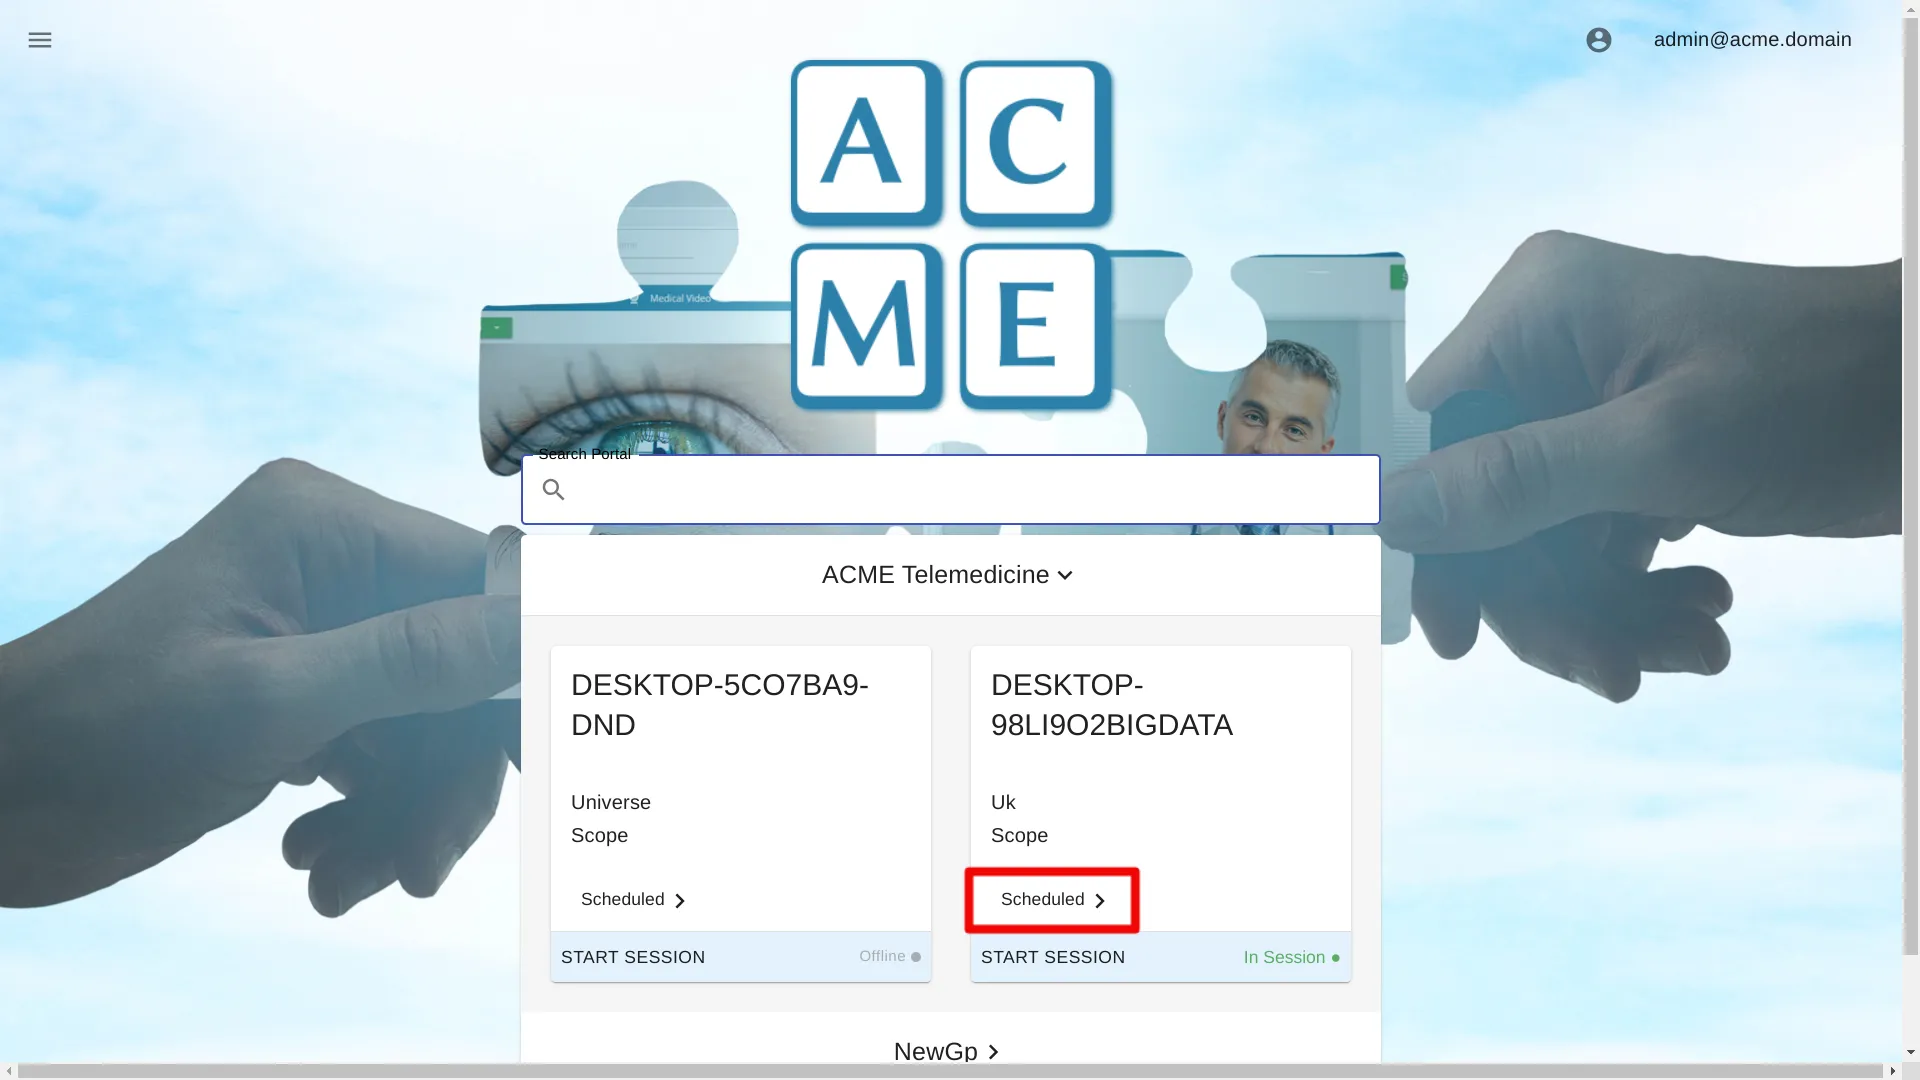
For more information on Scheduled Visits, please see Appointments.
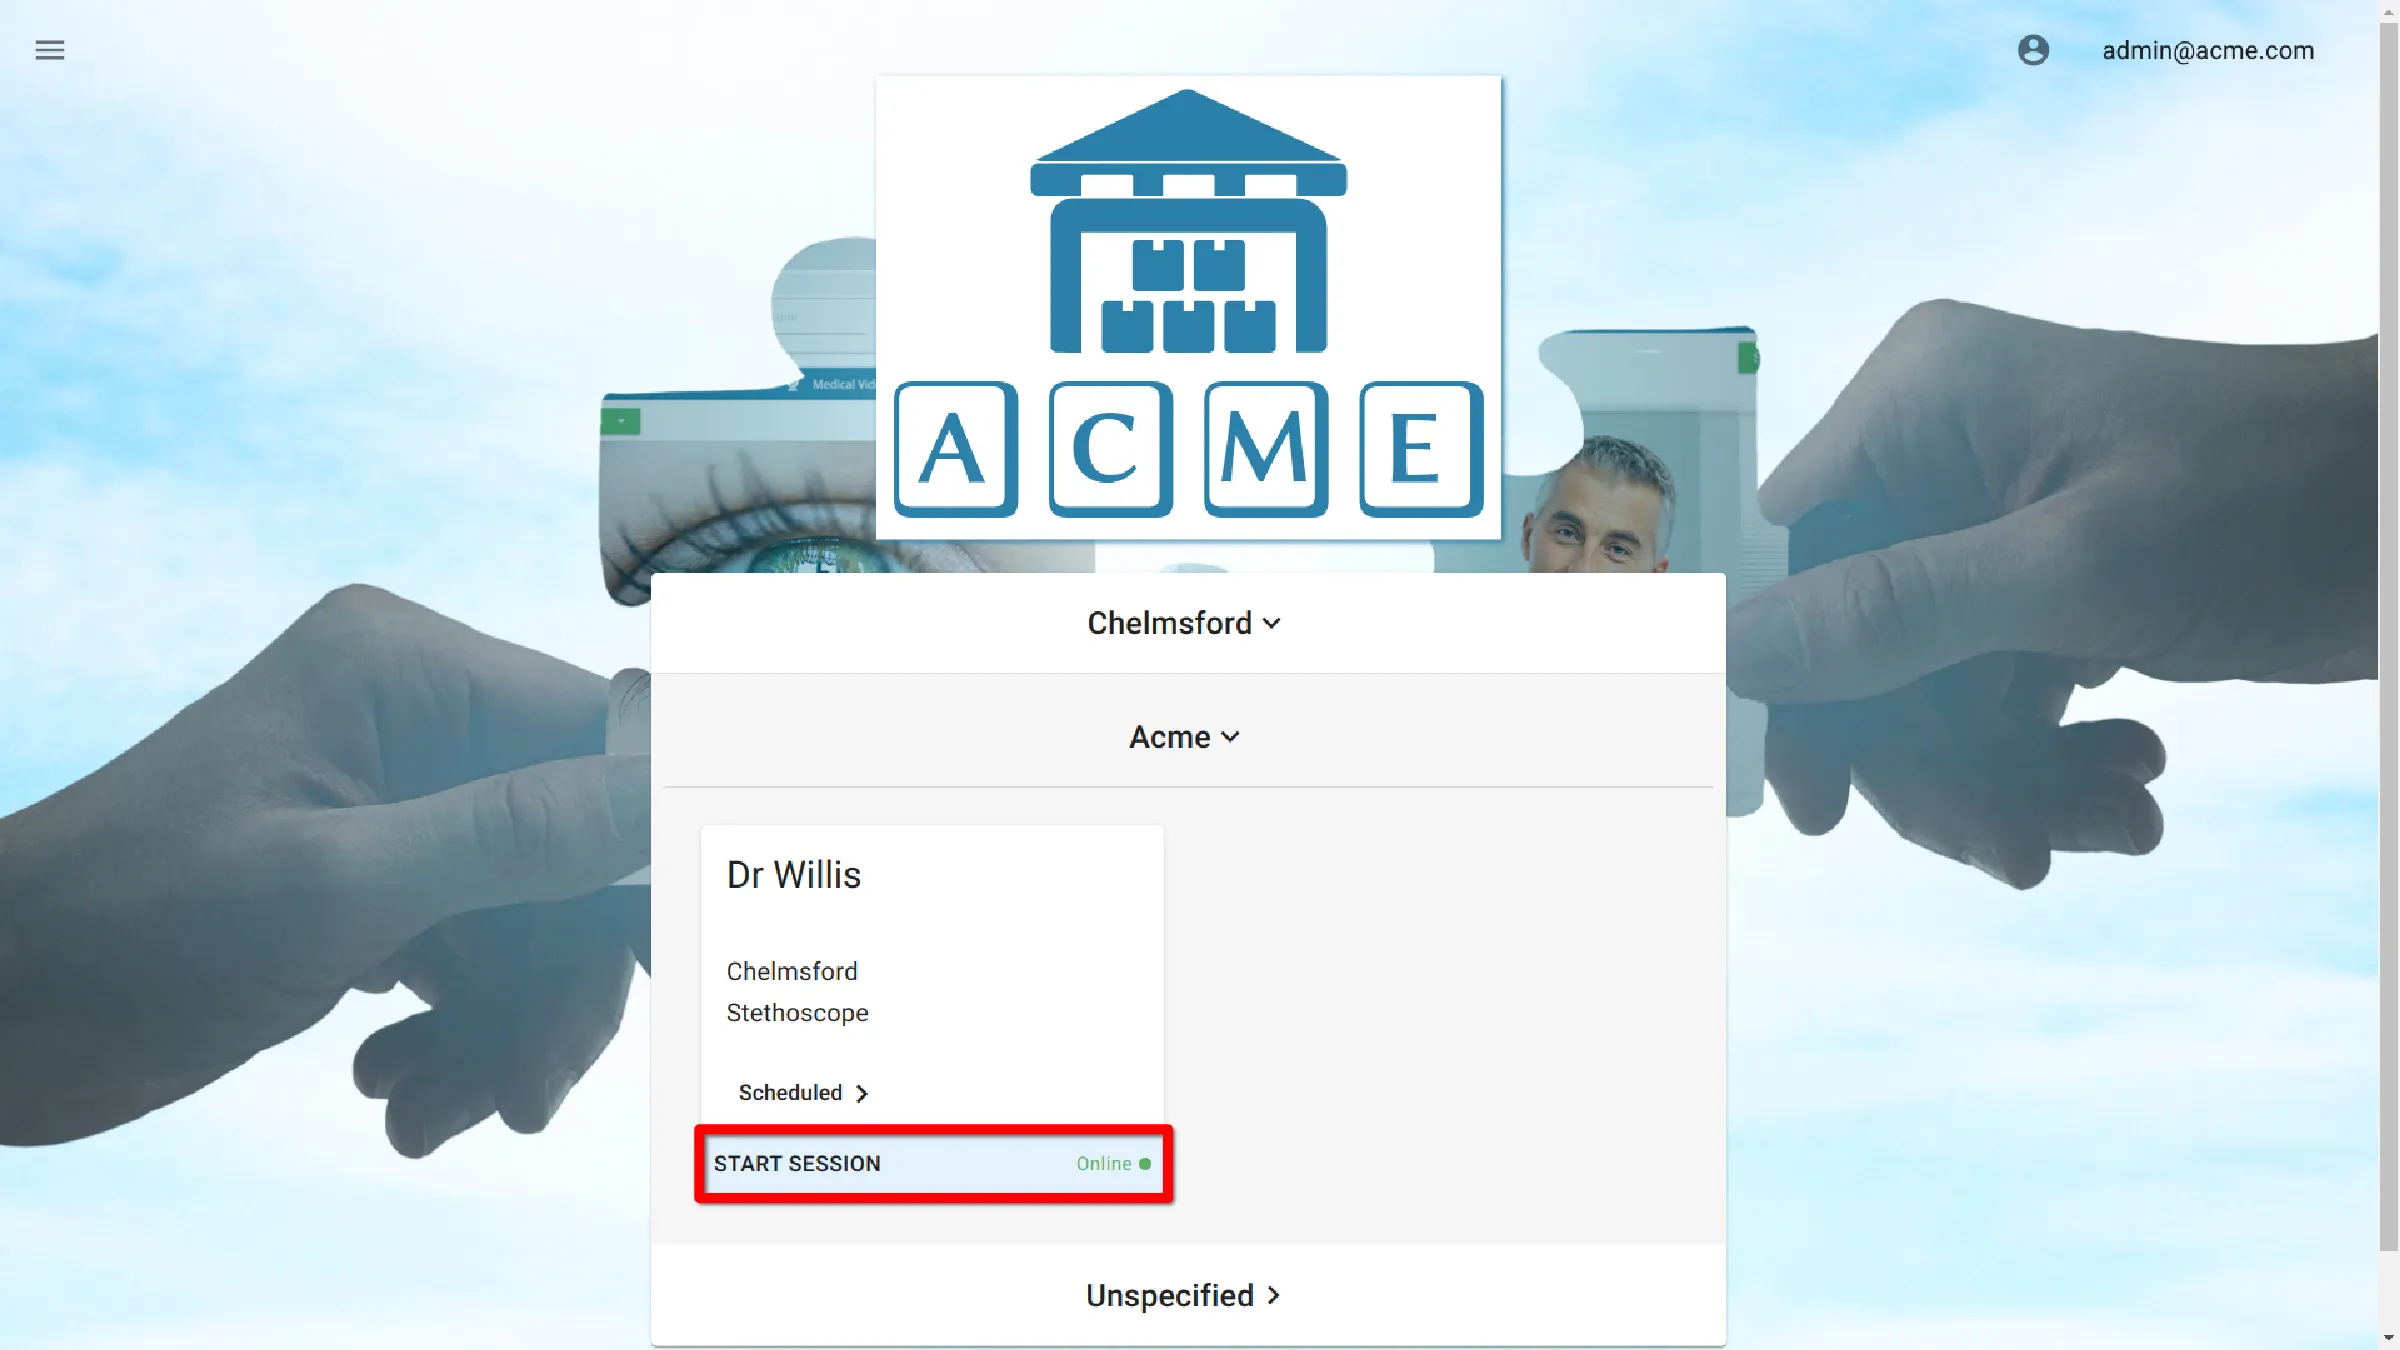
Start Session
To start a session, find the desired portal and click Start Session.
Patient Information
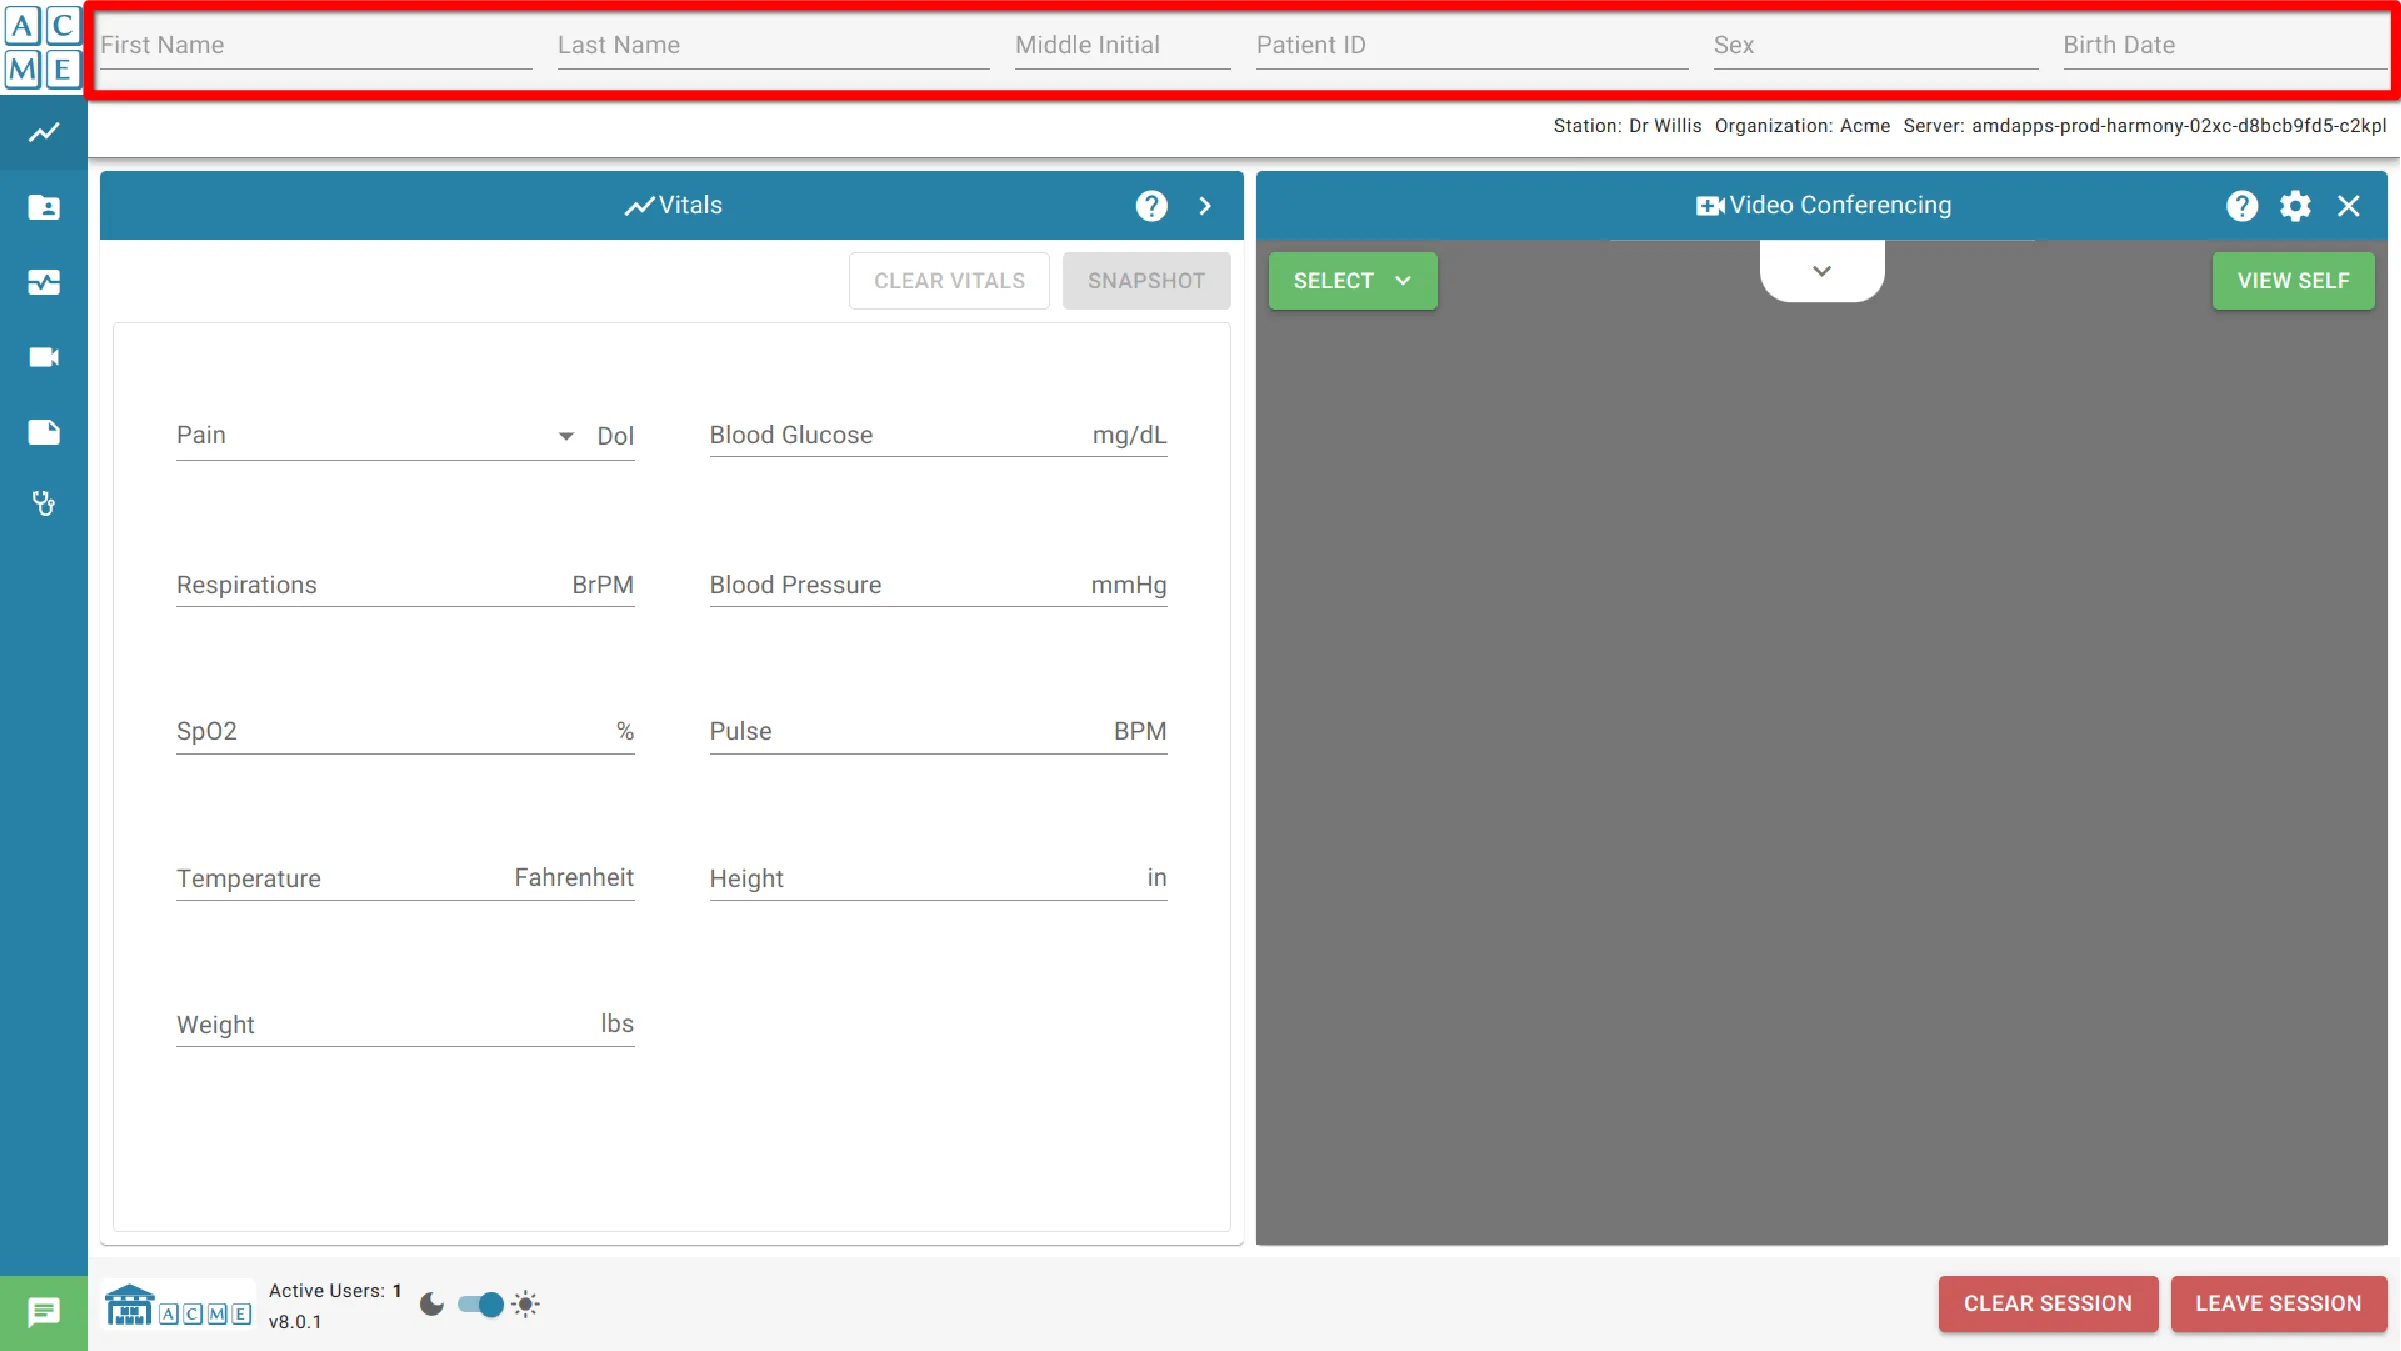
Patient information is found at the top of the screen. To enter information, click on any field. For a more detailed explanation on patient information, please see Telemedicine Encounter: Patient Information.
Manual Entry
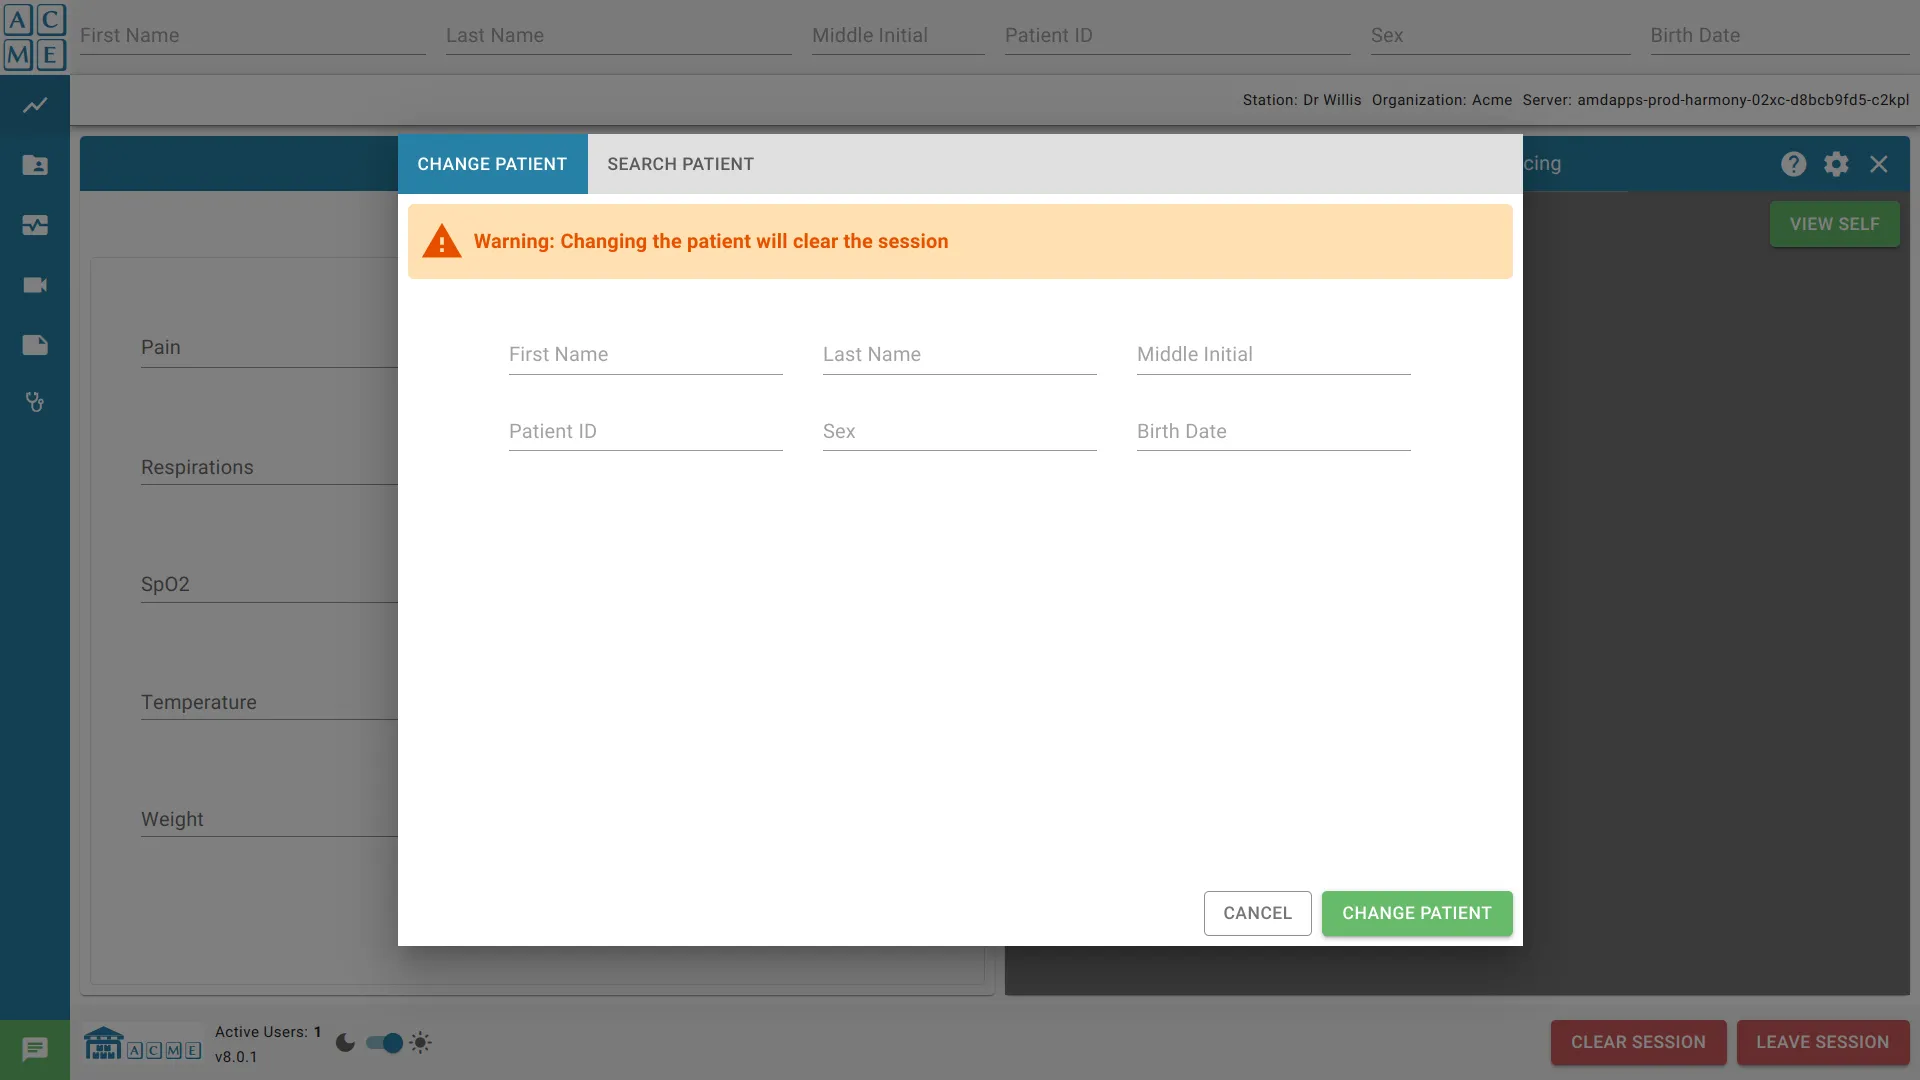
For manual entry, enter the desired information, and then click Edit Patient. Any update to patient data will clear items in the documents module, and stop medical devices from streaming.
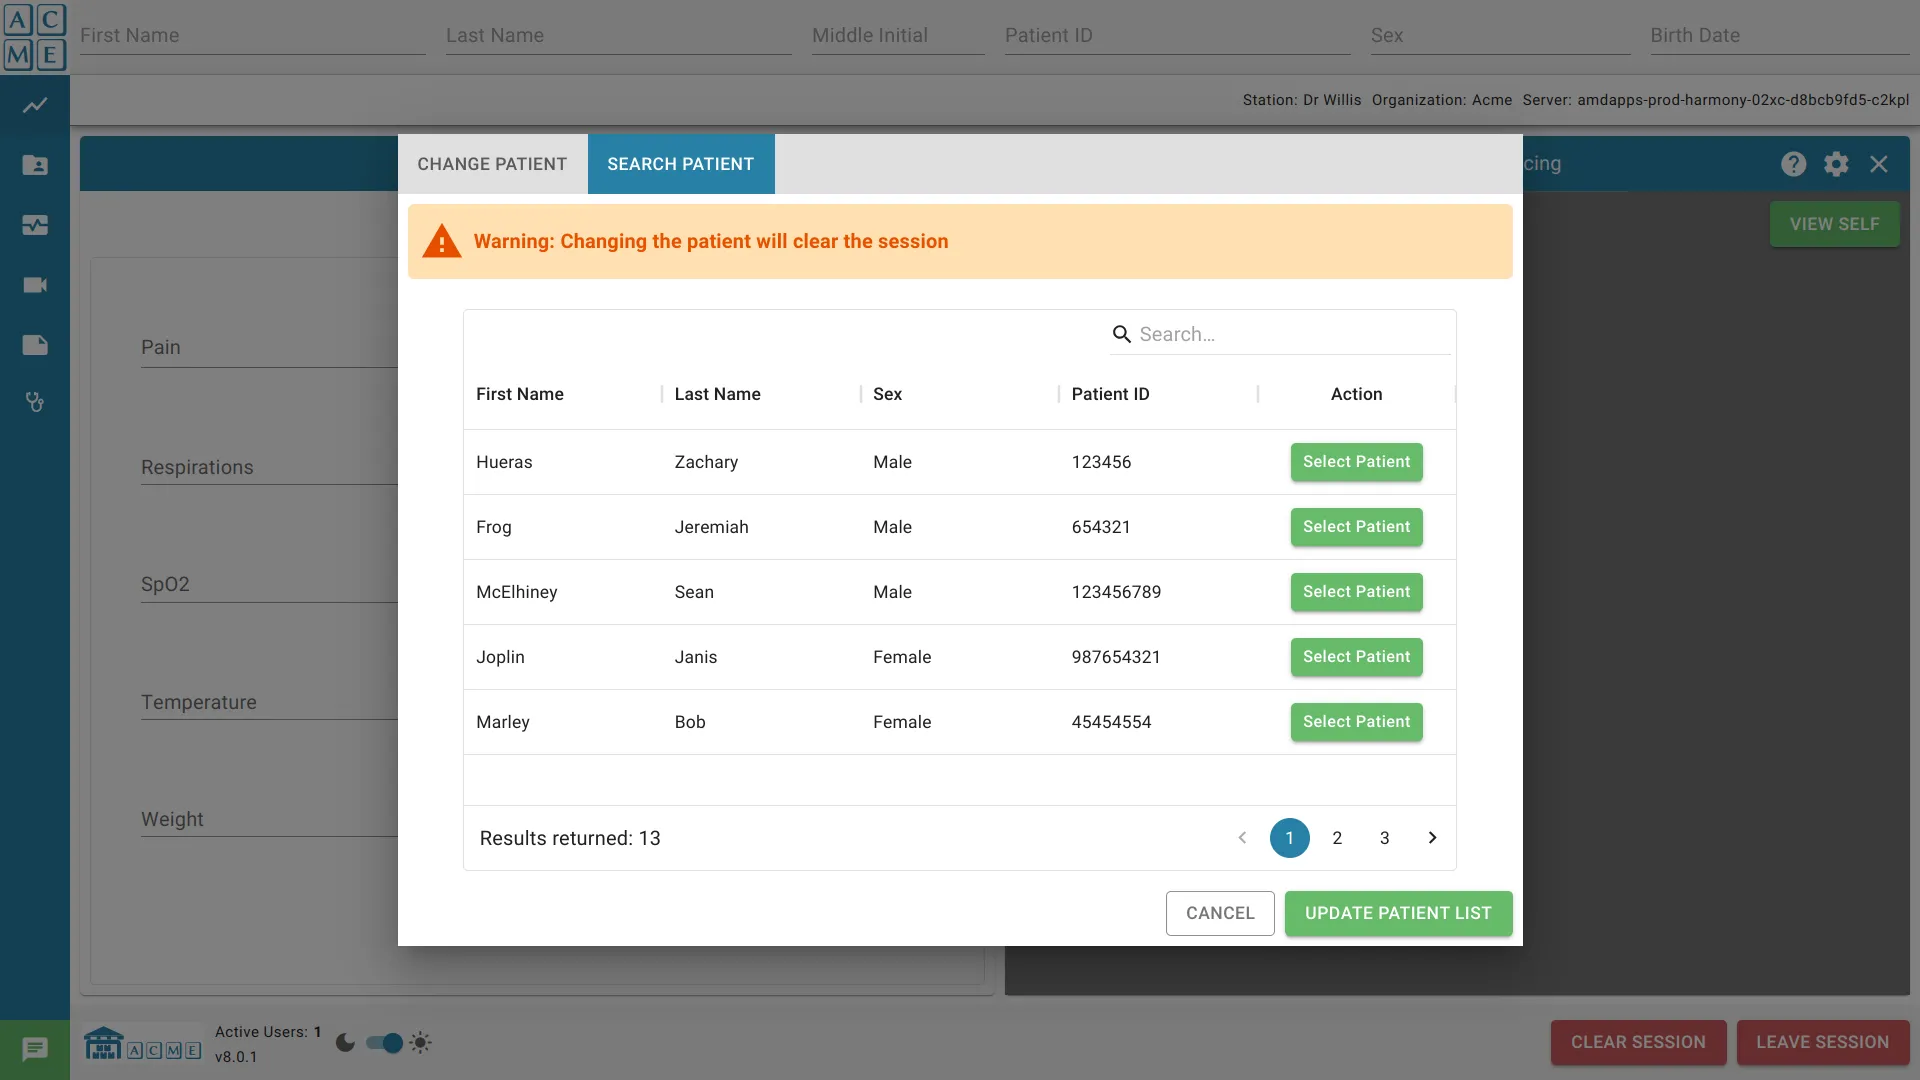
Search for Patient in EMR
When the organization is integrated with an EMR, querying the patient list from the Patient Search tab becomes possible. For more information, please see patient information.
Modules
There are a number of modules that appear in the portal. They indicate, based on the system configuration, the currently supported devices and modules that may be available and how to activate them on the portal.
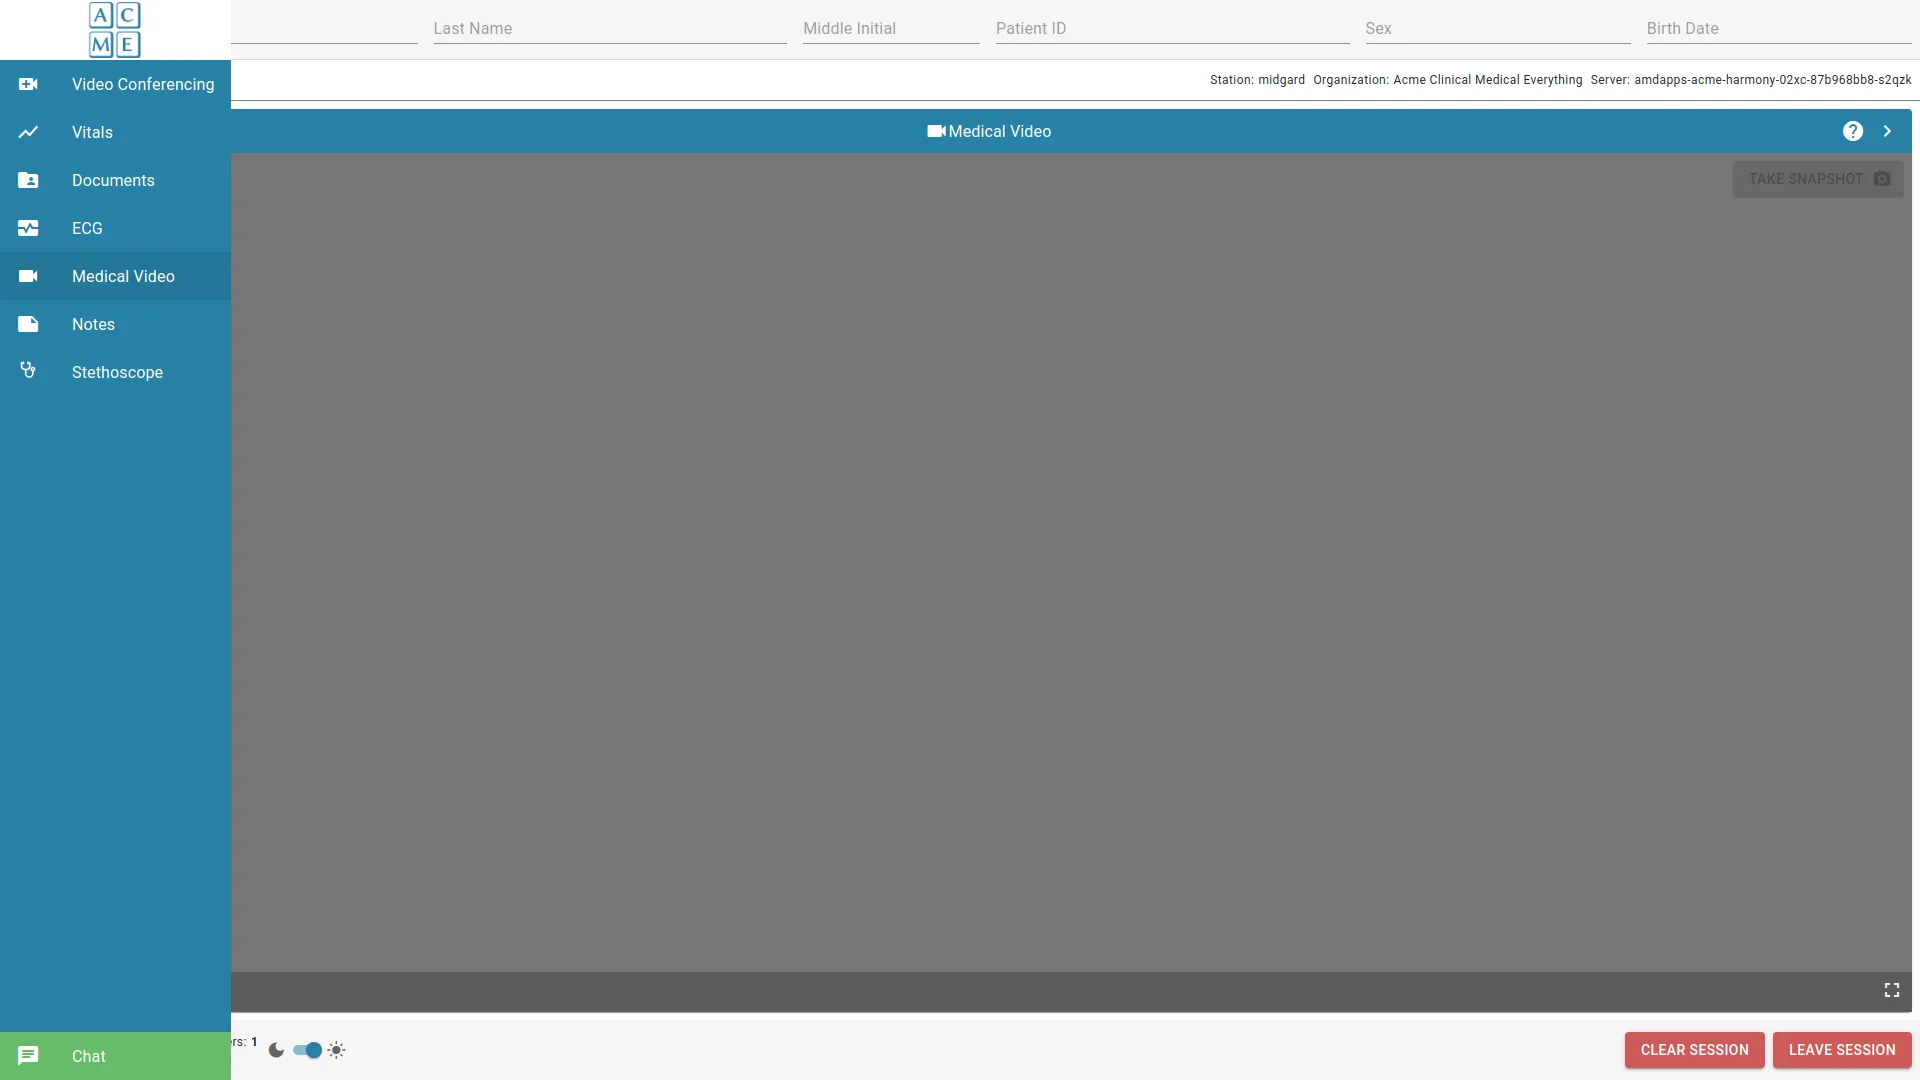
They include:
- Documents: Save or share documents of various types. All snapshots will be available for display or export in the Documents pane.
- Video Conference: Video Conference module to allow real time audio and video communication between the current users in the session.
- Vitals: Oximeter, Blood Pressure, Thermometer, and Pulse readings are available through a supported vitals monitor or by manual entry. In addition to the above vitals, weight and height are available through manual entry.
- Stethoscope: Stethoscope module allows real-time audio through a supported Stethoscope unit. Any participant can control filtering and Volume.
- Medical Video: Medical Video module contains a drop-down menu to select a device to view live video in the portal. Any participant may take snapshots.
- ECG: Allows the clinician to launch the ECG application.
- Notes: Provides the ability to capture and store notes for download or export to an EMR.
- Chat: Allows connected parties to send a text-based chat message to one or more participants.
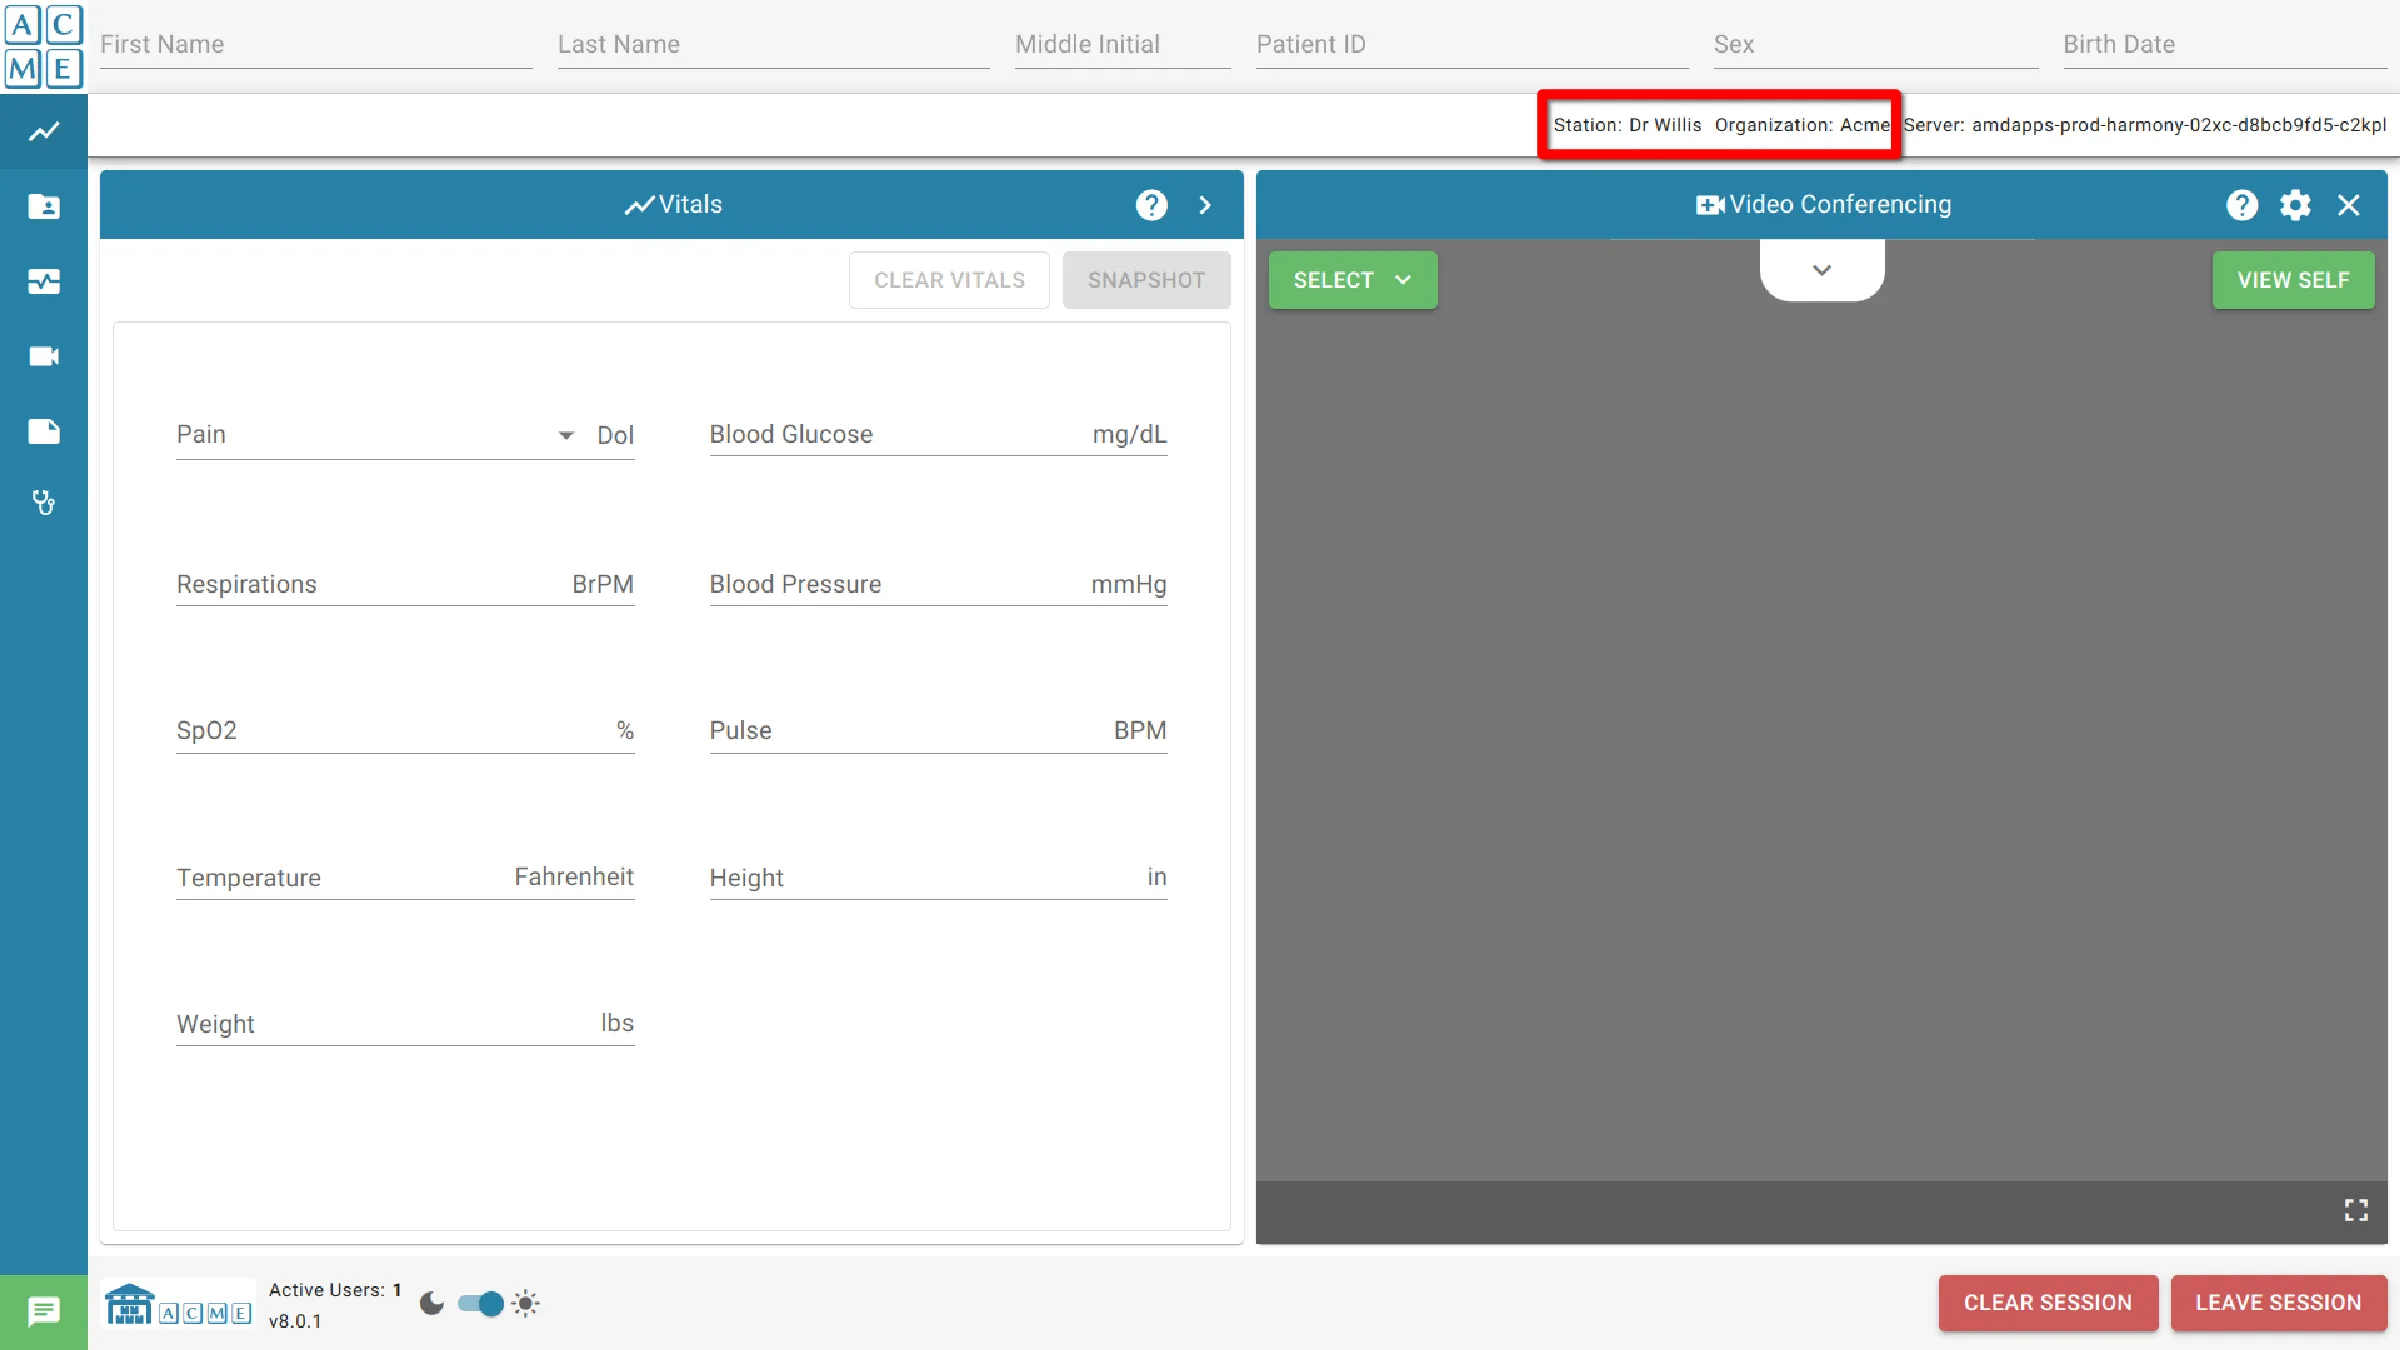
Portal Identifiers
In the patient information section, Station Name and Organization Name serve as identifiers for the portal.
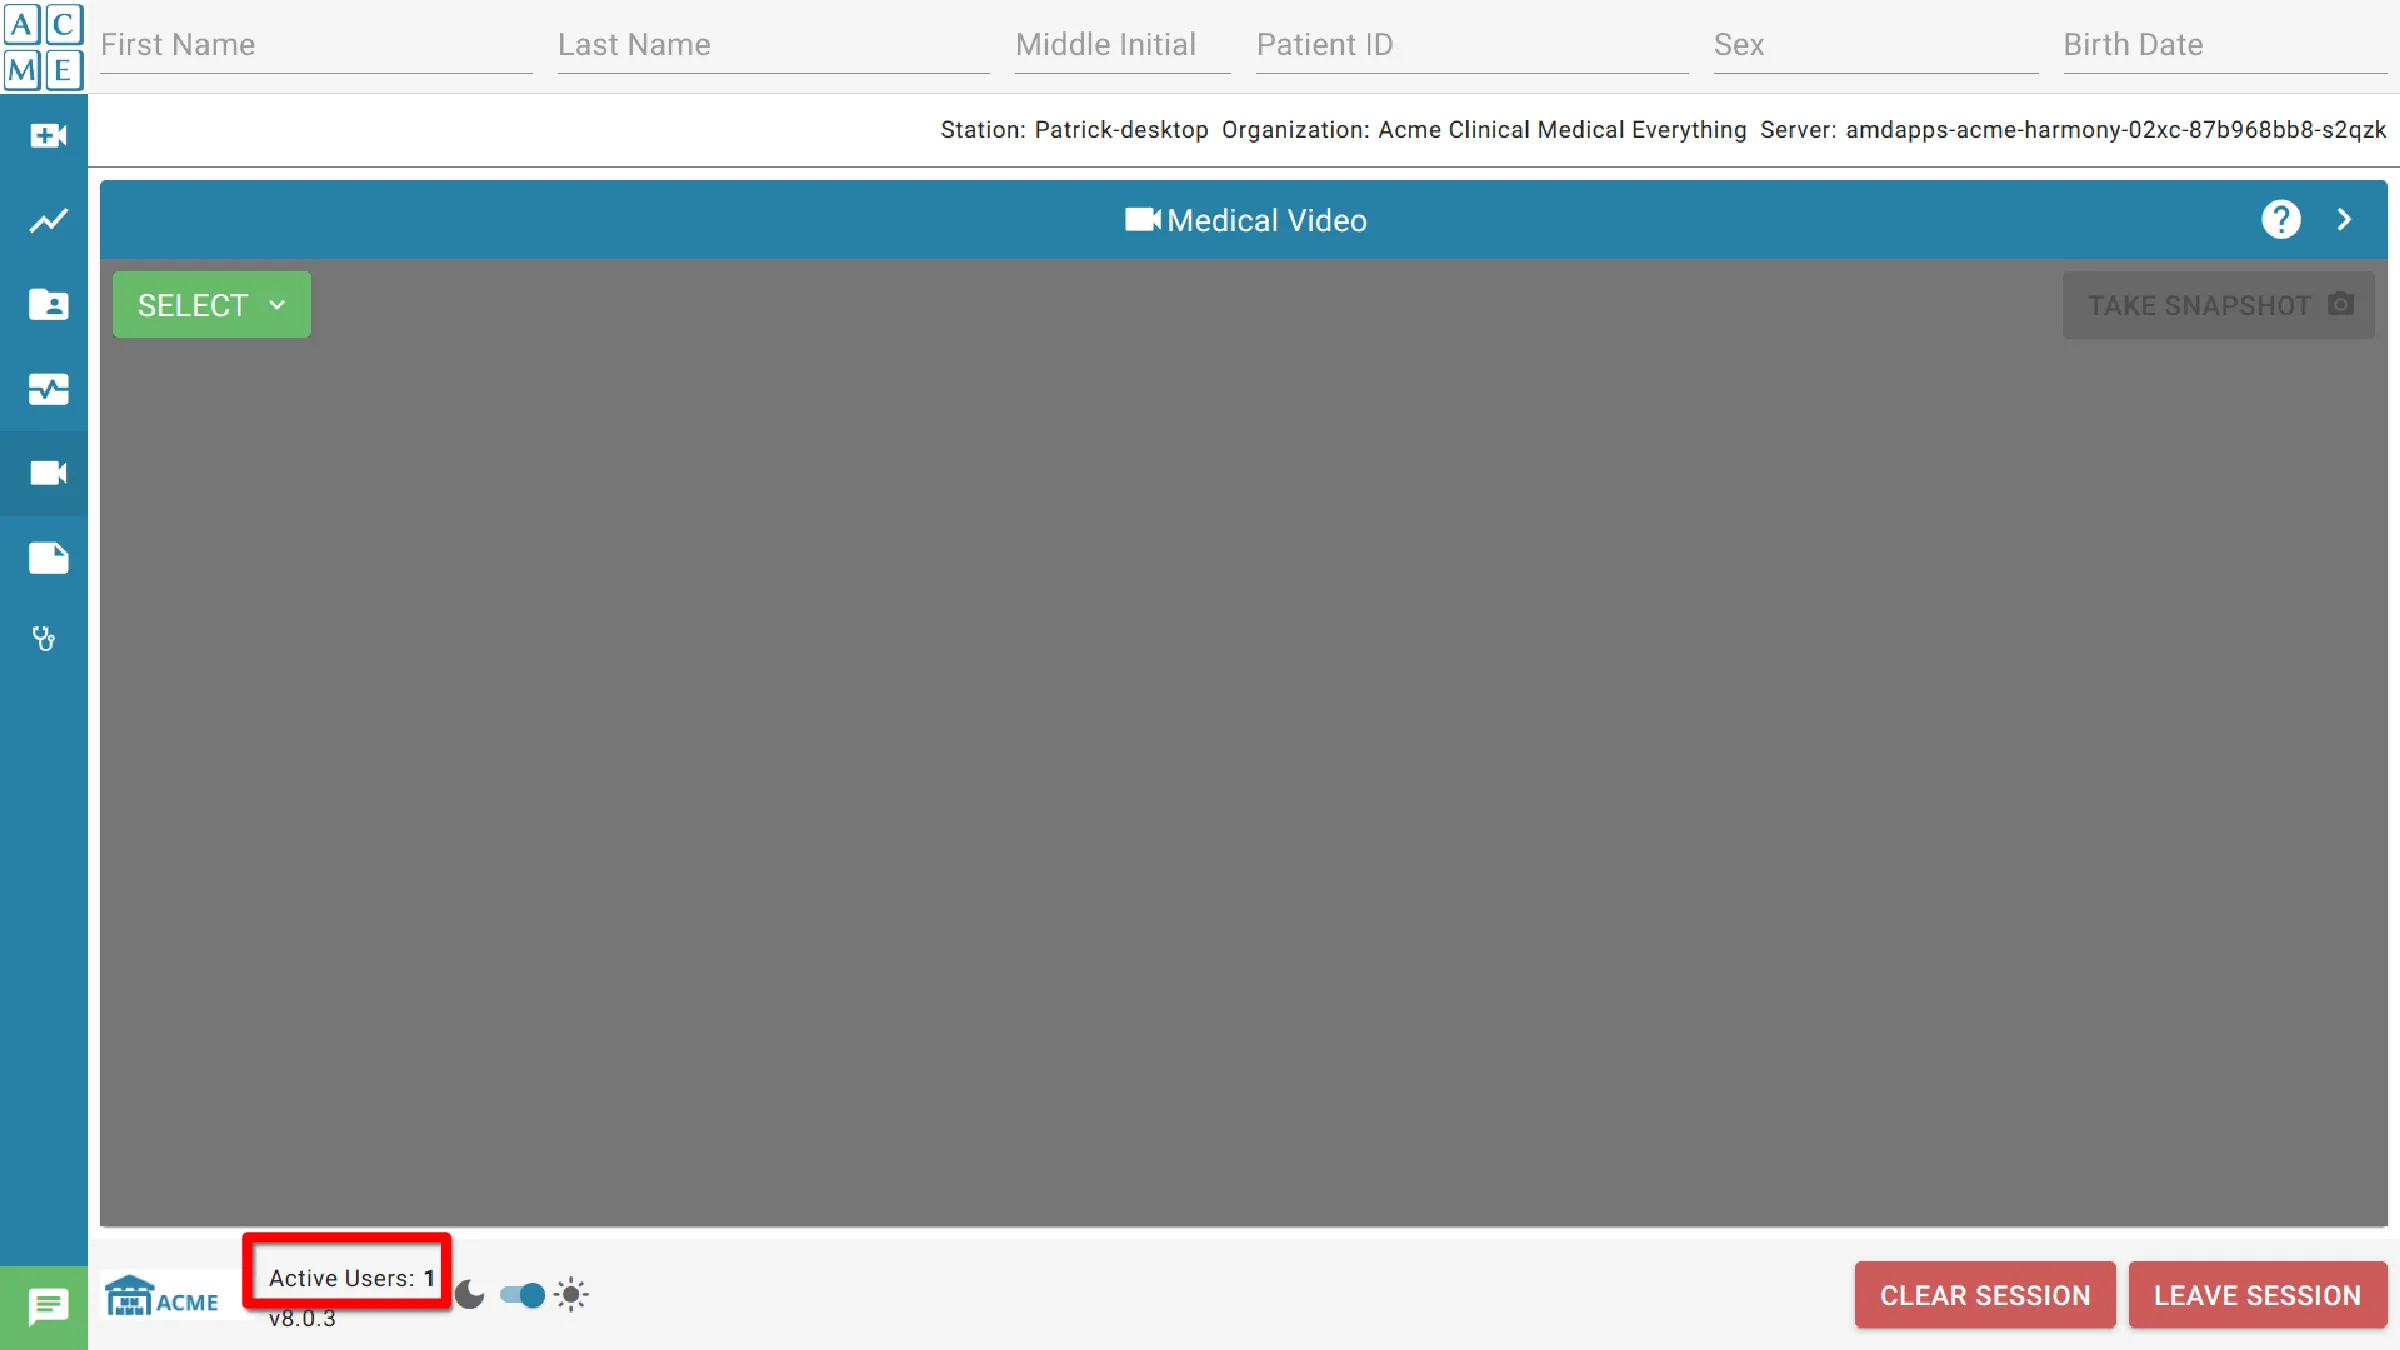
Current User Count
At the bottom of the portal, the current user count for participants in the current session can be found. This is updated whenever a user logs in or logs out.
Max Users
AGNES allows for a set number of participants to enter a session before requiring permission from the current session participants. The number of users in a session before this is enforced is configurable, and the default is two.
Split Tab View
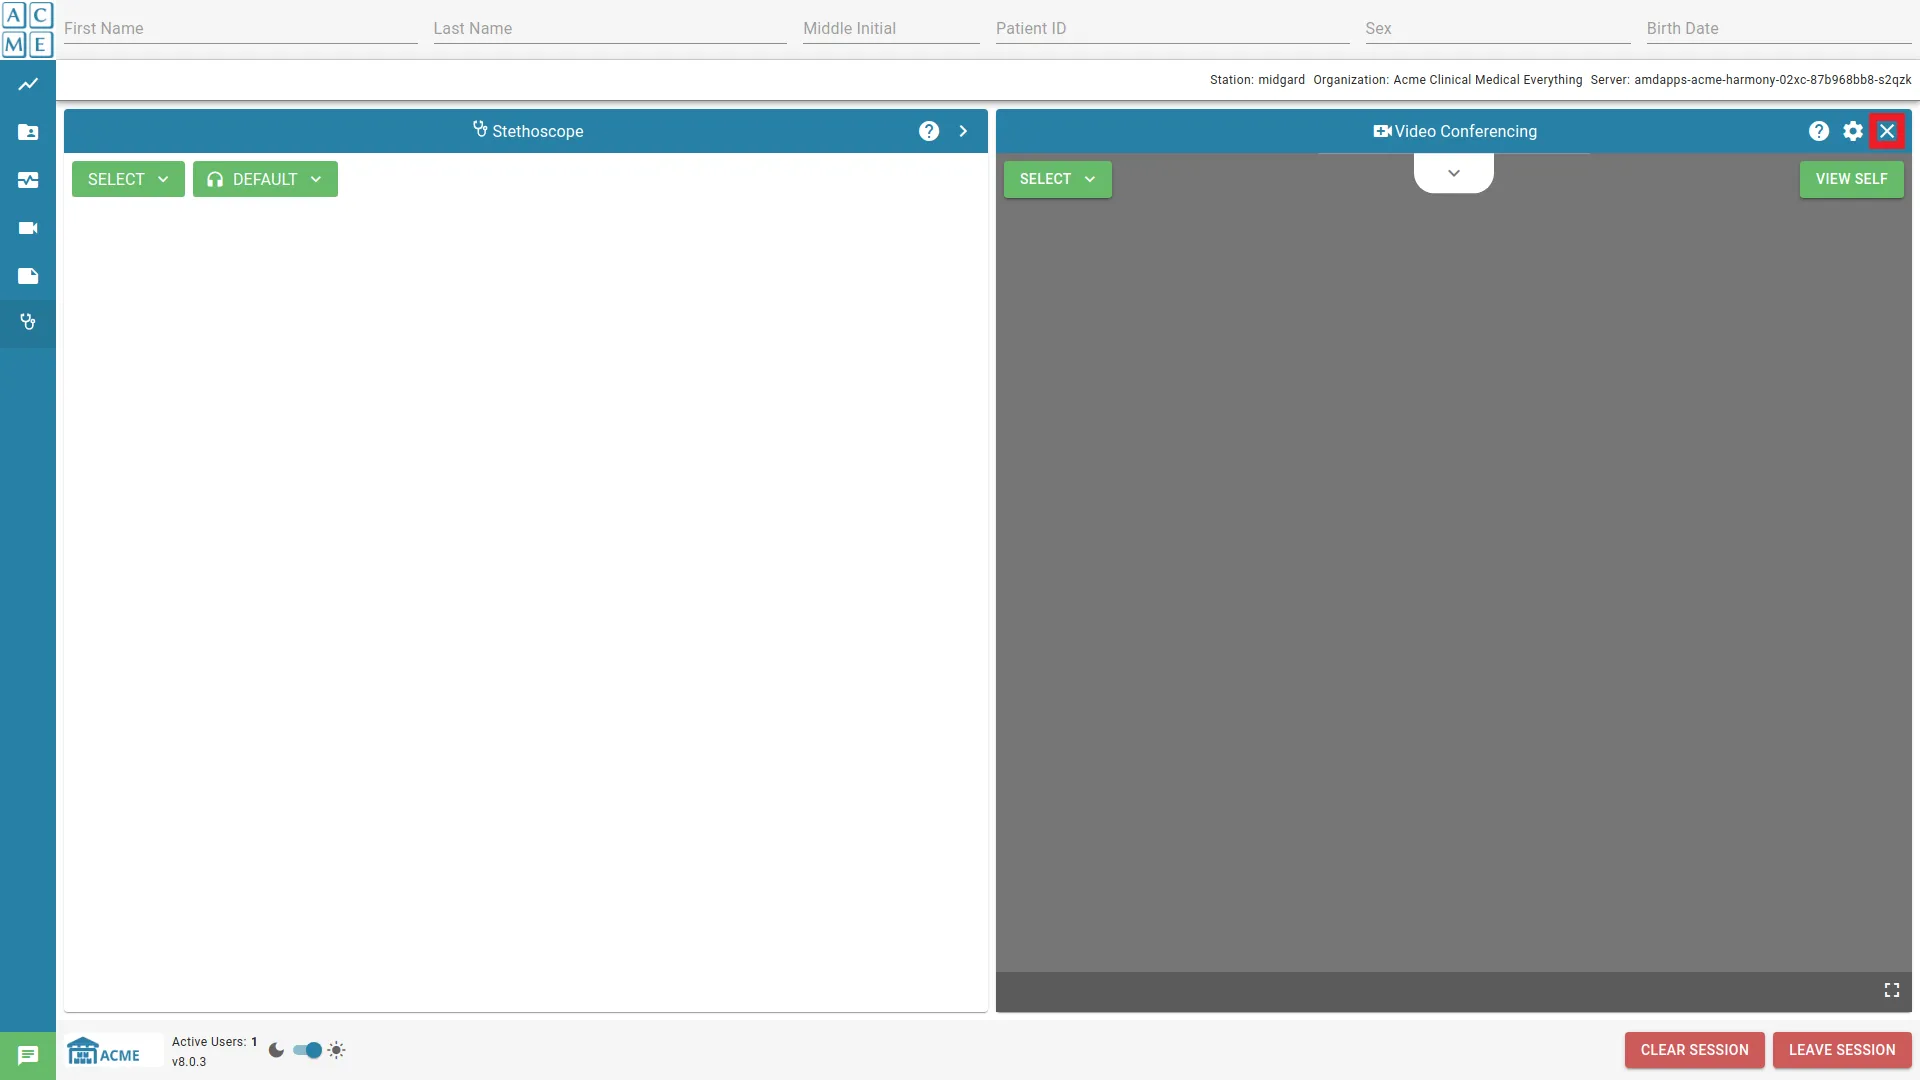
Modules may be viewed side by side, as a split-tab view. This allows “pinning” a tab to the right, and toggling through the other modules on the left. To pin a tab, press the arrow at the top right of the portal.
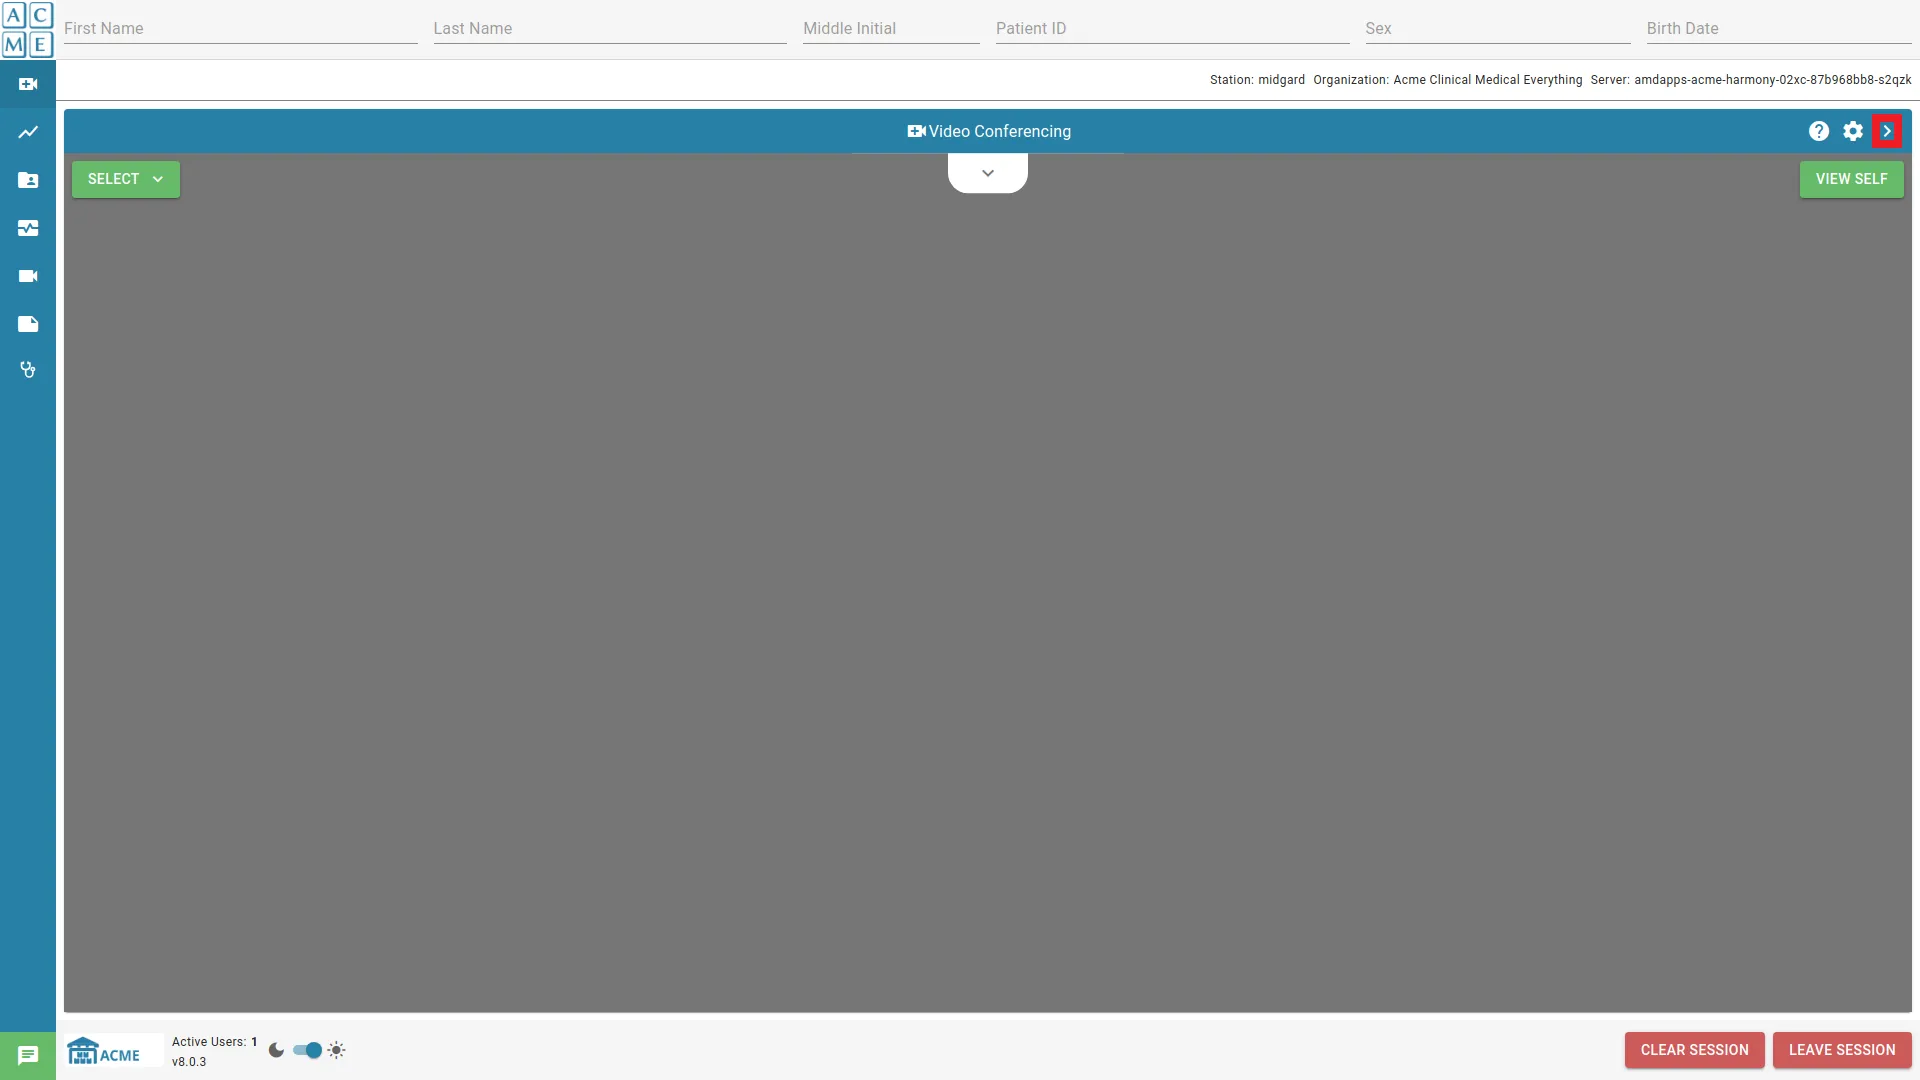
The majority of providers use this to pin Video Conference to the right, while cycling through the other modules on the left.
To go back to viewing one module, press X in the top of the right module.
Clear Session
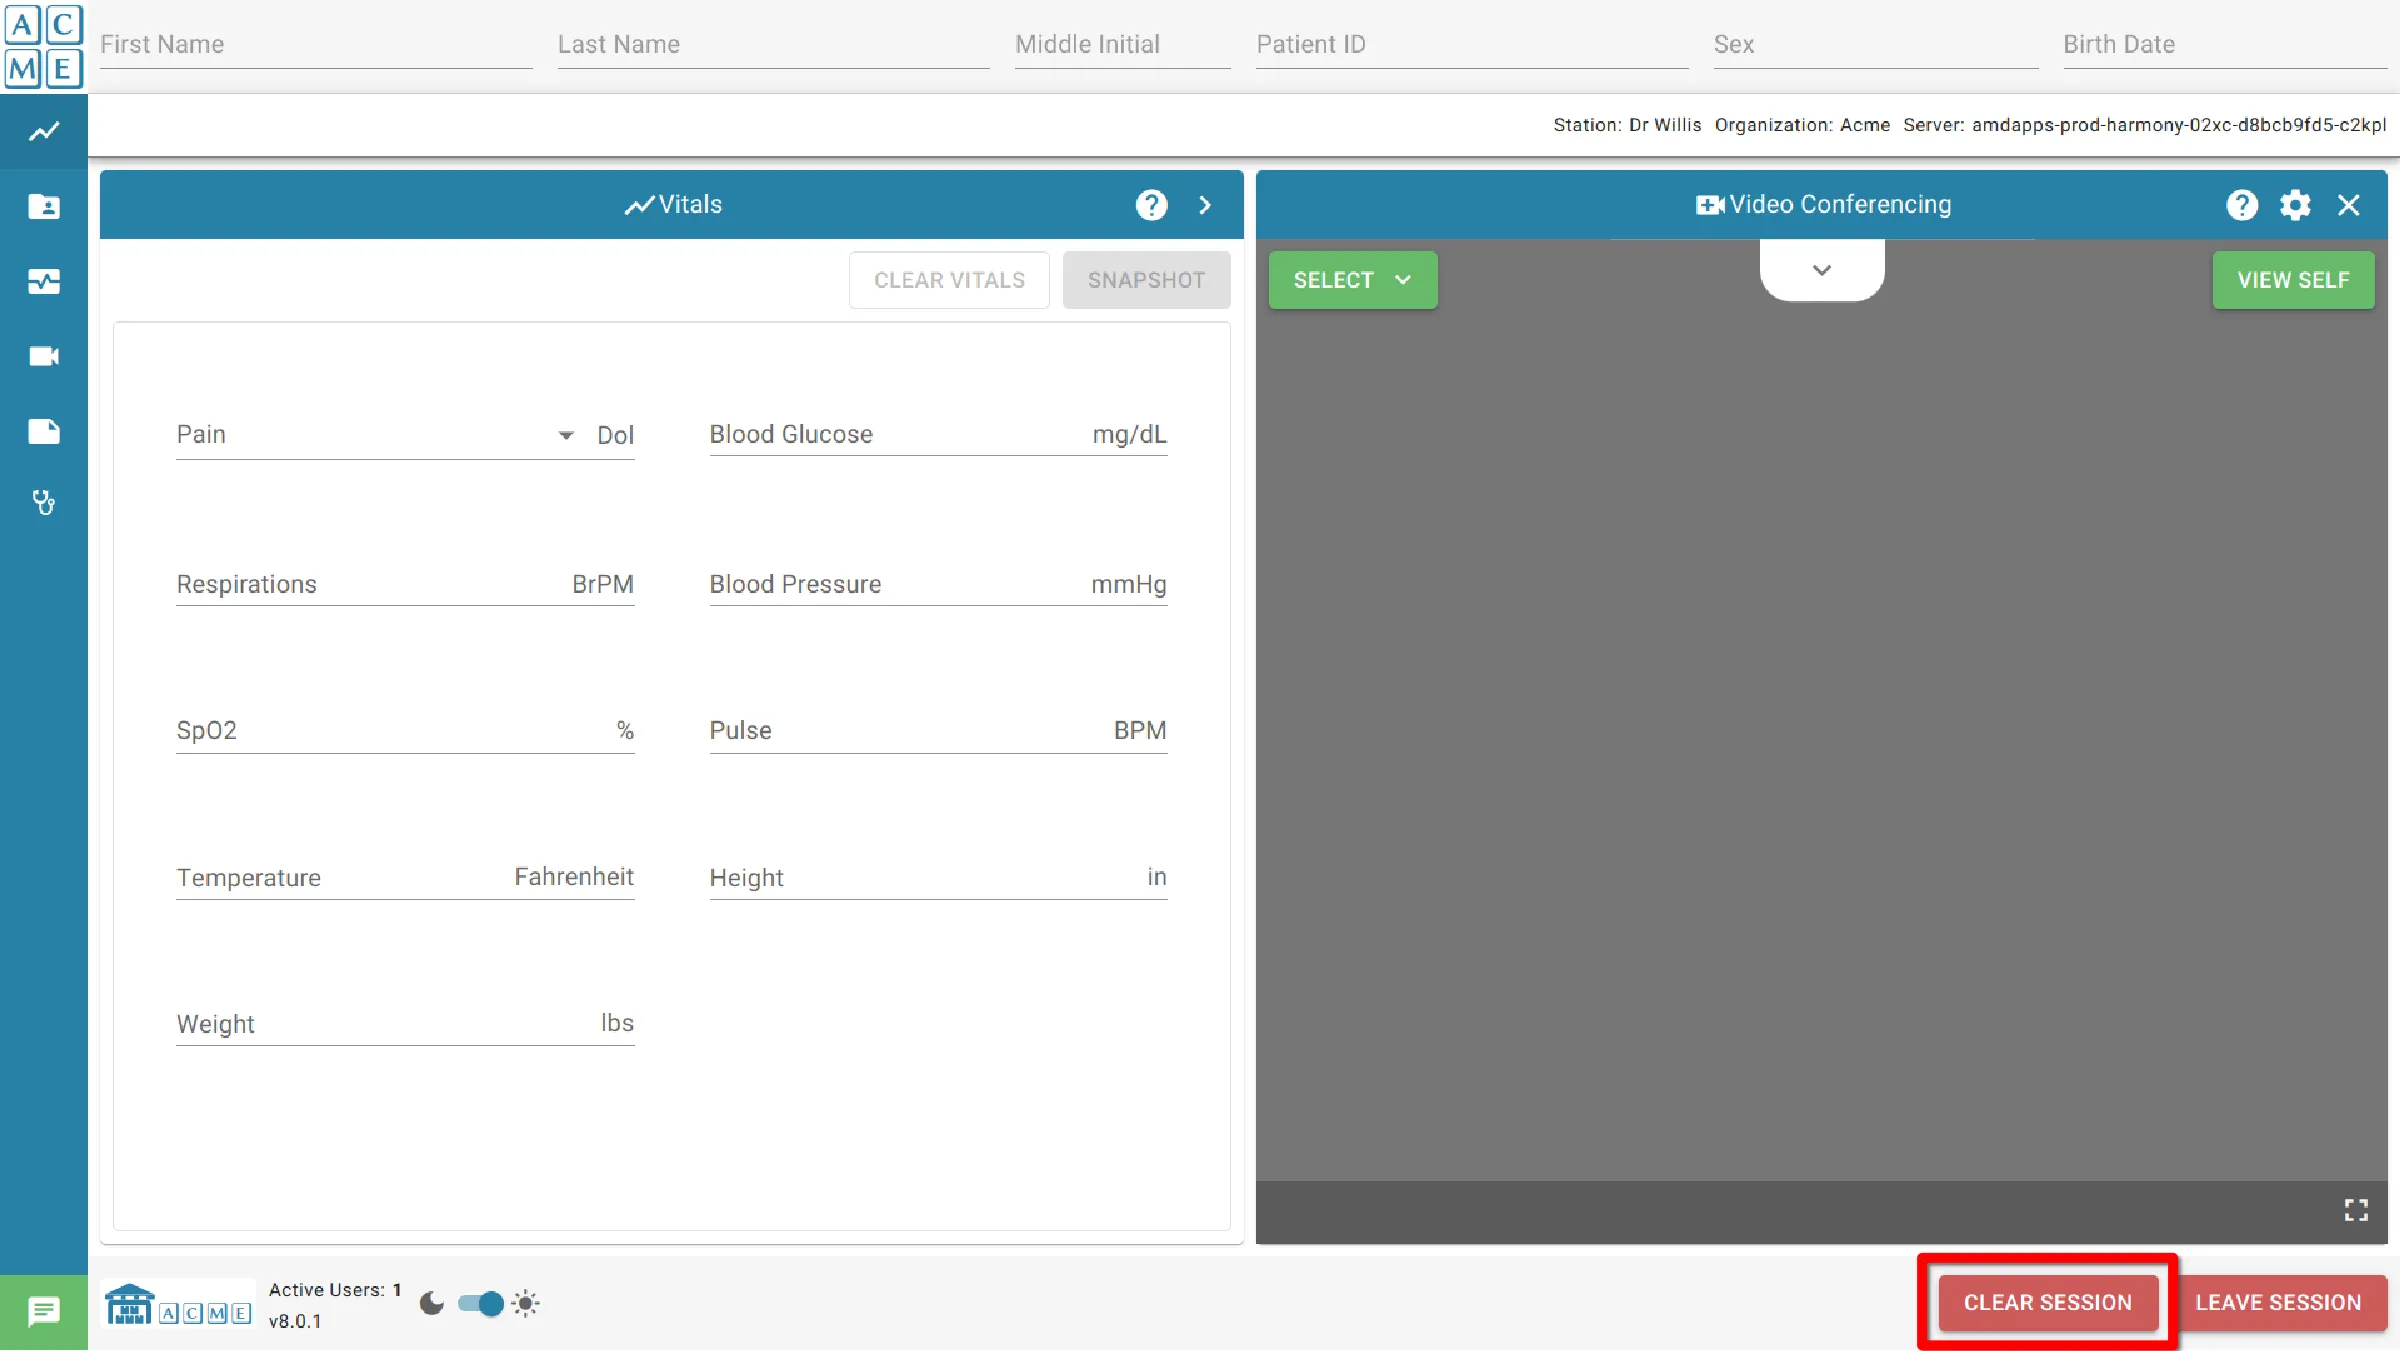
Clear Session will purge all data from the current session and stop medical video devices. This includes clearing all items from the documents module and clearing patient information. The session will also be cleared when any changes are made to patient information.
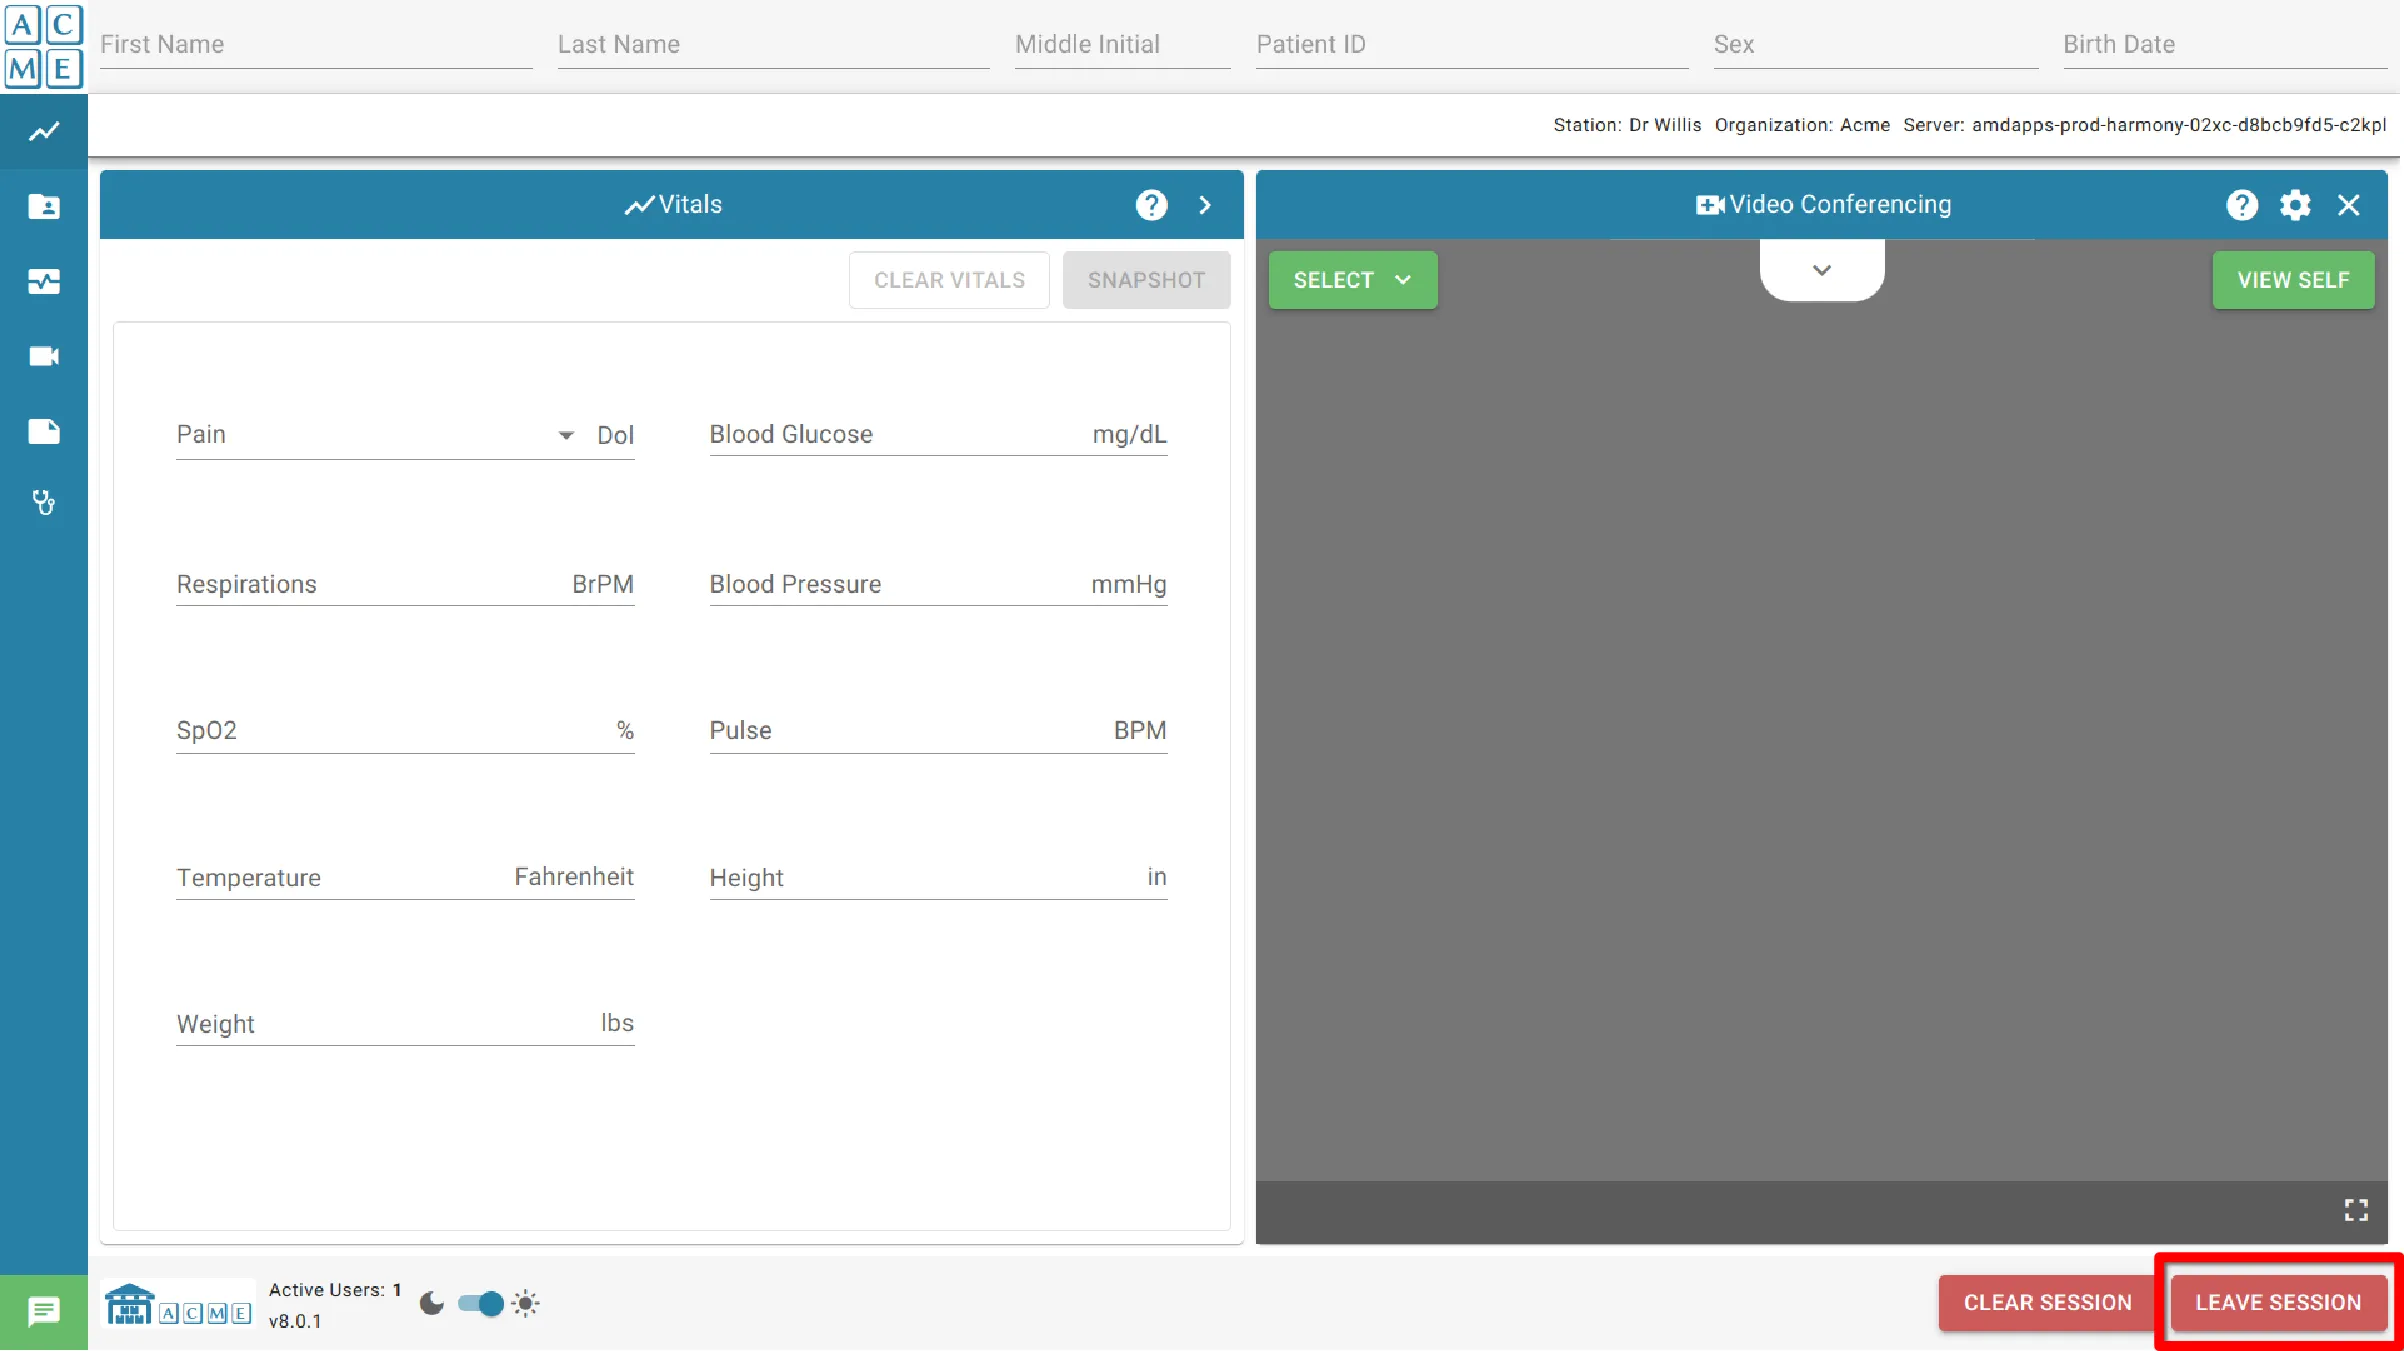
Leave Session
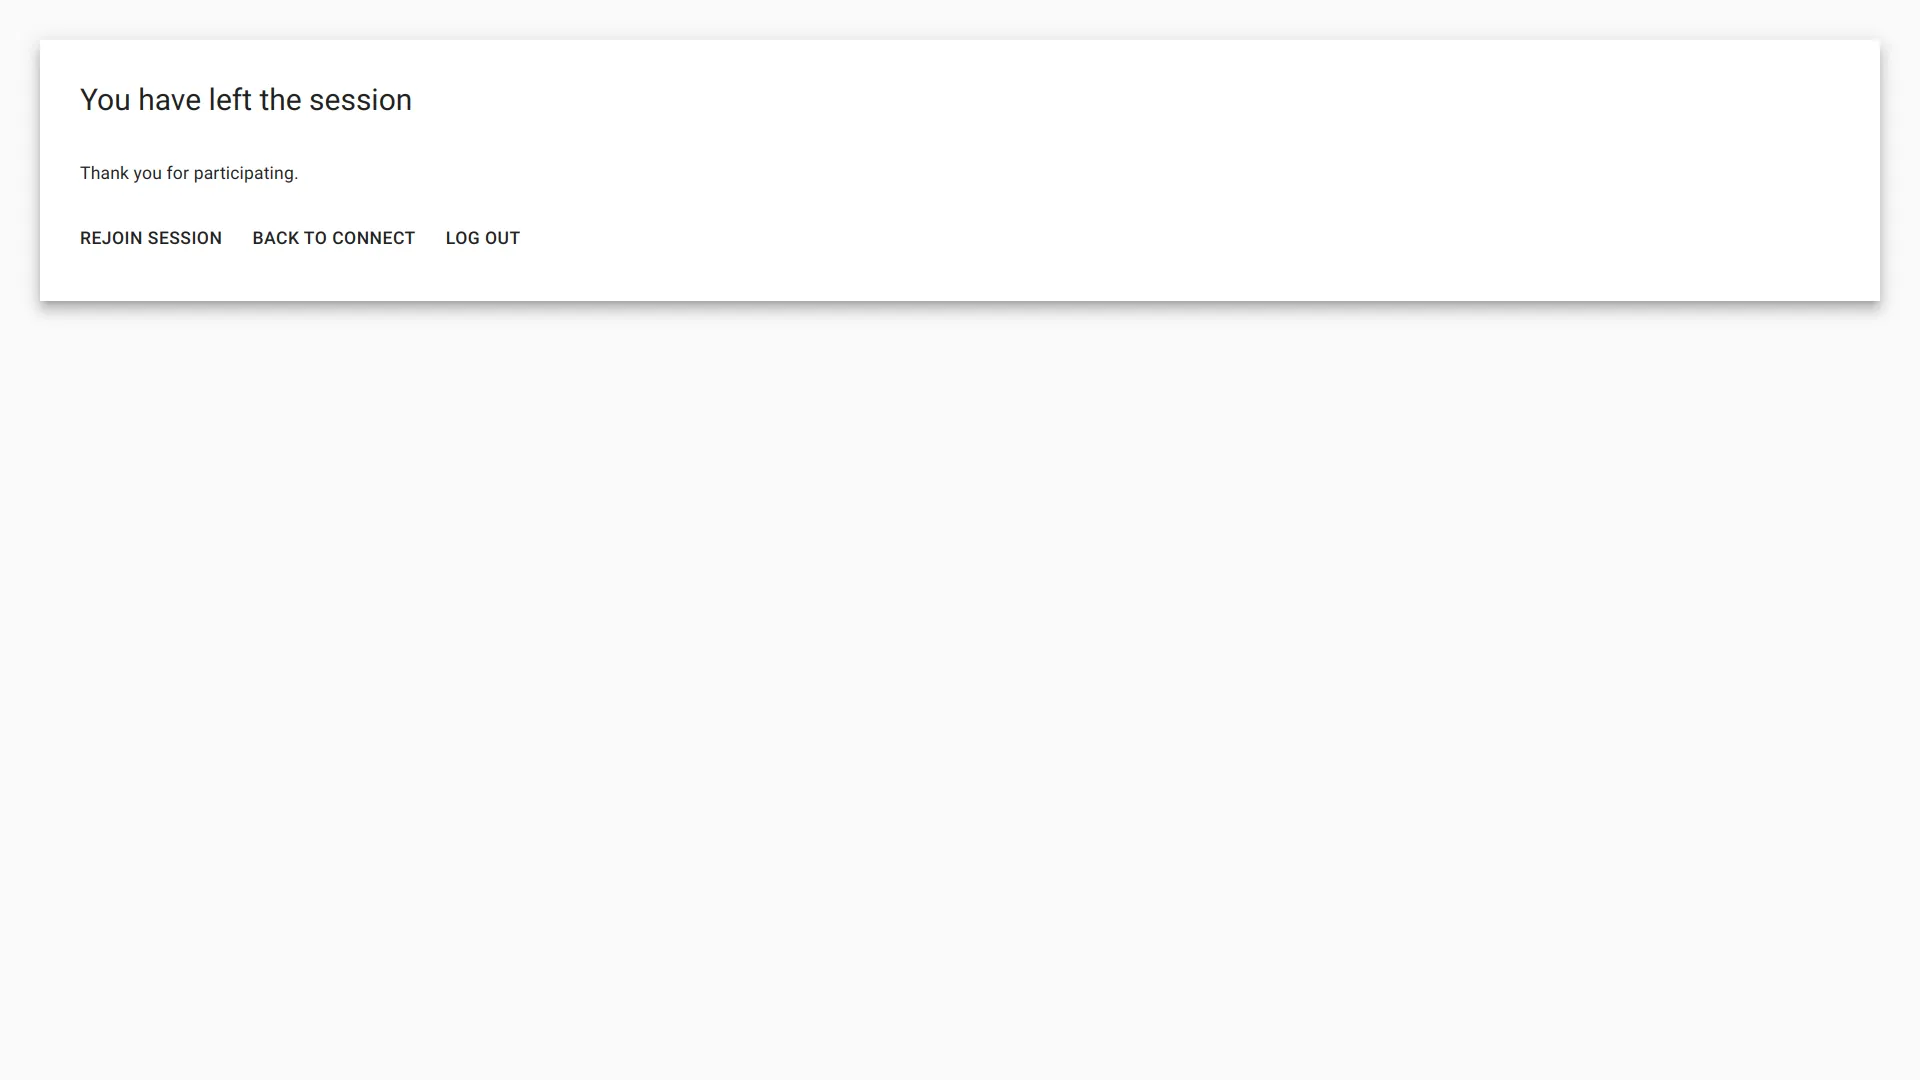
Leave Session exits the current telemedicine encounter. If there are no other participants in the session, the system will purge all session data. The user will be taken to a screen where they can return to the session, or go back to the home screen.
