AzureAD User Administration
The AzureAD integration allows users to authenticate to AGNES Connect using an existing AzureAD server, allowing users to take advantage of existing single sign on solutions. The AzureAD server must be publicly available on the internet to the AGNES Connect servers. Each Organization may connect to a single AzureAD server, replacing the user management module provided by AGNES Connect. These settings are typically configured by AMD employees during the initial deployment. Changing these settings may interfere with an organization’s ability to connect to AGNES. It’s recommended making changes to these settings under the guidance of AMD.
Configuration Suggestions
The responsibility for AzureAD user management lies with the organization’s IT group. However, AMD recommends incorporating an administrative group called agnes_admin. When configured as the administrative group in AGNES, members of this group will gain administrative privileges in AGNES Connect.
Navigate to Organization Settings
Open Site Manager
To edit this setting, the logged-in user account must have an administrator role.
Right-click the AGNES Connect icon in the system tray and select Site Manager.


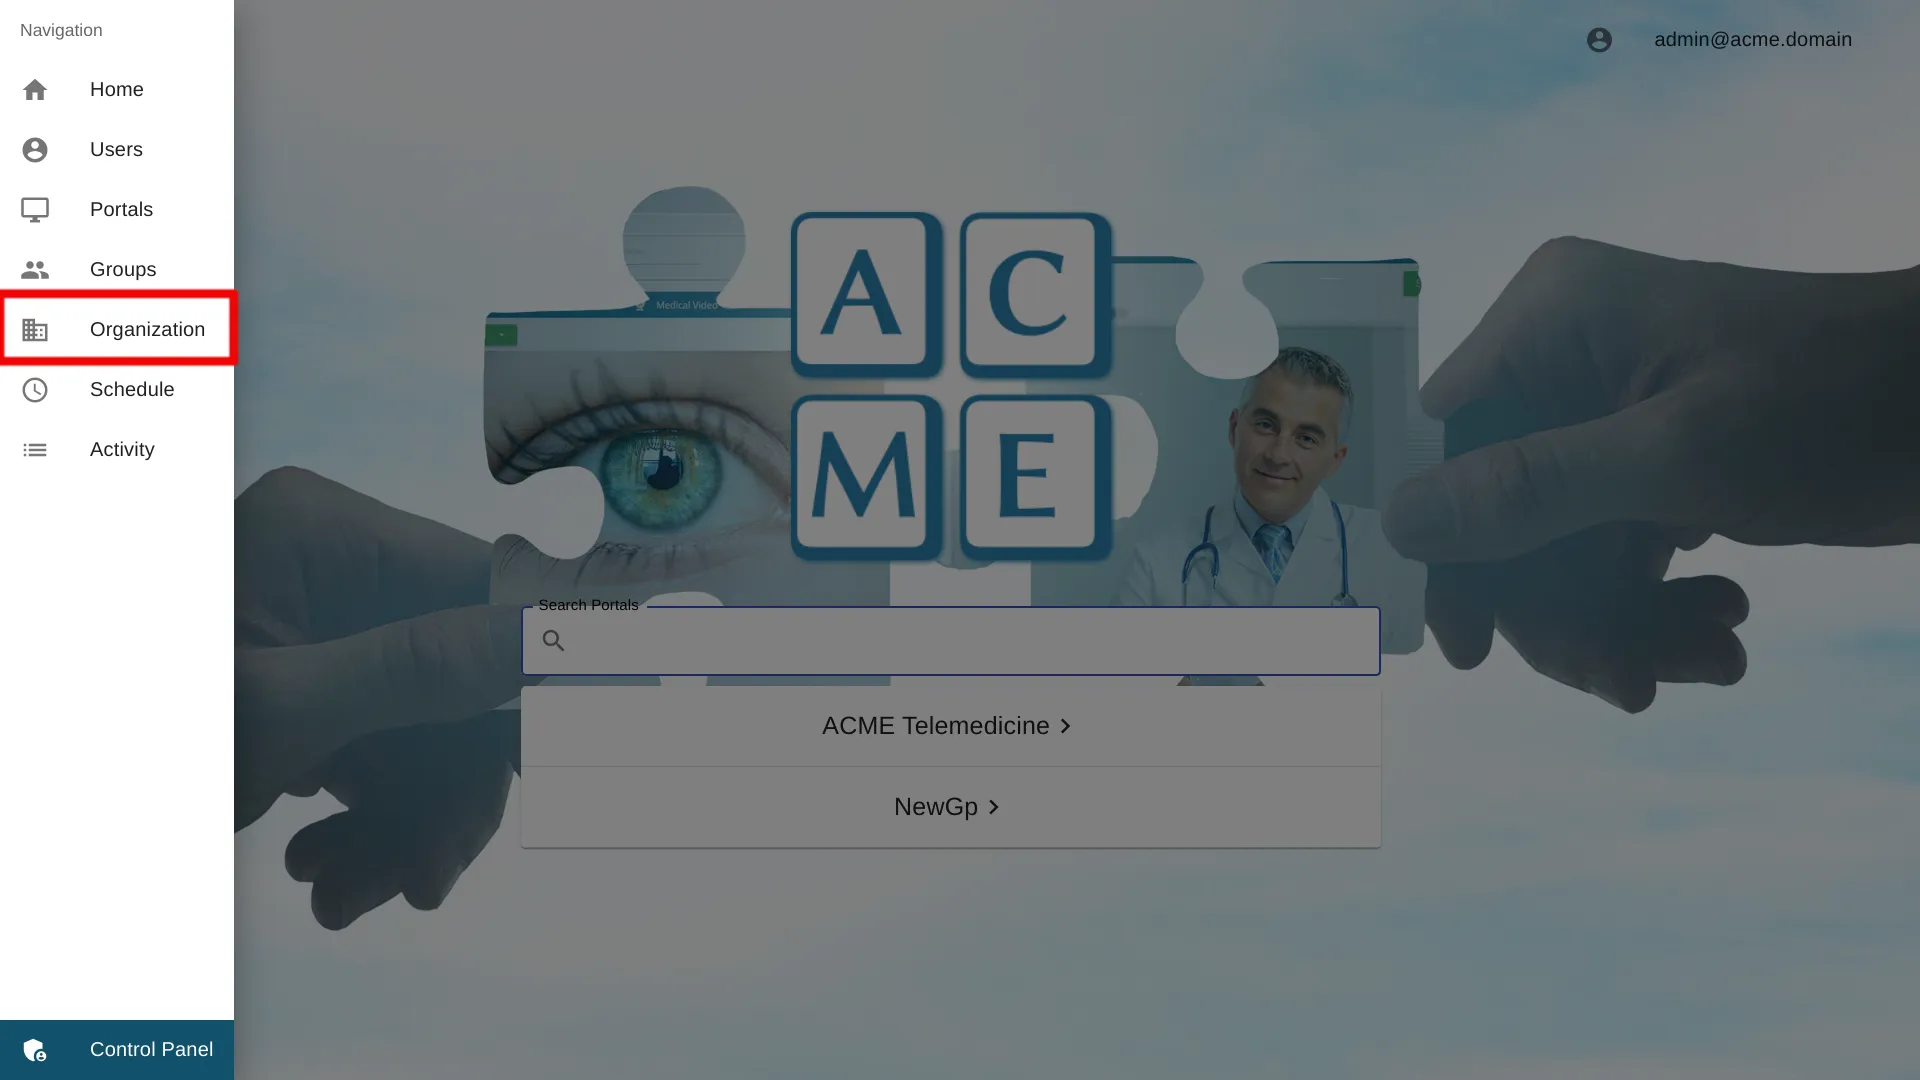
Select Organization from the navigation bar
Click the ’≡’ icon in the top left of the home screen, and select Organization from the navigation bar. If the option is not available, ensure the logged in user account has the administrator role.

Select AzureAD User Administration Settings
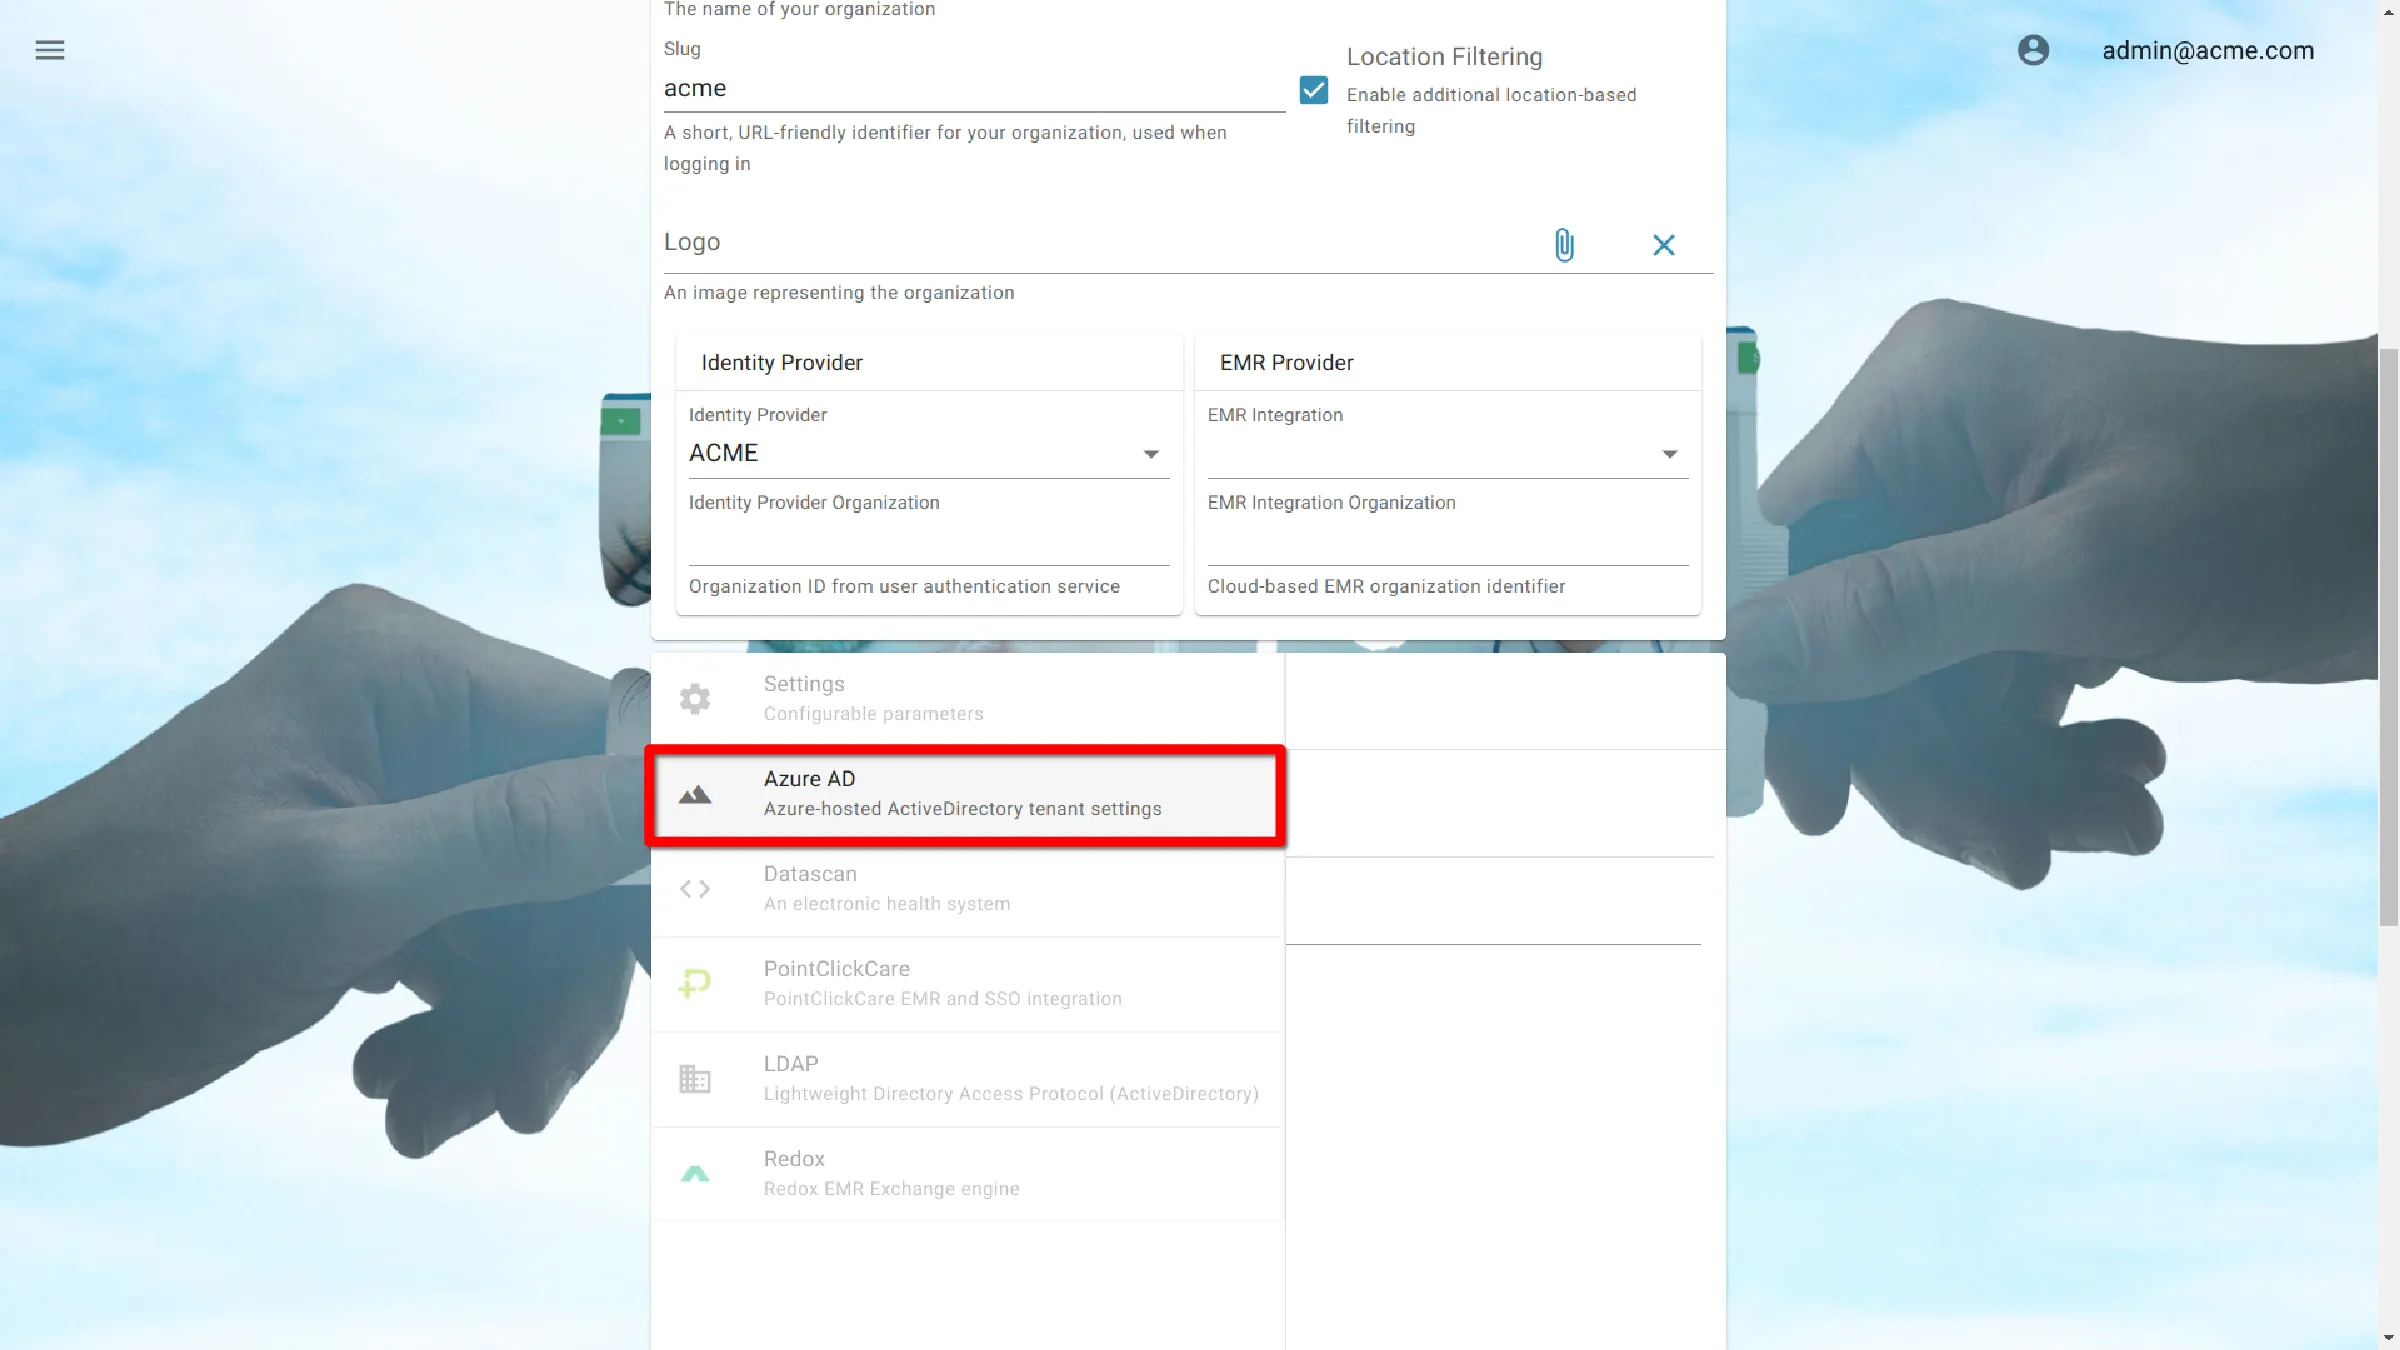
AzureAD Settings
All AzureAD credentials entered in to AGNES are listed in the organization’s AzureAD management portal. That portal is managed by the organization and not available to AMD.
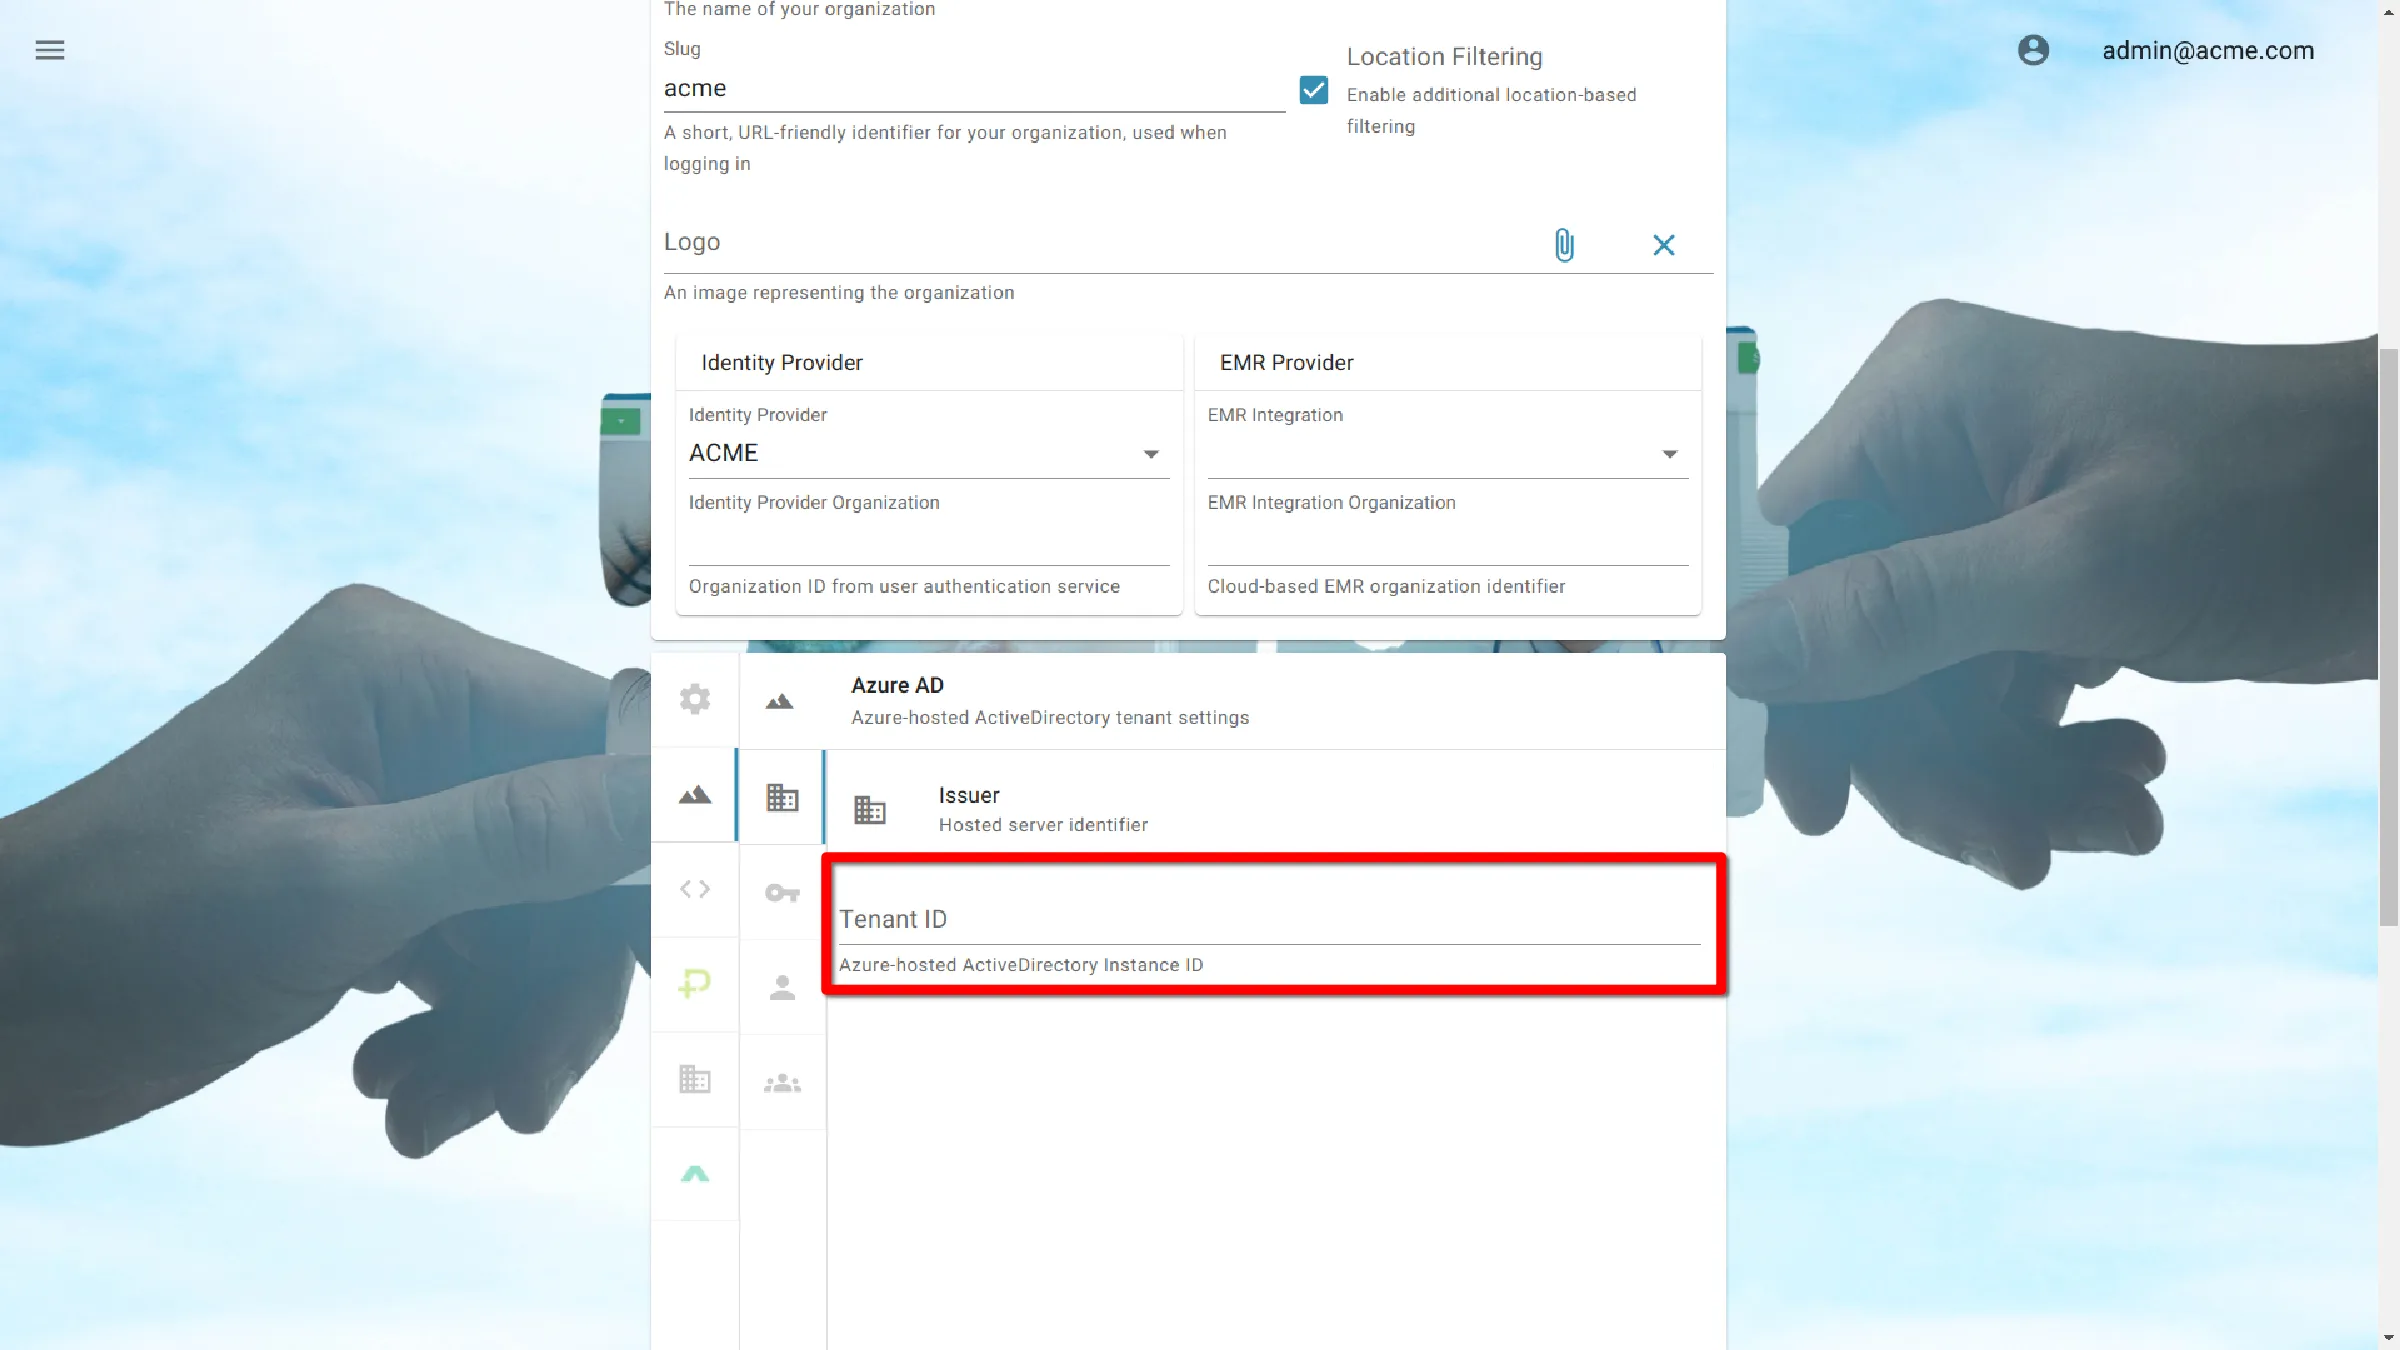
Issuer Tenant ID
Ensure the Issuer Section is selected.
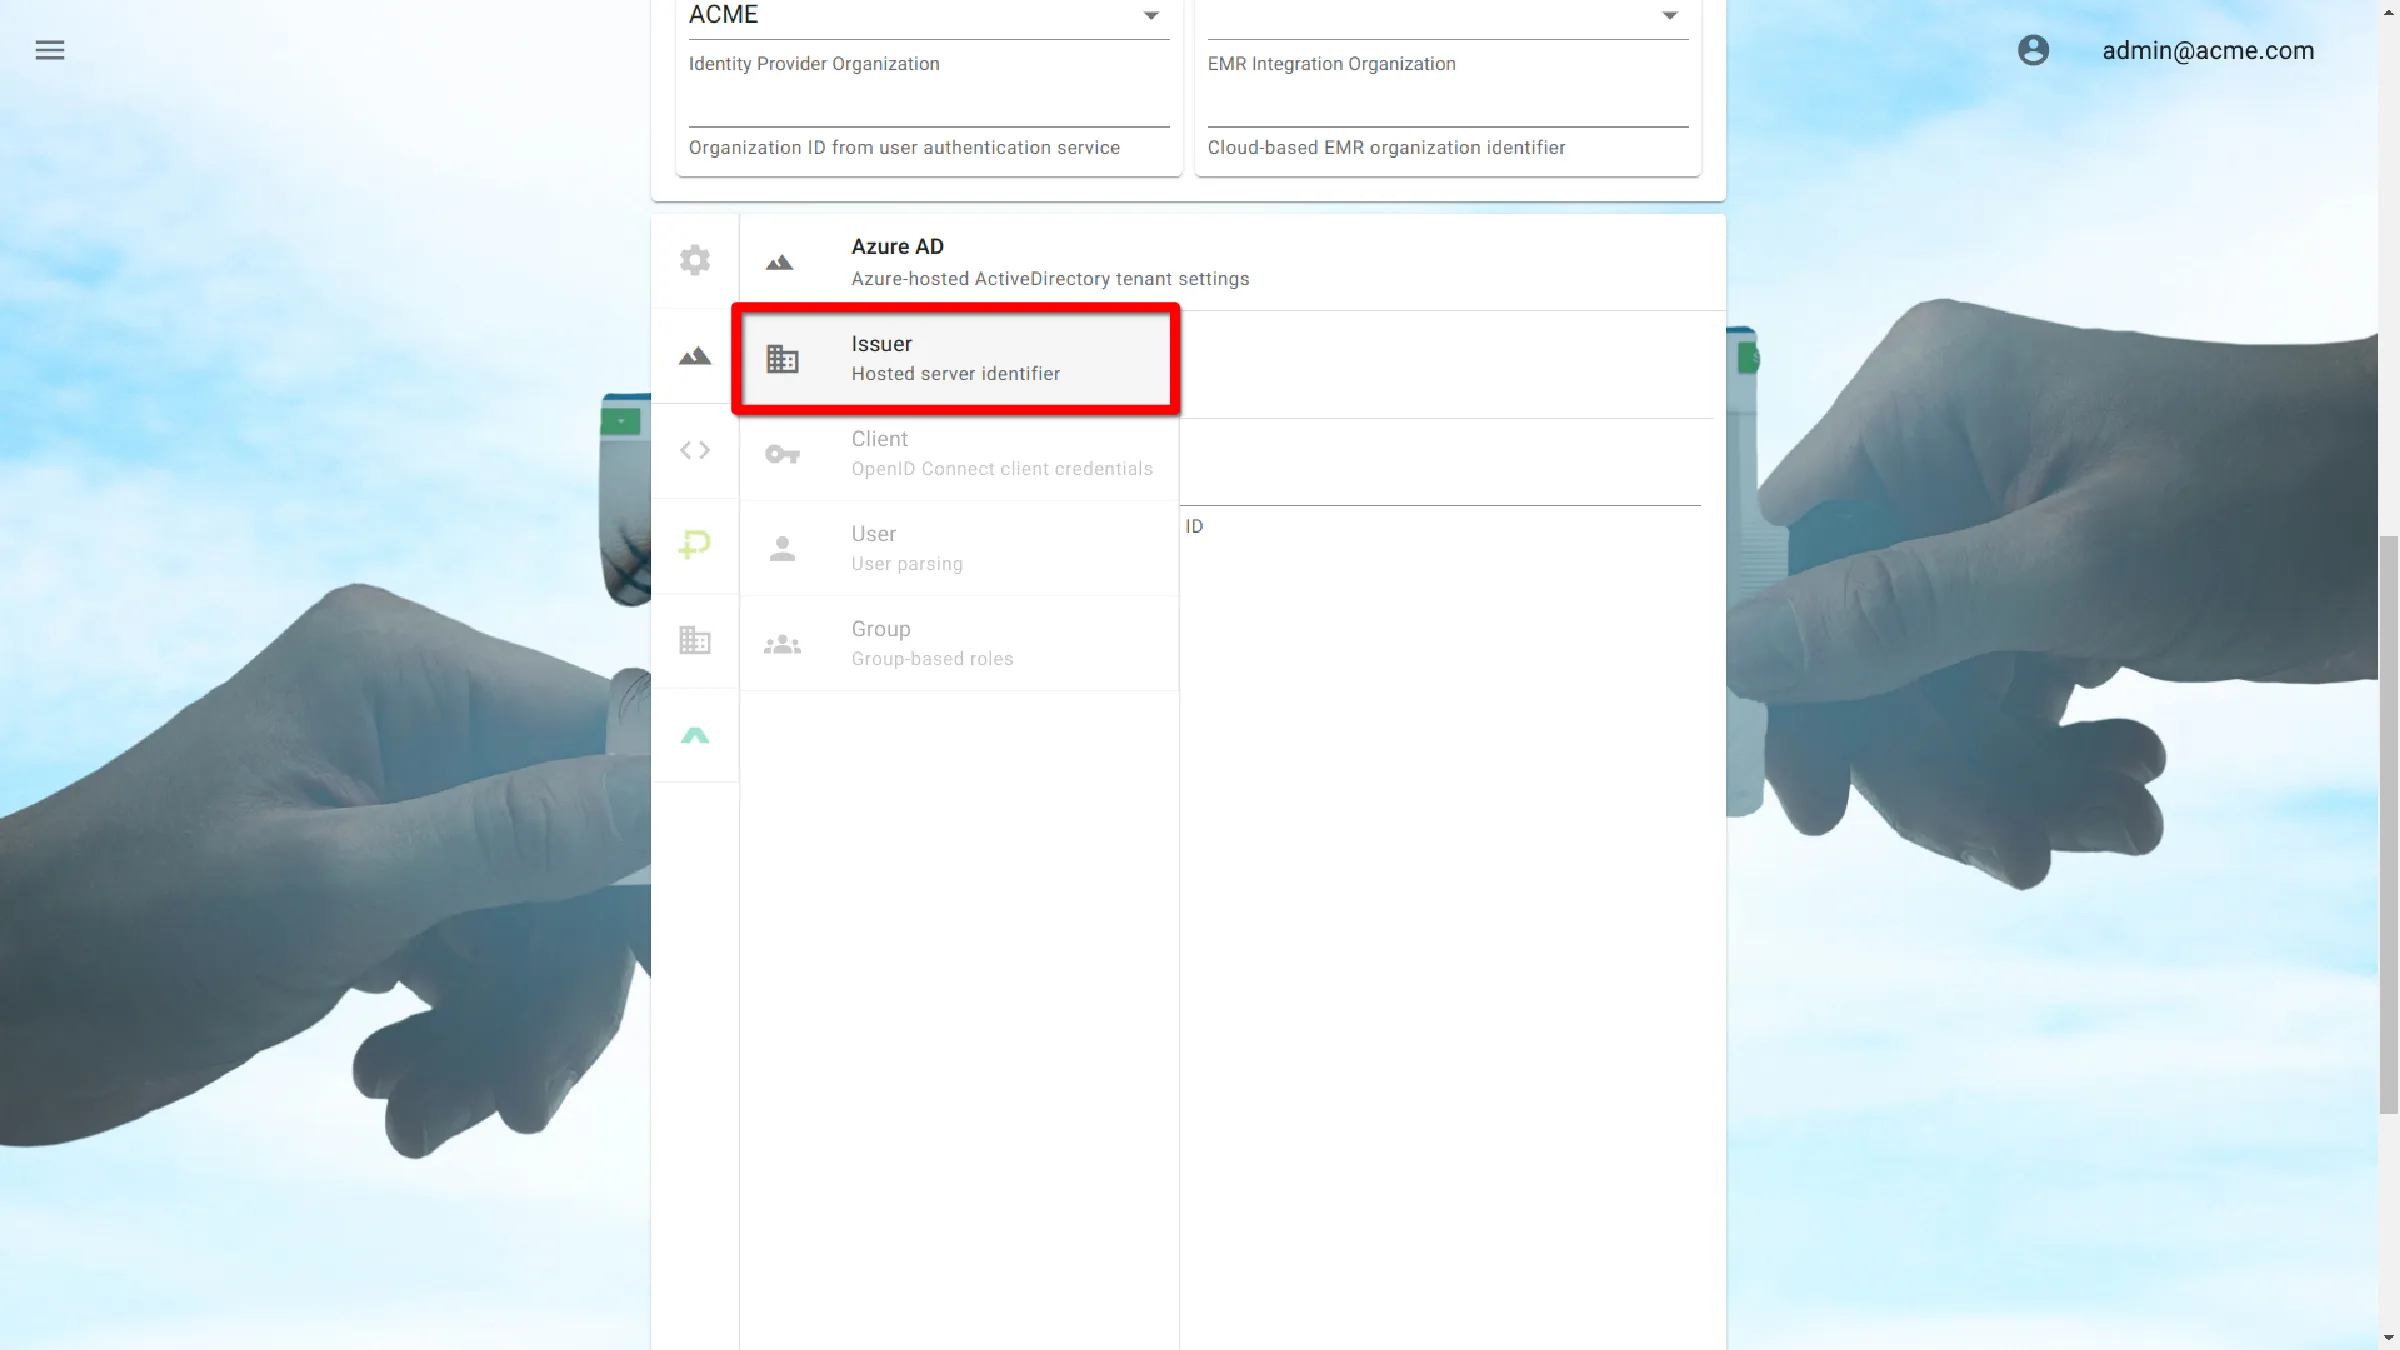
Enter the Issuer Tenant ID.
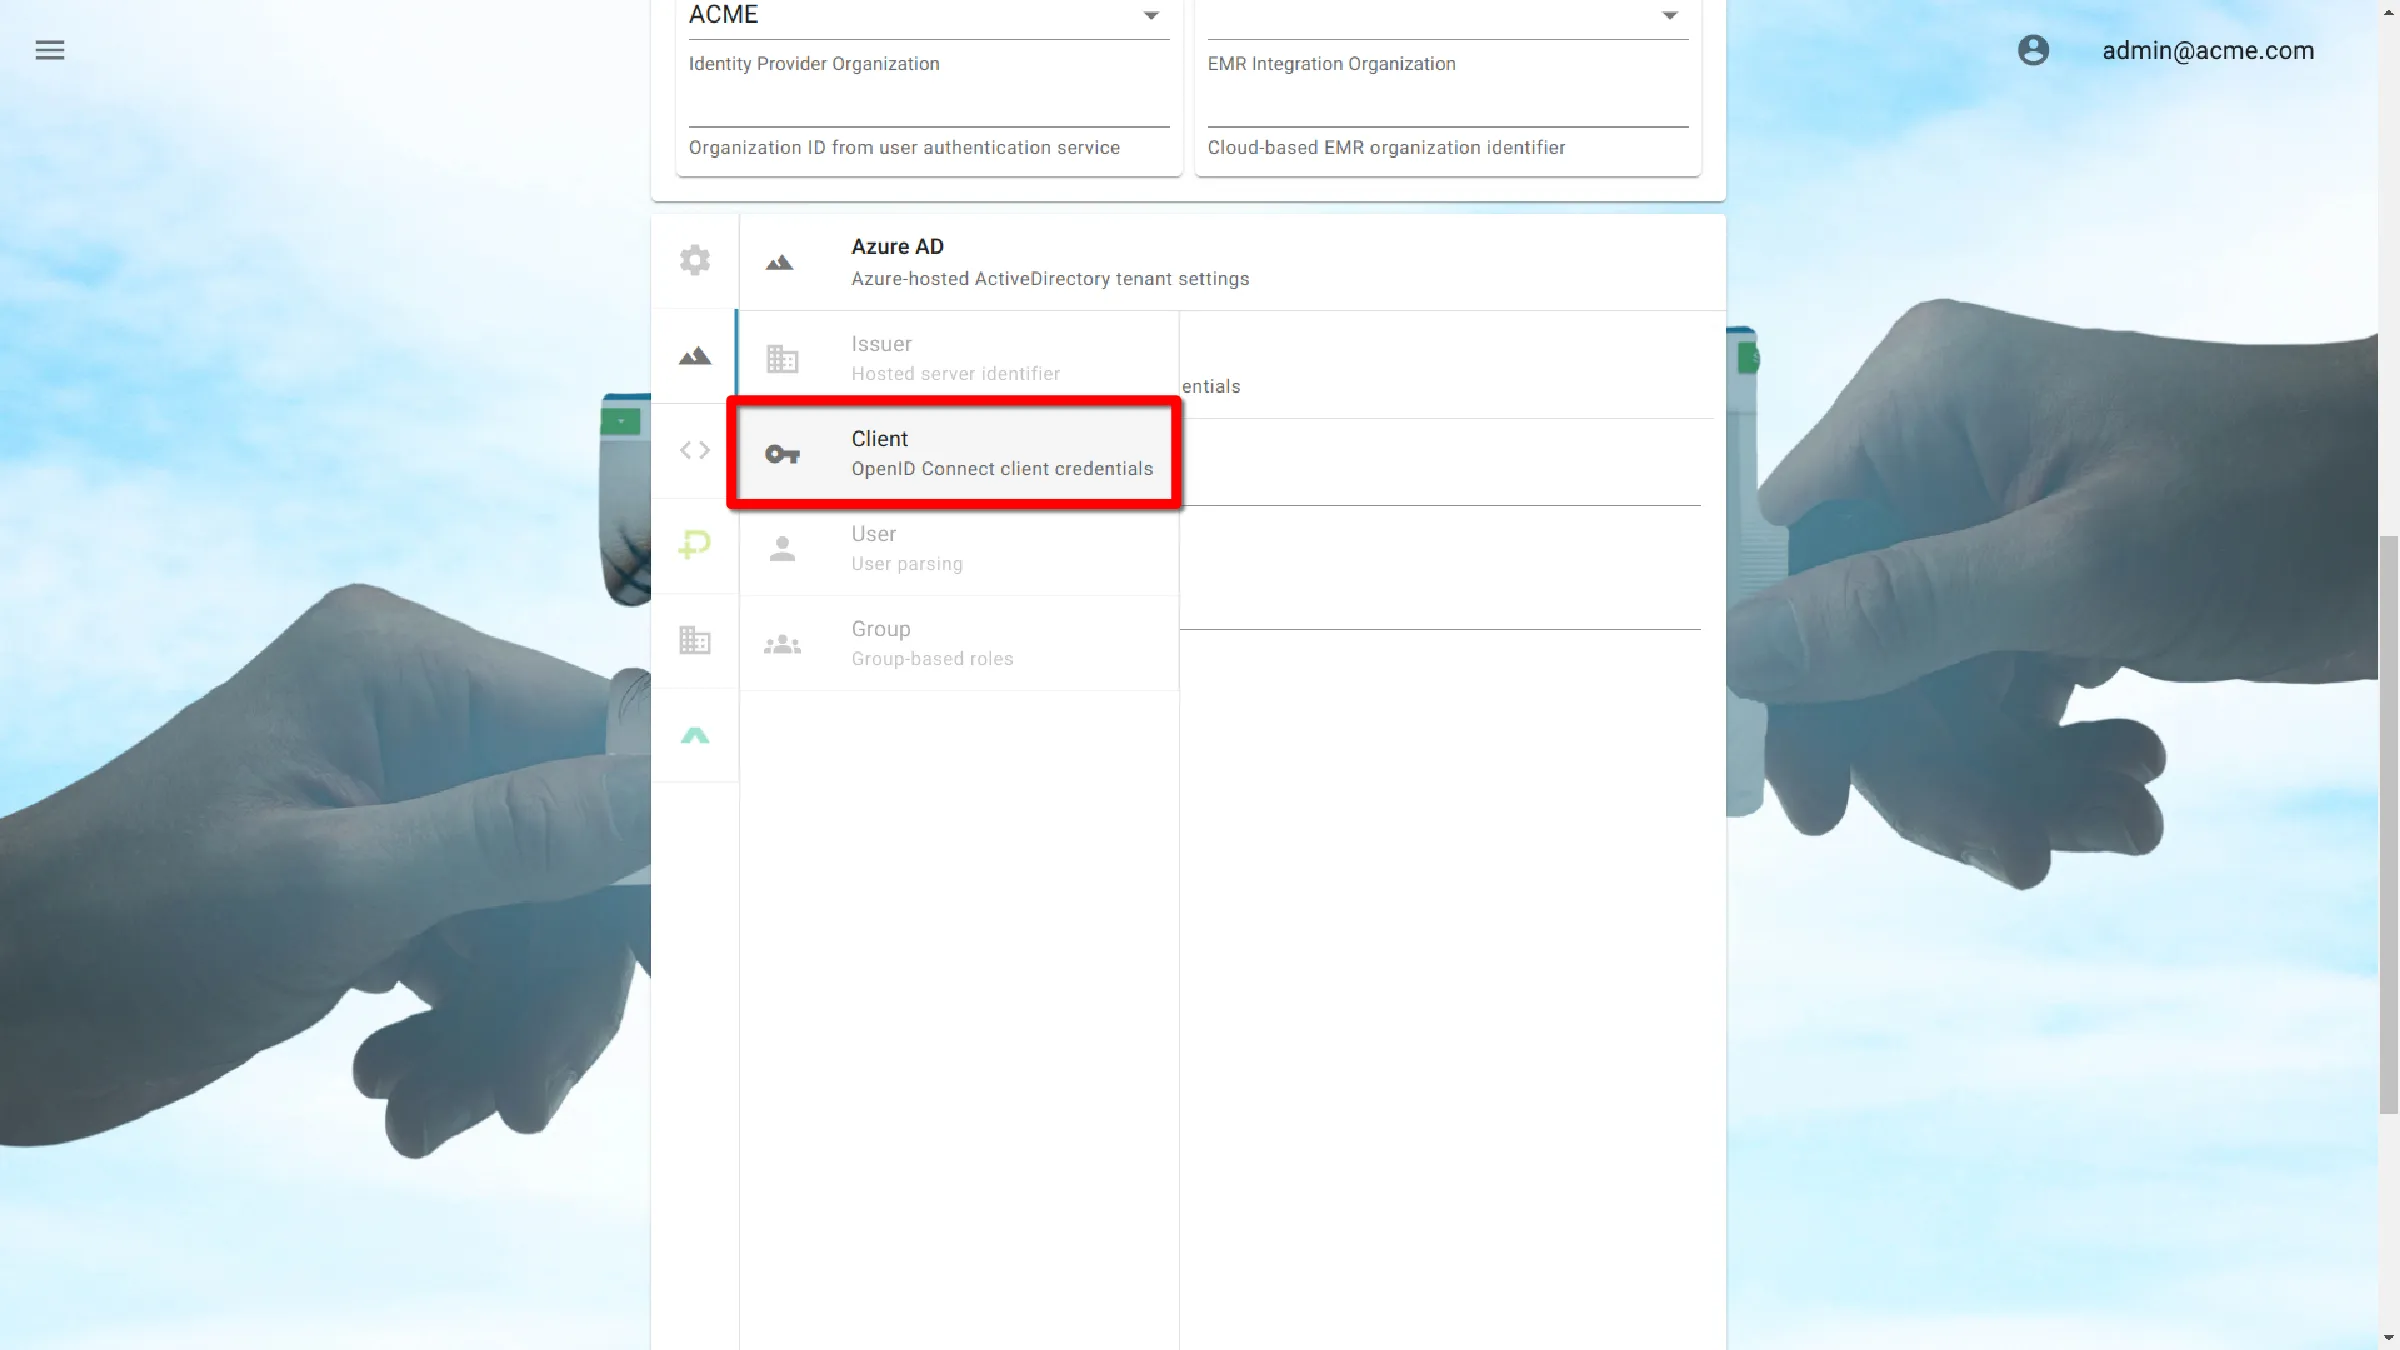
Client
Click on the section labeled Client.
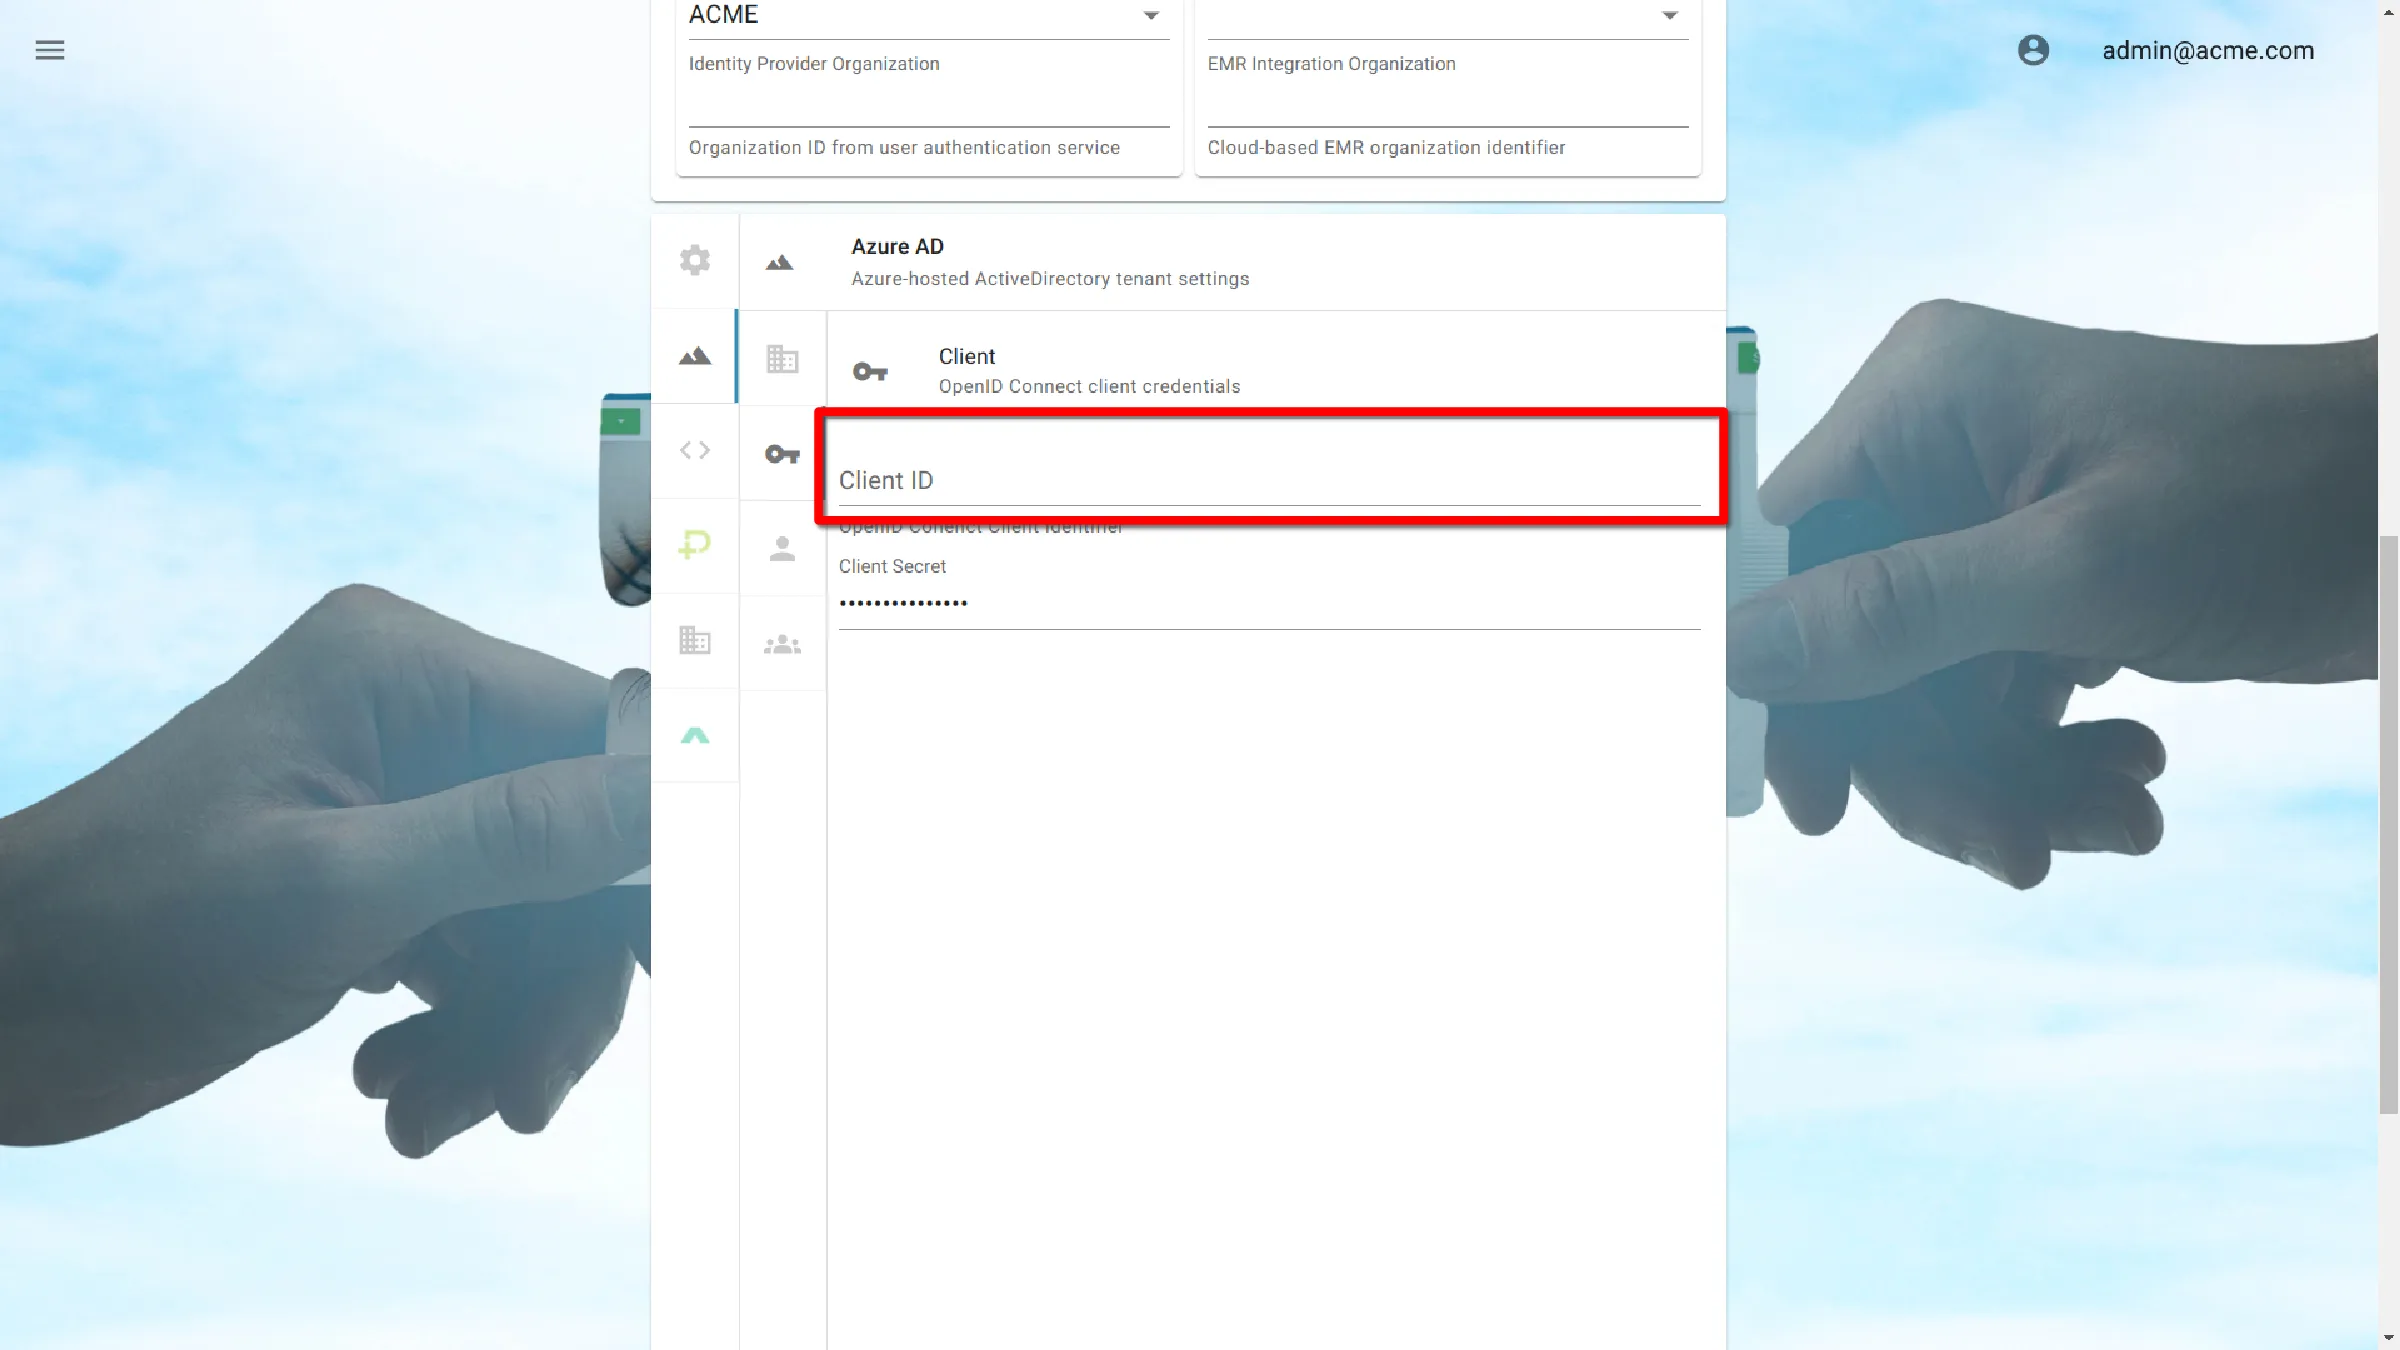
Click on the Client ID input and enter the client identification number.
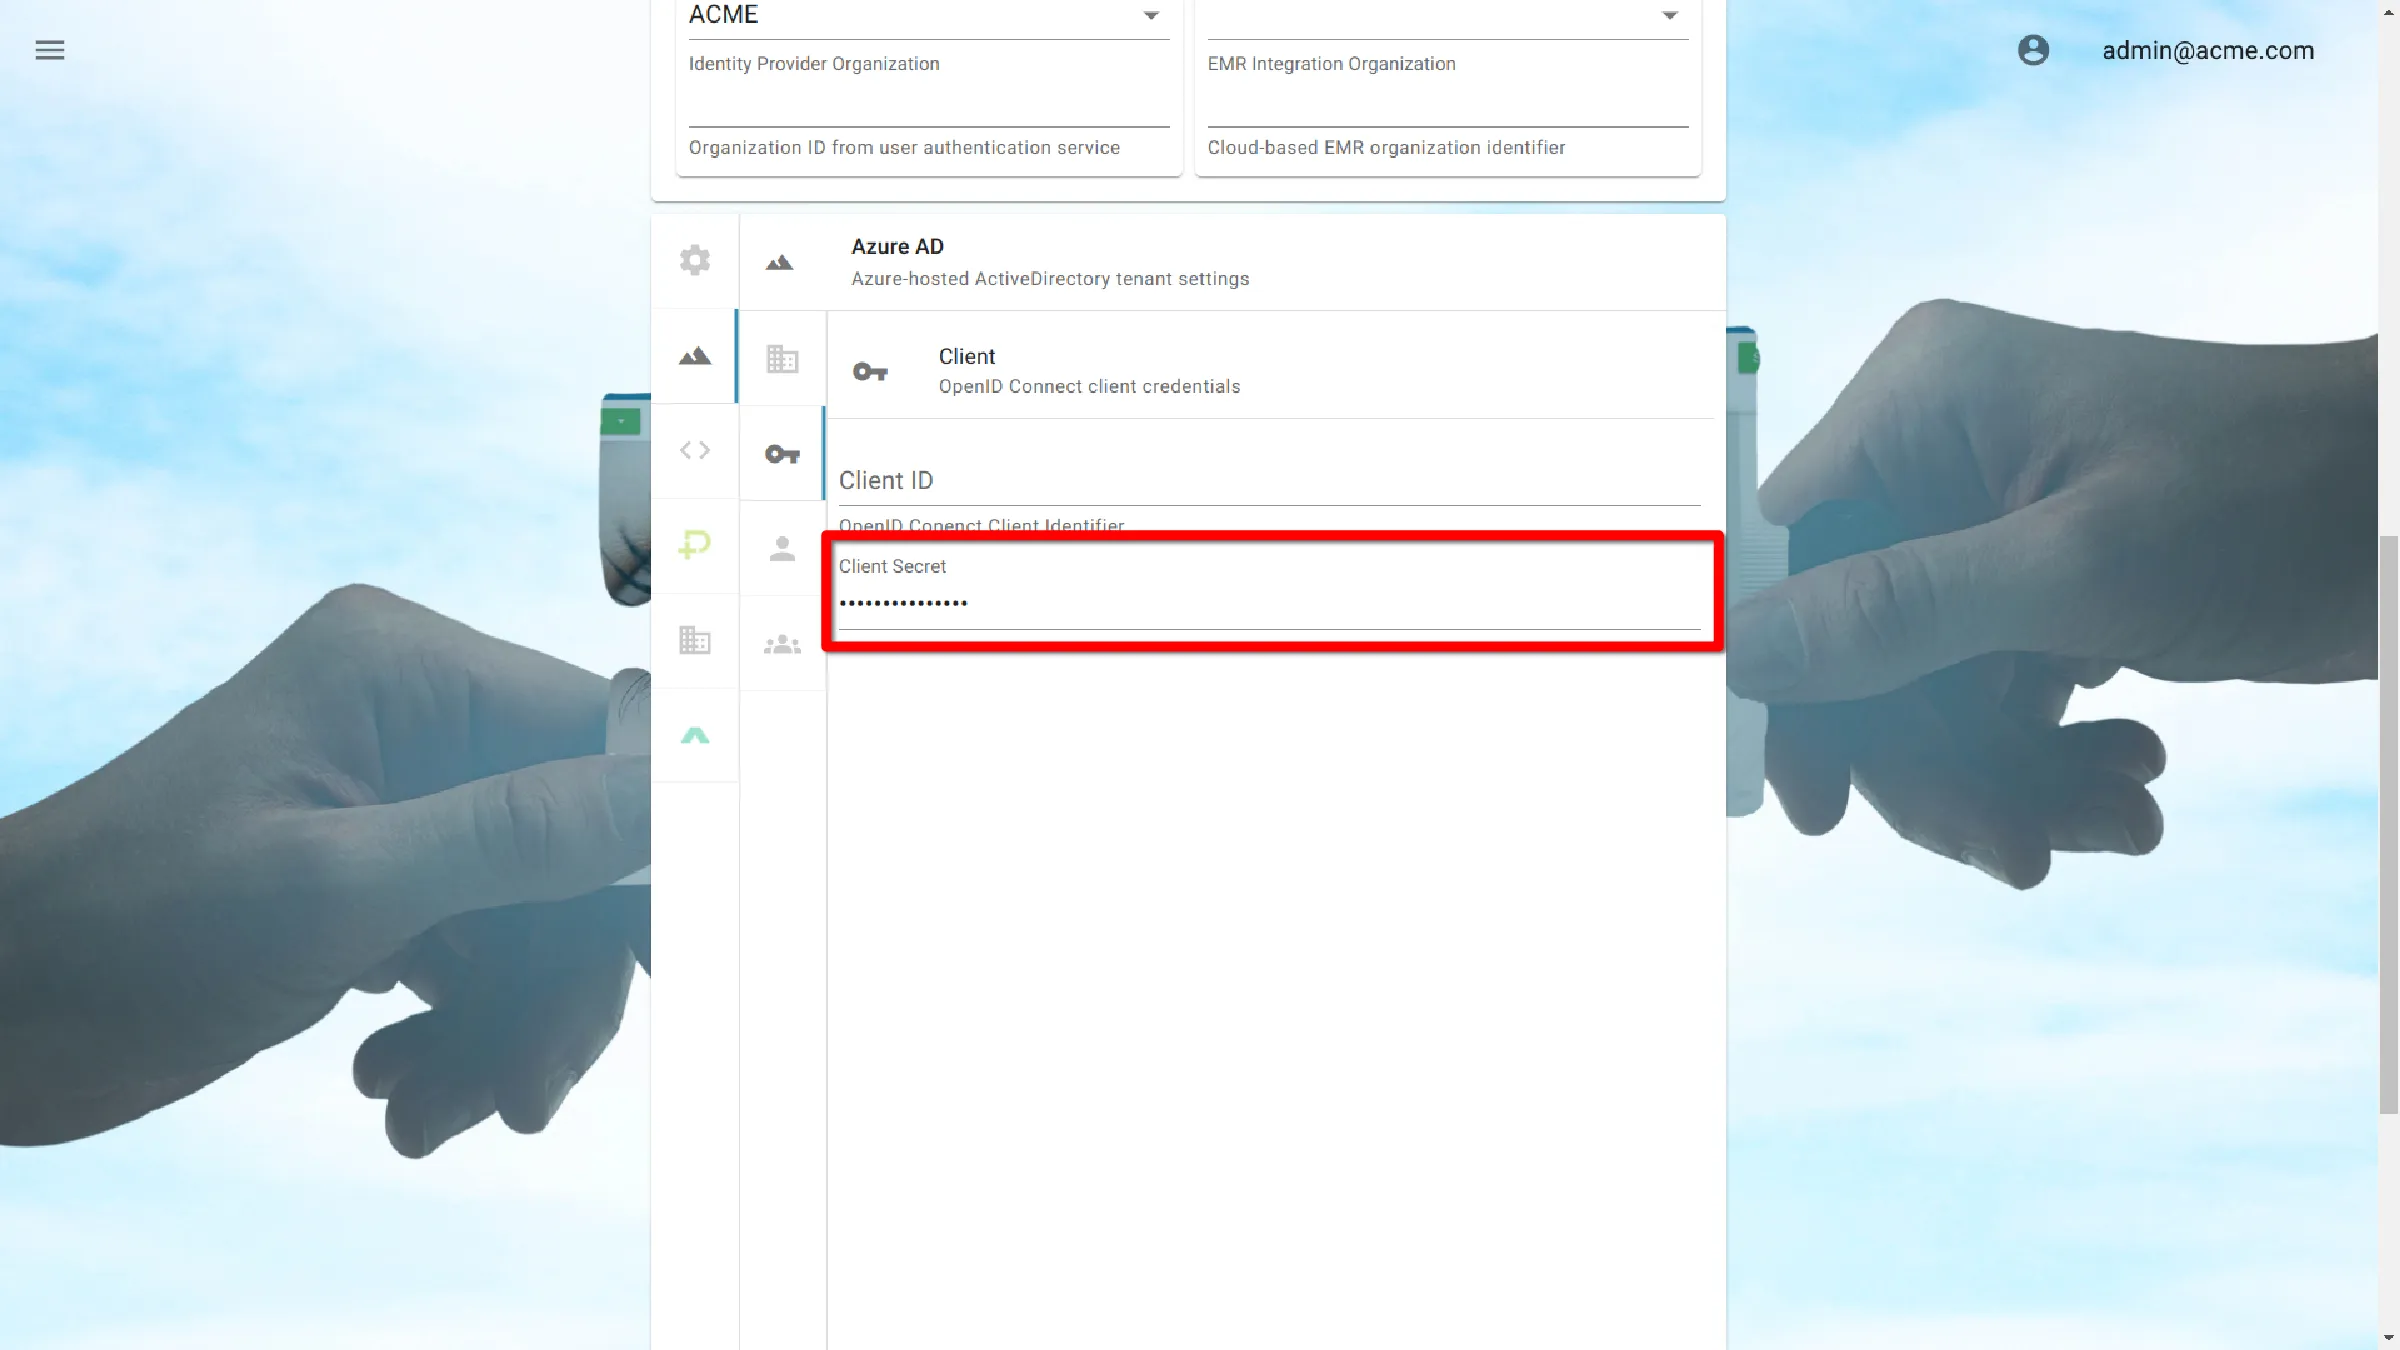
Click on the Client Secret input and enter the client secret.
Administrative Group
Click on the section labeled Group.
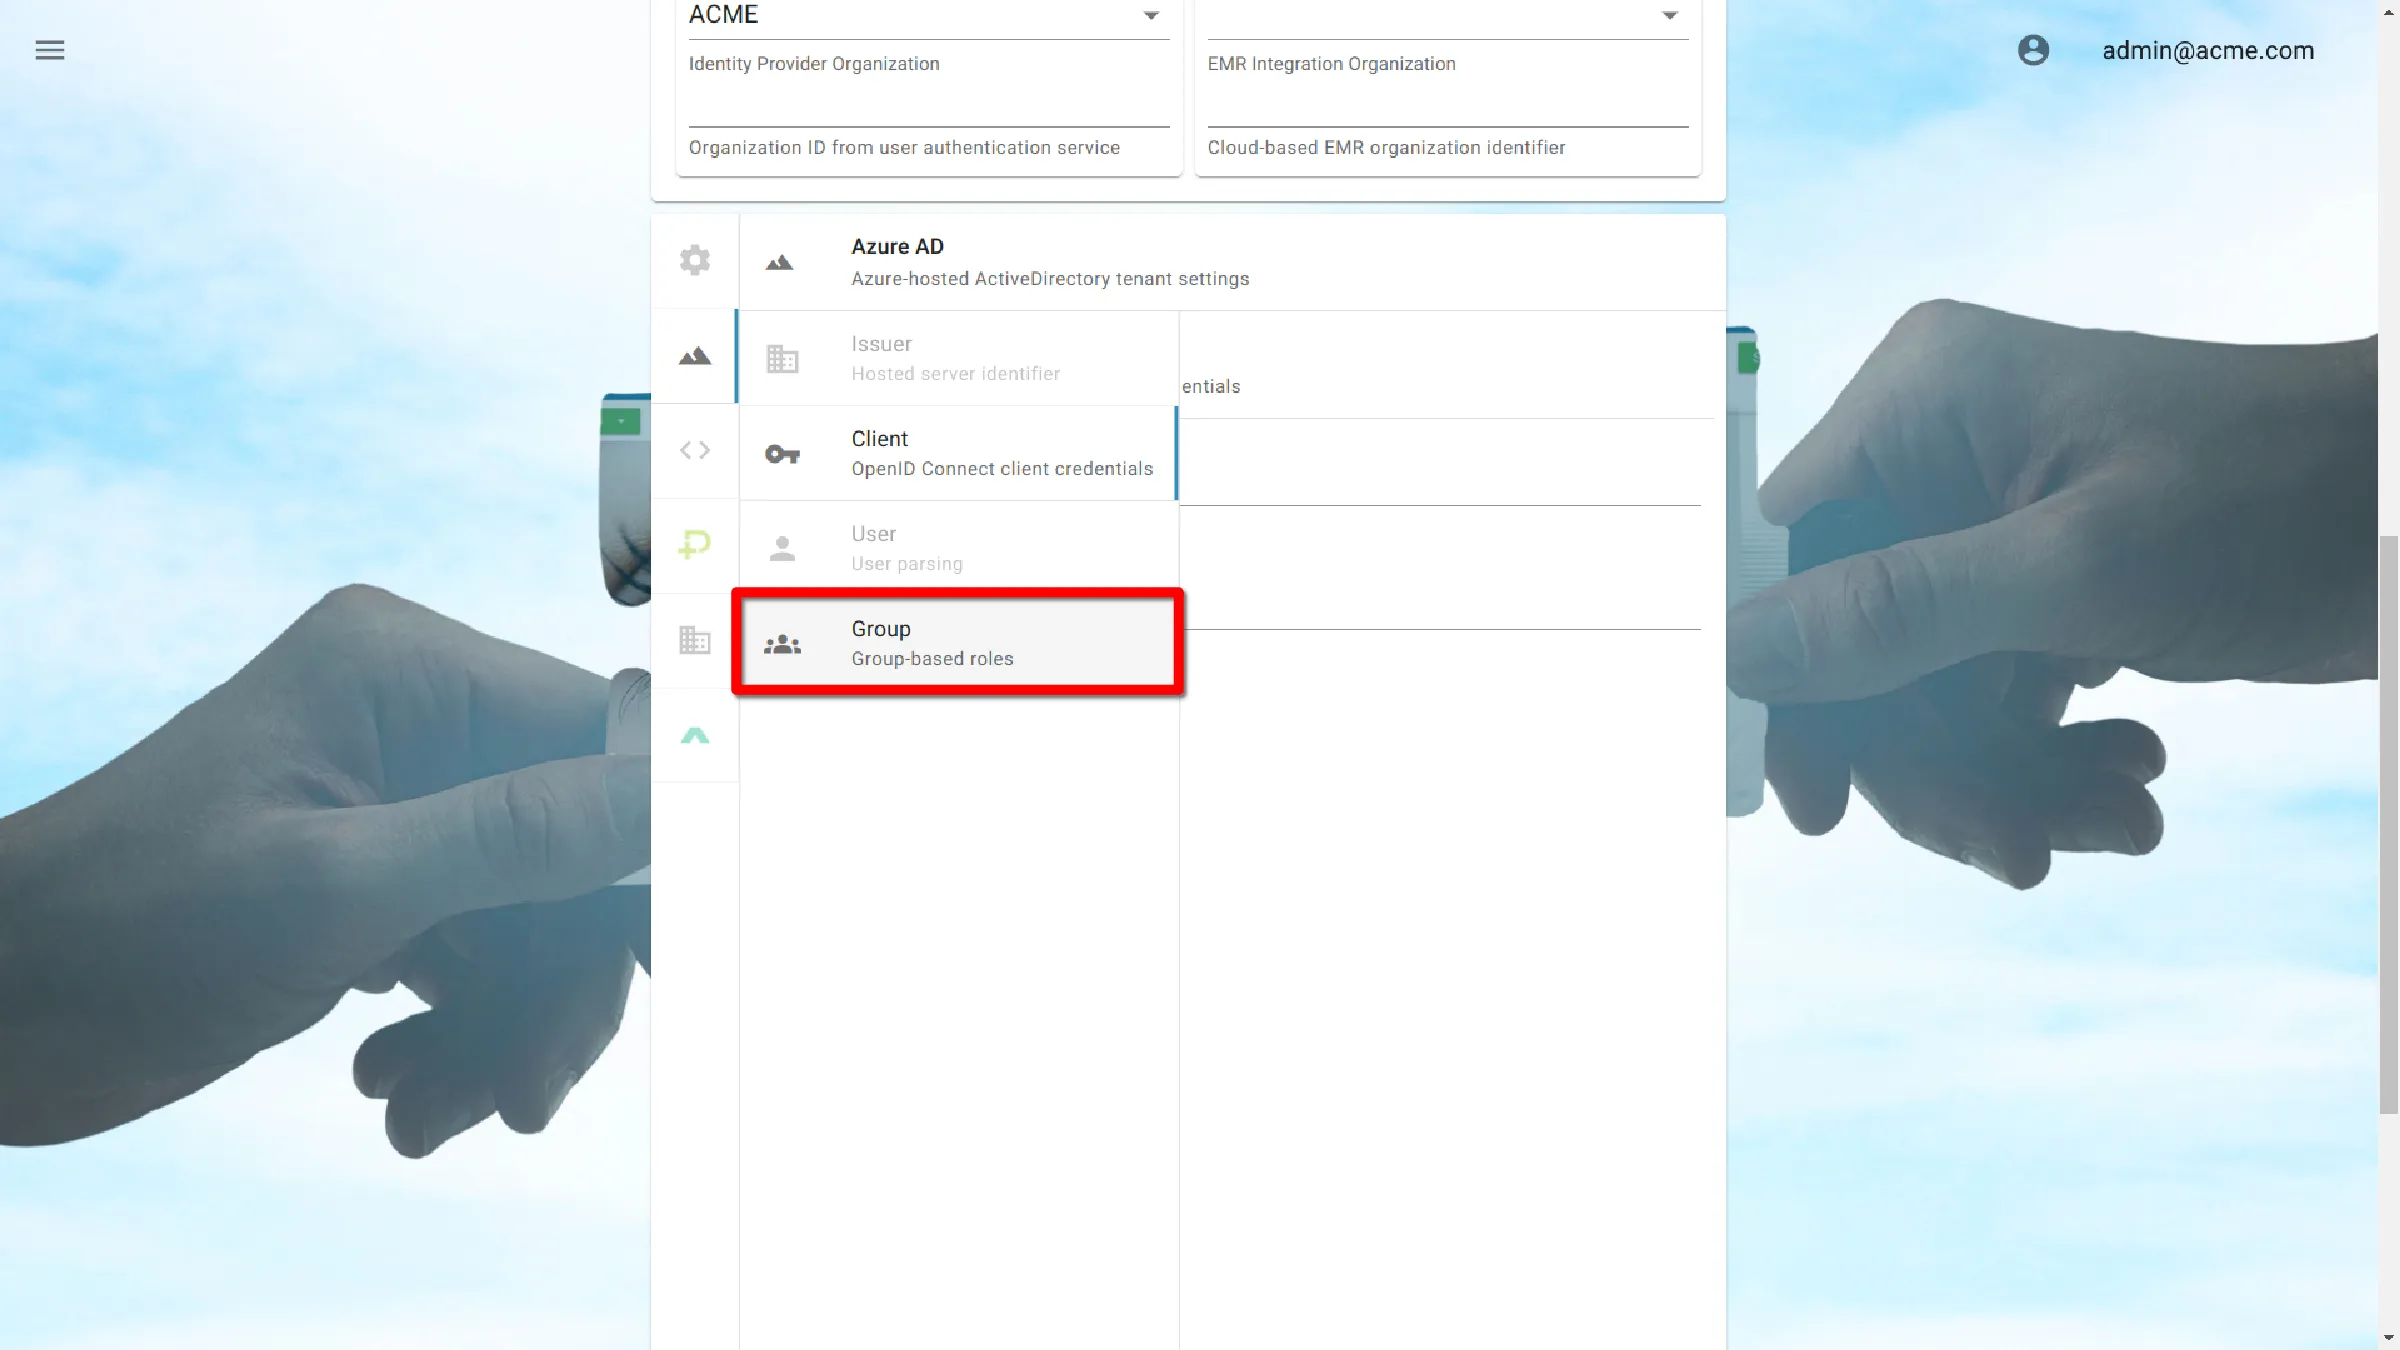
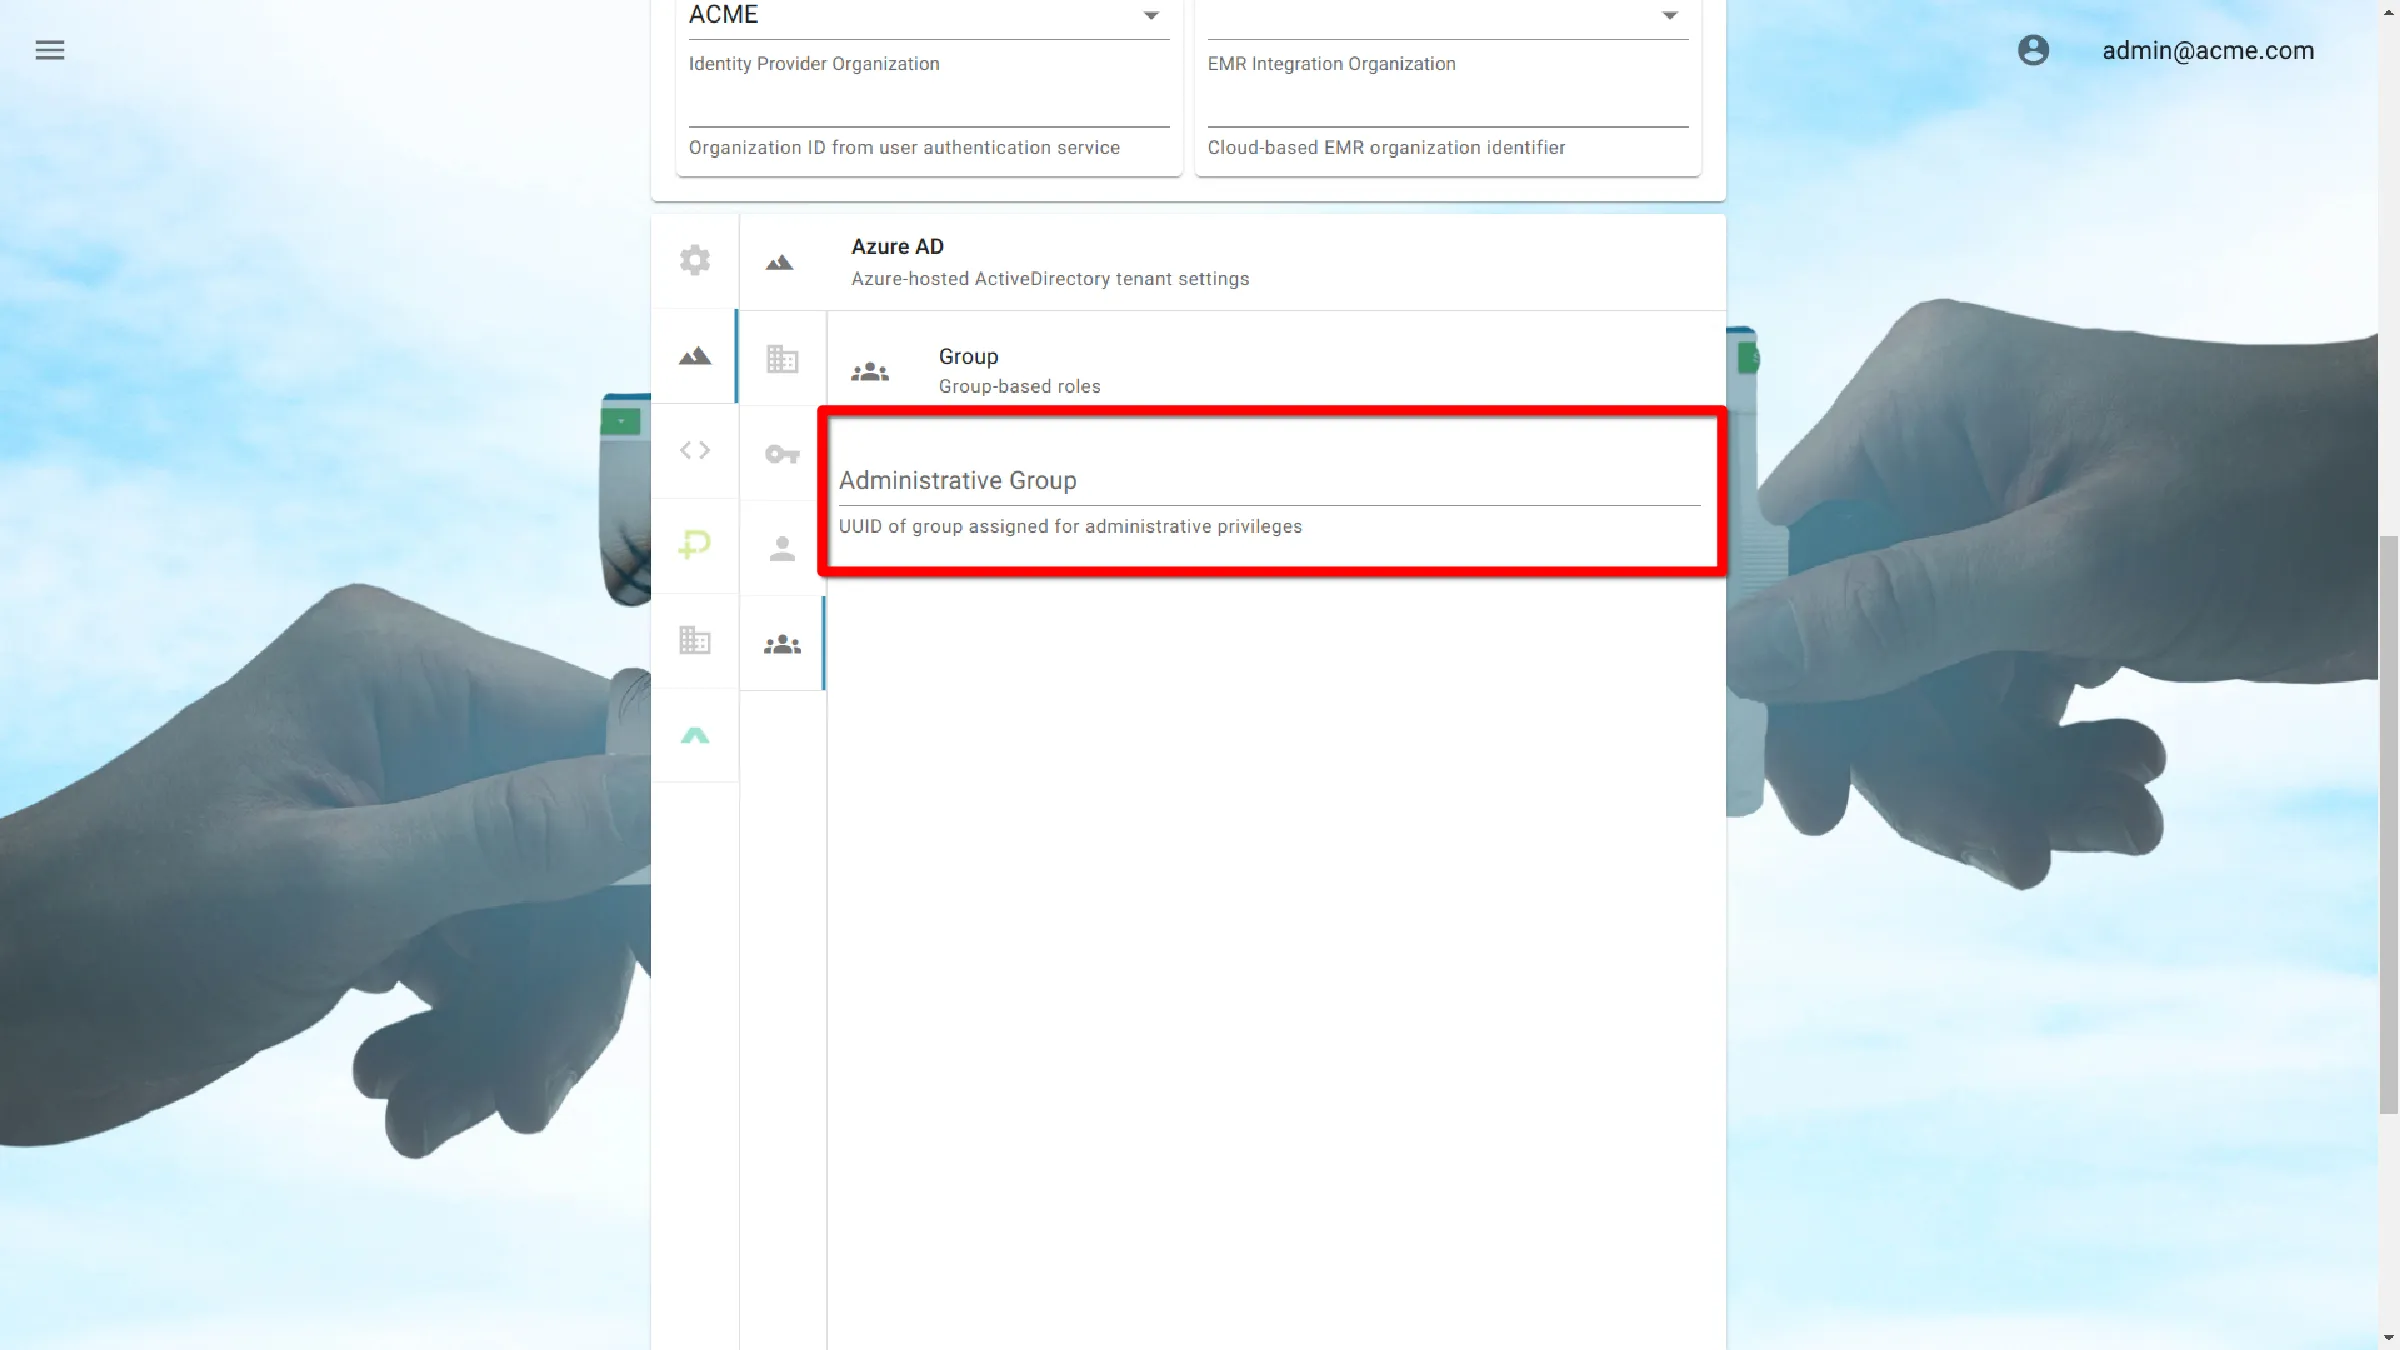
Click on the Administrative Group input enter the administrative group identifier.
Save Settings
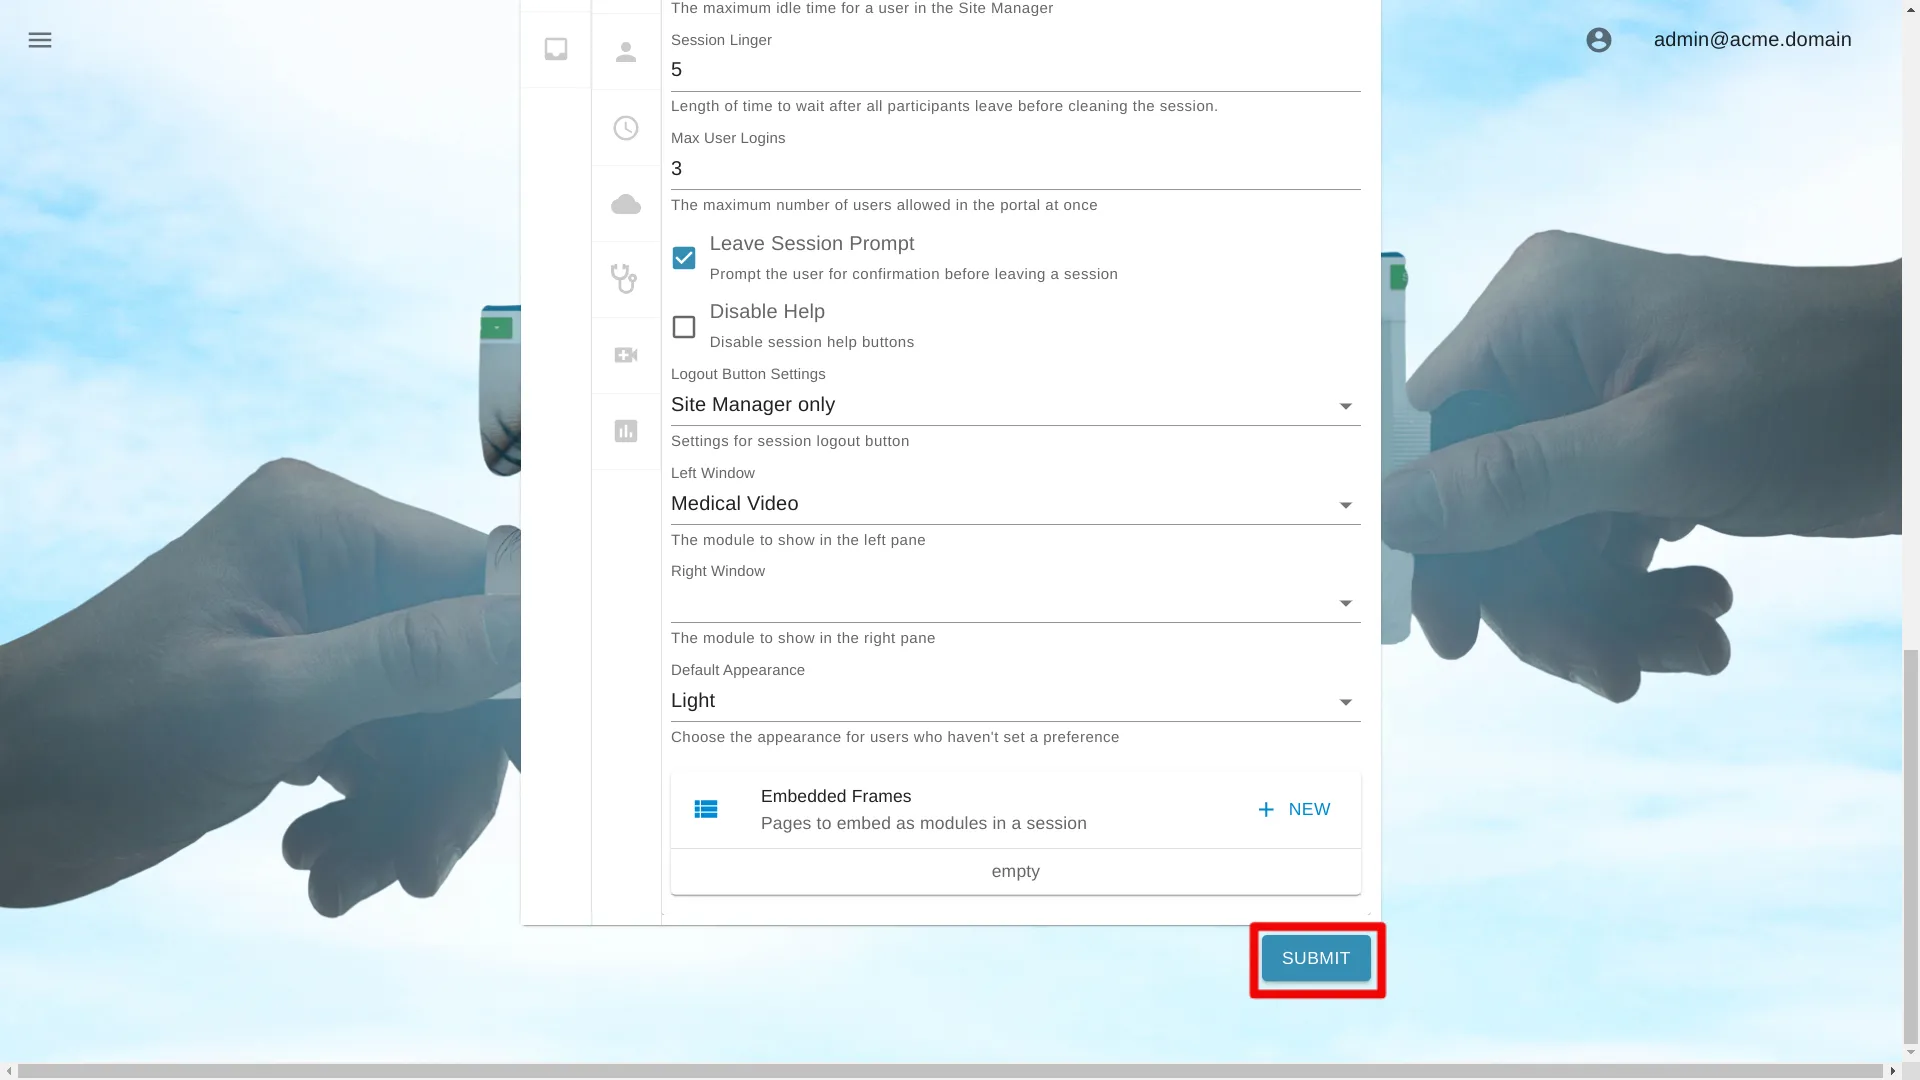
Click the Submit button to save the settings.
