Stethoscope
Below are instructions on how to change settings for a single portal. Learn how to change settings for an organization at
Navigate to Portal Settings
Open Site Manager
To edit this setting, the logged-in user account must have an administrator role.
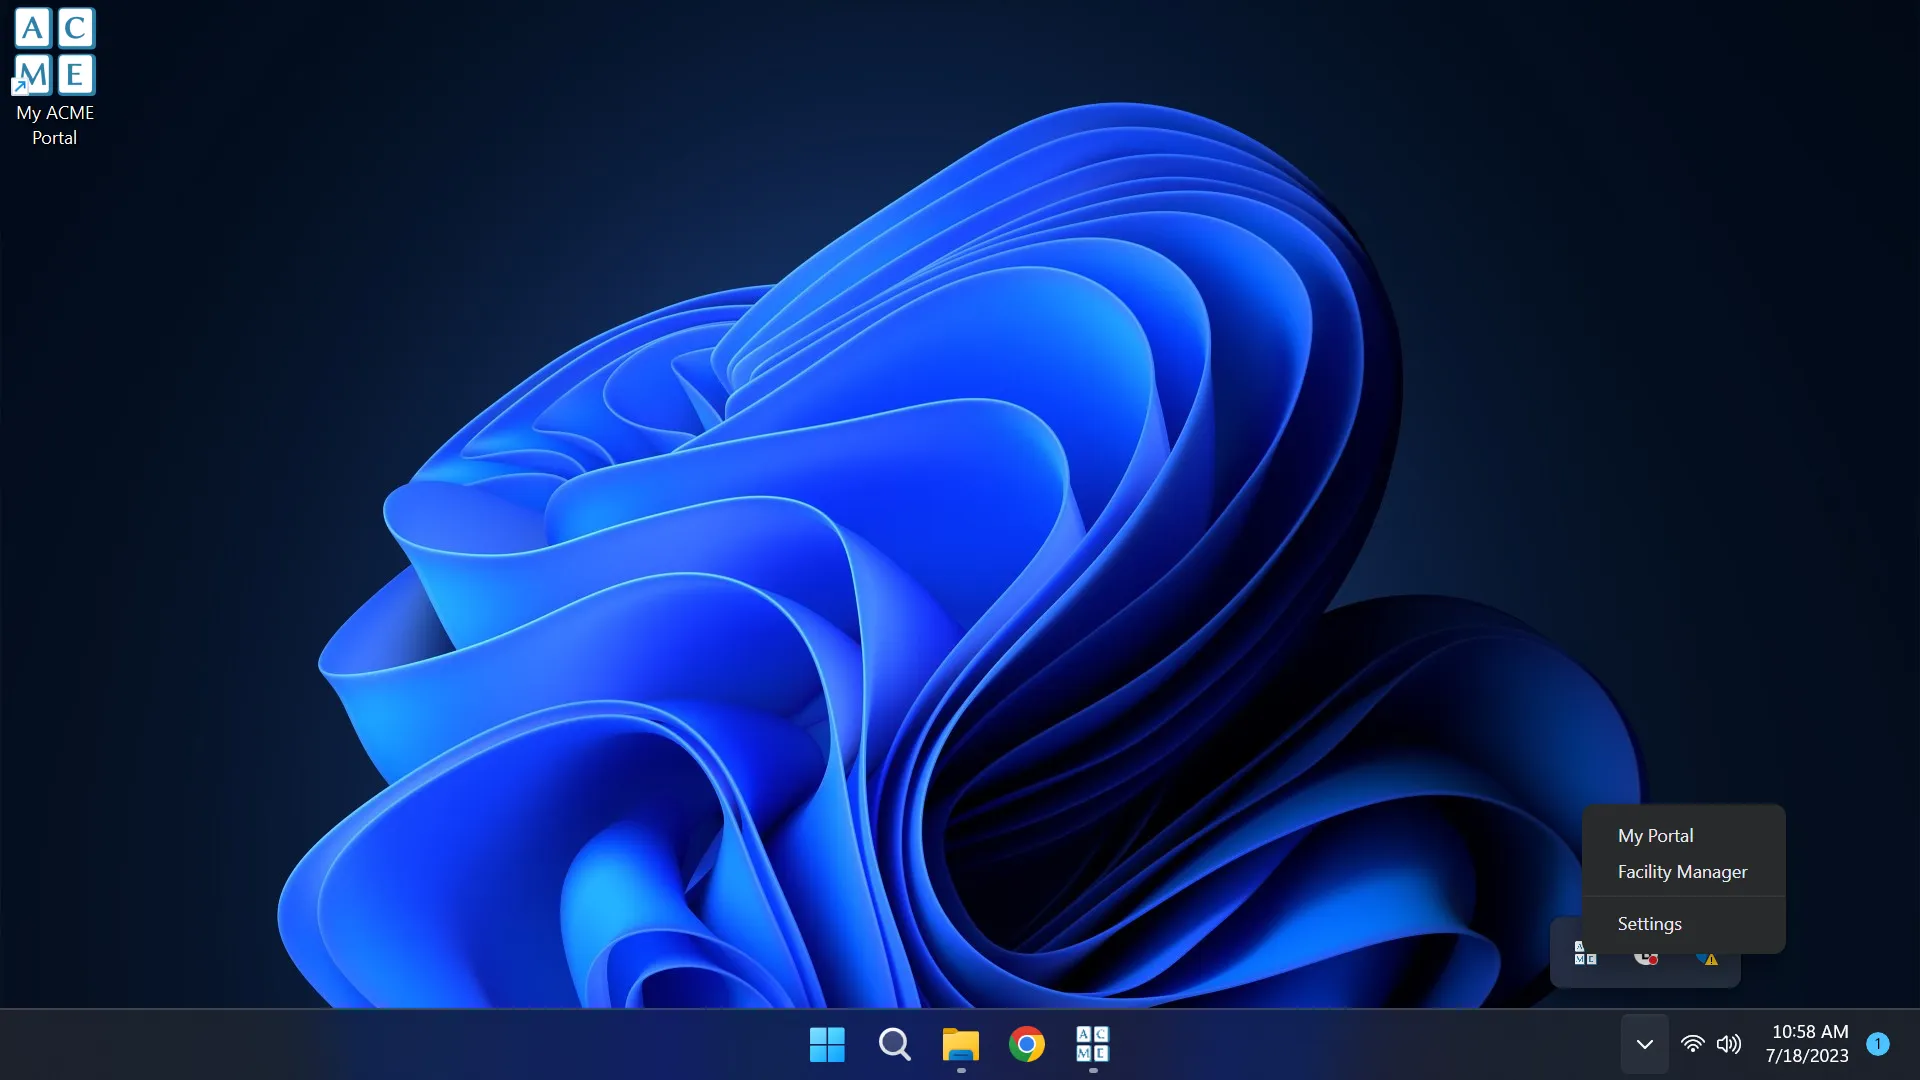
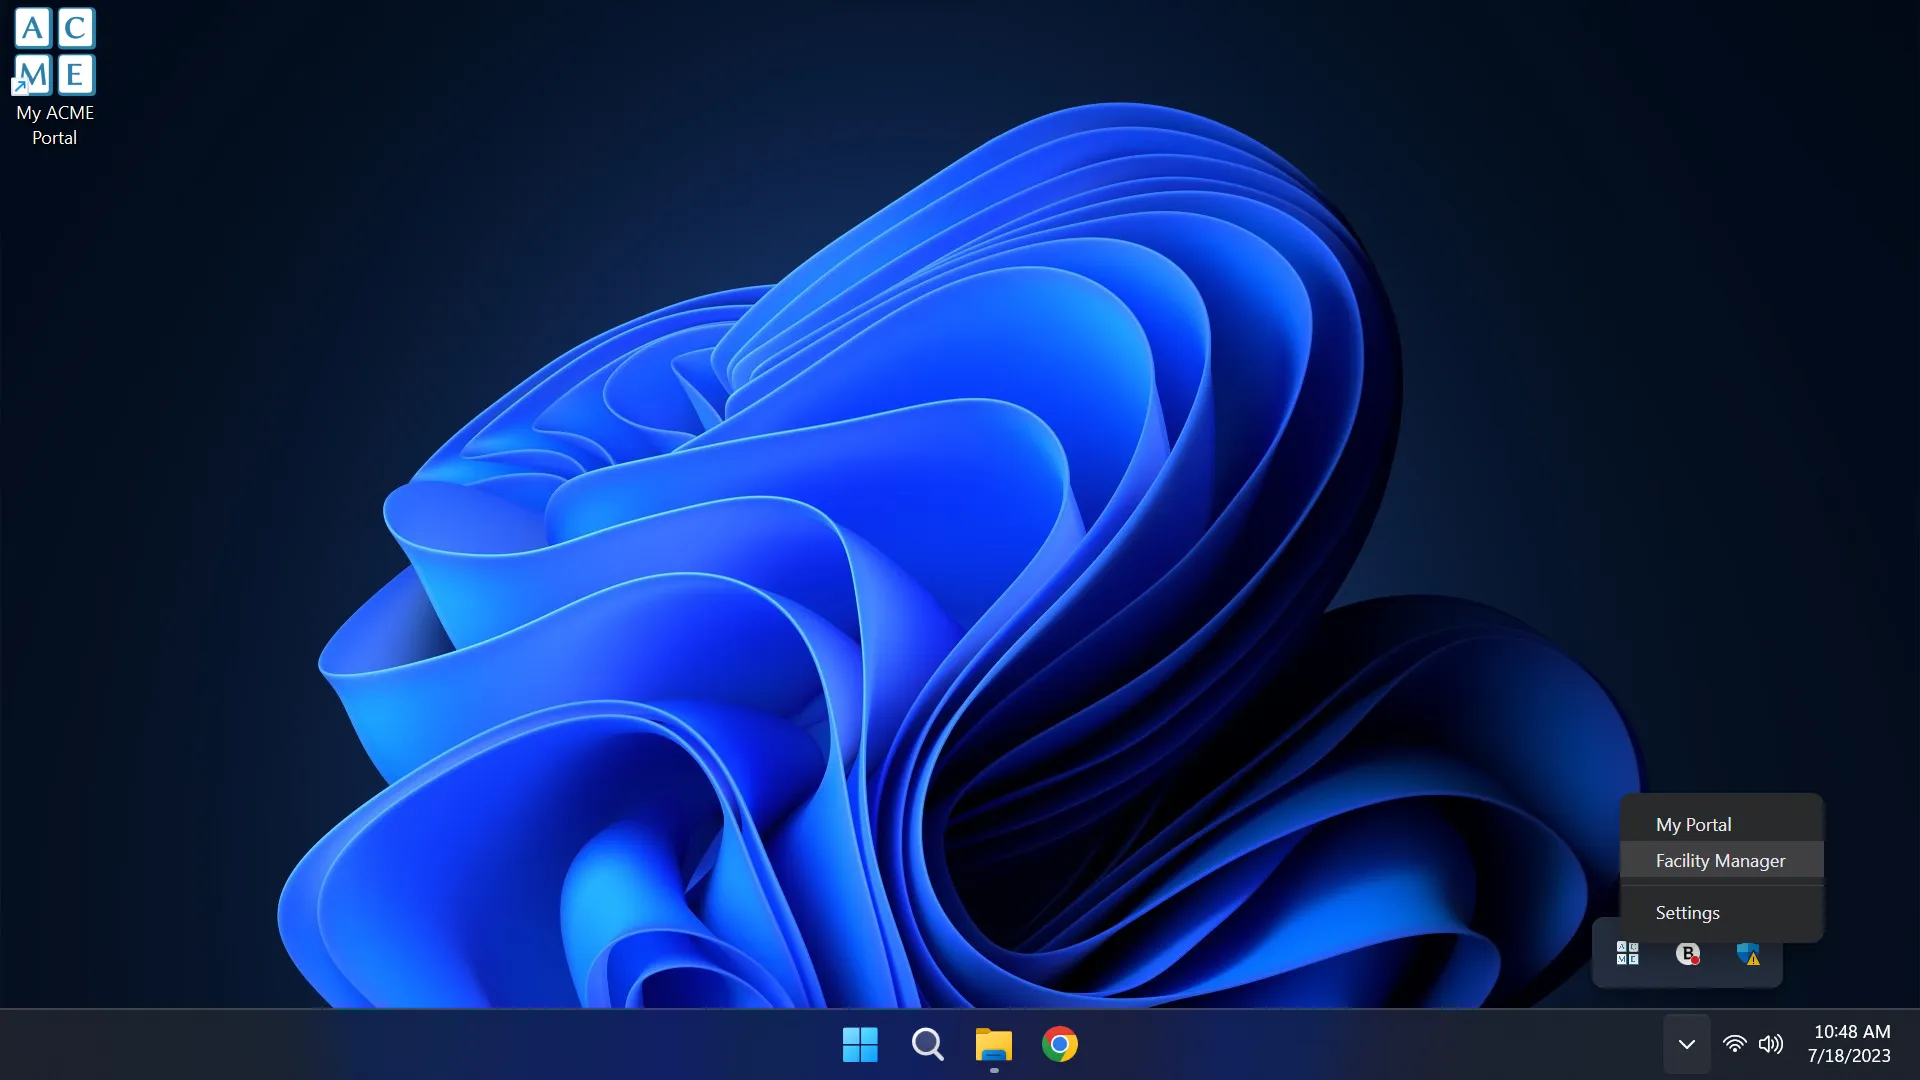
Right-click the AGNES Connect icon in the system tray and select Site Manager.
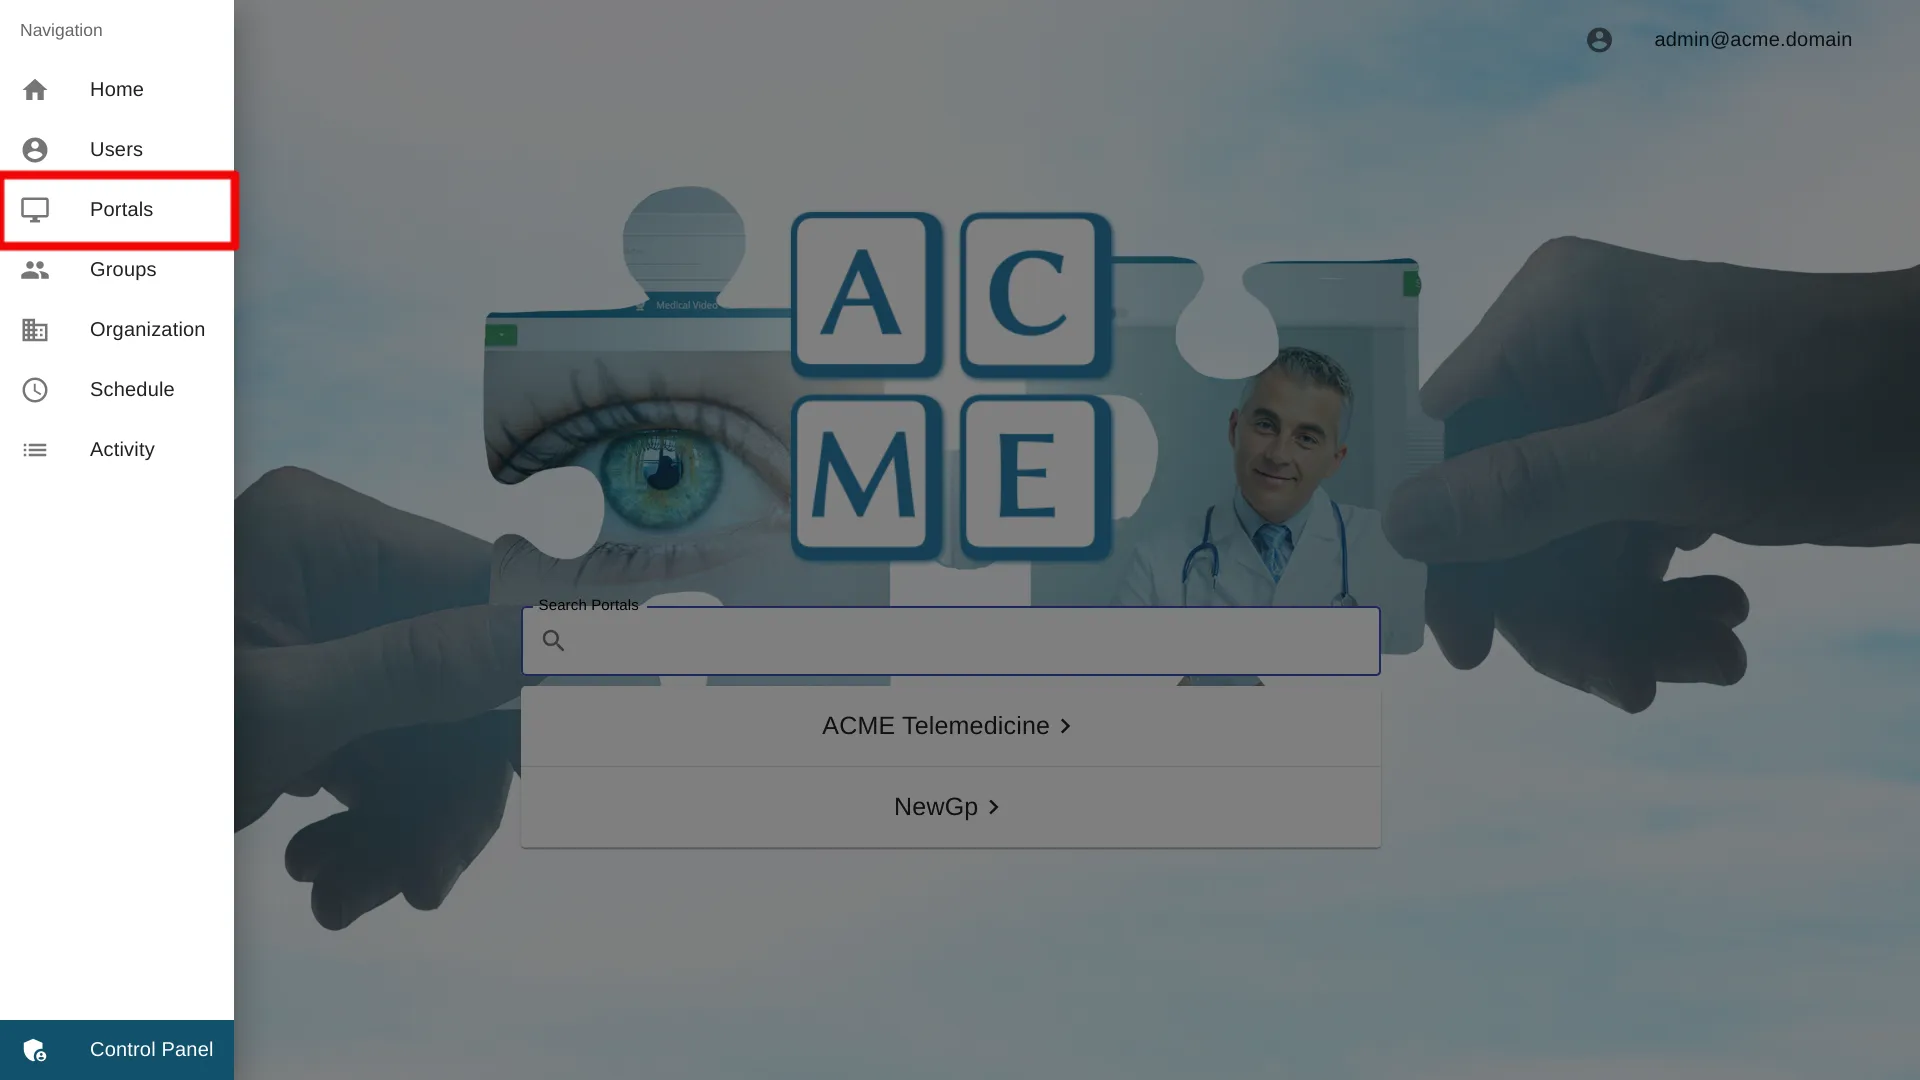
Select Portals from the navigation bar
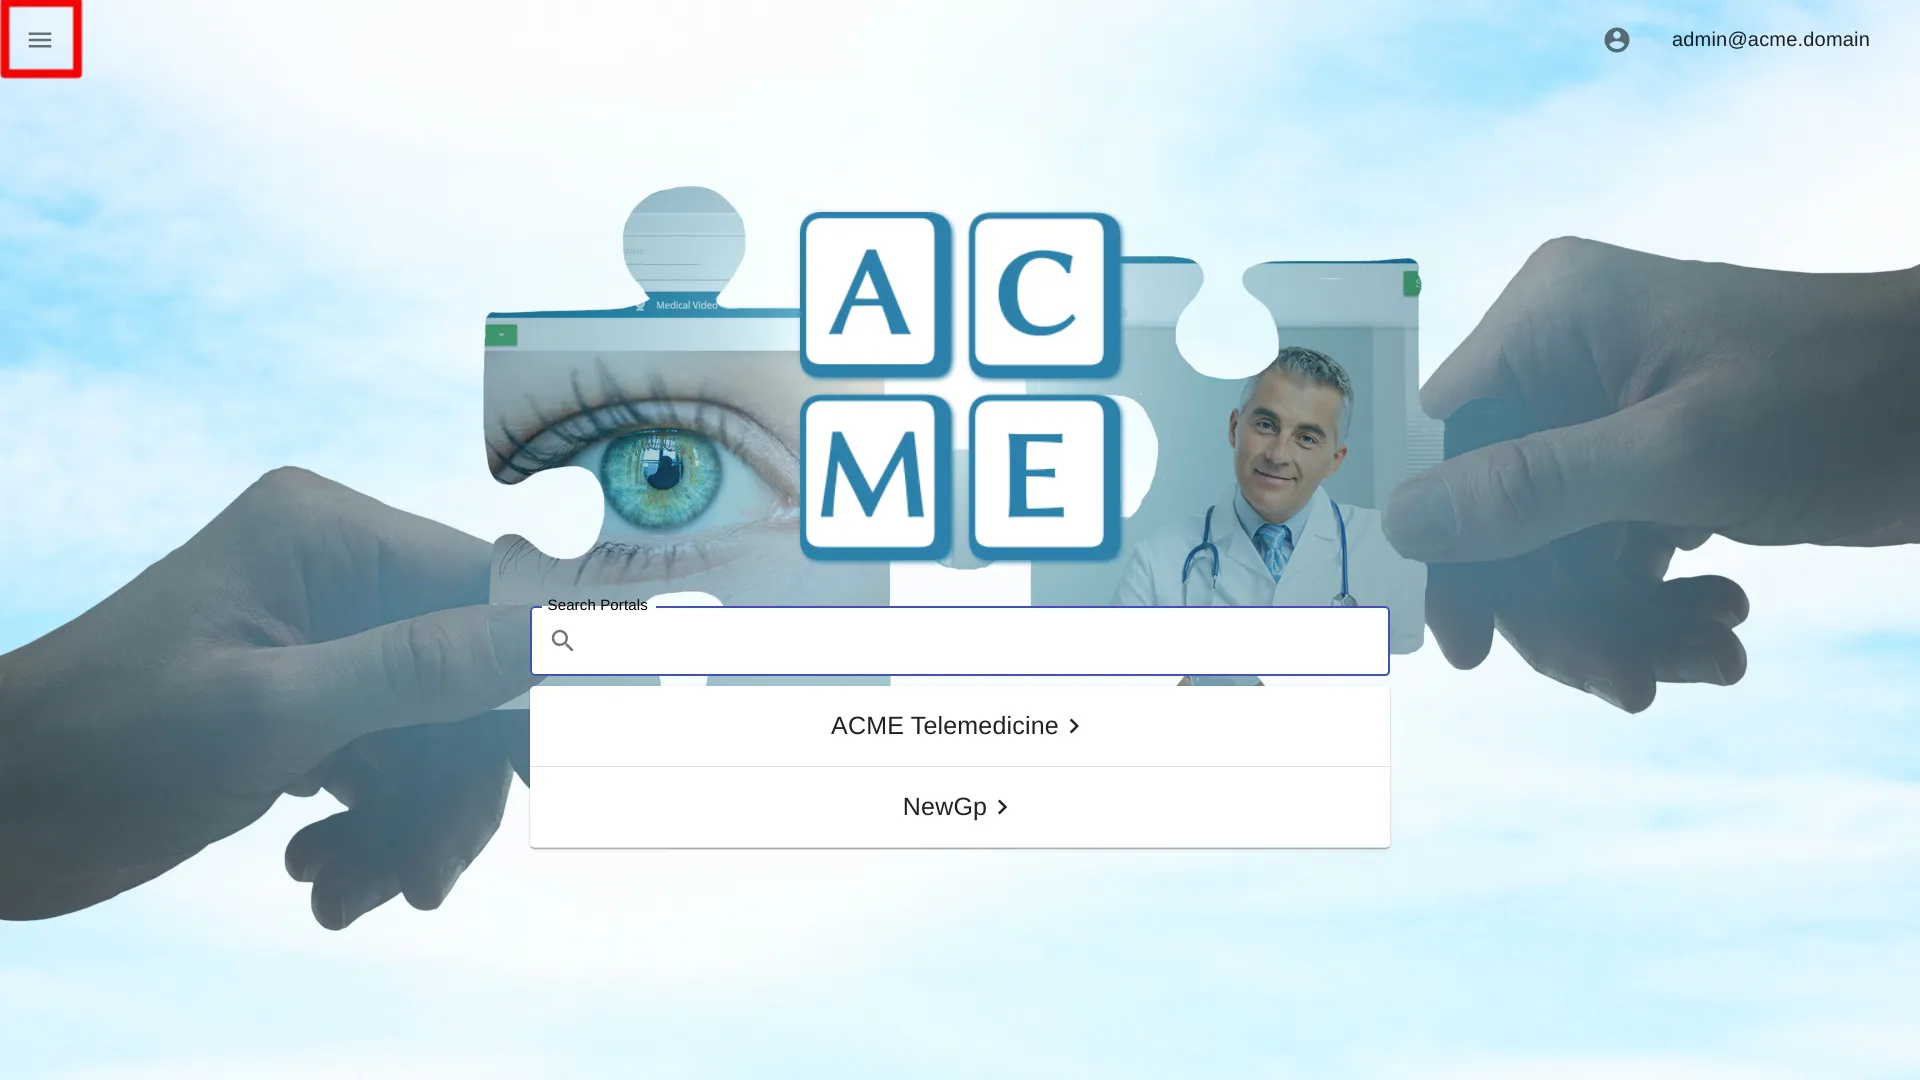
Click the ’≡’ icon in the top left of the Home Screen, and select Portals from the navigation bar. If the option is not available, ensure the logged in user account has the administrator role.
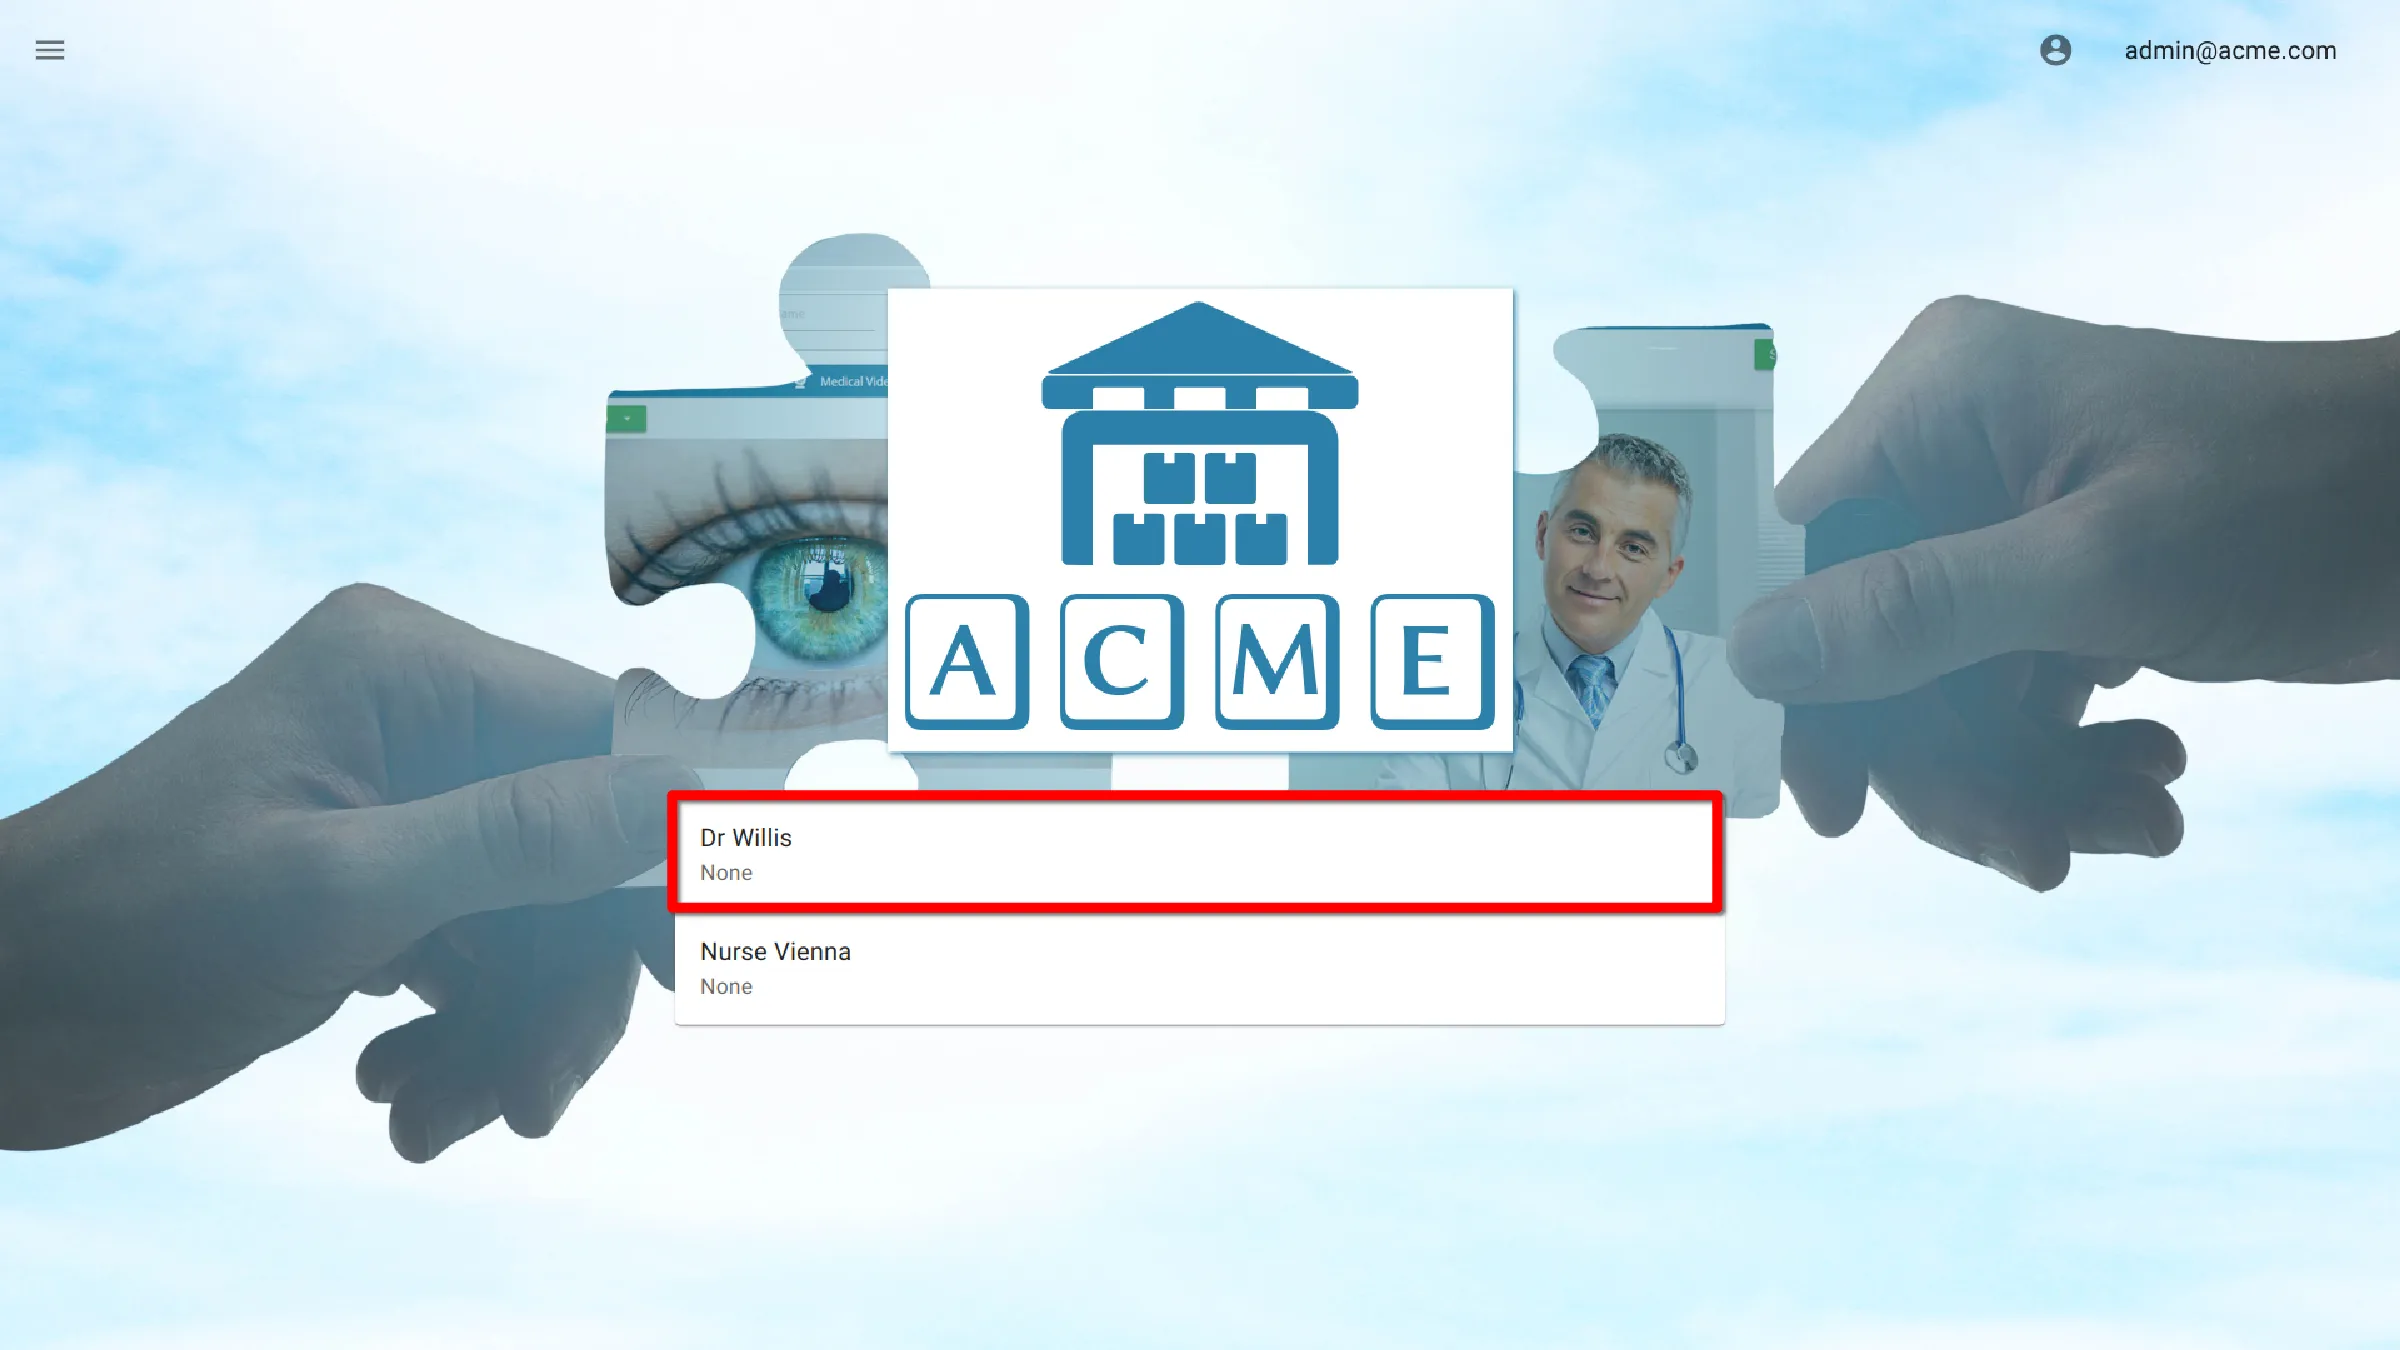
Select the Portal Name
Click the Portal name to access the settings for a particular portal.
Select Stethoscope Settings
![]()
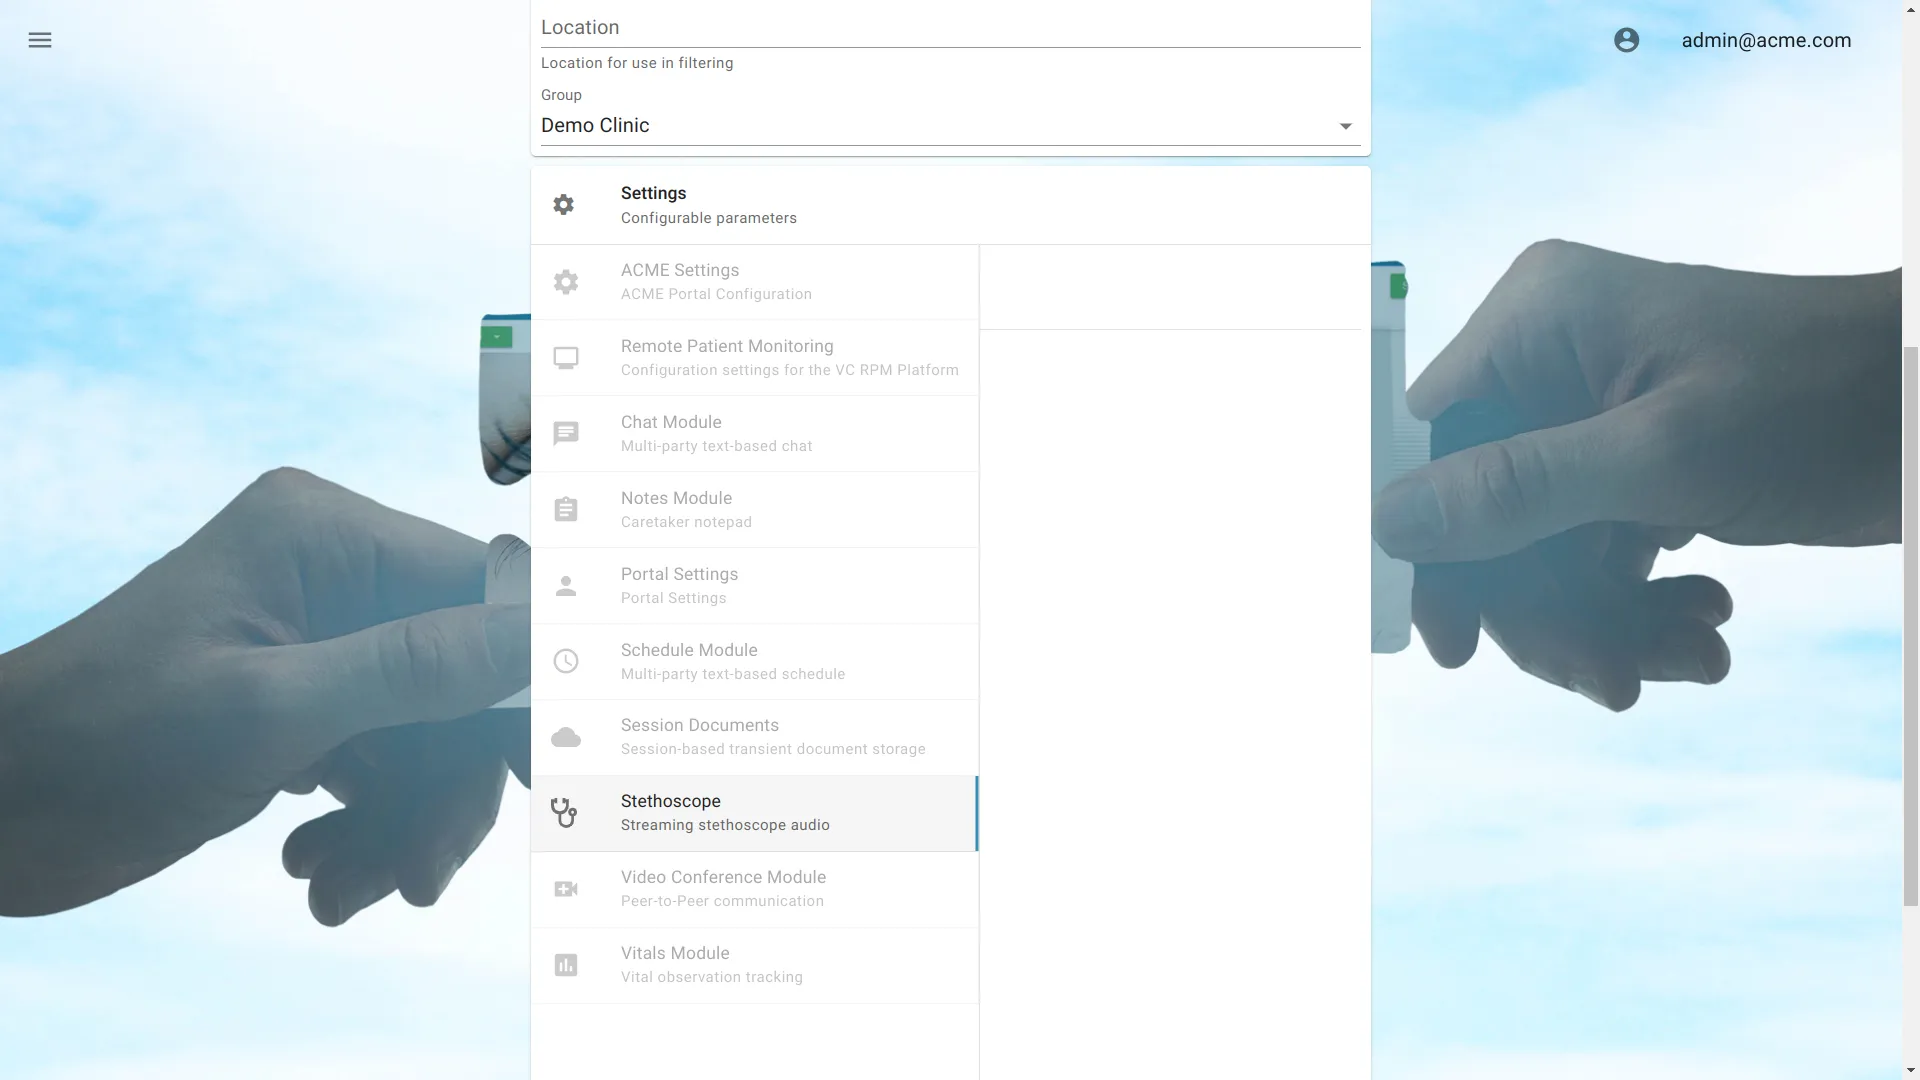
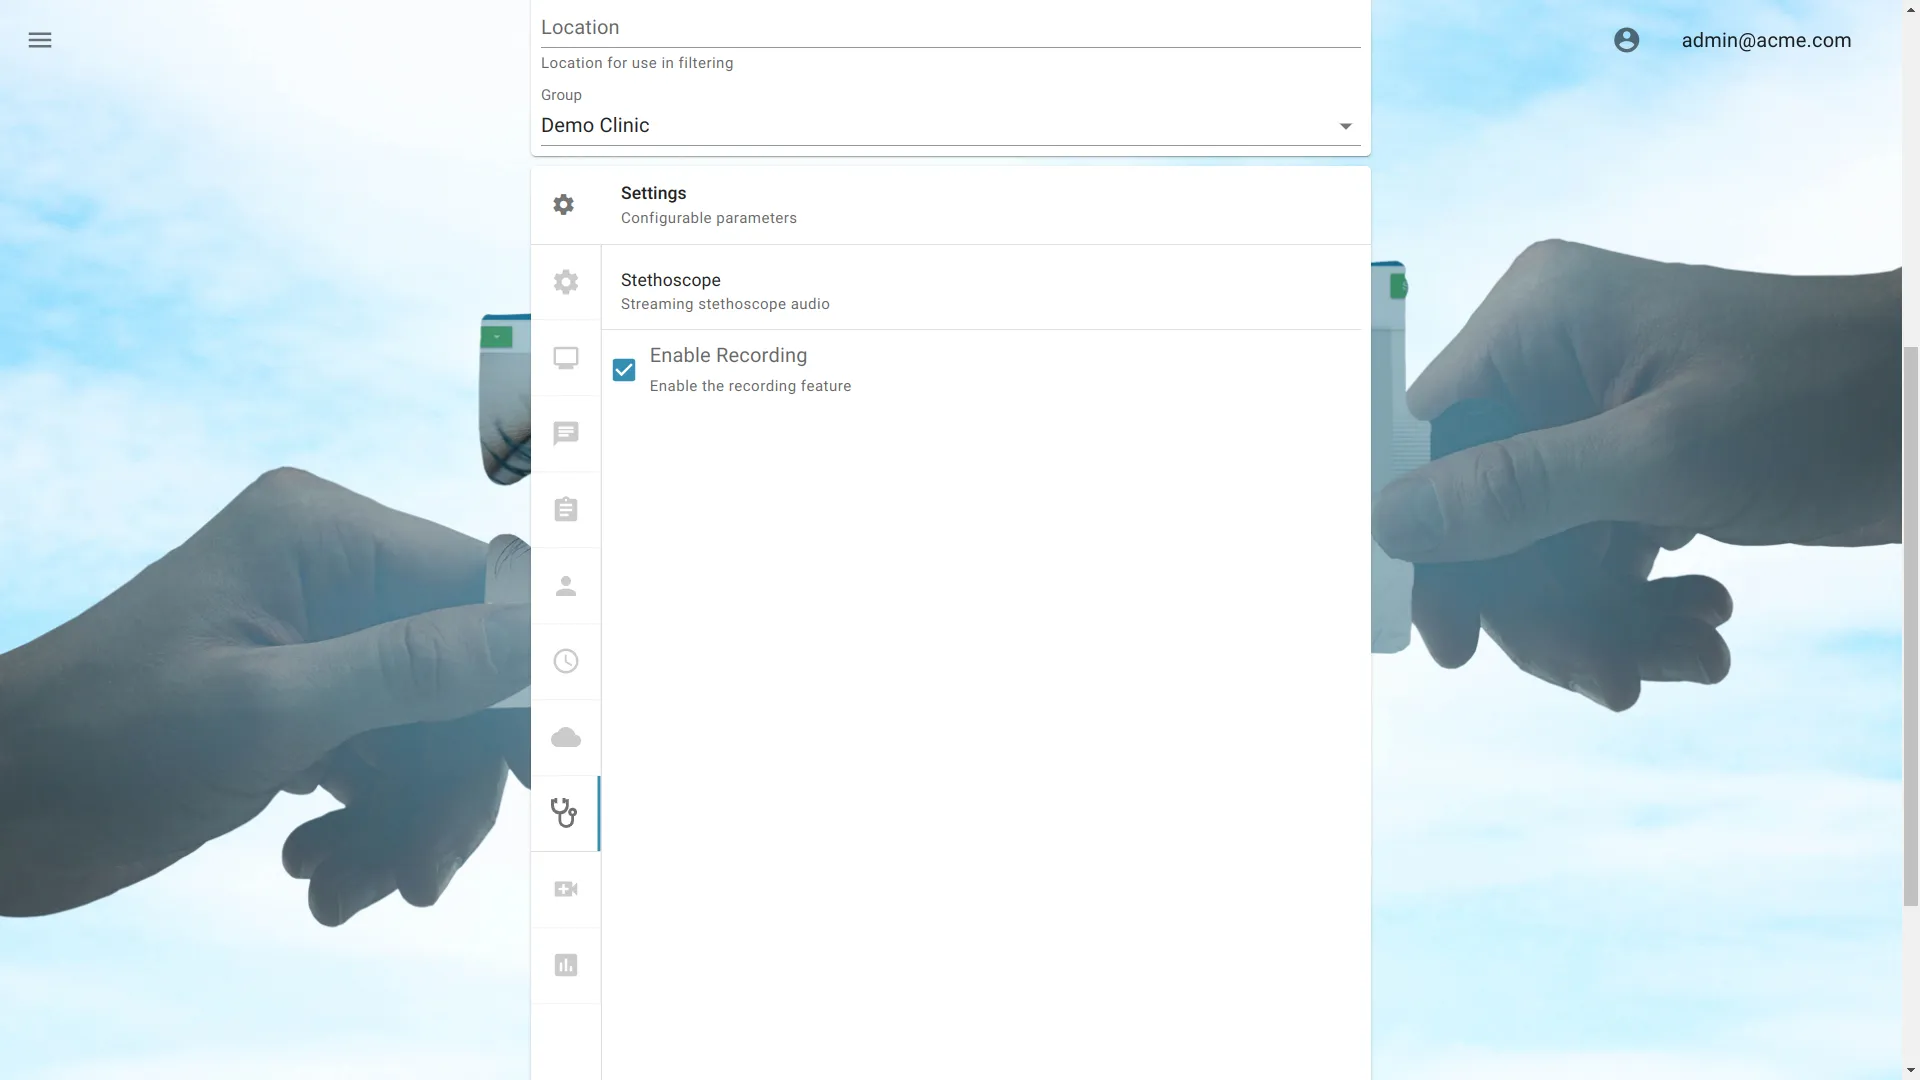
Enable Recording
By default, stethoscope recording is disabled. To enable recording, ensure Enable Recording is selected.
Custom Stethoscope Image
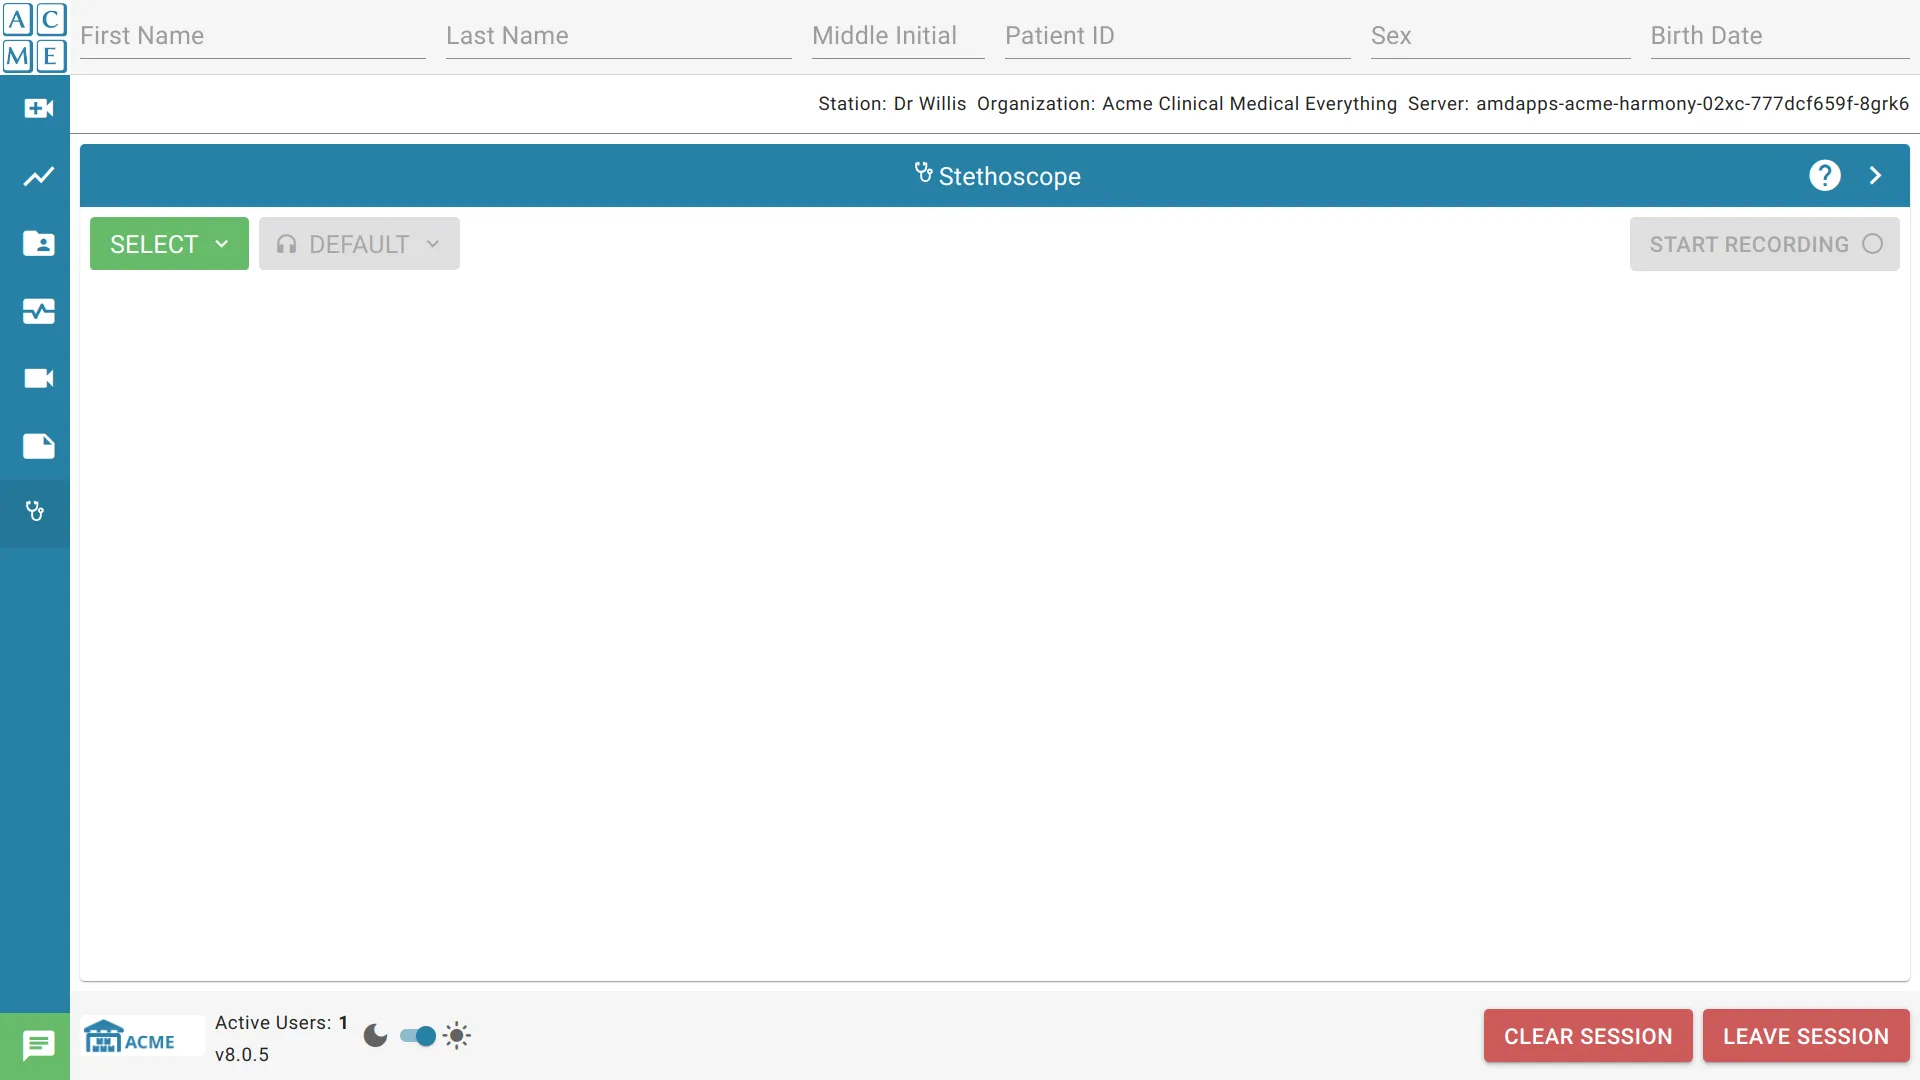
A custom image may be set to display in the Stethoscope module.
Examples of what a custom image can be used for:
- an organization or department logo
- an instruction image
- a reminder for staff
Upload an image
To upload an image, click the input below Stethoscope Image and a prompt will appear, allowing selection of an image file. Once selected, click OK to initiate the image upload to the server.
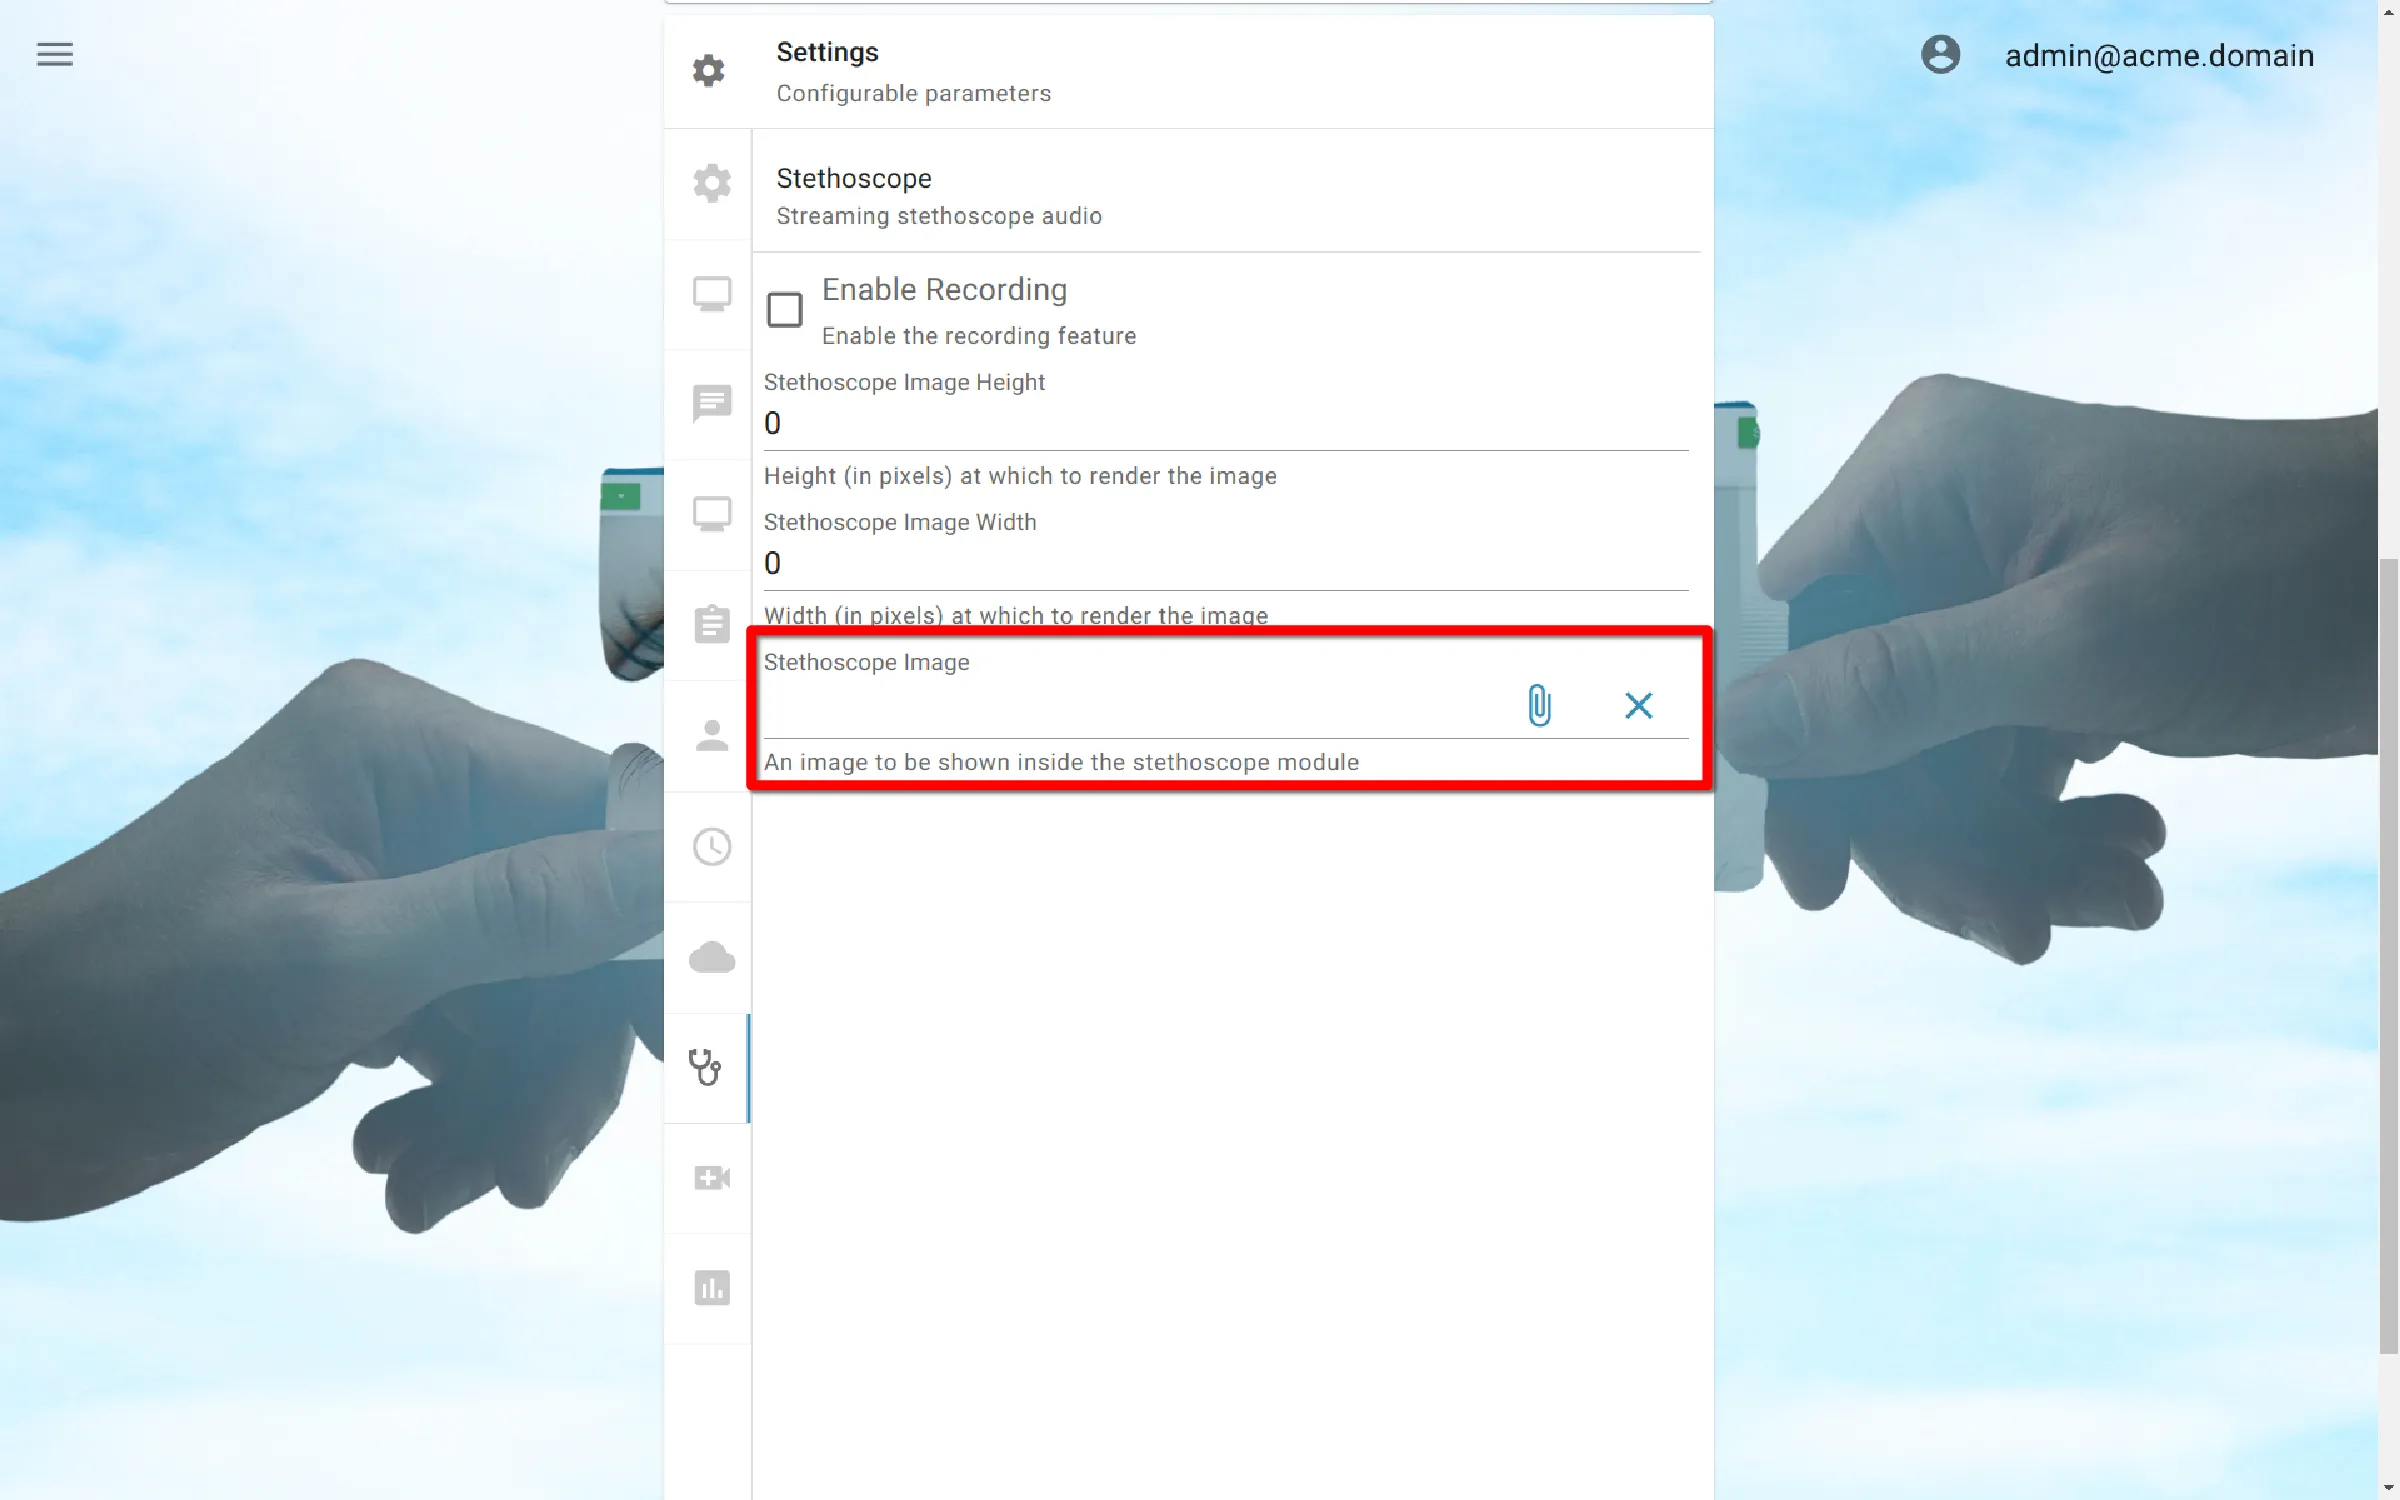
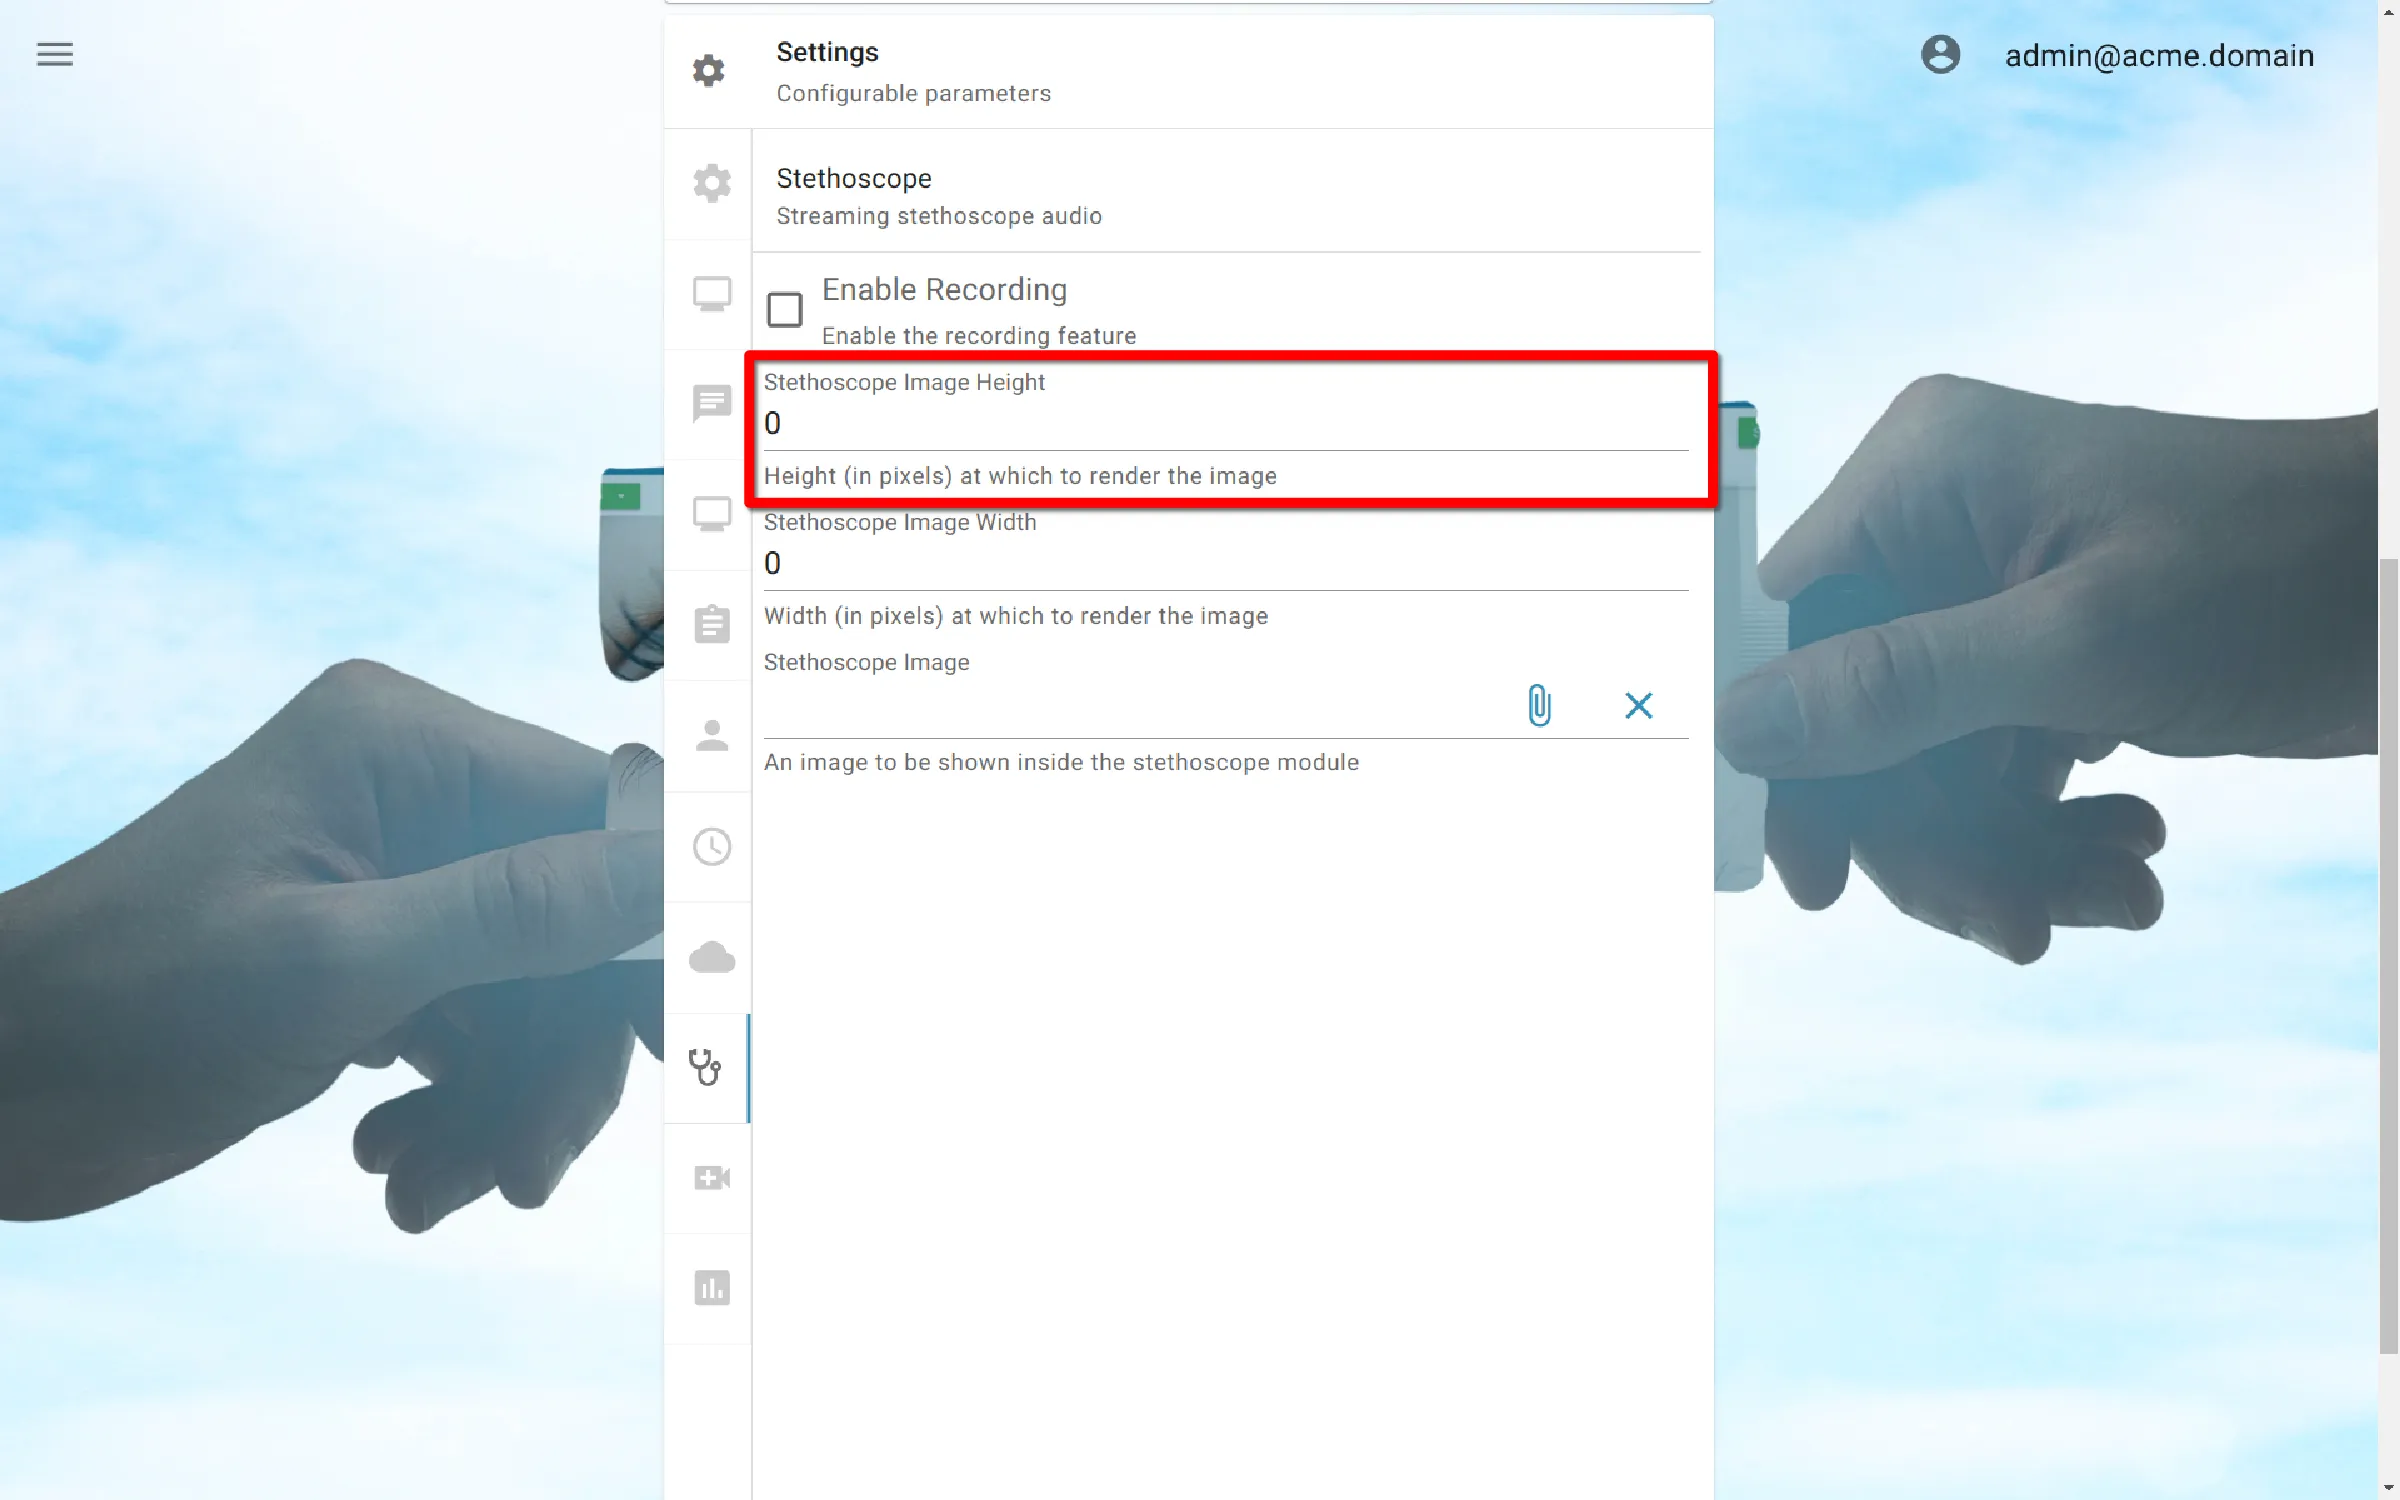
By default, AMD will attempt to display the image at full size. If the image looks incorrect, height and width can be set.
Set Image Height
To set the image height, click Image Height. Type in a whole number (example: 175, measured in pixels).
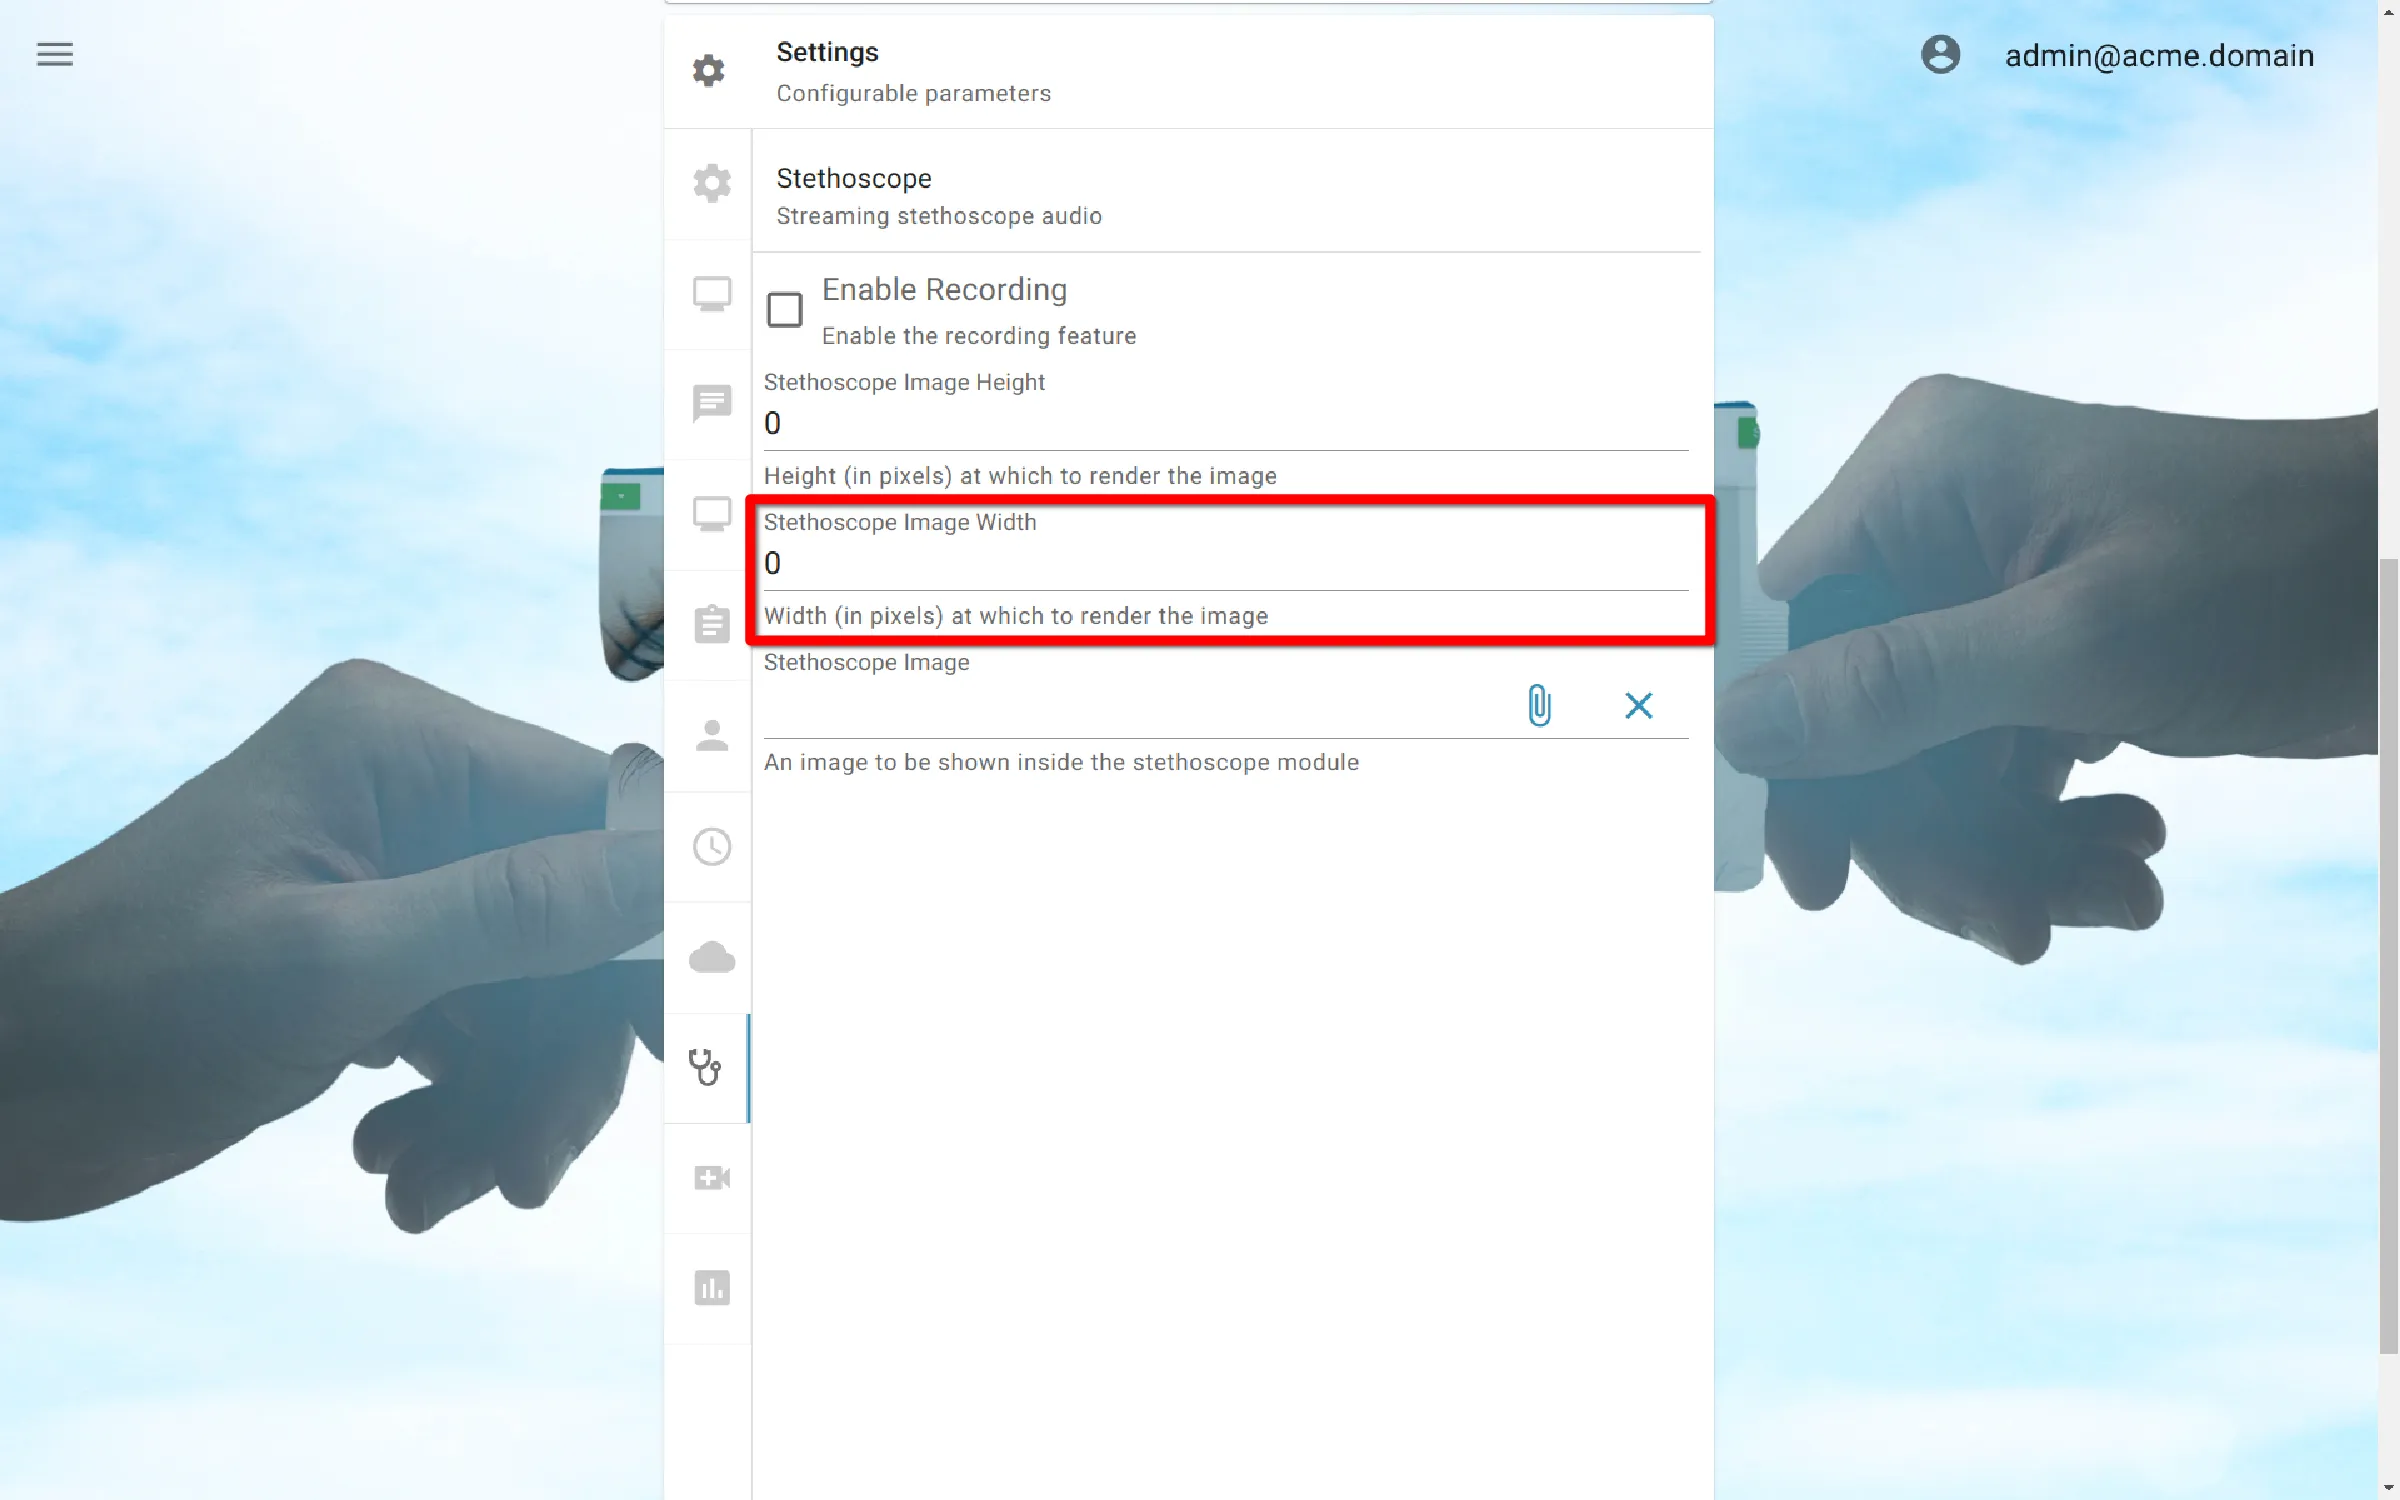
Set Image Width
To set the image width, click Image Width. Type in a whole number (example: 800, measured in pixels).
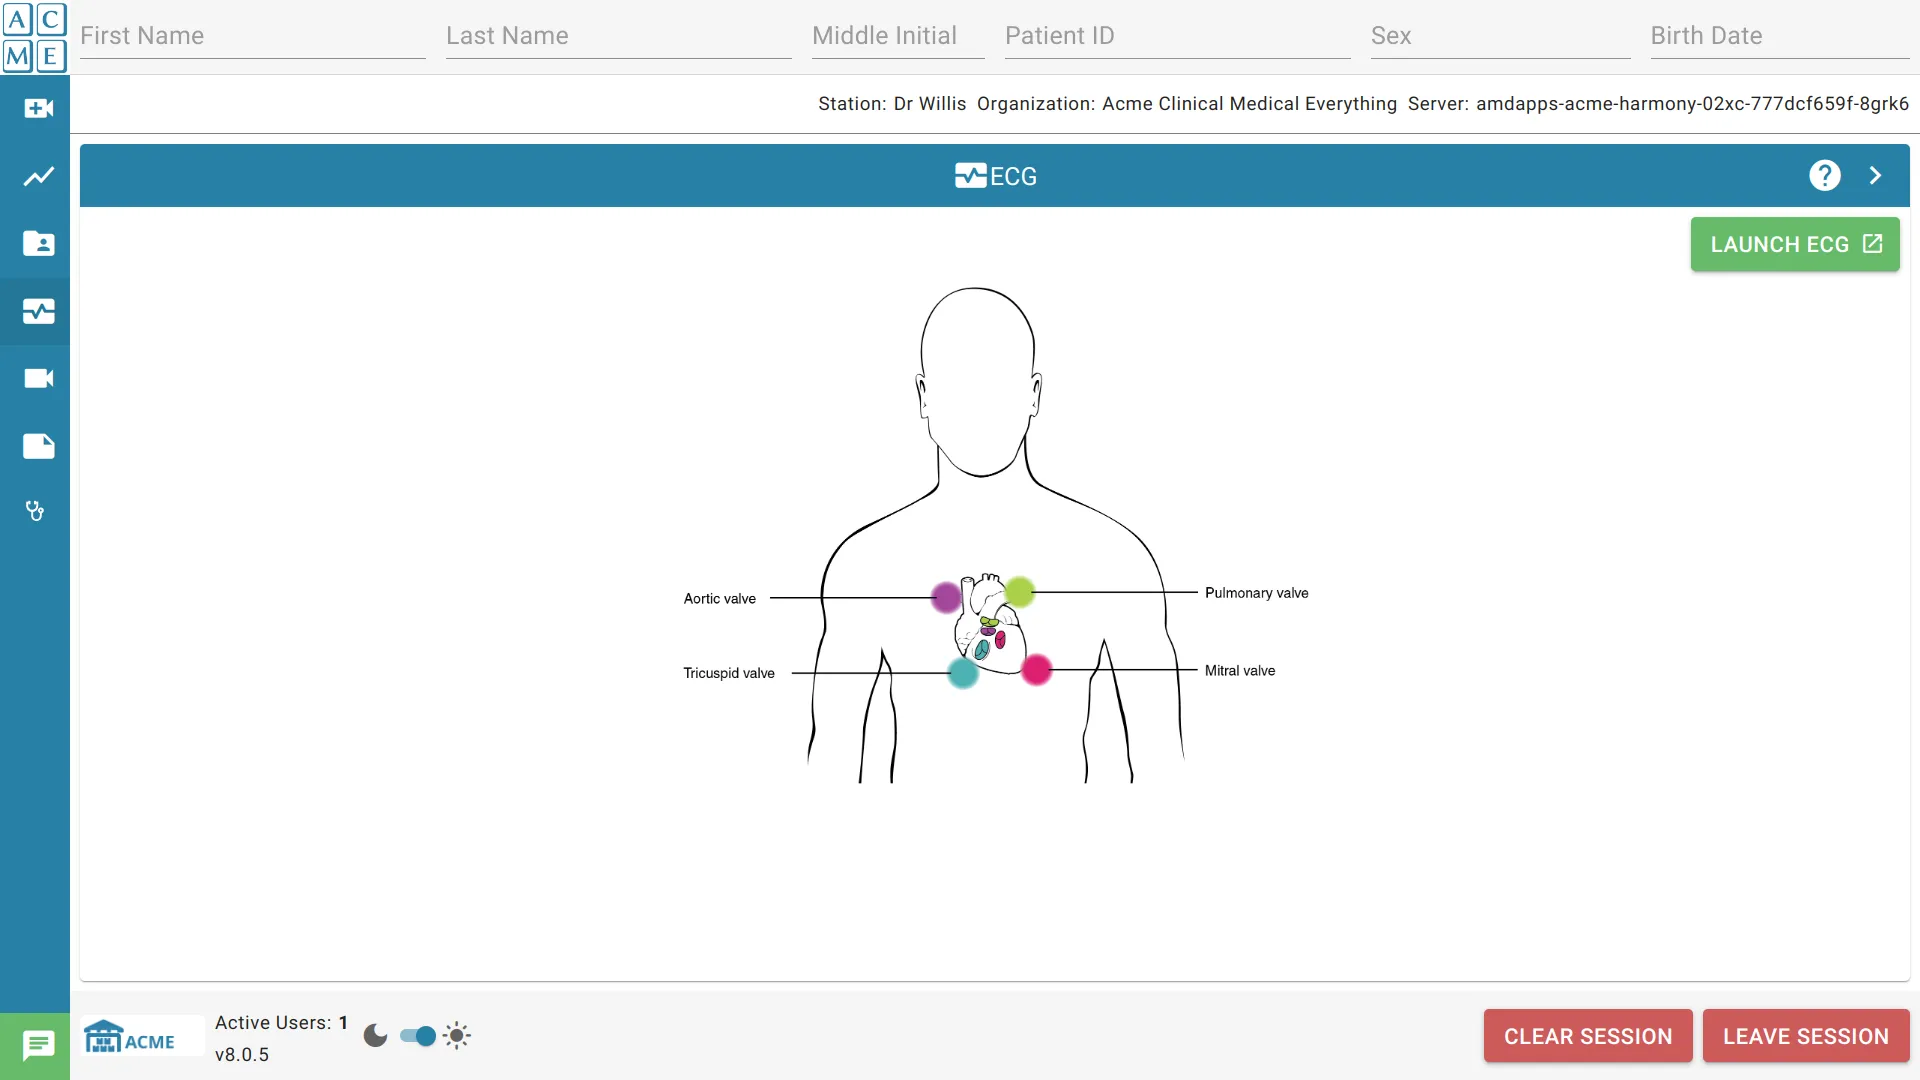
Stethoscope Module Before and After
Delete Image
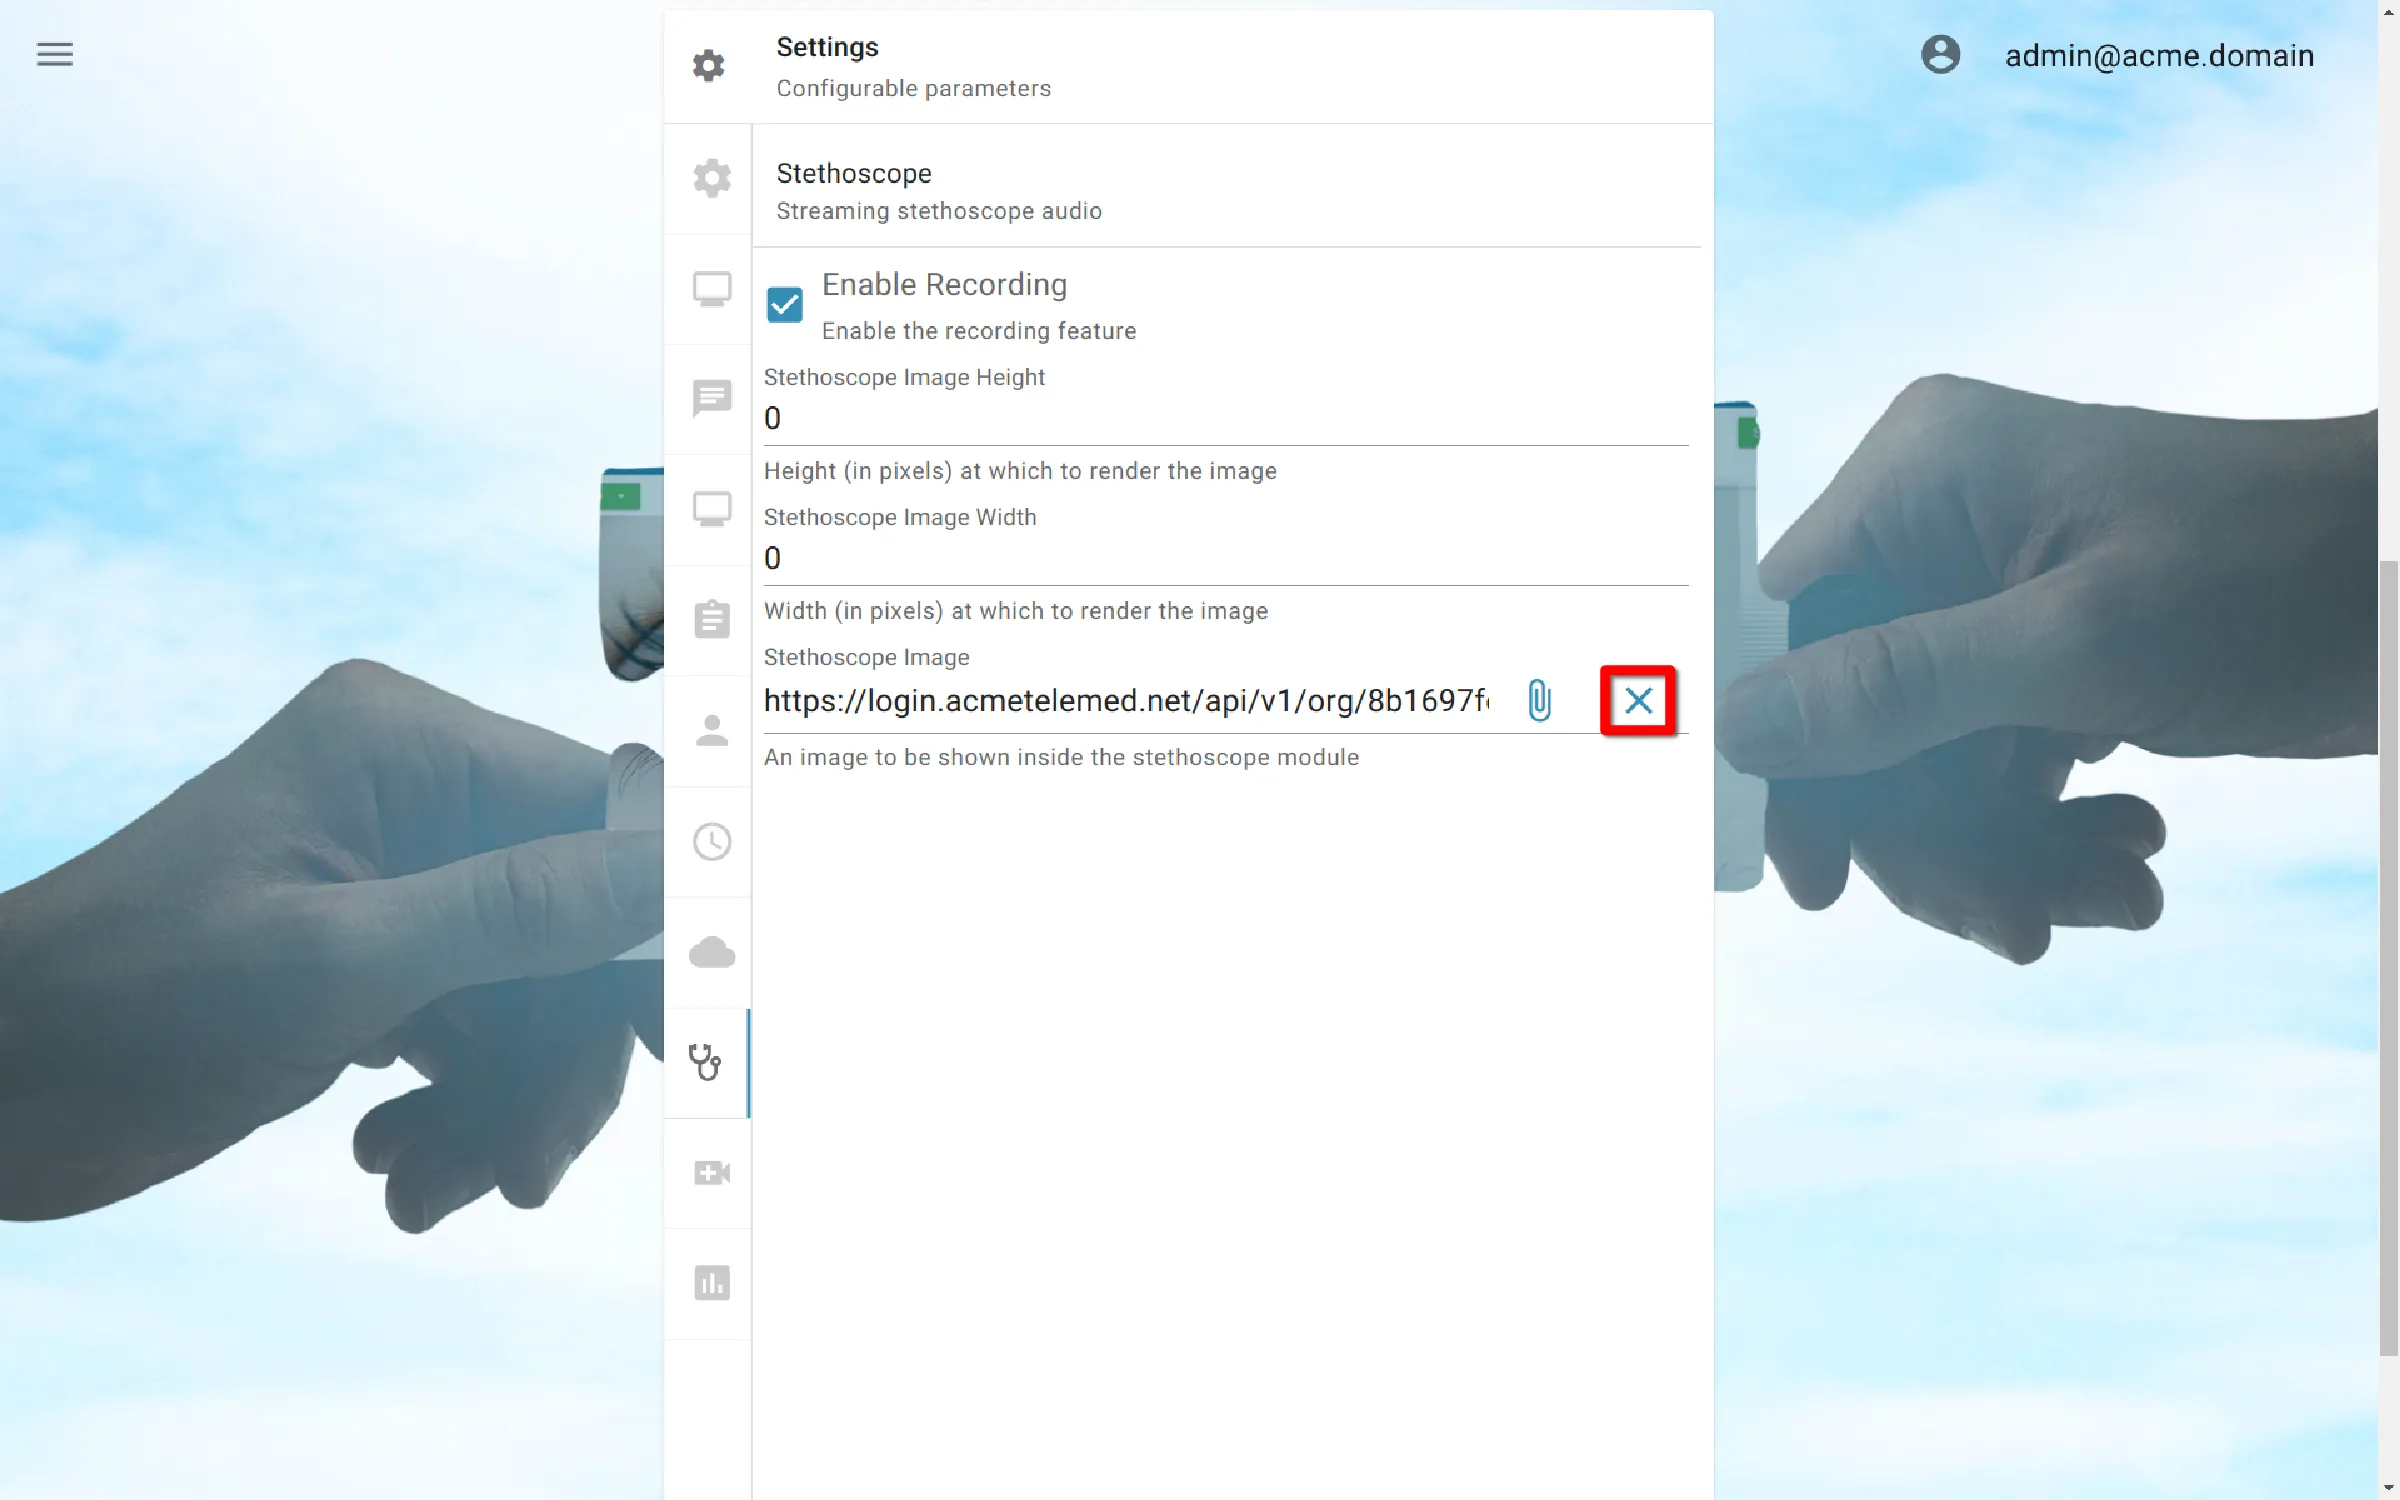
To delete the custom image, click the X button to the right of the image file.
Save Settings
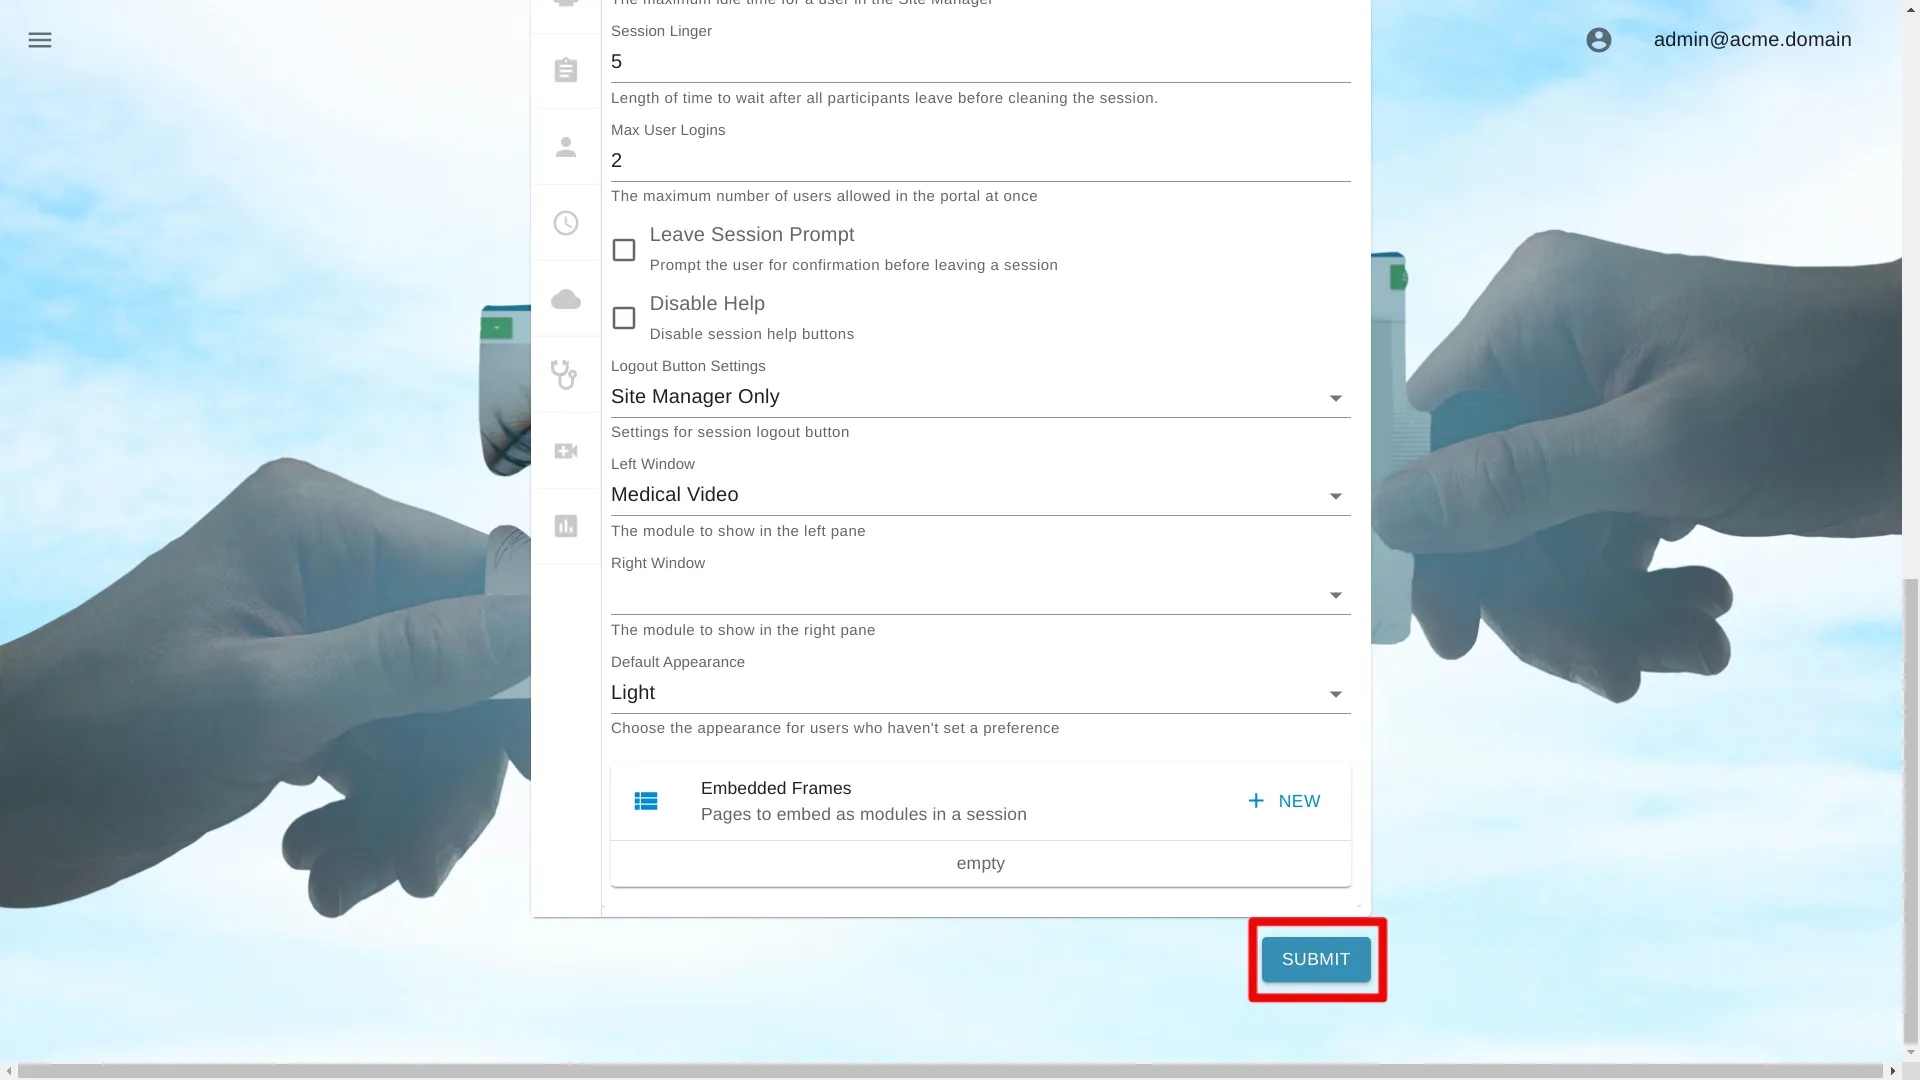
Click the Submit button to save the settings.
